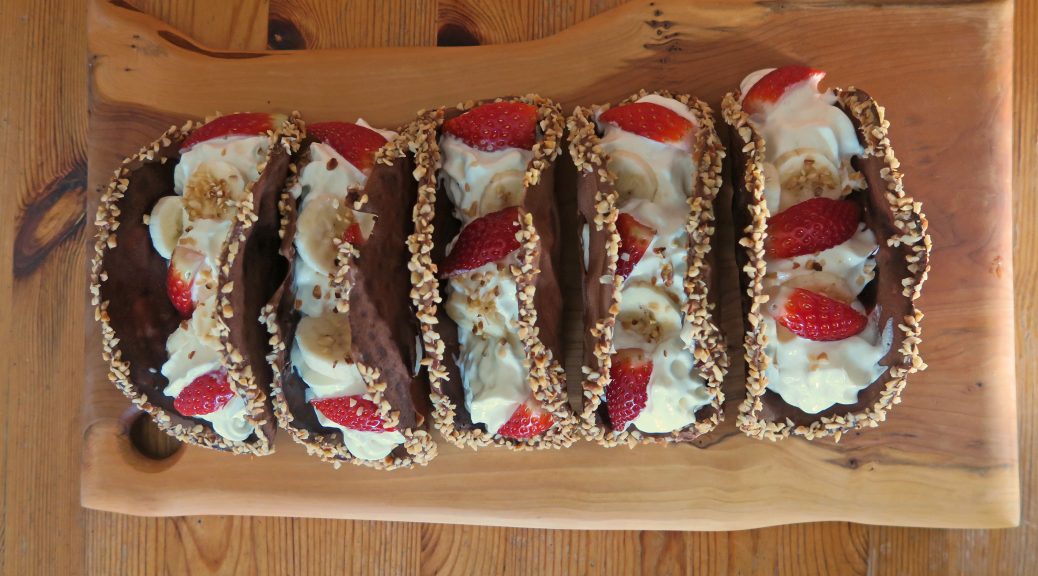
Category: Dessert

Chocolate Tacos

Chocolate Tacos

Food should be two things: fun and delicious. I know it’s cheesy but I generally think of these as the two most important factors when planning and designing my bakes. If it gets a smile or a ‘hmmhmmm’ it’s done the job! Of course ending up with something looking good is always great as well, but it’s food not a painting – if it looks bad it won’t be hanging on your wall for years reminding you how bad it looks. That said, these look flipping amazing (if I say so myself) and they’re not that hard to make – if you can make pancakes you can defo make these!

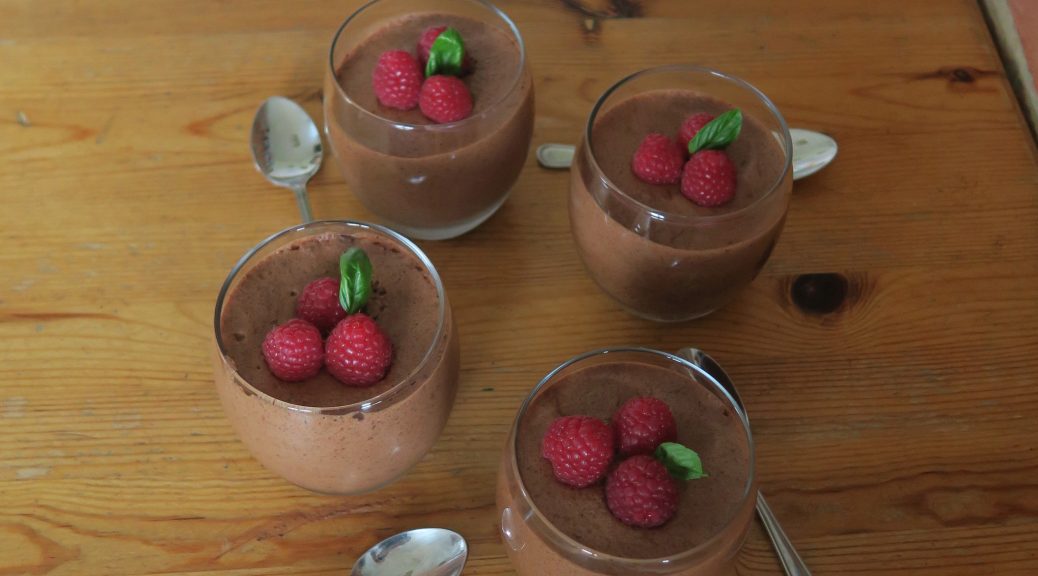
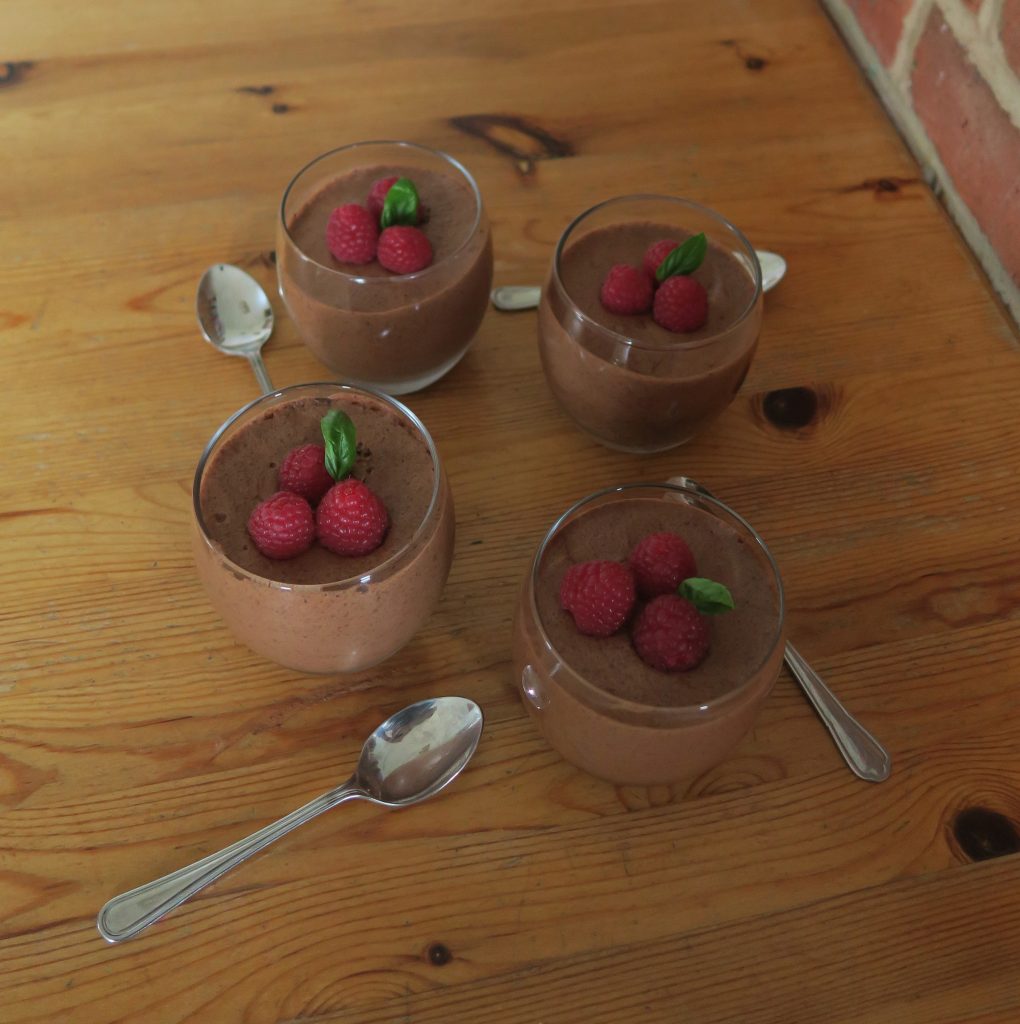
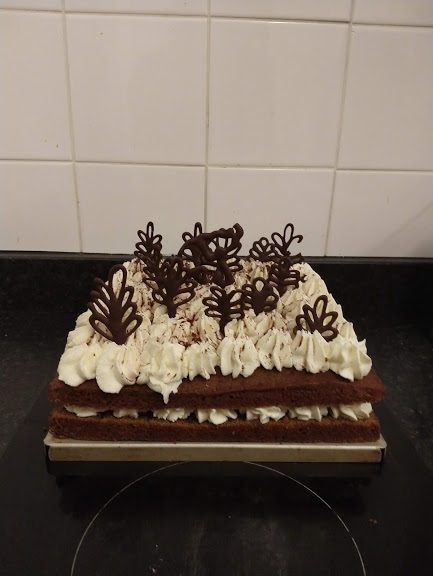
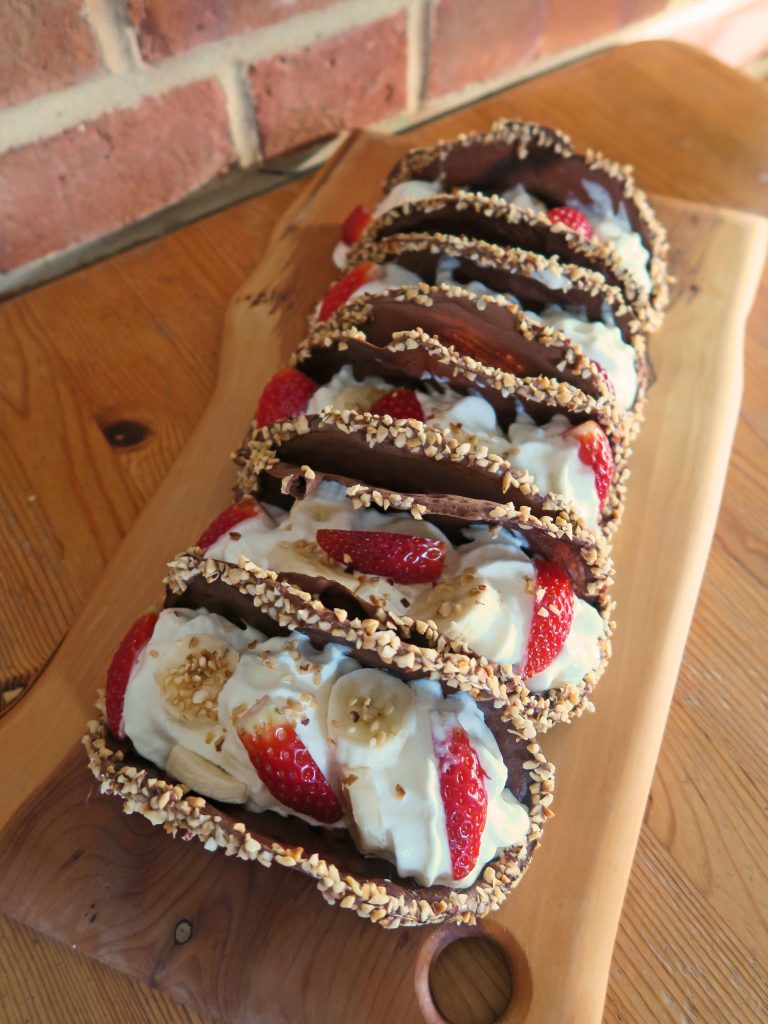
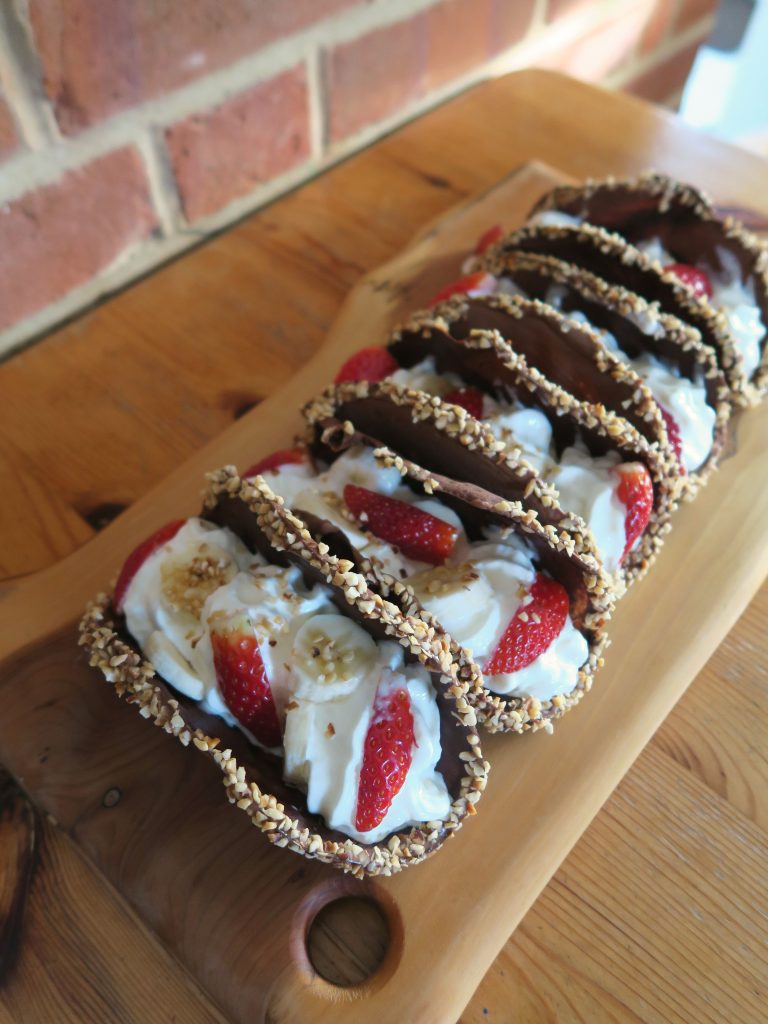
These also have the benefit of being personalise-able to your hearts content which automatically makes them good in my books. Serve them on a tray like this, or serve the shells with a variety of toppings for people to decorate themselves. The plus side of using chocolate as a base is that it’ll go with pretty much anything so get creative, think fruit, nuts, sauces, sweets, ice creams and anything else you could possibly want!

Recipe

Makes 5

Time: 90 minutes

Ingredients

For the shells

  • 50g Plain flour
  • 30g Caster sugar
  • 20g Brown sugar
  • 1 tbsp Cocoa powder
  • Large pinch of salt
  • 1 Large egg white
  • 1 tbsp Melted butter
  • 30ml Whole milk
  • A few drops of vanilla extract

For the filling

  • 50g Milk chocolate, melted
  • 100g Chopped hazelnuts
  • A few scoops of Chocolate ice cream
  • Double cream (or squirty cream)
  • Fresh fruit (I went for bananas and strawberries)

Method

  1. Begin by making the taco shells. Put the flour, sugars, cocoa and salt into a large bowl and whisk together.
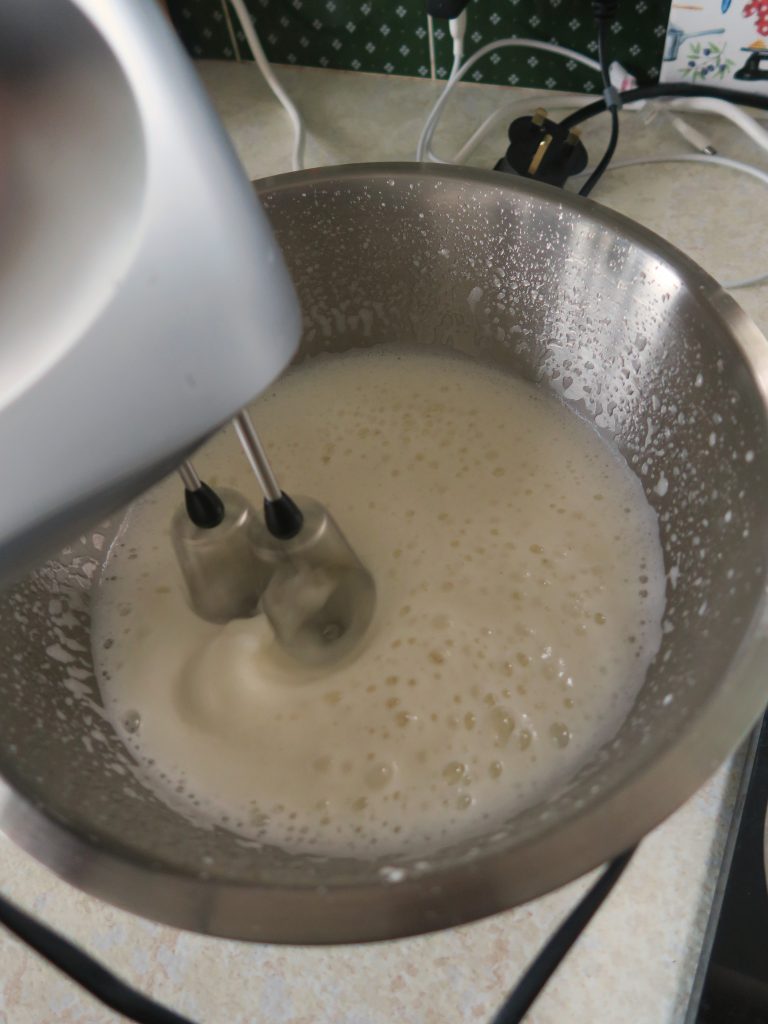
  2. In another bowl put the egg white, melted butter, milk and vanilla and whisk together.
  3. Pour the wet mixture into the dry mixture and whisk to make a smooth batter.
  4. Place a small frying pan over a medium heat. Lightly oil and then add about 1 tbsp batter to the pan. Smooth the mixture around the pan to make an even layer.
  5. Cook for a couple of minutes and then flip the taco over and cook for another couple of minutes on the other side.
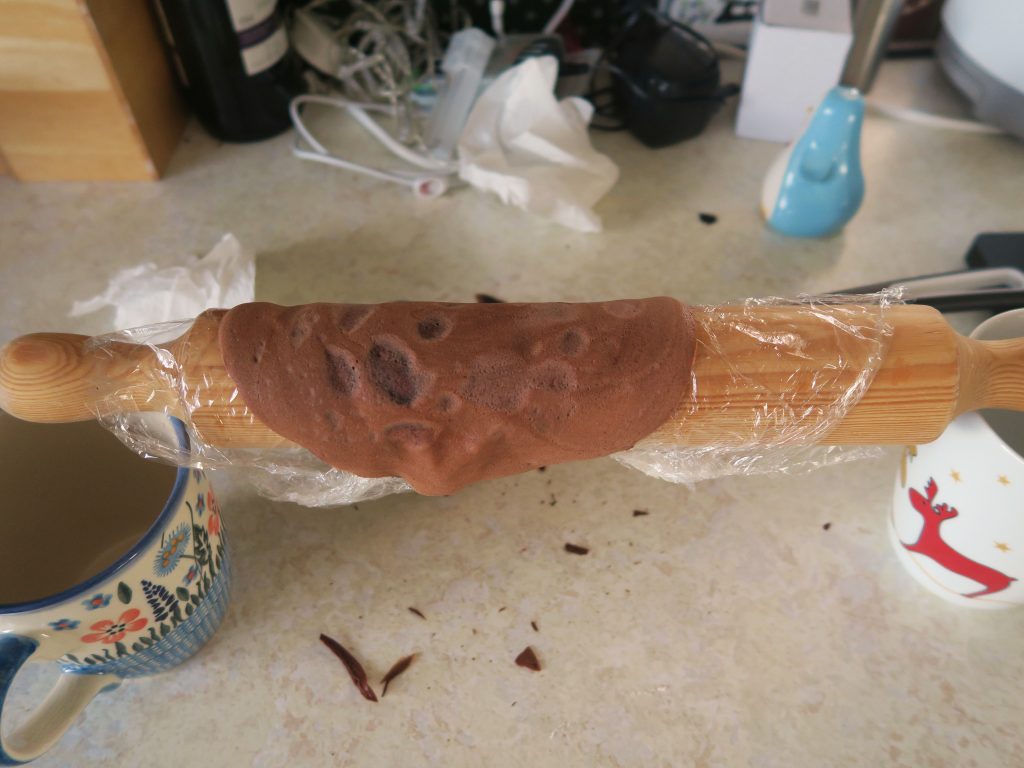
  6. Cover a rolling pin in cling film. Take the taco shell out of the pan and carefully fold it over the rolling pin. Hold it in shape for about 10 seconds and then leave to cool whilst you repeat with the rest of the mixture.
  7. Once all your mixture is used up melt the chocolate in a heatproof bowl over a pan of gently simmering water.
  8. Dip the edge of one of the tacos in the melted chocolate and then dip the edge into a bowl of the chopped hazelnuts. Leave on a plate to set.
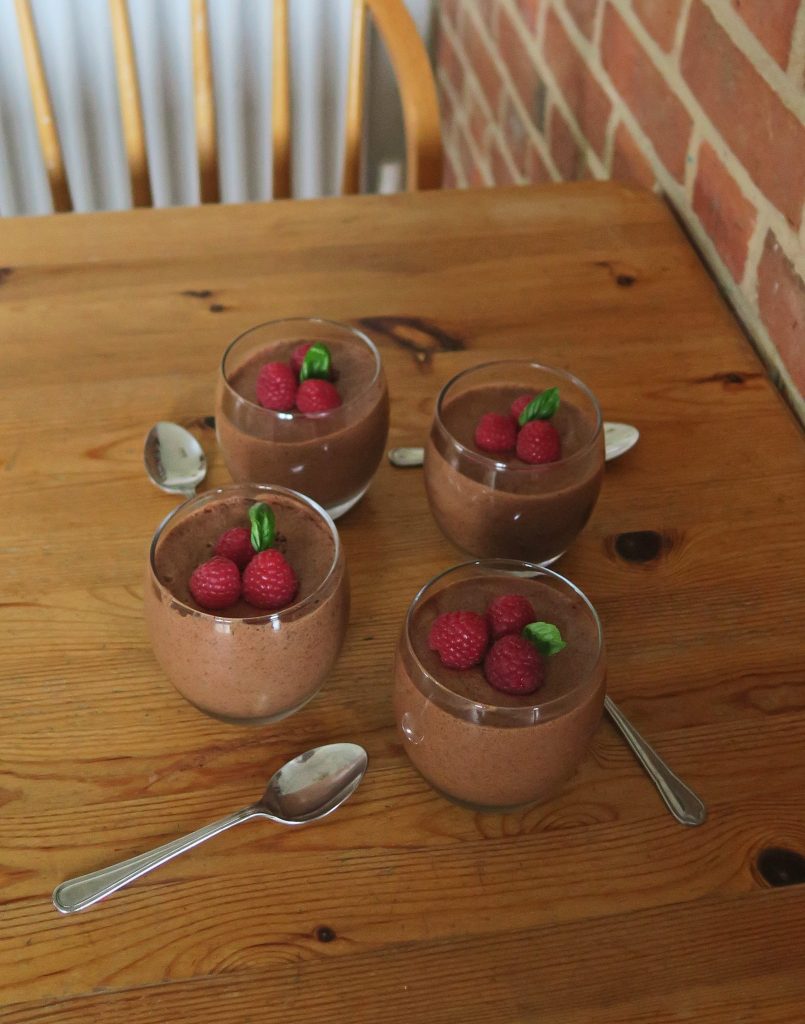
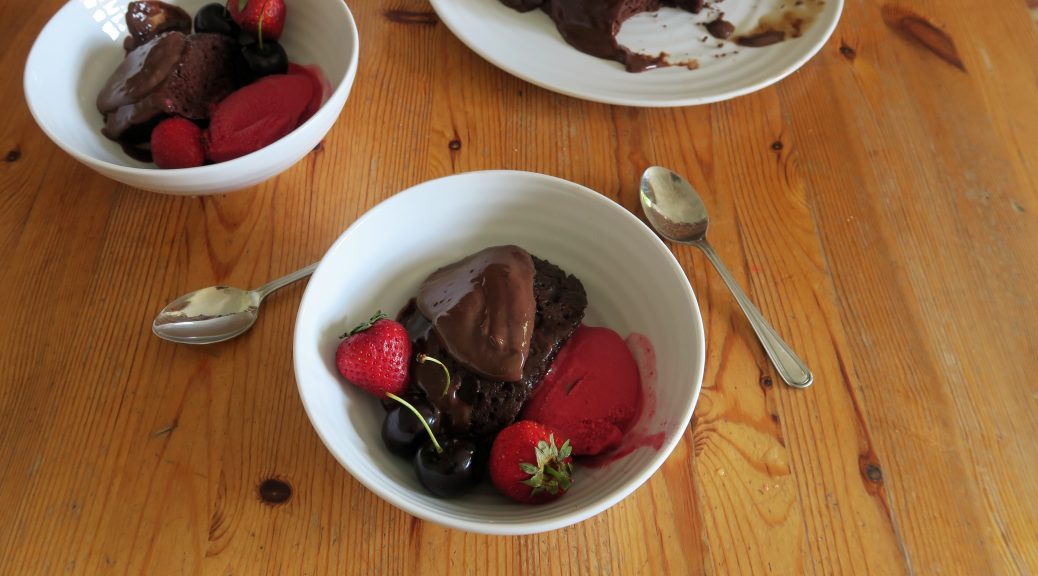
  9. When ready to serve put a couple of scoops of ice cream into each taco. Top with some squirty cream, fresh fruit, chopped nuts and any of the left over melted chocolate!

Thanks for reading!

Emma x

Vegan Chocolate Mousse

Vegan Chocolate Mousse

Is there anything you can’t do with chickpeas? I mean honestly. They make hummus, they’re perfect in currys, and it just so turns out that the juice they come in is also a godsend for vegan baking. Aquafaba, the cloudy water you find in a can of chickpeas, somehow has the ability to be whipped up into a meringue-like substance and therefore can be used to make meringues, macaroons and gorgeous mousses like this.

In complete honesty this doesn’t taste exactly like a normal chocolate mousse. Generally the texture of a normal chocolate mousse is thick and creamy, almost heavy, where as this is as light as a cloud and has the slight watery texture that I guess a cloud would also have. That said, they taste super rich and indulgent, and considering they are made from chickpea water they have an incredible soft, airiness to them! If you haven’t discovered aquafaba for yourself yet then next time you open up a can of chickpeas I beg you to save the water and not pour it down the sink – instead use it to make some of these!

Recipe

Serves 4

Time: 30 minutes

Ingredients

  • 140g Dark chocolate
  • 2 tbsp Soya milk
  • 240ml Aquafaba (from a 400g can of chickpeas)
  • 1 tsp Lemon juice
  • 20g Caster sugar
  • Berries to garnish

Method

  1. Put the chocolate and milk into a bowl over a pan of gently simmering water. Mix and then leave to cool a little.
  2. Open your 400g can of chickpeas and drain the liquid into a super clean large bowl.
  3. Add the lemon juice to the aquafaba and whisk until stiff peaks form. It can’t be overwhipped so persevere and whisk until the mixture doesn’t slide around the bowl at all.
  4. Slowly add the sugar and whisk in until incorporated.
  5. Check the chocolate has cooled down a little and then fold it into the aquafaba.
  6. Divide the mousse between 4 glasses and then put in the fridge to chill for about 3 hours. Enjoy!

Thanks for reading!

Emma x

Tiramisu Cake

Tiramisu Cake

So my first term at Oxford has come to an end and oh boy has it been a term. I’ve switched degrees, become a vegetarian and have made some incredible friends (miss you already btw!). Just before we left we had a big birthday celebration dinner thing for my friend Kat and so I made this tiramisu cake for dessert!

I love baking things for people’s birthdays as it always puts the best look on their face and you can personalise what you make to fit the person! I’ve topped this one with chocolate decorations of an elephant in a little woodland as Kat loves elephants, but you can pipe your decorations to look like anything. To make these ones I got a picture of an elephant up on my phone and then placed a sheet of baking paper over my phone so that I could see the outline underneath. Then I just piped over the top following the lines. A top tip with this is make sure that the piping is thick enough so that you can peel the shapes off the paper without it breaking (RIP too many thin elephants!).

Recipe

Serves 16

Time: 2 hours

Ingredients

For the cake

  • 240g Caster sugar
  • 240g Butter
  • 4 Eggs
  • 250g Self raising flour
  • 2 tbsp Coffee powder
  • 2 tbsp Milk
  • 1 tbsp Cocoa powder

For the filling

  • 750g Mascarpone cheese
  • 300ml Double cream
  • 3 tbsp Icing sugar

To Decorate

  • 100g Dark chocolate
  • 1 tbsp Instant coffee powder
  • 1 tbsp Milk
  • Cocoa powder to dust

Method

  1. Pre-heat the oven to 180˚C. Grease and line a square tin with butter and baking paper.
  2. Put the butter and sugar into a bowl and beat with a wooden spoon until pale and creamy.
  3. Add the eggs one by one to the mixture, whisking in between each addition until combined. Add the flour and whisk again to make a smooth batter.
  4. Put the coffee and milk into a small bowl and stir until the coffee dissolves. Add the coffee to the cake mixture and mix until combined.
  5. Pour the mixture into your lined tin and then bake the cake in the oven for 15-20 minutes until risen and golden brown – a skewer inserted into the middle should come out clean.
  6. Transfer the cake to a wire rack and leave to cool before taking it out of the tin.
  7. Now make the chocolate decorations. Put the chocolate in a bowl over a pan of gently simmering water. Leave to melt and then pour into a piping bag with a very small, round nozzle.
  8. Take a sheet of baking paper and either draw your design onto the paper with a pencil and then turn it over so you can see the design on the back, or use your phone as a light box to shine a design through the paper from underneath.
  9. Carefully pipe the chocolate over your designs and then leave to set completely (not in the fridge as it’ll go white and horrible!).
  10. To make the cream filling put the mascarpone, cream and icing sugar into a large bowl and whisk together until smooth and creamy. Spoon the mixture into a piping bag fitted with a star shaped nozzle.
  11. When the cake has cooled take a sharp knife and cut the cake in half horizontally. Dissolve 1 tbsp coffee in the milk and then brush the coffee evenly over the two sponges.
  12. Place the bottom half on the board or plate you’ll present it on. Pipe blobs of the cream over the cake. Then top  with the other cake half and pipe the rest of the cream over the top.
  13. Carefully peel your chocolate decorations off your baking paper and arrange them over the top of the cake. Finish with a dusting of cocoa powder and serve!

Thanks for reading!

Emma x


Easy Chocolate Pudding with Chocolate Custard

Easy Chocolate Pudding with Chocolate Custard

From an easy main to an easy dessert, I love making complicated things but there are those times when you just need something you can throw together without thinking about it. Being a student I’m truly experiencing the struggles of little money, little space and little time, so that’s when something like this becomes a godsend. This can be made in the oven or a microwave and so it’s the perfect last-minute, ‘I need chocolate cake now’ kind of dessert.

Of course no good fudgy sponge cake is complete without a good dollop of custard. For this one I’ve used custard powder. Whilst I think fresh custard made with eggs is always a lot nicer, you can’t deny the ease and speed at which you can make custard with a powder mix, so in the interest of preserving your sanity this custard recipe is as quick and as easy as you could want it to be! By extension though, if you don’t want to bother making custard at all, or if you don’t have a hob at your disposal you can use packet custard and then either add cocoa powder to it or just leave it as a vanilla custard.

Recipe

Serves  8

Time: 15 minutes

Ingredients

For the sponge

  • 180g Butter
  • 80g Light brown sugar
  • 50g Cocoa powder
  • 3 Large eggs
  • 2 tbsp Whole milk
  • 175g Self raising flour

For the custard

  • 400ml Milk
  • 5 tbsp Custard powder
  • 5 tbsp Light brown sugar
  • 25g Cocoa powder

To serve

  • Fresh berries (e.g blueberries, strawberries or raspberries)
  • Ice cream or Sorbet (I recommend raspberry sorbet with this!)

Method

  1. Take a 1L pudding bowl and butter the inside (this can be any kind of bowl but just make sure it’s not metal as it’ll be going into the microwave).
  2. Put the butter and sugar into a bowl and beat until smooth. Add the cocoa powder to the mix and then stir until combined.
  3. Add the eggs and milk to the batter and whisk them in, followed by the flour to get a pourable mixture.
  4. Pour the mixture into the greased pudding bowl and cover loosely with clingfilm. Then microwave for 4 ½ minutes on high heat until cooked through. Check the pudding with a skewer to make sure the centre’s not raw, and then leave the pudding to rest for a few minutes.
  5. Meanwhile make the custard. Put the milk into a pan and bring to the boil.
  6. Put the custard powder, sugar and cocoa powder into a bowl and whisk together. Pour a little of the milk onto the mixture and whisk in to make a smooth paste. Then slowly pour the rest of the warm milk into the mixture, whisking constantly, until combined.
  7. Pour the custard mix back into the pan and then cook whilst whisking over a medium heat until the mixture thickens.
  8. Turn the pudding out onto a plate and then pour some of the custard over the top. Serve slices of the pudding with the rest of the custard, fresh berries and sorbet/ice-cream!

Thanks for reading!

Emma x

Apple Puddle Pudding

Apple Puddle Pudding

We all get those moments where nothing can make you feel better…apart from a particular kind of food. It might be dairy milk chocolate for a break-up, mac and cheese for an essay deadline, or a whole tray of brownies for that night in when you just didn’t want to see another human being for the rest of your life – good comfort food is a really important thing in my books. So, whilst you probably shouldn’t live purely on comfort food (unfortunately) it’s always handy to have a few go-to pick-me-up recipes in your back pocket just in case you need them.

I came across the idea of apple puddle pudding in a food magazine the other day, and I thought it sounded so warming and cuddly that I thought I’d make my own version. Another way cooking de-stresses me when I’m, well, stressed, is if it’s hands on. There’s something about really getting stuck into what your making that can zone you out from all the worry and make you focus on the task in hand. And this is exactly what you do when making these dumplings. Roll your sleeves up, get stuck in, and get messy. This can turn out pretty sweet, so make sure you serve it with lots of clotted cream or vanilla ice-cream to balance it out!

(For more comforting recipes have a look at the ‘comforting’ section under ‘something that’s…’ in the top bar!)

Recipe

Serves 6

Time: 45 minutes

Ingredients

  • 75g Unsalted butter
  • 200g Light brown sugar
  • 60g Golden syrup
  • 2 tbsp Lemon juice
  • 3 Large Bramley apples (or 4 dessert apples)
  • Clotted cream to serve

For the Dumplings

  • 200g Self raising flour
  • 1 tsp Baking powder
  • Pinch of Ground cinnamon
  • 100g Cold Butter
  • 4 1/2 tbsp Milk

Method

  1. Pre-heat the oven to 180˚C.
  2. Put the butter, sugar, syrup, lemon juice, and 125ml water into a pan and bring to a simmer.
  3. Peel, core, and thinly slice the apples and then add them to the pan. Leave to cook for 10-15 minutes, stirring occasionally until they soften. Then pour the apples and the juice into an oven-proof baking dish about 20x30cm.
  4. Next make the dumplings. Put the flour, baking powder, sugar, cinnamon and salt into a large bowl and mix together.
  5. Add the butter to the mixture and rub it into the flour until the mixture resembles bread crumbs. Slowly add the milk, stirring with a round-bladed knife until the mixture starts to clump together.
  6. Use your hands to bring the dough together and then divide the dough into 12 balls. Arrange the dumplings over the apples, leaving little gaps between the balls, and then sprinkle with a little extra brown sugar.
  7. Bake the dumplings in the oven for around 25 minutes, until puffed up and golden brown. Leave to cool a little before serving with lots of cream or ice cream!

Thanks for reading!

Emma x