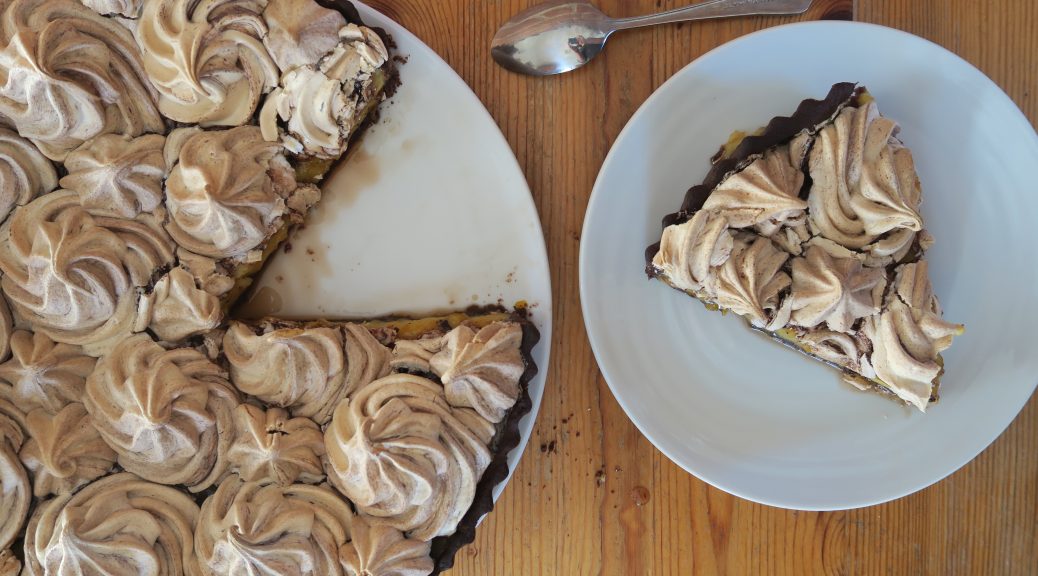
Blood Orange Chocolate Meringue Pie
Having just moved to a new place I’m meeting loads of new people and I’m going through that classic process of making friends. The classic what’s your name? Where are you from? What subject do you do? And so on. Then once your past the go-to questions things get a little more creative, and sooner or later things seem to move onto ‘hobbies and interests’ at which point I inevitably get asked ‘what is your favourite thing to cook?’ It’s taken a while to work out what actually is my favourite thing to cook, and, whilst I don’t have a firm fave, the best answer I have at the moment is fruity meringue pies. This is somewhat ironic as I don’t really like them, but they’re fun to make for two reasons i) they’re my Grandad’s favourite so every time we see him I make a lemon meringue pie, and ii) they involve three really fun elements to make: pastry, curd and meringue.
I normally make traditional lemon meringue pies, but as I’m not a big fan of lemons I thought I’d try making a chocolate orange variation instead. However, the general concept of a meringue pie is that the curd is really sharp and that balances the super sweet meringue, so I’ve added some lemon juice in the curd of this one, not so much for the lemon flavour but more to give the filling a sharp kick. Since I made that almond and blood orange cake a little while ago I’ve been obsessed by blood oranges, and they work so well in this! They’re a little more floral and fruity than normal oranges, so you can think of this as orange-pie-plus!
(If you’ve never made pastry before and the thought of doing so makes you tremble, check out my last post on everything you need to know about making a pastry base!)
Recipe
Serves 12
Time: 2 hours
Ingredients
For the Pastry
- 285g Plain flour
- 30g Cocoa powder
- 90g Icing sugar
- Pinch of salt
- 225g Unsalted butter
- 1 Large egg
- 1 tbsp Cold water
For the Blood orange curd
- 3 Blood oranges
- 3 tbsp Lemon juice
- 65g Cornflour
- 300ml Water
- 110g Caster sugar
- 85g Unsalted butter
- 4 Egg yolks
For the meringue
- 50g Dark chocolate
- 5 Egg whites
- 250g Caster sugar
- 2 tsp Cocoa powder
Method
- Pre-heat the oven to 180˚C. Then grease a 9 or 10 inch fluted tart tin.
- Put the flour, cocoa, sugar and salt into a large bowl and mix together. Add the butter and cut it up into chunks with a round bladed knife.
- Then go in with your fingers and rub the butter into the flour to make a bread-crumb texture.
- Add the egg yolk and the vanilla to the mixture and then mix everything together with a round bladed knife until a ball forms. (You might need to go in with your hands again and squish the dough into a ball).
- Wrap the dough in cling film and then leave it to chill in the fridge for at least an hour.
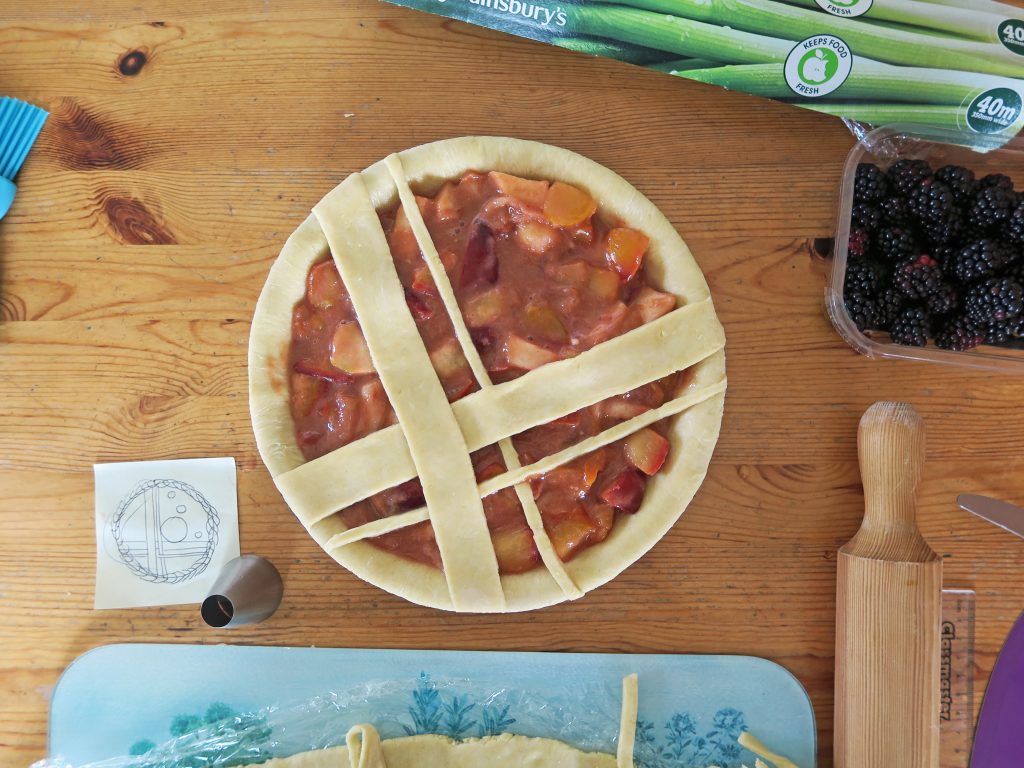
- Lightly flour a surface and turn the dough out onto it. Roll the pastry into a circle at least 12inch in diameter. Flip the pastry into the tart case and then gently ease it into the flutes of the tin. Then use a rolling pin to trim off the excess by rolling it over the edge. Chill in the fridge for another 30 minutes.
- Line the pastry case with baking paper and baking beans. The easiest way to do this is to scrunch up a square of baking paper and then un-crumple it – this will make it super easy to line the tin with!
- Put the base in the oven and bake for roughly 15 minutes, until the base is cooked through but not necessarily crisp. Then take the case out of the oven, remove the beans and bake for another 5-10 minutes, until crisp.
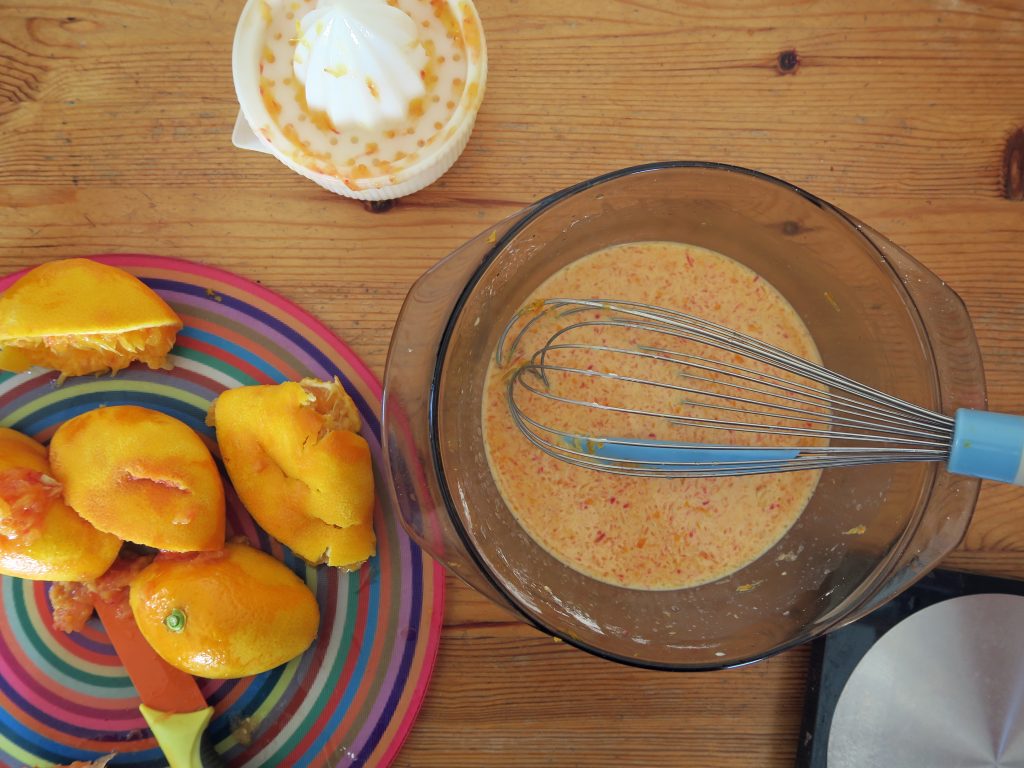
- Next make the curd. Put the zest and the juice of the blood oranges into a heatproof bowl. Add the lemon juice, cornflour and mix together to form a paste.
- Put the water into a pan and bring to the boil. Then pour the hot water over the orange mixture, stirring constantly. When combined pour the mixture back into the pan and place over a medium heat. Stir constantly until the mixture starts to thicken. Then leave to boil for a minute.
- Take the mixture off the heat and stir in the sugar, butter and the egg yolks. Set aside until needed.
- When the pastry case is ready, pour the curd into the case and smooth over with a spatula . Lower the oven temperature to 140˚C.
- Now make the meringue. Put the chocolate into a heatproof bowl over a pan over simmering water (make sure the bottom of the bowl doesn’t touch the water!). Melt gently and then take the bowl off the heat and leave to cool a little.
- Next clean a metal or glass bowl and some electric beakers with hot soapy water. (You need them to be really clean so that the meringue will hold its shape).
- Put the egg whites into the clean, dry bowl and whisk until soft peaks form.
- Slowly add the sugar, one tbsp at a time, whisking constantly until stiff peaks form.
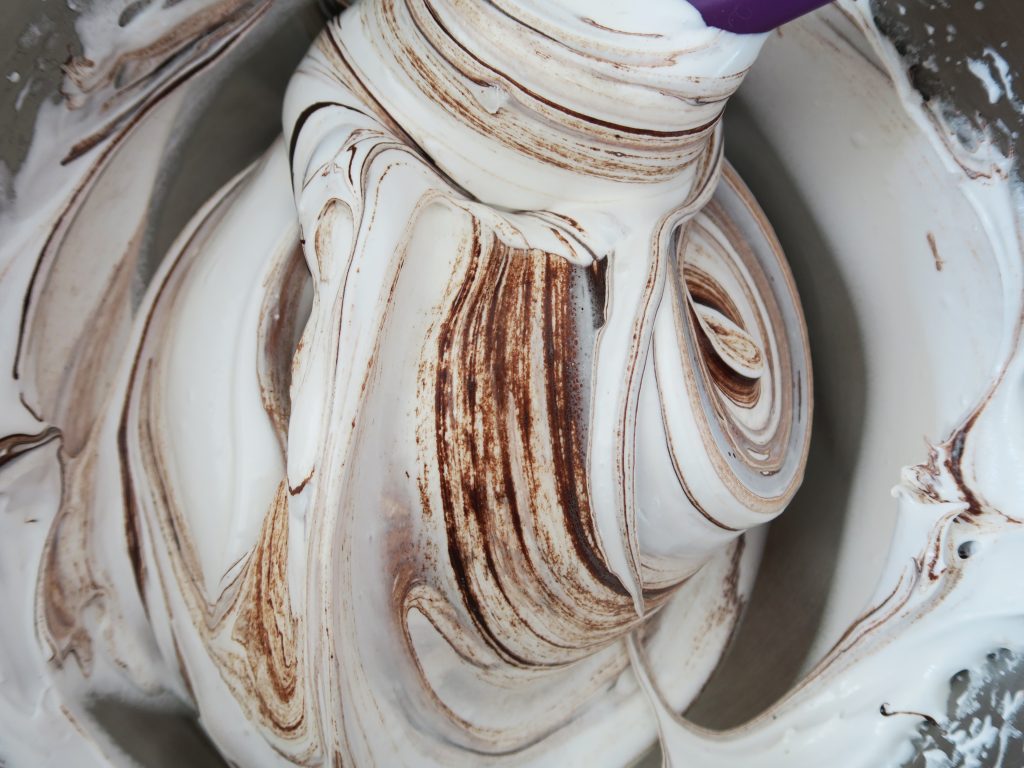
- Stir together the cocoa powder and the melted chocolate and fold it into the meringue to get a swirl effect.
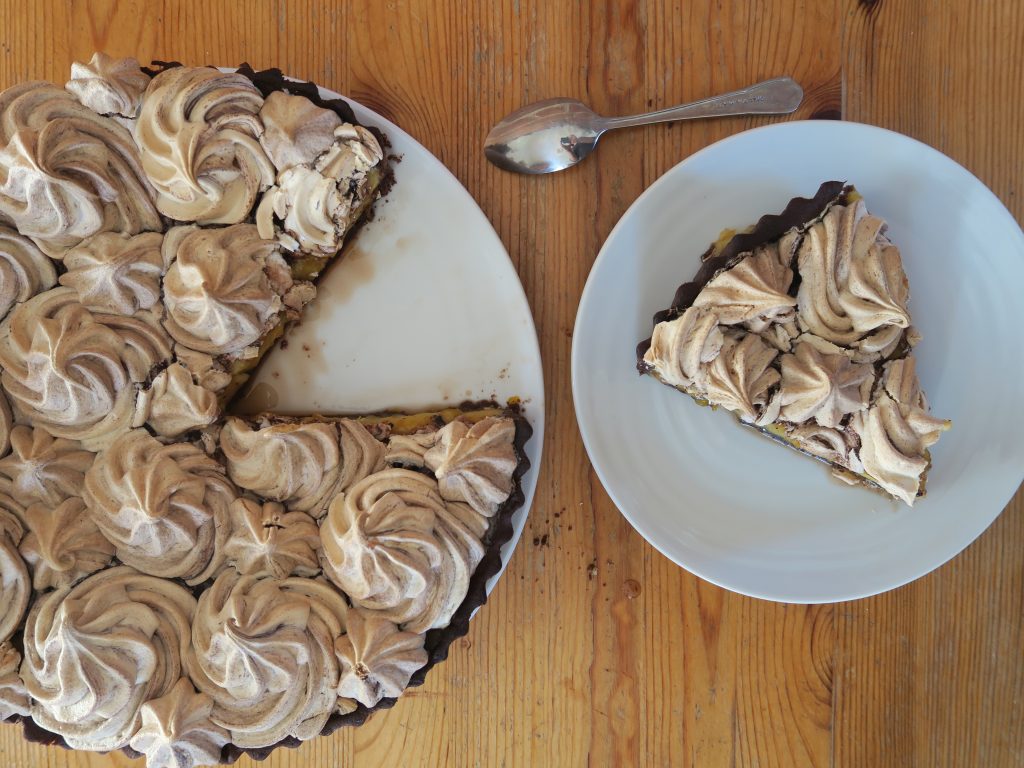
- Spoon the mixture into a piping bag with a star shaped nozzle and then pipe swirls over the curd (or just dollop the meringue on top if you don’t want to pipe).
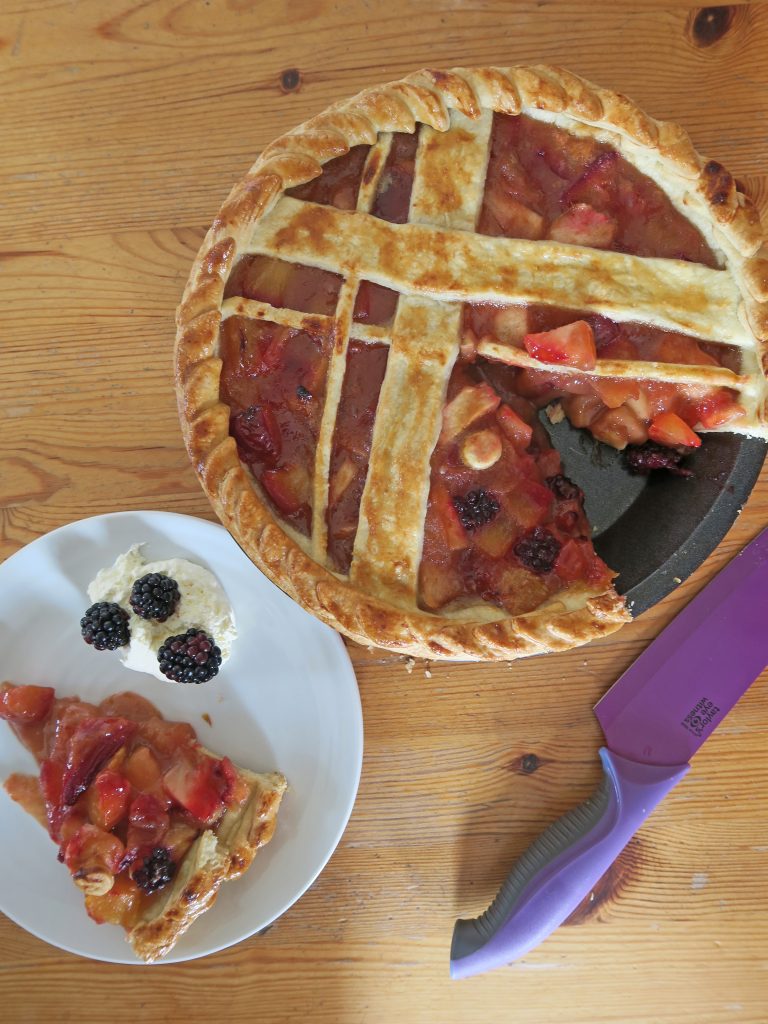
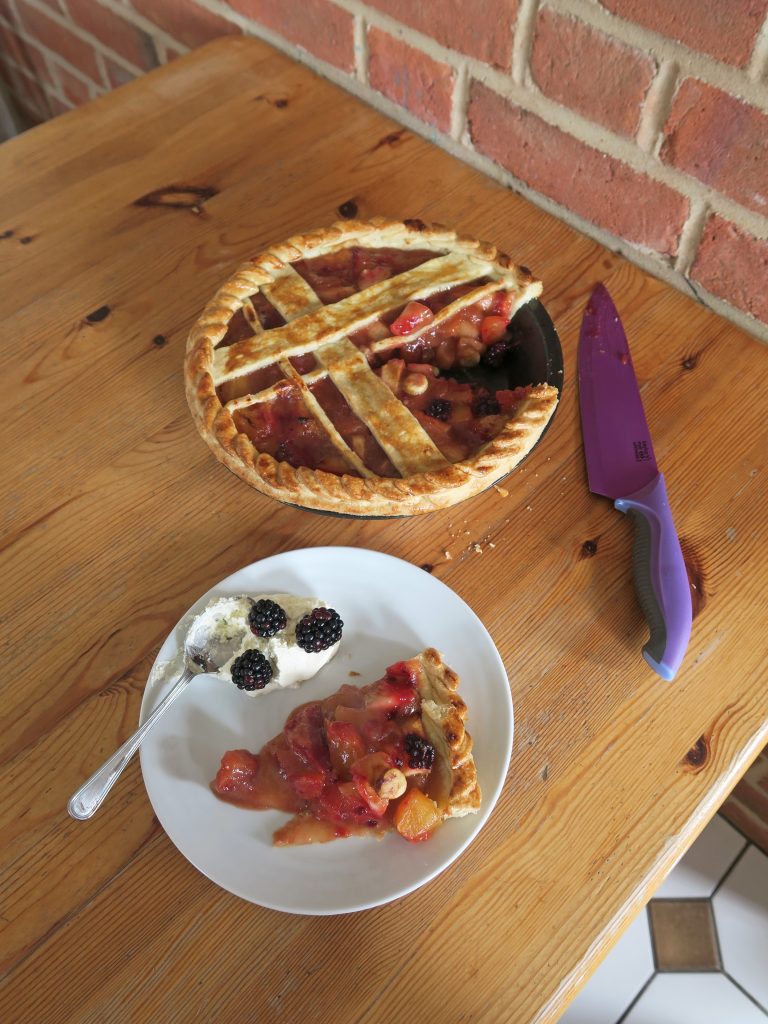
- Put the whole thing back in the oven for 10-15 minutes until it’s crisp but not brown. Then leave to cool slightly in the oven before serving!
Thanks for reading!
Emma x

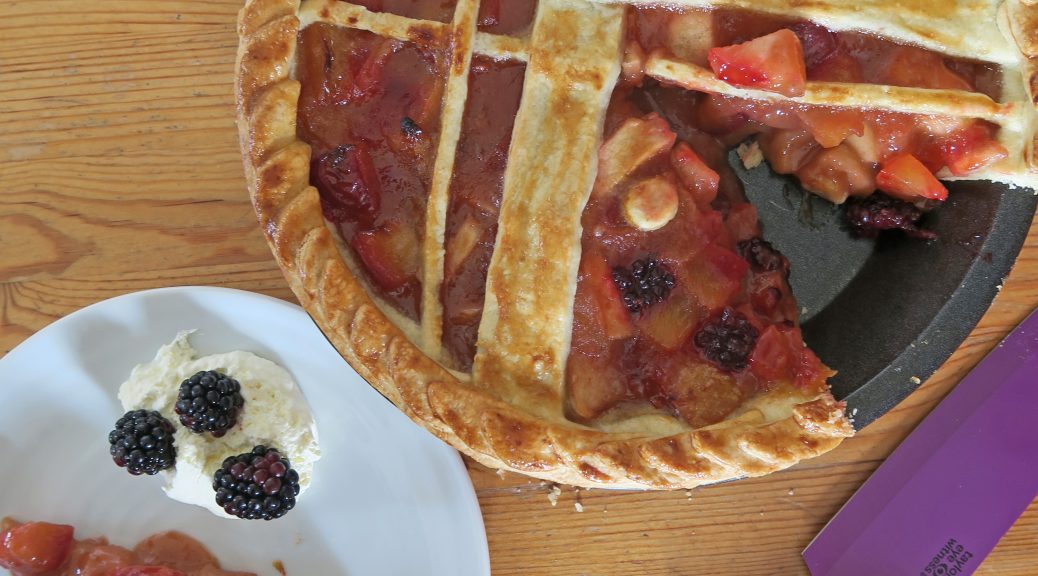
 Then, I can’t quite remember how, Simon began talking about the Devil spitting on blackberries and impending doom awaiting those who’d eat blackberries after 11th October, as you do. Being me I missed half the story through drifting in and out of the conversation, so when I got home I looked it up and to find out what the blazes he was on about. Apparently when Lucifer fell from heaven, on the 11th October (who knew!), he fell on a thorny blackberry bush. As a result he now spits on all the blackberries on 11th October and so anyone who eats them after this time is doomed . What a cheery story right? You learn something new every day.