Category: Dessert

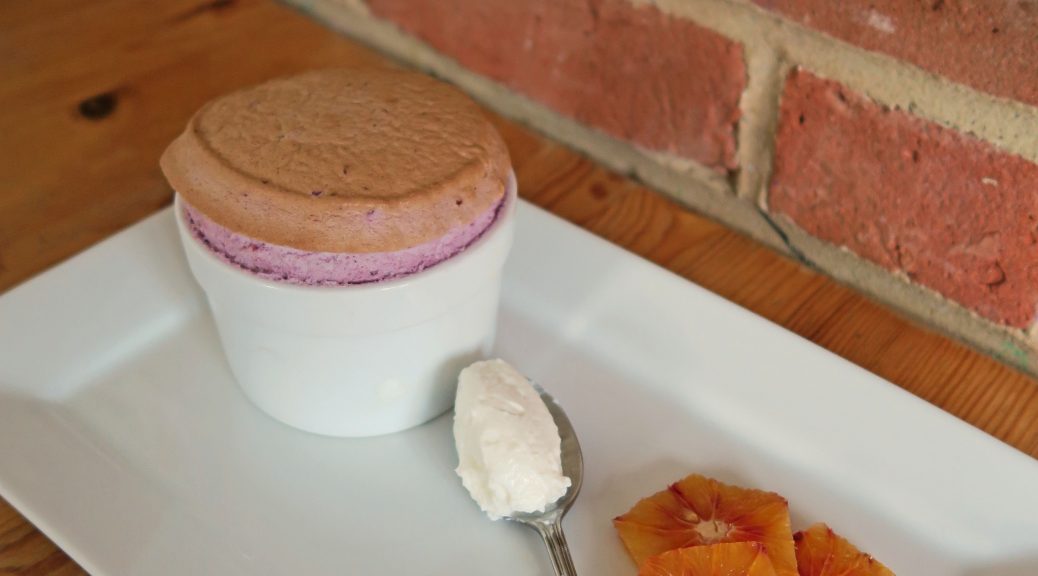
Berry Souffle with Yogurt and Blood Orange

Berry Souffle with Yogurt and Blood Orange

Ok, so for a second I’d like you to cast from your mind any previous things you’ve ever known or thought about souffles. Forget the stereotype that they’re hard, posh and chefy – listen to this. I’m a strong believer that if you have the right recipe you can make just about anything. In the past I’ve struggled with souffles but I think that’s down to the individual recipes rather than the technique. The other day I decided to whip up a quick souffle in the same way I normally would, but this time following a different ratio of ingredients, and it somehow resulted in some of the best souffles I’ve ever made.
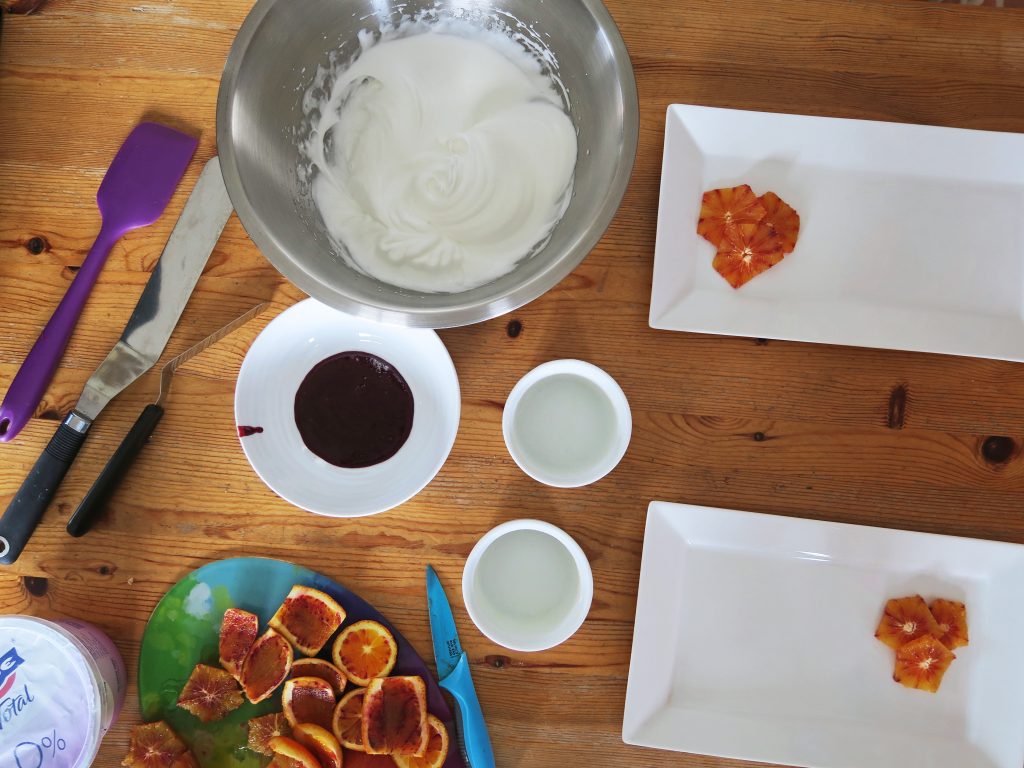
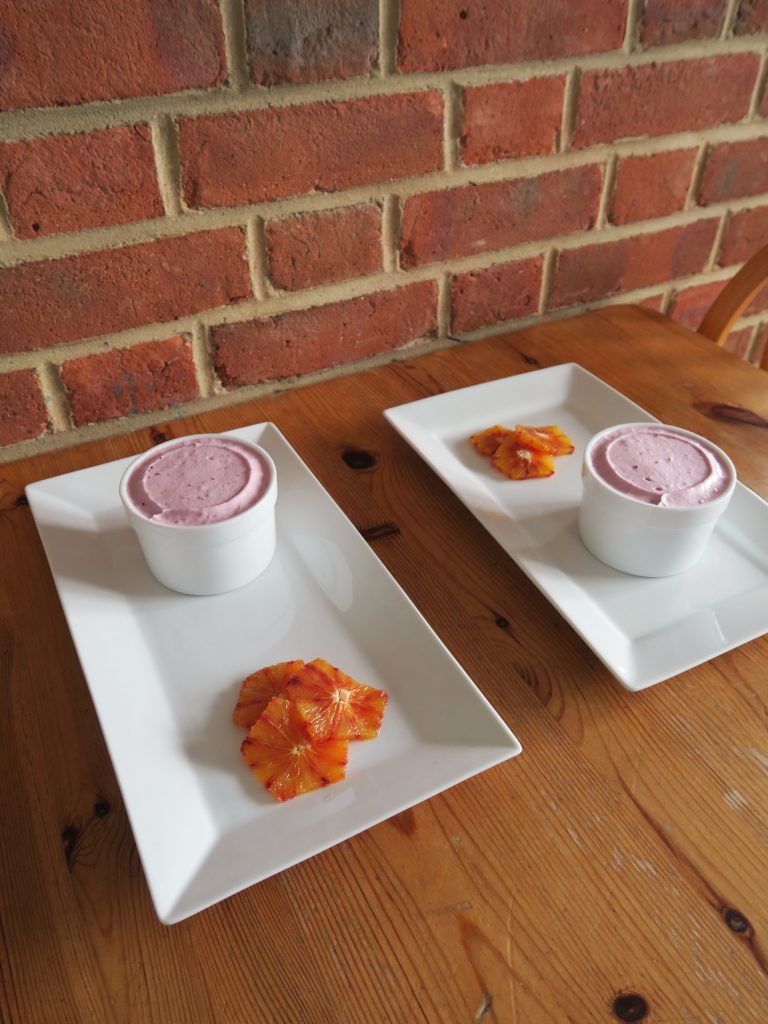
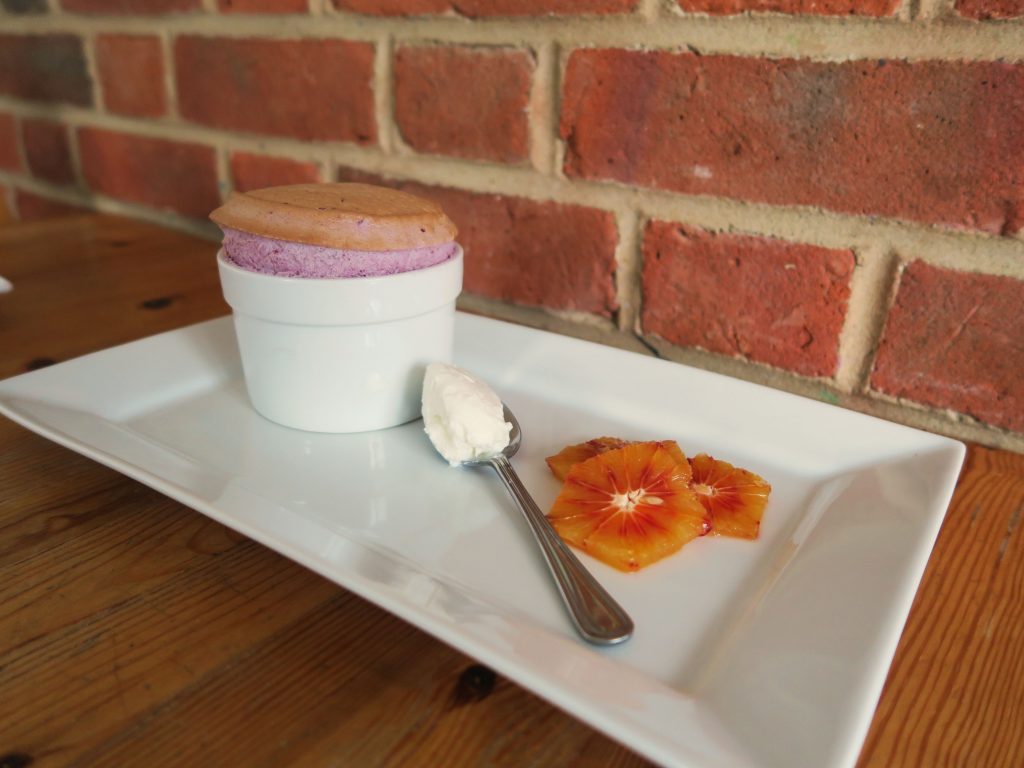
Souffles have to be served straight from the oven otherwise they sink, but I’ve always heard that a good souffle should still have some marshmallowy bounce to it even after it’s sunk from it’s original glory – and hey presto that’s what happened here! Photographs taken, uploaded and tweaked and even after all that these beauties were like little pillows of fruity air. It’s traditional to serve these at fancy dinner parties, but personally I think why not eat them whenever? They take relatively little time to make as far as desserts go and are super light, making them perfect for summer days!
Recipe

Serves 2

Time: 30 minutes

Ingredients

  • Butter for greasing
  • 100g Caster sugar, plus extra for sprinkling
  • 100g Frozen cherries
  • 50g Frozen raspberries
  • 50g Frozen blackberries
  • ¼ tsp Ground cinnamon
  • ¼ tsp Ground ginger
  • 10g Cornflour
  • 2 Egg whites

To serve

  • 1 Blood orange
  • 2 tsp of Greek yogurt

Method

  1. Pre-heat the oven to 180˚C. Take 2 ramekins and grease them with butter in vertical lines. Chill the ramekins in the freezer for 15 minutes and then sprinkle a little caster sugar to line the mould. Tap out the excess and then leave in the fridge until needed.
  2. Now make the fruit puree. Put the frozen fruit and spices into a small pan and leave covered for 15-20 minutes on a low heat to simmer and soften. Then press the mixture through a sieve to make a puree (make sure to scrape mixture off the bottom of the sieve as lots of puree will collect there).
  3. Put the puree and 50g of the sugar into a pan and bring back up to the boil.
  4. Mix the cornflour and 2 tsp of water in a small bowl and add it to the puree. Stir over a medium heat until the mixture thickens to a jam-like consistency. Pour 50g of the puree into a large, clean mixing bowl and leave to cool completely.
  5. Crack the two egg whites into a super-clean metal or glass bowl and whisk with an electric whisk until soft peaks form. Add the sugar and whisk again until the mixture is stiff and fluffy.
  6. Fold 1/3 of the egg whites into the fruit mixture until uniform in colour. Then fold in the other 2/3 to make a thick, even mixture.
  7. Divide the mixture between the two chilled ramekins and tap them gently on the worktop to make sure the mixture fills the ramekins. Then take a palette knife (or the back of a table knife) and sweep it across the top of the ramekins to make the top a smooth layer.
  8. Take your thumb at an angle and run it around the rim of the ramekin to shape the top. Then bake the souffles in the oven for 5-10 minutes until risen and just golden on top.
  9. Whilst baking chop the top and bottom off the blood orange and then peel the skin off with a knife. Then slice the orange into discs around 1/2 cm wide.
  10. Serve the souffles as soon as they come out of the oven with the orange slices and 1 tsp of yogurt on each plate!
Thanks for reading!

Emma x
 

Whortleberry and Coconut Roly Poly with Coconut Custard

Whortleberry and Coconut Roly Poly with Coconut Custard

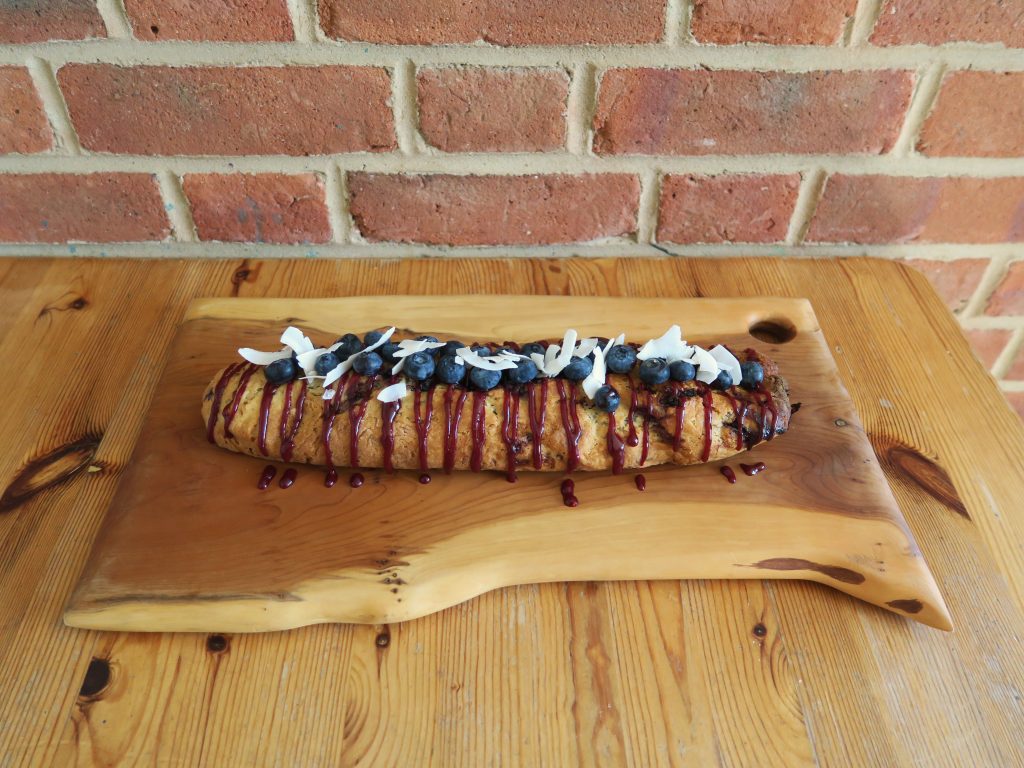
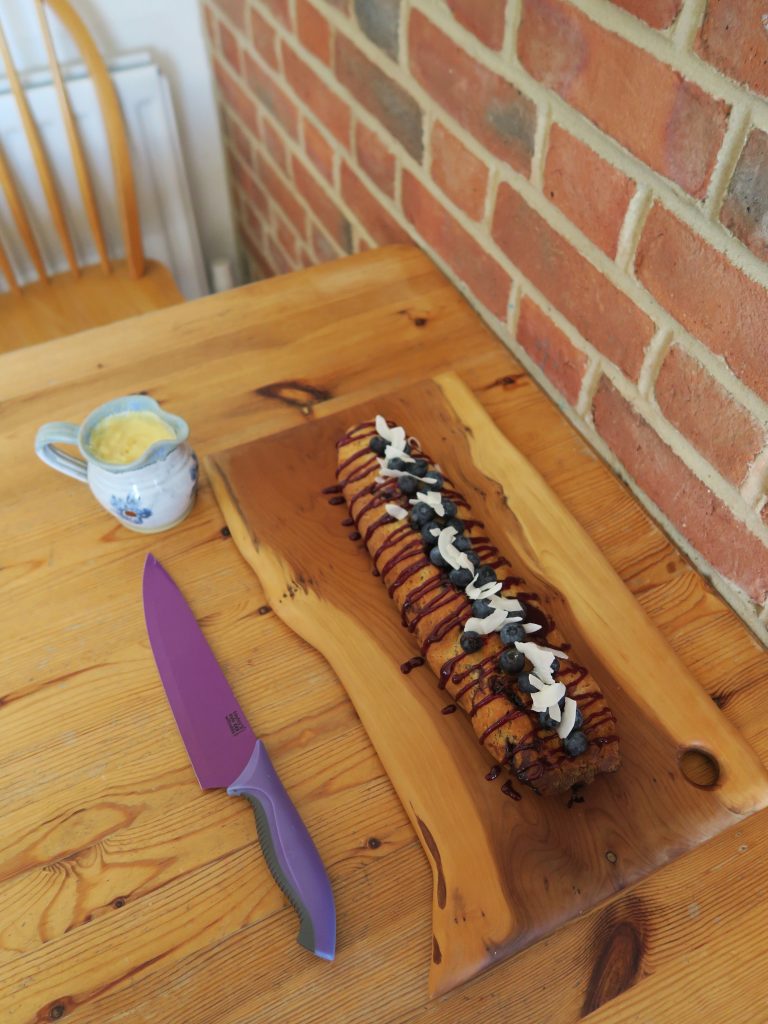
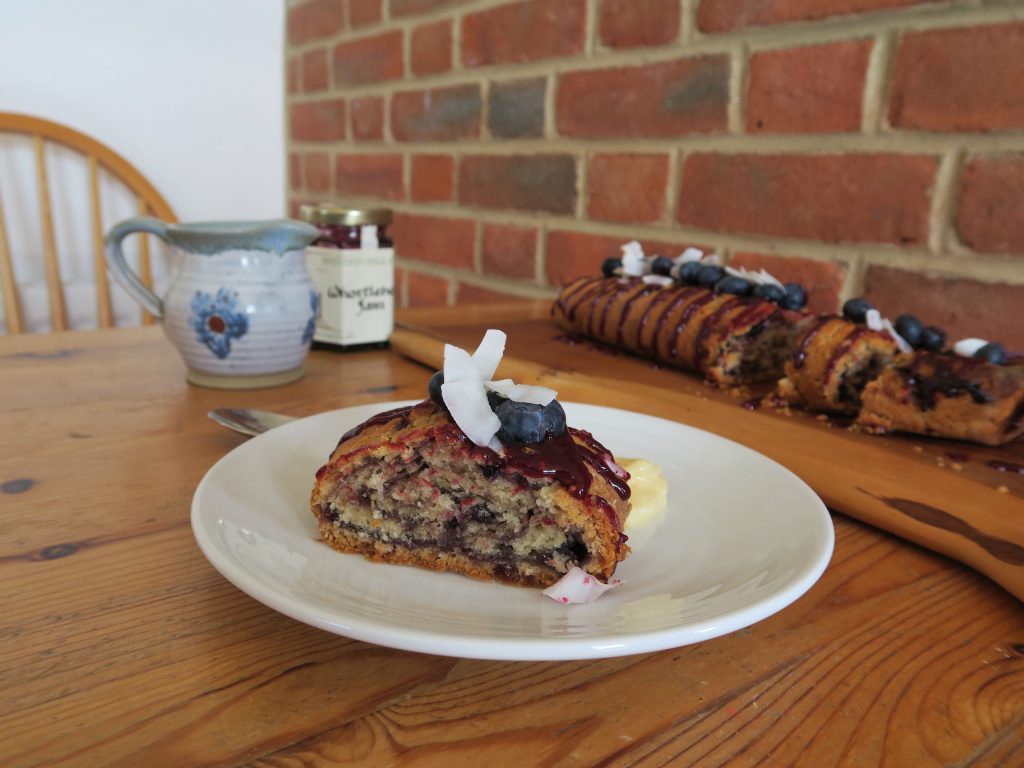
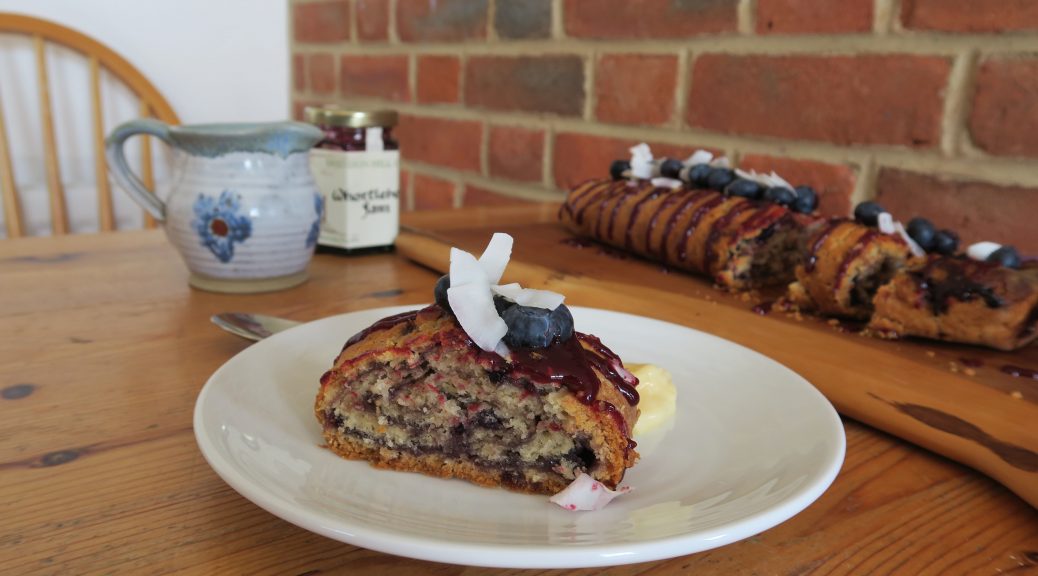
What a magnificent word is whortleberry eh? I’d never heard of it before my trip down to Devon last month when I came across a jar of whortleberry jam in a little corner shop. It sounded really weird but I’m always one for trying new flavours so I knew I had to give it a go. Flavour wise it’s a kinda cross between a blueberry and a blackberry, but it also just makes the perfect combo with coconut. I really wanted to use this stuff in a recipe but I wasn’t sure how to incorporate jam into something as fun as it’s name. Then I remembered just how much I love a good roly poly, and the name whortleberry jam roly poly was something too good to pass on.

It might seem a bit weird to have a traditional sticky British pud in summer, but I personally see no reason to put an expiration date on these beauties. I mean I kid you not when I say that I saw snow, rain and glorious sunshine within hours of each other yesterday so anything goes. Besides, this is comfort food 101 and that stuff is needed all year round so I’m bringing the roly poly into May – coconut, whortleberry, custard and all!

Recipe

Serves 8

Time:  1 hour plus extra time for cooking

Ingredients

  • 50g Coconut Oil, plus extra for greasing
  • 200g Self raising flour
  • 50g Desiccated coconut
  • ½ tbsp Vanilla bean paste
  • 50g Vegetable suet, shredded
  • 150ml Coconut milk
  • 150g Whortleberry (or blueberry) jam

For the custard

  • 250ml Coconut milk
  • 1 tbsp Vanilla bean paste
  • 50g Caster sugar
  • 3 Egg yolks
  • 10g Plain flour
  • 10g Cornflour

To serve

  • A handful of Blueberries
  • 75g Whortleberry (or blueberry) jam
  • 25g Flaked coconut

Method

  1. Preheat the oven to 180˚C. Take a deep roasting tin and fill it with water about 2/3 full. Put this onto the bottom shelf, or base of the oven and leave in the oven.
  2. Take a sheet of foil and another of greaseproof paper and lay the paper on top of the foil. Grease the paper lightly with a little coconut oil, and set aside for later.
  3. Now it’s time make the roly-poly. Put the coconut oil, flour, desiccated coconut, and vanilla into a bowl. Cut into the oil with a round bladed knife to chop it into small lumps. Once you can’t cut it up any further, go in with your fingers and rub the oil into the flour until you have a rough bread-crumb texture. Shake the bowl from side to side every now and then to get the lumps to the top so you can rub them in.
  4. Stir the suet into the mixture. Then pour in the coconut milk and bring together with a round-bladed knife until a dough forms. If the dough is dry add some more milk – you want the dough to be a little sticky.
  5. Flour a surface (a lot) and tip out the dough. Shape into a rough square and then roll out to around 25x25cm. Don’t roll it as thin as you would pastry, and this dough is very soft and will tear easily.
  6. Spread the jam over the sheet of dough, leaving a 1cm strip at one end. Roll the dough up from the other end into a tight spiral. Pinch the non-jammy dough into the roll to seal it.
  7. Lift the roll onto the greased baking paper, making sure that the join is on the paper and not facing up. I know this part is much harder than you would expect, but I found that it’s true to it’s name and literally rolling it onto the grease-proof was the best way to get the roll off the work surface.
  8. Bring the foil and paper up around the roly-poly and fold over the top and scrunch the ends to seal the parcel. Don’t wrap the dough too tightly as it’ll need to stretch when cooking.
  9. Make sure a rack is above the tin of water in the oven and place the parcel onto the rack. Steam in the oven for at least 1 hour.
  10. Meanwhile make the custard. Put the coconut milk and vanilla into a saucepan and bring to the boil.
  11. Mix the sugar, egg yolks and two flours until fully combined. Once the milk is heated, remove the pan from the heat and mix 1/3 of the milk into the egg mixture.
  12. Whisk the mixture quickly and then pour the egg mixture into the milk. Put the pan back over a medium heat and whisk until the mixture boils and thickens. Pour into a jug and cover with cling-film to prevent a skin from forming. Set aside for later.
  13. Once the pudding is ready take it out of the oven and let it sit for a few minutes before unwrapping. When this is going on you can prep the decorations.
  14. Put the flaked coconut into a small roasting tin and roast in the oven for 3-5 minutes, or until starting to brown. Set aside for now. Take the extra jam and put into a pan. Heat gently for around 2 minutes, until it’s thinned out slightly. Put into a pipping bag with a small round nozzle.
  15. Unwrap the roly-poly and put it onto a serving plate. Arrange the extra bluberries on top of the pudding. Then pipe the thinned jam on top of the blueberries in a zig-zag and top with the flaked coconut. Serve with the custard and enjoy!

Thanks for reading!

Emma x

Cookie Dough Cake

Cookie Dough Cake

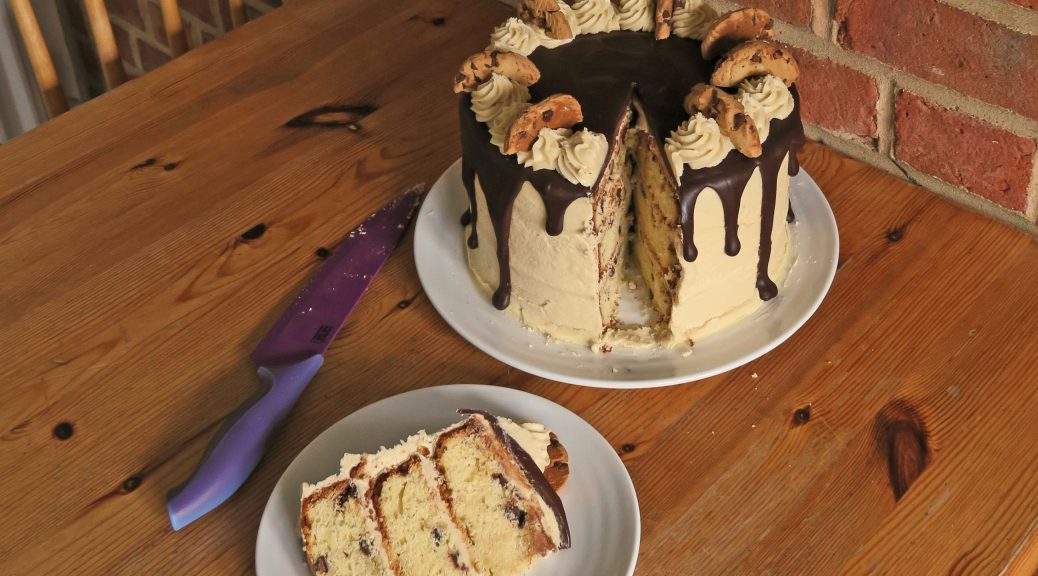
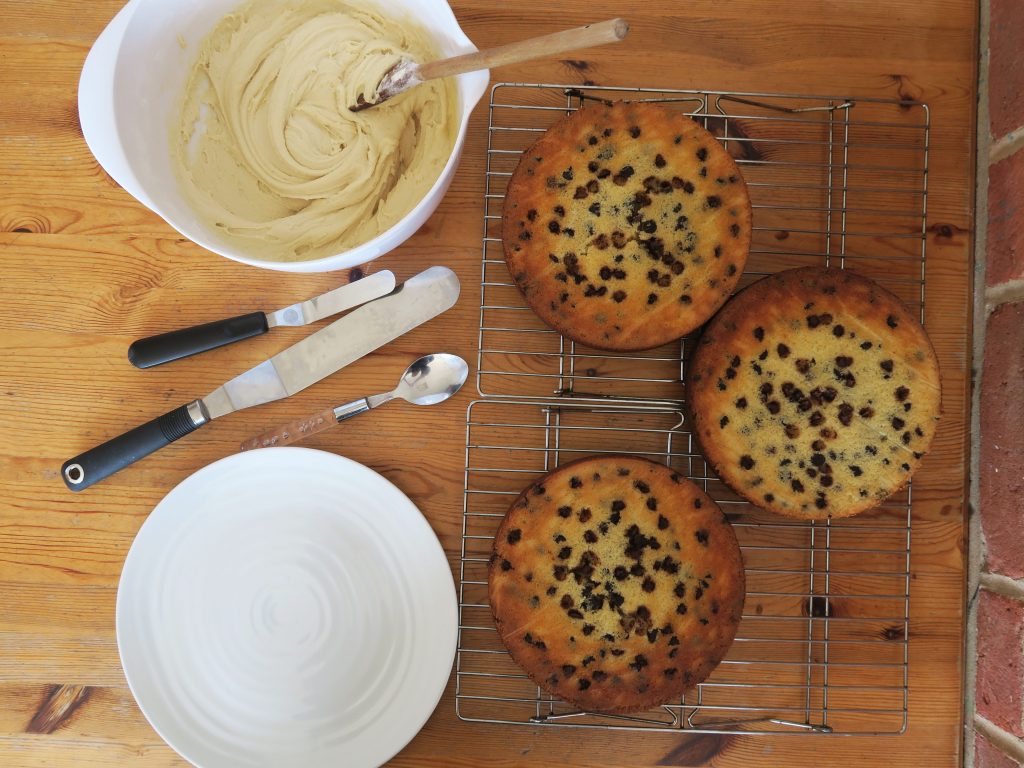
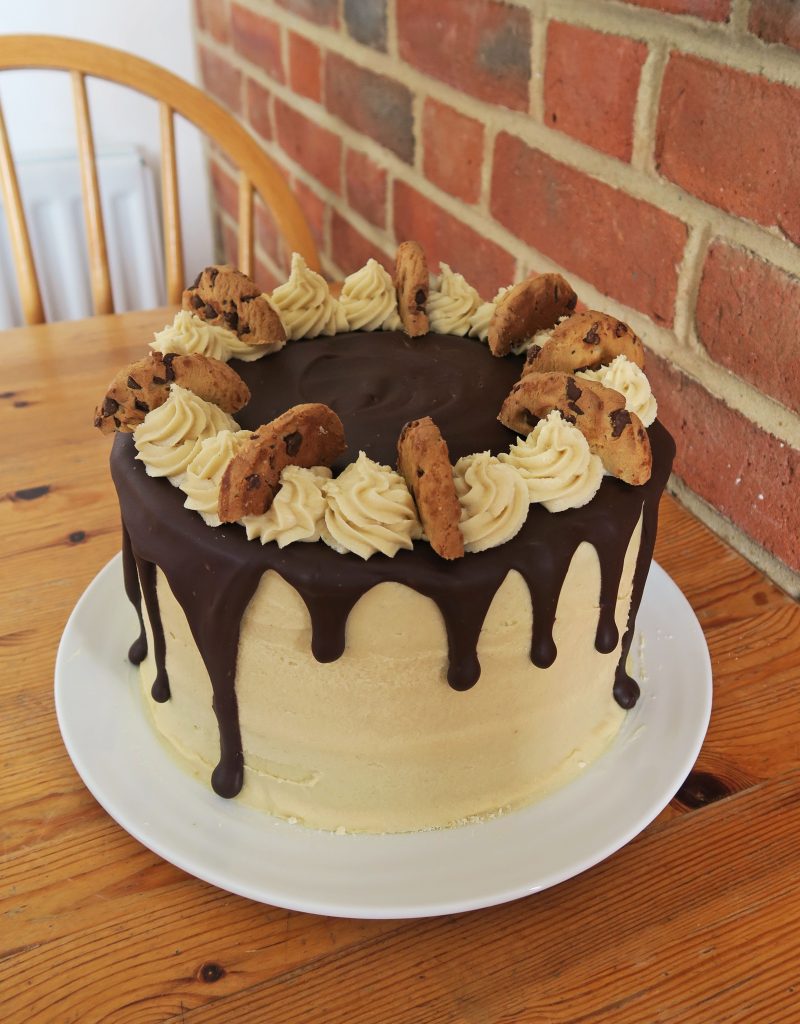
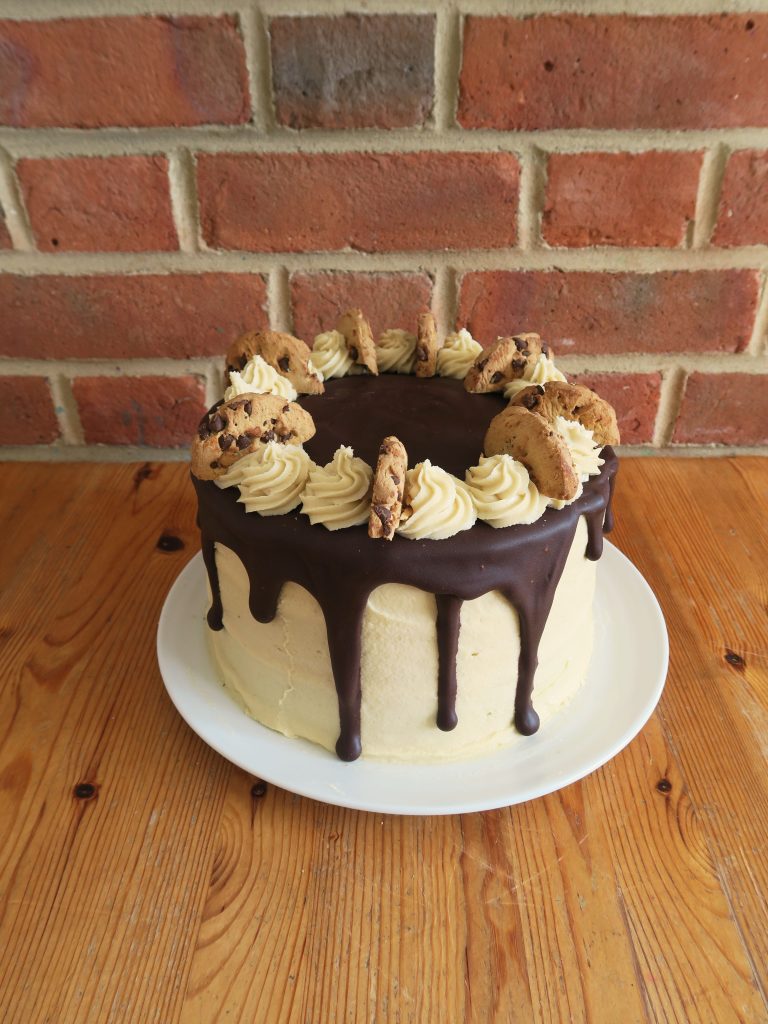
So I’m officially in my 20s and the wide road of young adulthood lies before me yada yada yada. I’m starting to realise that no matter how old you get you still have no idea what’s going on – you just learn to ride the sinking boat a little better than before. But at least we’re all on that boat together and there are life savers like cookie dough and cake to keep us going. I’m talking cookie dough, in a cake, in cookie dough with cookies on it!!

So here I am, a slightly confused 20 year old with a big pile of cookie dough cake in m’ kitchen and another year of comfort cookery to come. In the meantime I still have 3/4 of this whopping cake so if anyone local wants some hmu!

 Recipe

Serves 12-16

Time: 3 hours

Ingredients

For the cookie dough

  • 75g Butter
  • 20g Brown sugar
  • 25g Caster sugar
  • 1.5 tbsp Milk
  • 65g Plain flour
  • ¼ tsp Salt
  • 1 tsp Vanilla bean paste
  • 20g Milk chocolate chips
  • 20g Dark chocolate chips

For the cake

  • 200g Butter
  • 430g Caster sugar
  • 3 Large eggs
  • 120g Greek yogurt
  • 220ml Whole milk
  • 1 tsp Vanilla bean paste
  • 420g Plain flour
  • 2 tsp Baking powder
  • 1 tsp Salt
  • 175g Milk chocolate chips

For the buttercream

  • 300g Butter
  • 105g Brown sugar
  • 975g Icing sugar
  • 200g Plain flour
  • 8 tbsp Milk
  • 2 tsp Vanilla bean paste

To decorate

  • 100g Dark chocolate
  • 100g Double cream
  • Small cookies to decorate

Method

  1. Begin by making the cookie dough. Put the butter and sugars into a bowl and cream together until pale and creamy. Add the milk and vanilla and mix until combined. Then add the flour, salt and chocolate chips. Stir to make a smooth dough.
  2. Take the dough and split it into 12 balls. Then chill the balls in the fridge for 2 hours (or in the freezer for 1 hour).
  3. Now start the cake. Pre-heat the oven to 180˚C and grease and line 3x 7.5inch cake tins with butter and baking paper.
  4. In a large bowl mix together the butter and sugar with a wooden spoon until pale and creamy. Whisk in one egg at a time, then whisk in the yogurt. Next whisk in the milk and vanilla, followed by the flour, baking powder and salt. Finally fold in the chocolate chips to make a smooth batter.
  5. Evenly divide the mixture between the lined tins and spread them out to make an even layer. Take the cookie dough balls out of the fridge and squash them to make ‘patties’. Then put 4 bits of cookie dough in each tin, pressing them down slightly so they’re covered in cake mix.
  6. Bake the cakes in the oven for 25-30 minutes until a skewer inserted into the middle comes out clean. Let the cakes cool down for 30 minutes and then turn them out onto a wire rack to cool completely.
  7. Meanwhile make the buttercream. Put the butter and brown sugar into a bowl and beat together with a wooden spoon until smooth. Add the icing sugar and flour and mix again until smooth.
  8. Slowly add the milk and vanilla to the mixture, beating constantly with a spoon to make a smooth icing.
  9. When the cakes are completely cool you’re ready to start assembling. Put one of the cakes onto a board or plate and then spread 1-2 tbsp on top. Layer another cake on top and repeat with icing and cake layers.
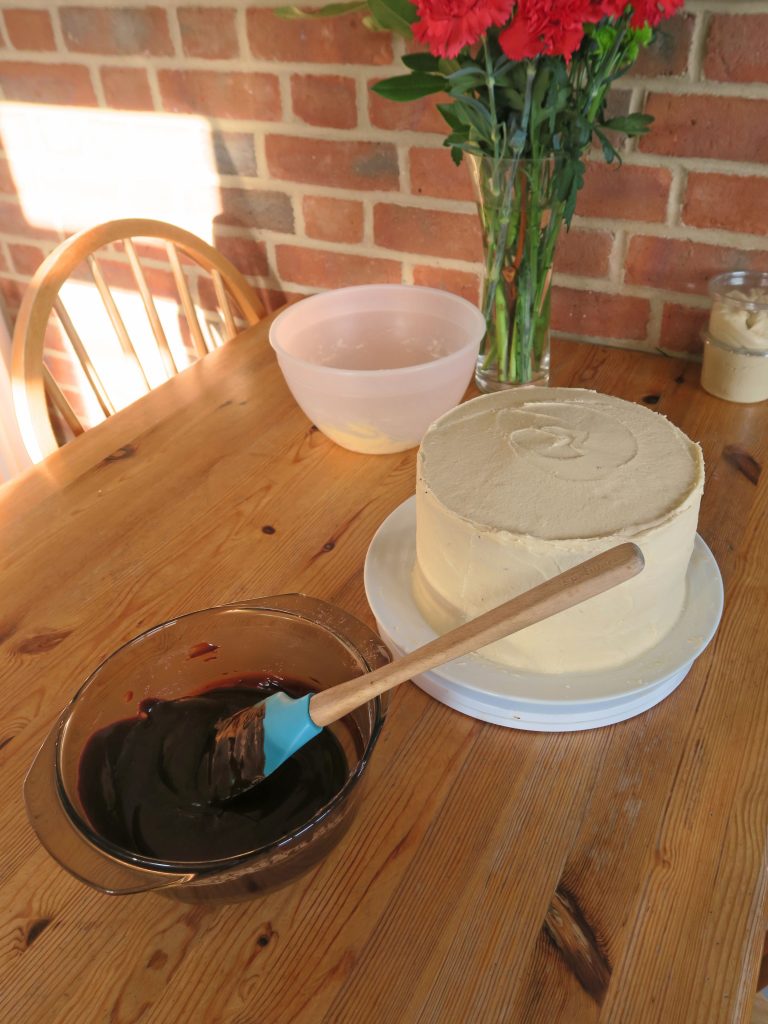
  10. Once stacked blob half the remaining icing on top of the cake and use a palette knife to work it around the sides of the cake. This is your crumb coat so you want it to be smooth but don’t worry if you can still see the cake as you’ll put another layer on it later. Leave in the fridge for at least 1 hour to set.
  11. Take the cake out of the fridge and blob the rest of the icing on the top. Again, gently smooth the icing round the side of the cake to make a smooth finish. Leave in the fridge until needed.
  12. Now make the chocolate drips for the decoration. Finely chop the chocolate and put it into a heat-proof bowl. Then heat the cream in a small saucepan until just about to boil.
  13. Pour the hot cream onto chopped chocolate and stir to make a smooth ganache. Leave to cool until pourable but not hot.
  14. Pour the ganache over the top of the cake and use a spatula to gently push it over the side of the cake to make drips. Pipe extra icing in rosettes on the top of the cake. Then cut the cookies in half and place them around the edge of the cake and serve!

Thanks for reading!

Emma x
 

Neapolitan Cake

Neapolitan Cake

After 8 weeks of crazy term-time mania we’ve finally hit the vac once more. As our tutors never cease to remind us we’re on vacation, not holiday, and therefore we;re merely vacating our rooms and are expected to continue working just as much back home, but even so there’s going to be a lot more time for baking now!

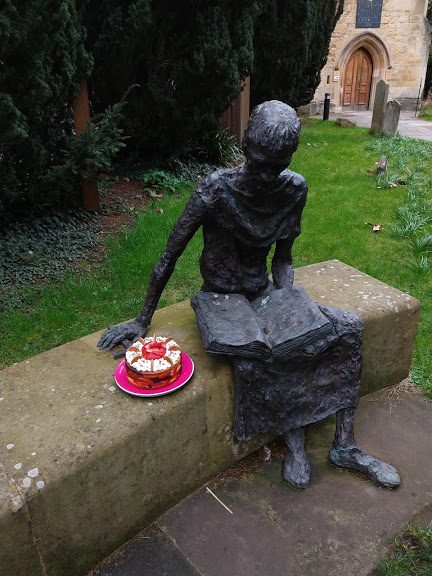
Some of my friends are hanging around in college a little longer as they have exams, so yesterday we did some group procrastination and got back into the kitchen. Of course we could have made something simple like pasta or cupcakes, but alas no. After such a long time out of the kitchen I wanted to make a dramatic entrance back into the world of baking, so I drew up a recipe for this Neapolitan cake: 3 layers of chocolate and vanilla marble cake, sandwiched with a strawberry cream-cheese frosting and wafers on top!

It might be a little preemptive to make an ice-cream inspired cake in early March, but hey. Summer is well and truly on the way so what’s the harm in looking forwards a bit? It may be wet, windy and dark outside, but we’ve got enough Neapolitan cake to go around so everything’s OK!

Recipe

Serves 12

Time: Around 2 hours

Ingredients

For the chocolate cake

  • 175g Unsalted butter
  • 175g Caster sugar
  • 3 Large eggs
  • 50g Cocoa powder
  • 100g Self raising flour

For the vanilla cake

  • 100g Butter
  • 100g Caster sugar
  • 2 Eggs
  • 100g Self raising flour
  • 1 tsp Vanilla bean paste

For the strawberry icing

  • 400g Cream cheese
  • 4 tbsp Strawberry jam
  • Zest of 1 Lemon

To decorate

  • A handful of fresh strawberries
  • A few Ice cream wafers
  • Chocolate sprinkles

Method

  1. Pre-heat the oven to 180˚C. Then grease and line 3x 20cm loose bottomed round cake tins with butter and baking paper.
  2. Now start make the chocolate cake mixture. Put the butter and sugar into a large bowl and beat together until pale and creamy. Add the eggs and whisk in until the mixture is smooth. Next add the flour and cocoa powder and whisk again to make a smooth batter.
  3. Using a tablespoon dollop the mixture equally between the 3 tins, leaving gaps to be filled in with vanilla mixture later.
  4. Now make the vanilla cake. Put the butter and sugar into another large bowl and beat with a wooden spoon until pale and creamy. Add the eggs and whisk until smooth. Then add the flour and vanilla and whisk again to make a smooth batter.
  5. Again dollop the mixture between the 3 tins. Then gently smooth the mixture over so it evenly fills the cake tins, but try not to mix the two cake batters too much.
  6. Bake the cakes in the oven for 25-30 minutes until risen and golden brown. A skewer inserted into the middle should come out clean. Turn out onto a wire rack and leave to cool completely.
  7. Meanwhile make the icing. Put the cream cheese into a large bowl and beat with a wooden spoon to soften it a little.
  8. Add strawberry jam and lemon zest to this and then mix again to make a smooth icing. Spoon the icing into a piping bag with a round or star shaped nozzle.
  9. Take your strawberries and take off the green tops. Then cut them into 1/8s and put them to one side until needed.
  10. Once cooled place one of the cakes onto a plate. Arrange some strawberry pieces around the edge of the cake, making sure they’re all facing the same direction. Then spread 1/3 of the icing over the middle of cake. (The strawberry barrier will help keep the icing neat if it’s a little runny!)
  11. Place the 2nd cake on top and repeat with the strawberries, icing, and final layer of cake. Pipe the rest of the icing in rings of blobs over the top of the cake.
  12. Pile the remaining strawberries in the centre of the cake. Halve and then place wafers evenly around the edge and then finish with a sprinkle of chocolate sprinkles!

Thanks for reading!

Emma x
Maple Bacon and Blueberry Pancakes

Maple Bacon and Blueberry Pancakes

I honestly don’t know where the time’s going at the moment. I kind of feel like I’m running through a tunnel and as I pop up every now and then for air I find out a months past. I only realised this morning when I looked at my post-plan spreadsheet(yes I plan my posts in a spreadsheet) that it’s pancake day on Tuesday! So, onto the obligatory story about why pancakes have a special place in my heart – if you’re not the sentimental type feel free to skip to the recipe below!

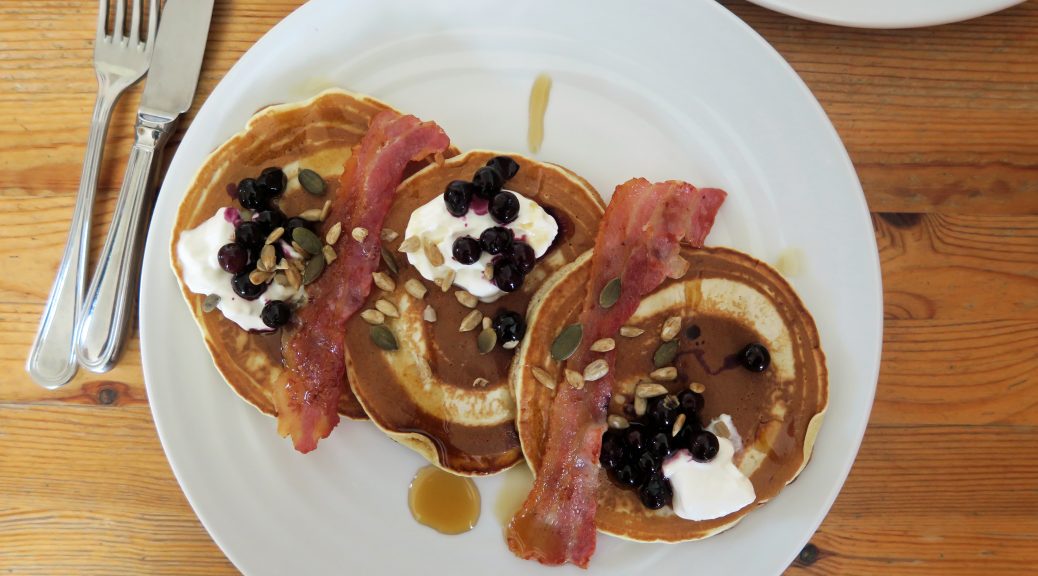
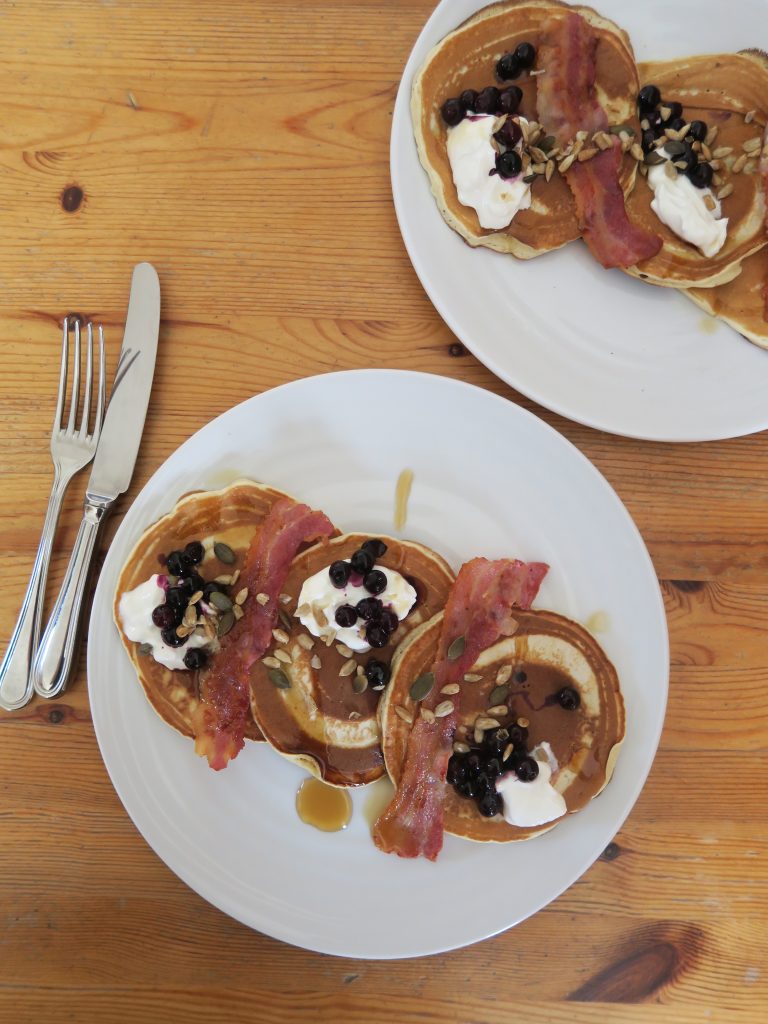
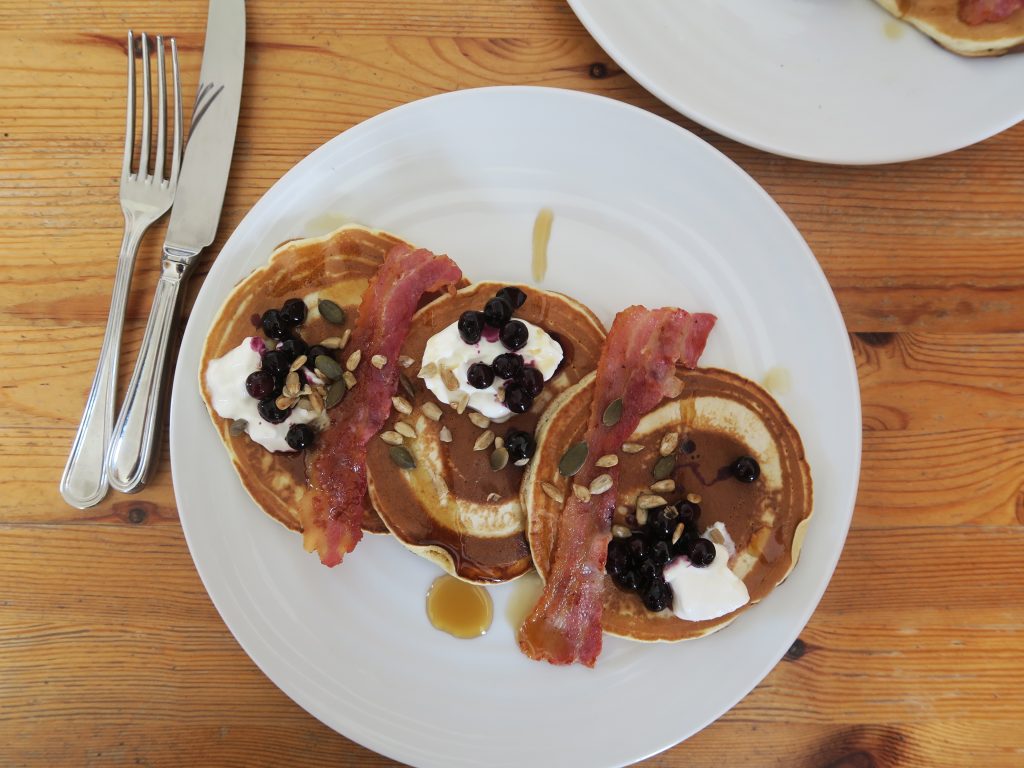
Pancakes are one of those special dishes for me as they’re one of the earliest food memories I have. Whether it was on holiday, pancake day or just the end of a really long day, it was always a treat when my mum would make a batch of these – churning them out as quick as my sister and I could eat them. When I was really young we’d have them with lots of golden syrup that would leave your hands all sticky and sweet. Then when I was about 11 we came across the wonder that is Nutella and banana pancakes, which remains my sister’s fave to this day! These days I’m more of a lemon juice and sugar girl, however I’m just starting to branch out from that and realise how versatile pancakes can be. Way back in the summer when I went to Canada I came across these at the airport where we stopped off for a quick breakfast before boarding the plane. I admit, yogurt and bacon doesn’t come across as the most likely combo for success, but with the maple syrup, sour fruit and crunchy pumpkin seeds it makes a plate that’s so so mouth watering!

Recipe

Serves 3

Time: 30 minutes

Ingredients

For the pancakes

  • 140g Plain flour
  • 1 tsp Baking powder
  • ½ tsp Salt
  • 1 tbsp Caster sugar
  • 140ml Semi skimmed milk
  • 1 Egg
  • 1 Knob of butter

For the topping

  • 6 Rashers of bacon
  • 2 tbsp Maple syrup
  • 3 tbsp Greek yoghurt
  • A handful of blueberries (about 80g)
  • A handful of pumpkin seeds

Method

  1. Take a medium sized bowl and put in the flour, baking powder, salt and sugar. Stir to combine. Make a well in the centre of the dry ingredients and add the milk and the egg. Whisk everything together to make a smooth batter.
  2. Put the knob of butter into a large pan over a medium heat and leave to melt. Pour the excess butter into the pancake batter and mix it in.
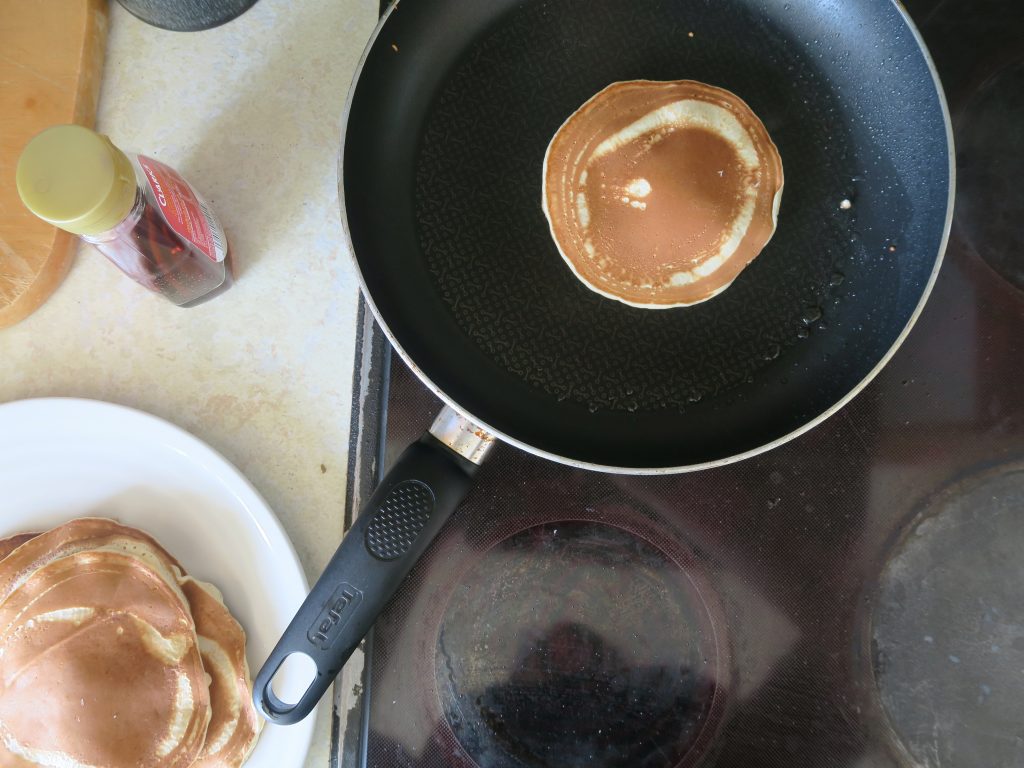
  3. Carefully pour blobs of the batter into circles in the greased pan and fry for 2-3 minutes on each side until cooked through and golden brown. Transfer to a plate the repeat with the rest of the batter.
  4. Meanwhile pre-heat a grill on full heat and grill the bacon for 3-4 minutes on each side until crispy. (You could also do this in a pan, but it depends on how much space you have and what equipment you’ve got to hand).
  5. To serve put 3 pancakes onto each plate and top with a couple of slices of bacon. Drizzle everything with maple, then top with a few dollops of yogurt and a generous scattering of berries and seeds. Serve!

Thanks for reading!

Emma x