Coffee and Vanilla Zebra Cake
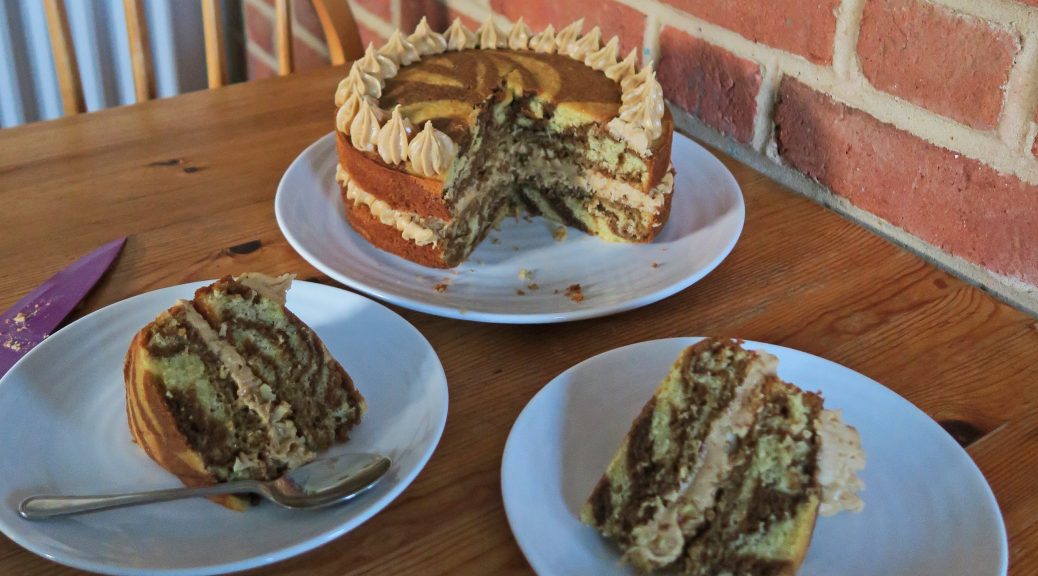
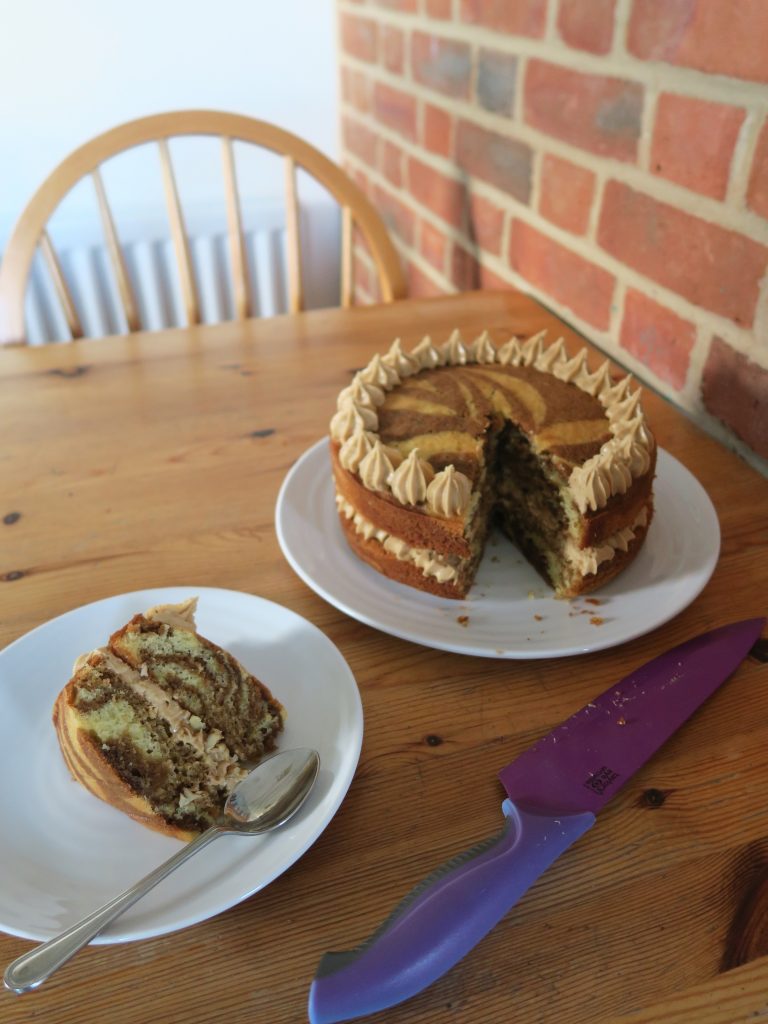
I’m going Zebra themed this week!!! Wahey! Have I gone mad? No! Y’ see now that I’m officially an art student I was thinking about writing some artistic gumph on how zebras can be symbolic of who knows what and so on, but the truth is I’ve just made a zebra cake because I’ve wanted to make one of these for years and they look so cool. So here we go – zebra cakes 101. These are defined by their vertical stripes made by piping blobs of different coloured cake mix on top of each other to make a series of concentric rings (it’s essentially a fancy marble cake). Here I’ve gone for coffee and vanilla as they’re so good together and just sing out to comfort, but you can pair any two that have different colours (e.g chocolate and vanilla, raspberry and lemon, or chocolate and orange).

Now of course all good coffee cakes should be accompanied with walnuts, however with zebra cakes you want the mixture to be fairly smooth as you’ll be piping it. So to stop chunks of walnuts clogging up m’ nozzle I’ve added them to the filling so this has become a sort of coffee-walnut cake, but you can leave the walnuts out if you’d rather. The trick is also to just be patient. Half way through you’ll want to just go ‘what the heck’ and shove both mixes on top of each other and be done with it, but keep going and it’ll look fab!

Recipe
Serves 8
Time: 90 minutes (including baking and cooling)
Ingredients
For the cake
- 240g Caster sugar
- 240g Butter
- 4 Eggs
- 250g Self raising flour
- 2 tsp Baking powder
- 1 tbsp Coffee powder
- 1 tbsp Milk
- ½ tsp Vanilla extract
For the icing/to decorate
- 225g Icing sugar
- 100g Butter
- 1 ½ tbsp Coffee
- 1 tbsp Milk
- A handful of Walnuts, roughly chopped
Method
- Pre-heat the oven to 180˚C. Grease and line two 18cm round tins with butter and baking paper.
- Put the butter and sugar into a bowl and beat with a wooden spoon until pale and creamy.
- Add the eggs one by one to the mixture, whisking in between each addition until combined. Add the flour and whisk again to make a smooth batter.
- Pour half the cake mixture (about 475g) into another bowl. Add the vanilla to this batch and then pour the mixture into a piping bag.
- Put the coffee and milk into a small bowl and stir until the coffee dissolves. Add the coffee to the other bowl of cake mixture and mix until combined. Pour the mixture into another piping bag.
- Pipe a blob of the vanilla mixture into the centre of each of your lined tins. Then pipe a blob of an equal size on top of the first blob. Repeat piping blobs on top of each other until all the mixture is used up.
- Move the tins around to make sure the mixture coats the whole of the tin (but don’t spread it around with a spatula as this will disrupt your layers!). Then bake the cakes in the oven for 15-20 minutes until risen and golden brown. A skewer inserted into the middle should come out clean.
- Transfer the cakes to a wire rack and leave to cool before taking them out of the tins.
- Meanwhile move onto the icing. Put the icing sugar and butter into a bowl and beat together until smooth and creamy.
- Put the coffee and milk into another small bowl and stir until dissolved. Add the coffee mix to the buttercream and mix all together until smooth. Then spoon the icing into a piping bag with a star shaped nozzle.
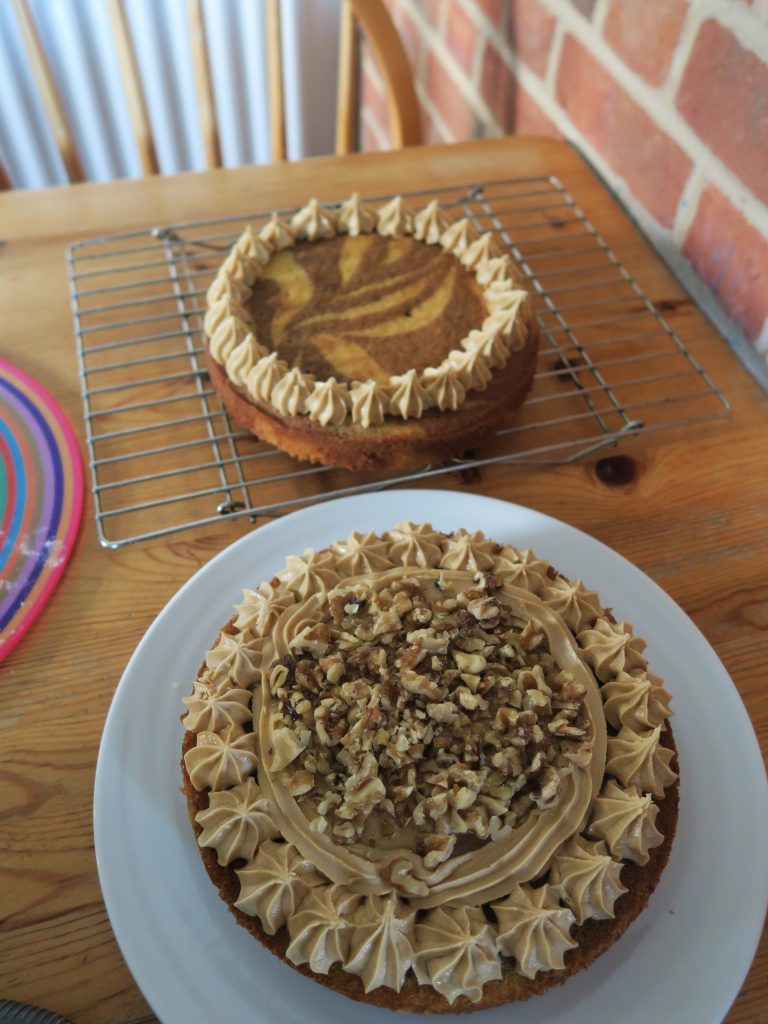
- Put one of your cakes onto your presentation plate. Then pipe blobs of the icing around the edge of the cake. Pipe icing into the middle so the cake is completely covered (you don’t have to do blobs for the middle bit, you could just pipe and then smooth it over with a knife). Scatter the chopped walnuts over the middle of the icing.
- Finally take your other cake and place it on top of the base with the best side facing up. Then pip a ring of icing around the edge on the top and serve!

Thanks for reading. If you try this please take a photo and send it to me, I love seeing people use my recipes! Have a great week!
Emma x