Category: Cakes

Sticky Parkin

Sticky Parkin

I’ve been wanting to make this for so long and so it was really exciting making it today! Parkin is a traditional Yorkshire cake eaten around bonfire night and I can totally see why. It’s warming, tasty, super easy to share around and quick to make!

Recipe

Makes 16 pieces

Time: 1 hour

Ingredients

  • 220g butter
  • 250g golden syrup
  • 110g dark brown sugar
  • 210g self raising flour
  • 100g porridge oats
  • 4 tsp ground ginger
  • 1 tsp ground cinnamon
  • 1 tsp mixed spice
  • 1 tsp baking powder
  • 2 large eggs

Method

  1. Pre-heat the oven to 180C. Grease and line a 9×9-inch square cake tin with butter and baking paper.
  2. Put the butter, golden syrup and sugar into a large pan and place over a medium heat. Stir every now and then until melted.
  3. In a large bowl mix together the flour, oatmeal, ginger, cinnamon, mixed spice and baking powder.
  4. Slowly pour the melted butter mixture into the dry ingredients and whisk until combined.
  5. Whisk in the eggs until the mixture is even. Then pour the mixture into the lined tin.
  6. Bake for about 30 minutes, until golden brown and springy to the touch.
  7. Remove from the oven and leave to cool in the tin. Cut into 16 pieces and enjoy!

Thanks for reading!

Emma x

Spooky Brownies

Spooky Brownies

It’s almost Halloween which means it’s time to start bringing out the spooky bakes! These mummy brownies are super easy to throw together, delicious to eat, and perfect for sharing!

Recipe

Makes 15

Time 1 hour

Ingredients

For the Chocolate brownie

  • 165g butter
  • 1210g dark chocolate
  • 3 medium eggs
  • 210g caster sugar
  • 45g plain flour
  • 150g white chocolate, roughly chopped

To decorate

  • 100g white chocolate
  • Some edible eyes for cake decorating (if you can’t find any you can make your own out of white and black icing!)

Method

  1. Pre-heat the oven to 180˚C. Grease and line a 15×15 cm baking tin with butter and baking paper.
  2. Put the butter and dark chocolate into a bowl over a pan of simmering water and leave to melt.
  3. Take another bowl and whisk the eggs until pale and fluffy with an electric whisk. Add the sugar and continue to whisk until it leaves a trail when the whisk is taken out.
  4. Fold the chocolate into the eggs, sieve in the flour and add the chopped white chocolate. Fold everything again until combined.
  5. Pour the mixture into the lined tin and bake for around 20 minutes until a crust has formed on top and it feel slightly firm. Set aside to cool.
  6. Put the white chocolate for the decoration into a glass or metal bowl and place over a pan of simmering water. Leave to melt.
  7. Pour the melted white chocolate into a pipping bag and leave to cool a little (until the chocolate isn’t too runny).
  8. Place two eyes on each brownie and then pipe random lines all over them to make them look like mummys. Leave the chocolate to set and then enjoy!

Thanks for reading!

Emma x

Chocolate Fondant Mug Cake

Chocolate Fondant Mug Cake

One of my favourite things to make is a chocolate fondant, but when you’re feeling low you don’t want to spend time baking – good thing this mug cake adaption only takes 5 minutes! For an added treat I’ve added dried cranberries and chocolate chips to this one, but you could leave them out or add something completely different if you’d like!

Recipe

Makes 1 large mug cake

Time: 5 minutes

Ingredients

  • 50g butter
  • 75g dark chocolate
  • 60g light brown sugar
  • 50g plain flour
  • 1 egg

Optional extras:

  • 25g milk chocolate chips
  • 25g dried cranberries
  • (You could also try nuts, other dried fruit, fresh berries and sweets)

Method

  1. Put the butter and chocolate into a bowl or mug and microwave for 20 seconds. Stir to combine the butter and chocolate as much as possible. If the chocolate hasn’t melted enough put it back into the microwave for another 20 seconds and then stir again until smooth.
  2. Add the sugar, flour, egg and any optional fillings you like. Mix until combined.
  3. Pour the mixture into a mug and microwave for 2 ½ minutes.
  4. Enjoy with fresh cream and berries!

Thanks for reading!

Emma x

Bakewell Blondies

Bakewell Blondies

Bakewell (almond + cherry) is one of my favourite flavour combos to work into new bakes, especially as you can get so many different types of almonds and cherries! In these I use almond extract, ground almonds and blobs of marzipan, paired with frozen cherries in the mixture and glace cherries on top! All incased in a fudgy blondie cake, studded with chunks of white chocolate!

Recipe

Makes 12 blondies

Time: 1 hour

Ingredients

  • 170g butter
  • 220g light brown sugar
  • 1 tsp vanilla bean paste (or extract)
  • 1 large egg
  • 210g plain flour
  • 75g white chocolate
  • 75g marzipan, torn into small chunks
  • A few drops of almond essence
  • 50g cherries (I use frozen as it’s cheaper but you can use fresh if you prefer)

To decorate

  • 50g cherries
  • 200g icing sugar

Method

  1. Pre-heat the oven to 180C. Grease and line a 9” square tin with butter and baking paper.
  2. Melt the butter in a large bowl by putting it in the microwave for 20 second bursts. Add the sugar and vanilla and whisk until combined.
  3. Add the egg and whisk again to combine. Then add the flour and whisk again to make a smooth batter.
  4. Take the white chocolate and chop it into rough chunks. Then add this chopped chocolate to the blondie mixture. Add the marzipan bits, almond essence and cherries and mix it all together.
  5. Pour the batter into the lined tin. Bake the blondies for 25-30 minutes, until golden brown and still a little fudgy in the middle. Leave to cool and then cut into 12 slices and enjoy!

Thanks for reading!

Emma x

Pride Cupcakes

Pride Cupcakes

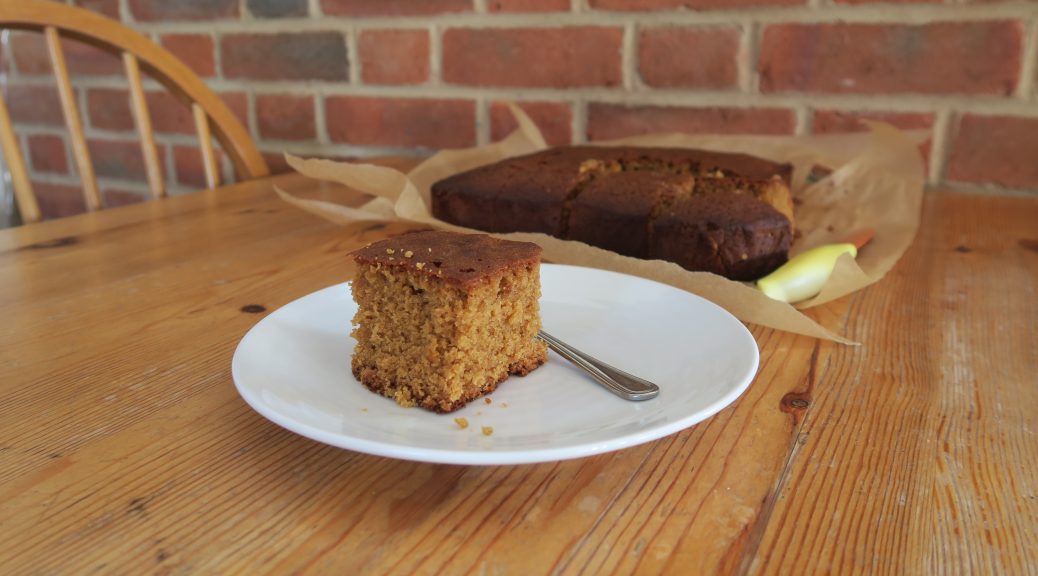
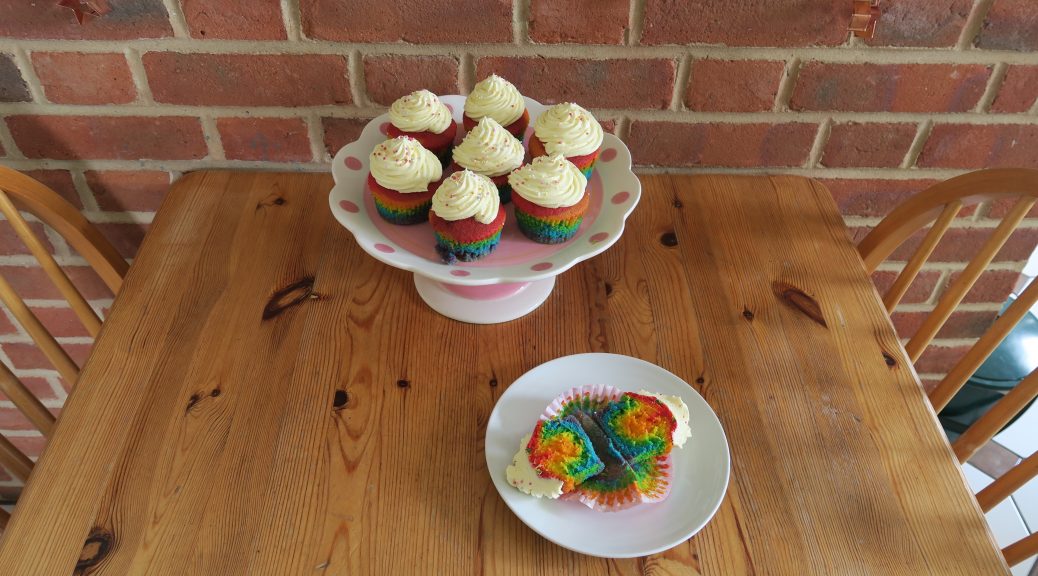
These are coming a little after Pride but better late than never! (I made these back in June but I’m a bit behind on writing up the recipes which is why I’m only posting them now!). I don’t identify as LGBTQ+ myself, but I think it’s so important to show support whoever you are, whenever you can – especially at the moment with everything going on! These are a little time-consuming because you have to layer up the colours, but apart from that they’re super easy to make so I’d 100% recommend giving them a go!

It’s amazing how you can get cake looking so bright and colourful but still tasting delicious! I think the gel food colourings really help with this as they help you get super bright colours with only a drop or two. I used to use the bottle food colouring you get from supermarkets and you can end up having to use a whole bottle to get the right colour – which then kicks the balance of ingredients out of whack. I got this pack of 24 food colourings from Wilton for about £24 – which sounds like a lot for food colouring, but it’ll save you a good £3-4 on bottle food colouring every time you want to make something with colour in them and they will last for years! (You also get so many different colours so you can get super creative with your meringues, icings, macaroons, cakes etc!)

Recipe

Makes 12

Time: 2 hours

Ingredients

  • 100g caster sugar
  • 113g butter
  • 2 eggs
  • 50ml milk
  • 50g natural yoghurt
  • 1 tsp vanilla bean paste (or extract)
  • 65g plain flour
  • 135g self raising flour
  • 1 ½ tsp baking powder
  • ¼ tsp salt
  • Red, orange, yellow, green, blue and purple food colouring
  • A few tsp of rainbow sprinkles or 100s and 1000s

For the butter cream

  • 120g butter
  • 200g icing sugar
  • 1tbsp milk
  • ½ tsp vanilla bean paste (or extract)

Method

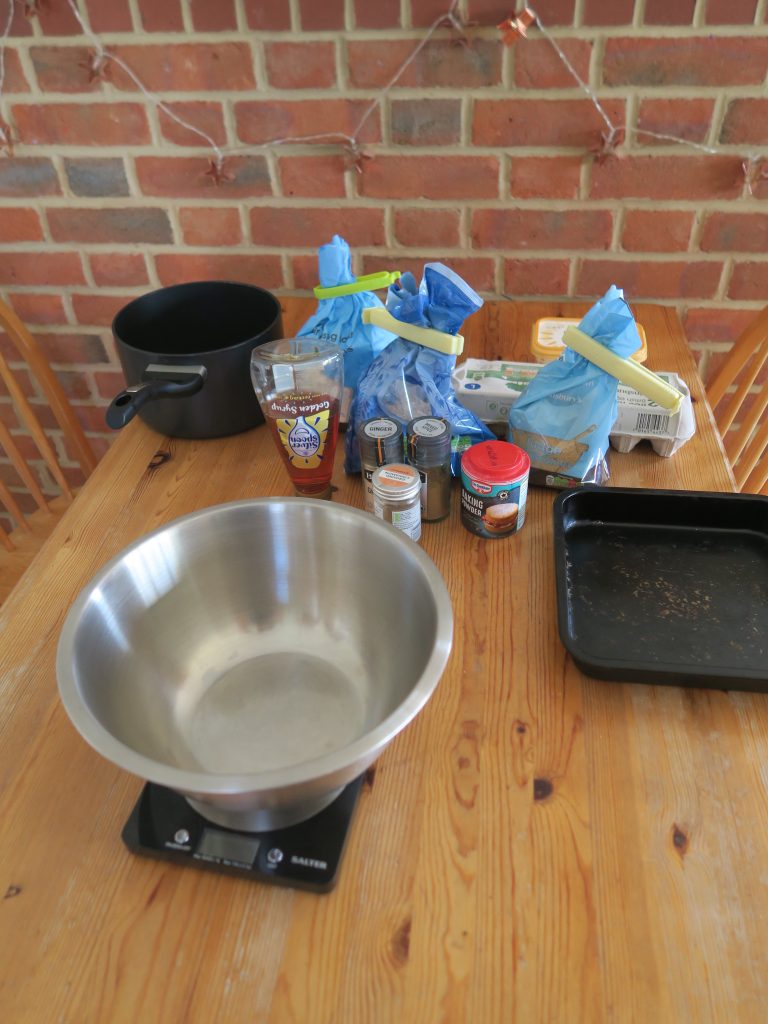
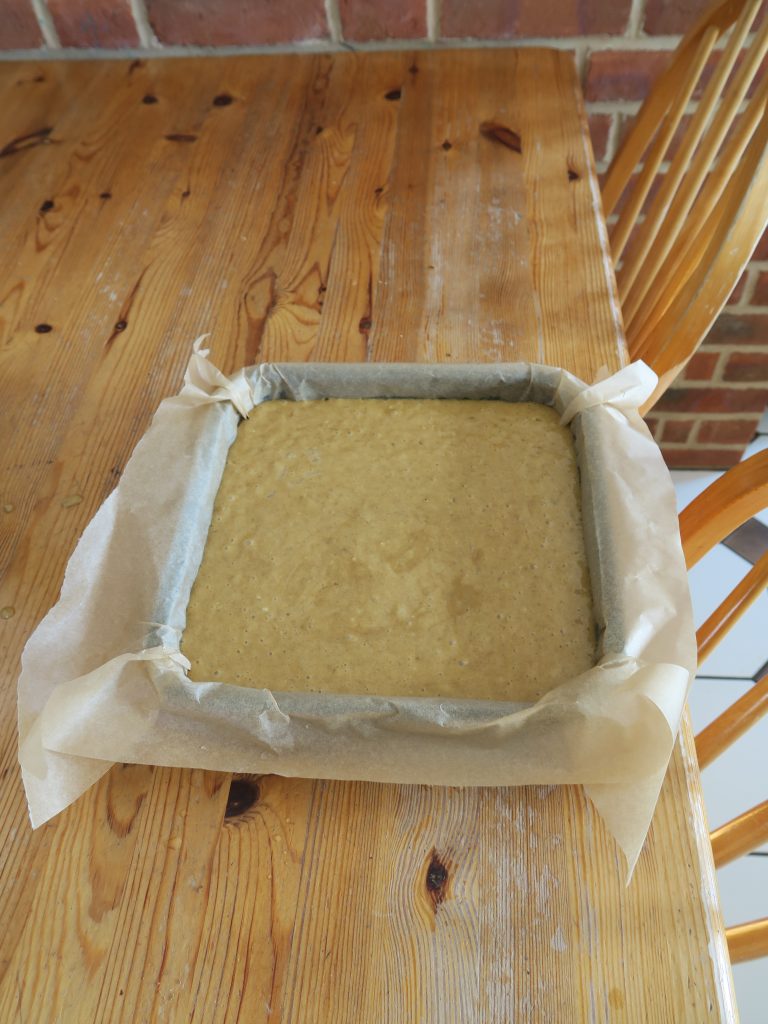
  1. Pre-heat the oven to 180C and put 12 cupcake cases into a 12 hole cupcake tin.
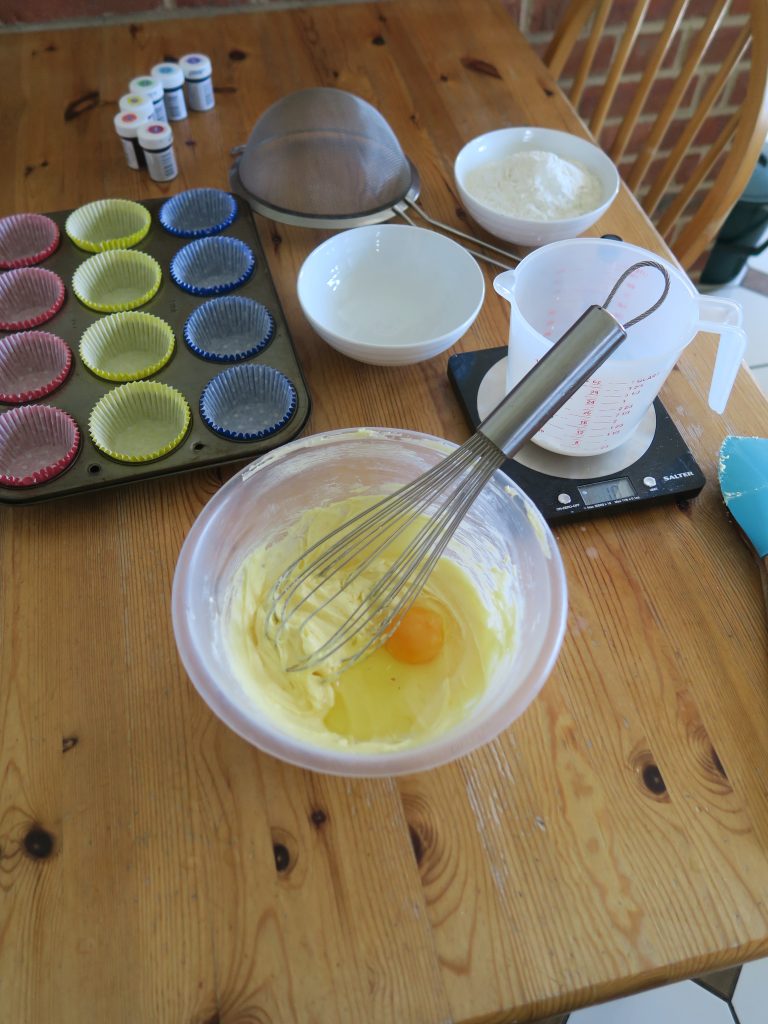
  2. Take a large bowl and make a note of it’s weight when empty.
  3. Put the butter and sugar into the bowl and beat together with a wooden spoon until pale and creamy.
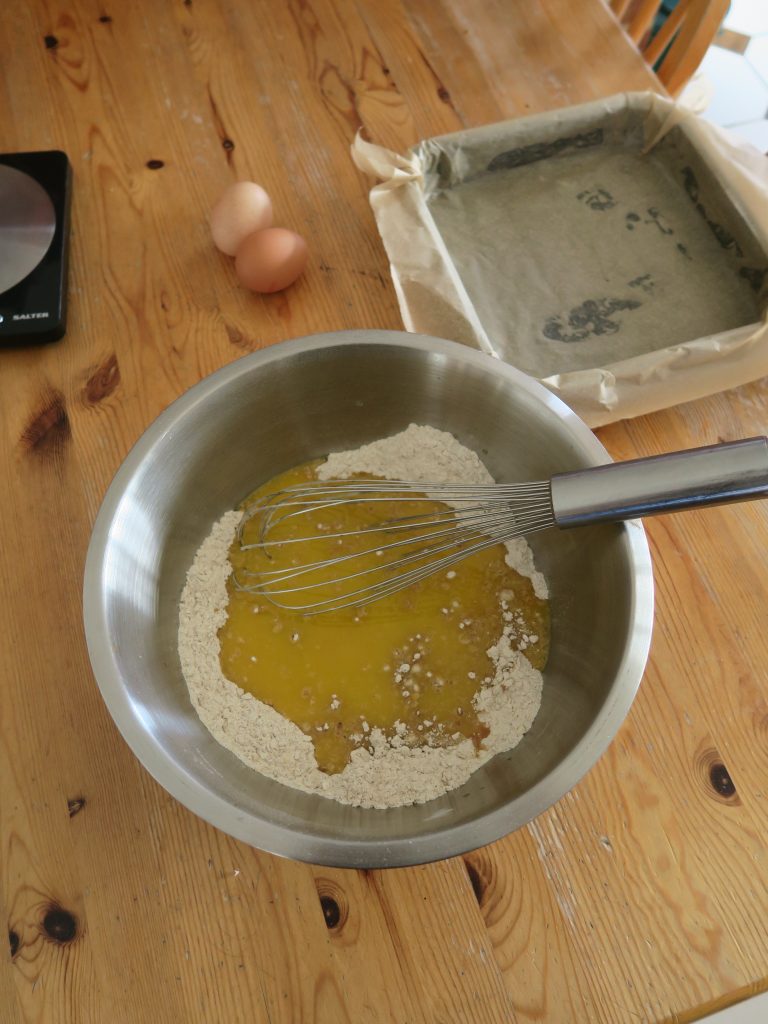
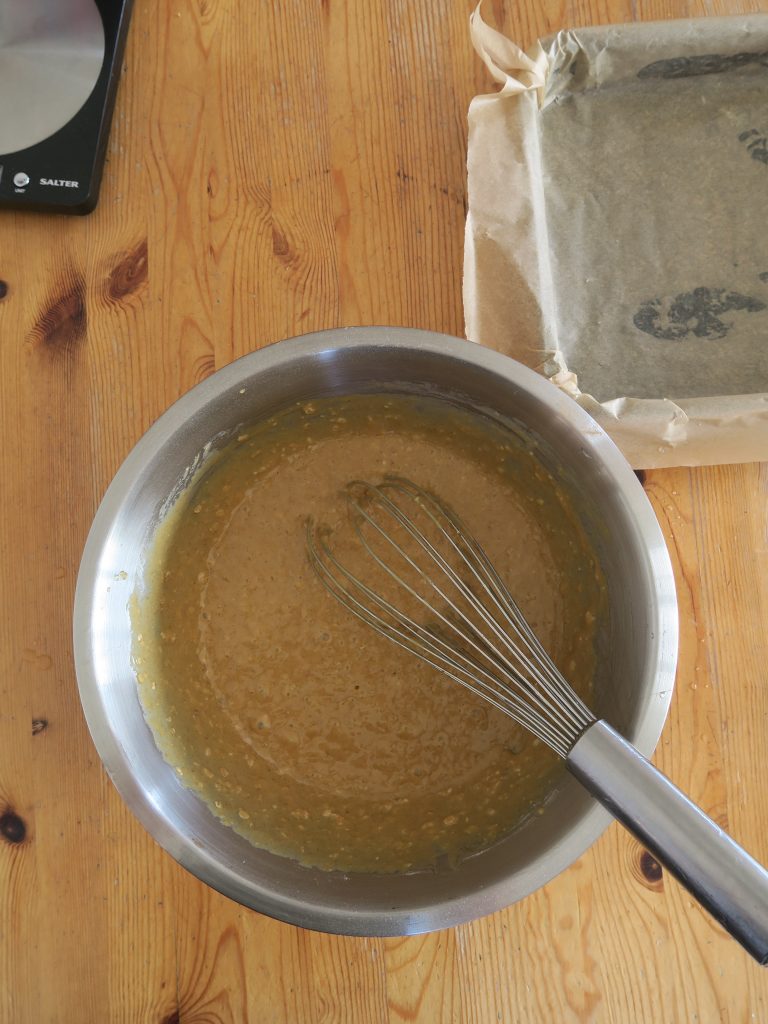
  4. Add the eggs, milk, yoghurt and vanilla and whisk until combined.
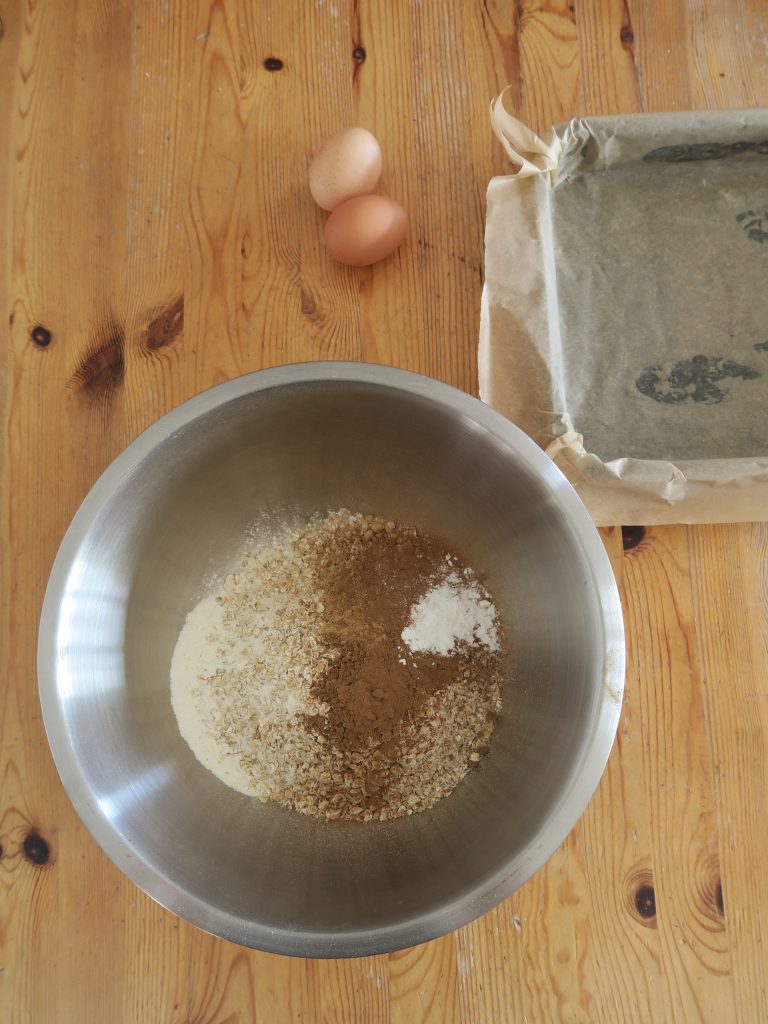
  5. Add the flour, baking powder, and salt and whisk again to make smooth.
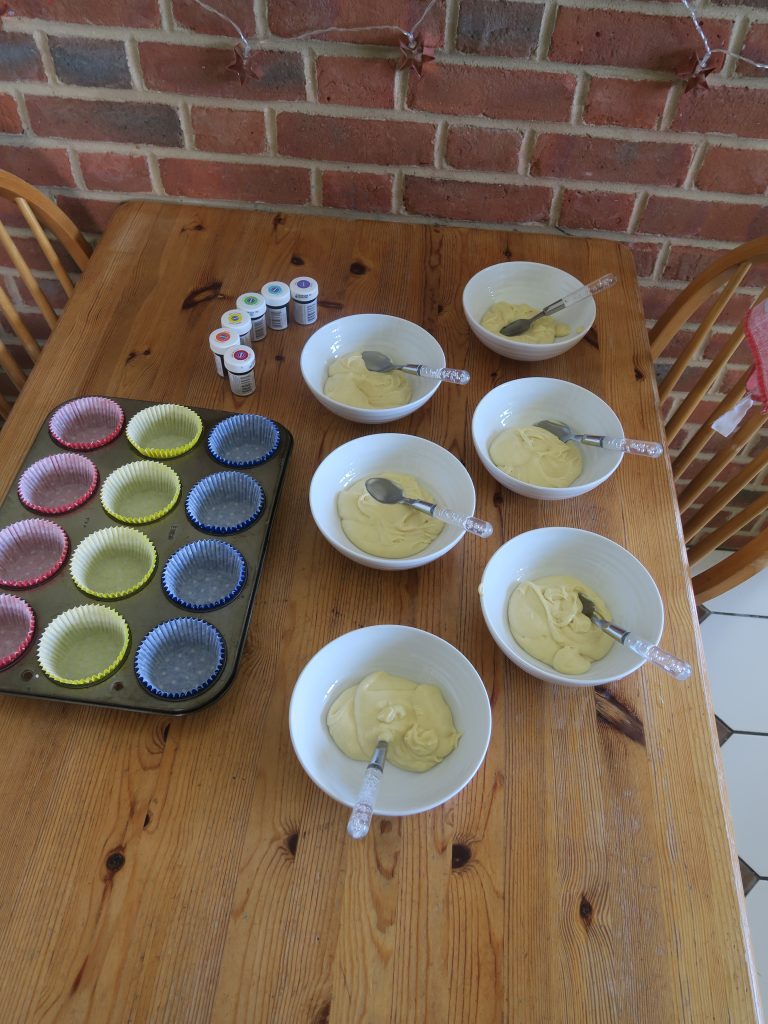
  6. Weigh the bowl with the mixture in (making sure no spoons or utensils are also being weighed!). Take the weight of the bowl away (that you noted down earlier) from the weight of the bowl + mixture so you know how much your total mixture weighs. Divide this by 7 and then put this amount of mixture into 7 bowls (so that you’ve equally divided your cake mix into 7).
  7. Colour each bowl of cake mix differently so you have one each of red, orange, yellow, green, blue and purple.
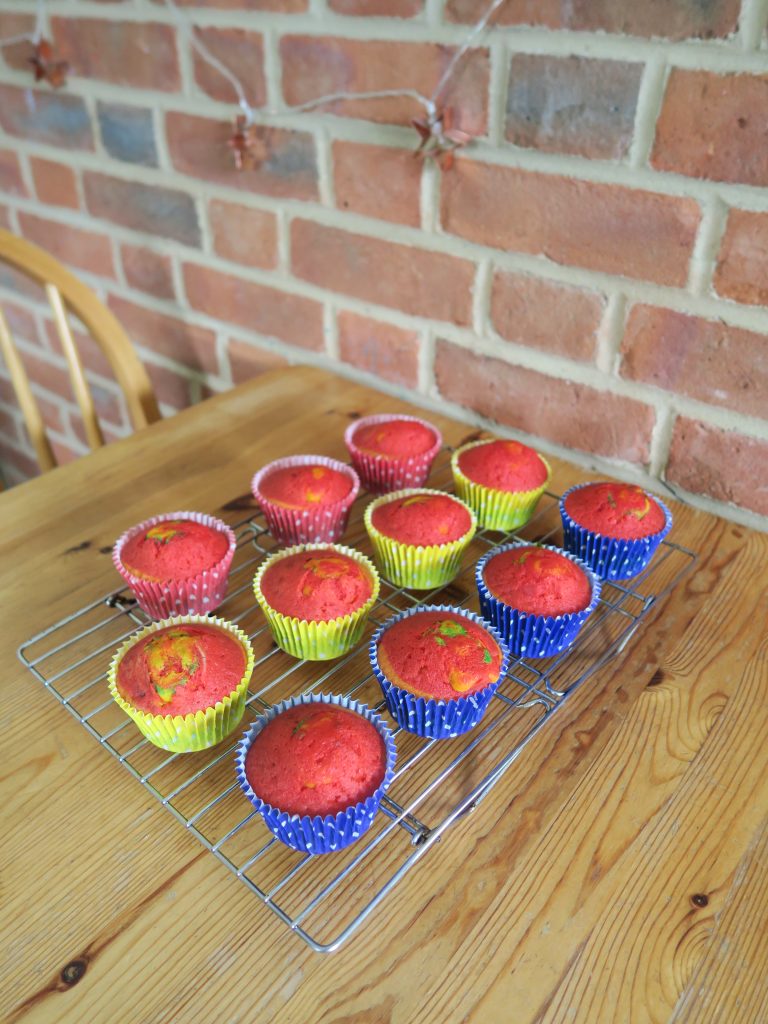
  8. Carefully spoon a layer of purple cake mix into the bottom of each cupcake case (about 1tsp should do it, but go until all the mixture is used up!). Then repeat with the other colours in the order of a rainbow, finishing with the red.
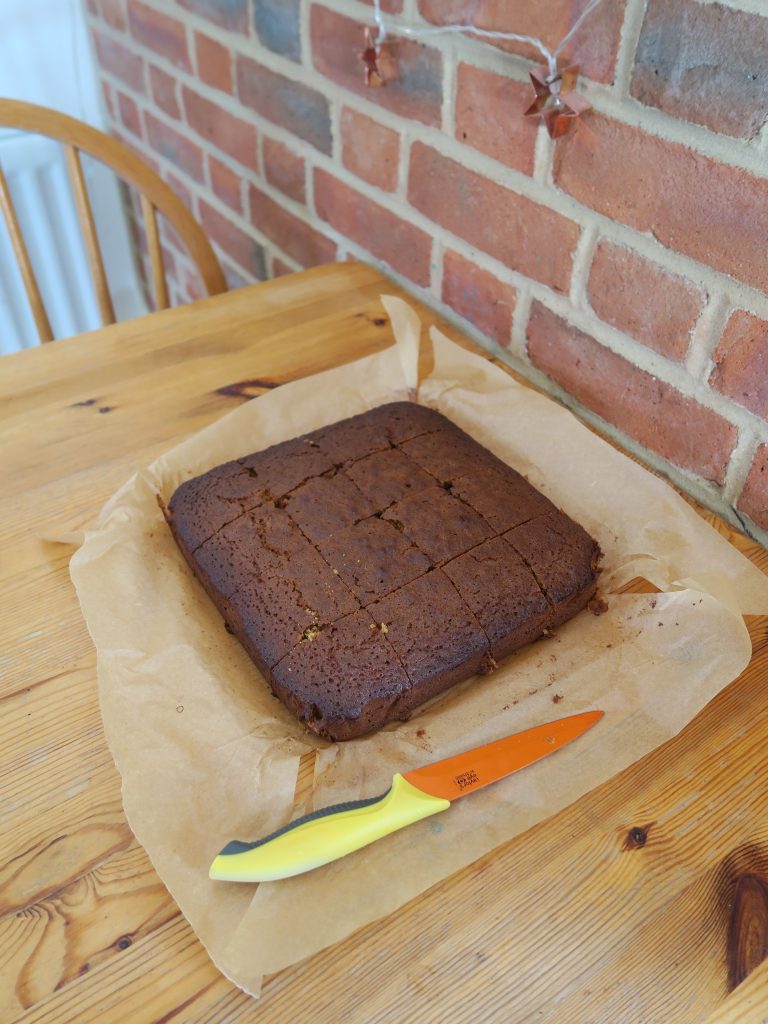
  9. Bake the cupcakes for 15-20 minutes until golden brown and risen. (You can double check by inserting a skewer into the middle and seeing if it comes out clean).
  10. Take the cupcakes out of the tin and leave to cool on a wire rack.
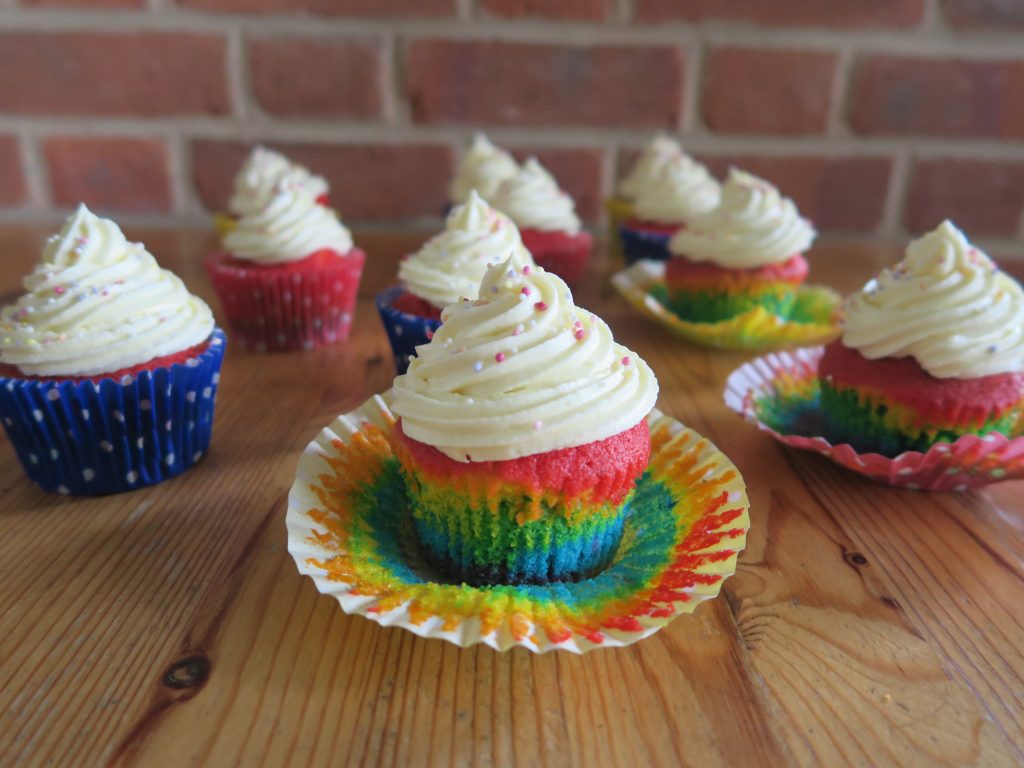
  11. Meanwhile make the buttercream. Put the butter and icing sugar into a bowl and beat until smooth. Add the milk and vanilla and beat again until combined.
  12. Fit a pipping bag with a star shaped nozzle and spoon the icing into the pipping bag. Pipe swirls of the icing on the cooled cupcakes (the cupcakes need to be completely cool before you do this or the icing will slide off!).
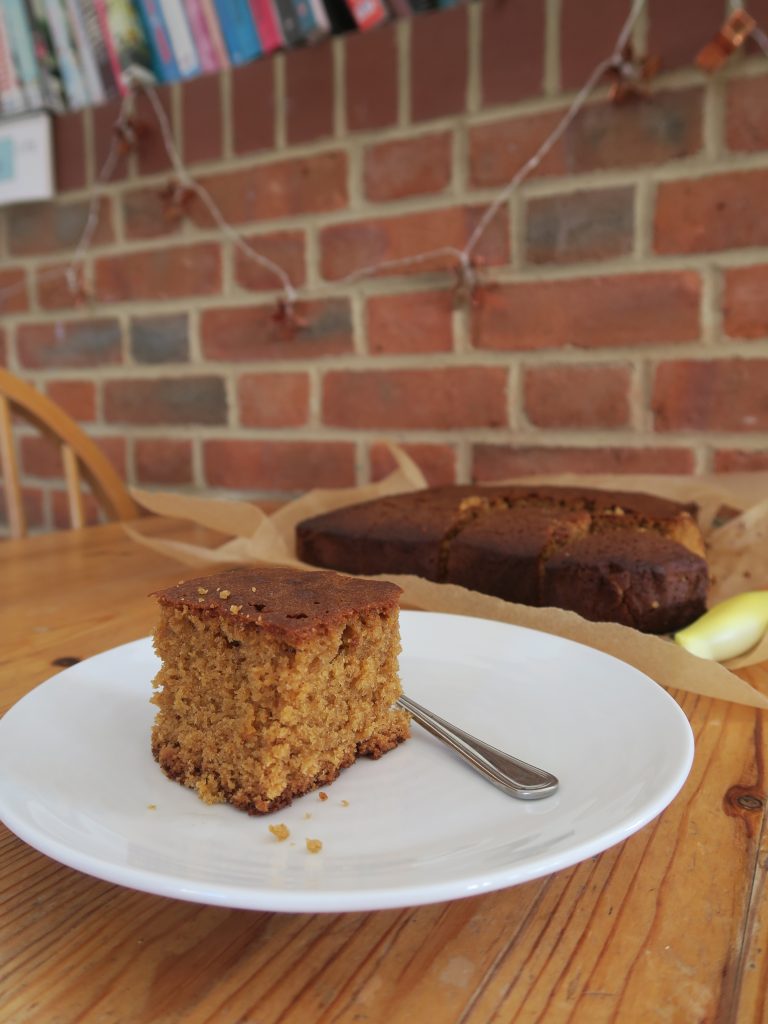
  13. Finish with a few rainbow sprinkles and enjoy!

Thanks for reading!

Emma x