Category: Recipes

Easy Chocolate Pudding with Chocolate Custard

Easy Chocolate Pudding with Chocolate Custard

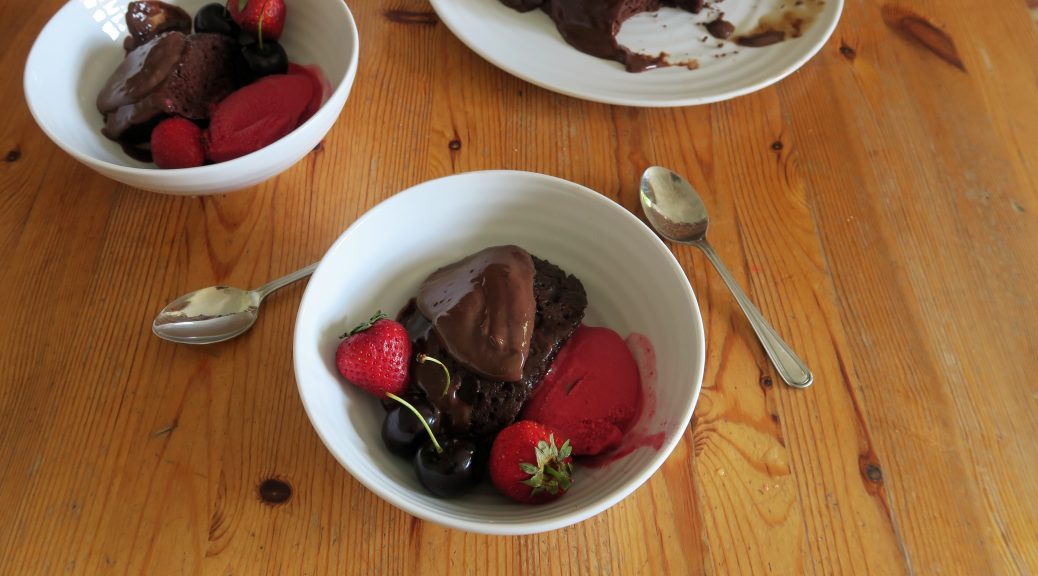
From an easy main to an easy dessert, I love making complicated things but there are those times when you just need something you can throw together without thinking about it. Being a student I’m truly experiencing the struggles of little money, little space and little time, so that’s when something like this becomes a godsend. This can be made in the oven or a microwave and so it’s the perfect last-minute, ‘I need chocolate cake now’ kind of dessert.

Of course no good fudgy sponge cake is complete without a good dollop of custard. For this one I’ve used custard powder. Whilst I think fresh custard made with eggs is always a lot nicer, you can’t deny the ease and speed at which you can make custard with a powder mix, so in the interest of preserving your sanity this custard recipe is as quick and as easy as you could want it to be! By extension though, if you don’t want to bother making custard at all, or if you don’t have a hob at your disposal you can use packet custard and then either add cocoa powder to it or just leave it as a vanilla custard.

Recipe

Serves  8

Time: 15 minutes

Ingredients

For the sponge

  • 180g Butter
  • 80g Light brown sugar
  • 50g Cocoa powder
  • 3 Large eggs
  • 2 tbsp Whole milk
  • 175g Self raising flour

For the custard

  • 400ml Milk
  • 5 tbsp Custard powder
  • 5 tbsp Light brown sugar
  • 25g Cocoa powder

To serve

  • Fresh berries (e.g blueberries, strawberries or raspberries)
  • Ice cream or Sorbet (I recommend raspberry sorbet with this!)

Method

  1. Take a 1L pudding bowl and butter the inside (this can be any kind of bowl but just make sure it’s not metal as it’ll be going into the microwave).
  2. Put the butter and sugar into a bowl and beat until smooth. Add the cocoa powder to the mix and then stir until combined.
  3. Add the eggs and milk to the batter and whisk them in, followed by the flour to get a pourable mixture.
  4. Pour the mixture into the greased pudding bowl and cover loosely with clingfilm. Then microwave for 4 ½ minutes on high heat until cooked through. Check the pudding with a skewer to make sure the centre’s not raw, and then leave the pudding to rest for a few minutes.
  5. Meanwhile make the custard. Put the milk into a pan and bring to the boil.
  6. Put the custard powder, sugar and cocoa powder into a bowl and whisk together. Pour a little of the milk onto the mixture and whisk in to make a smooth paste. Then slowly pour the rest of the warm milk into the mixture, whisking constantly, until combined.
  7. Pour the custard mix back into the pan and then cook whilst whisking over a medium heat until the mixture thickens.
  8. Turn the pudding out onto a plate and then pour some of the custard over the top. Serve slices of the pudding with the rest of the custard, fresh berries and sorbet/ice-cream!

Thanks for reading!

Emma x
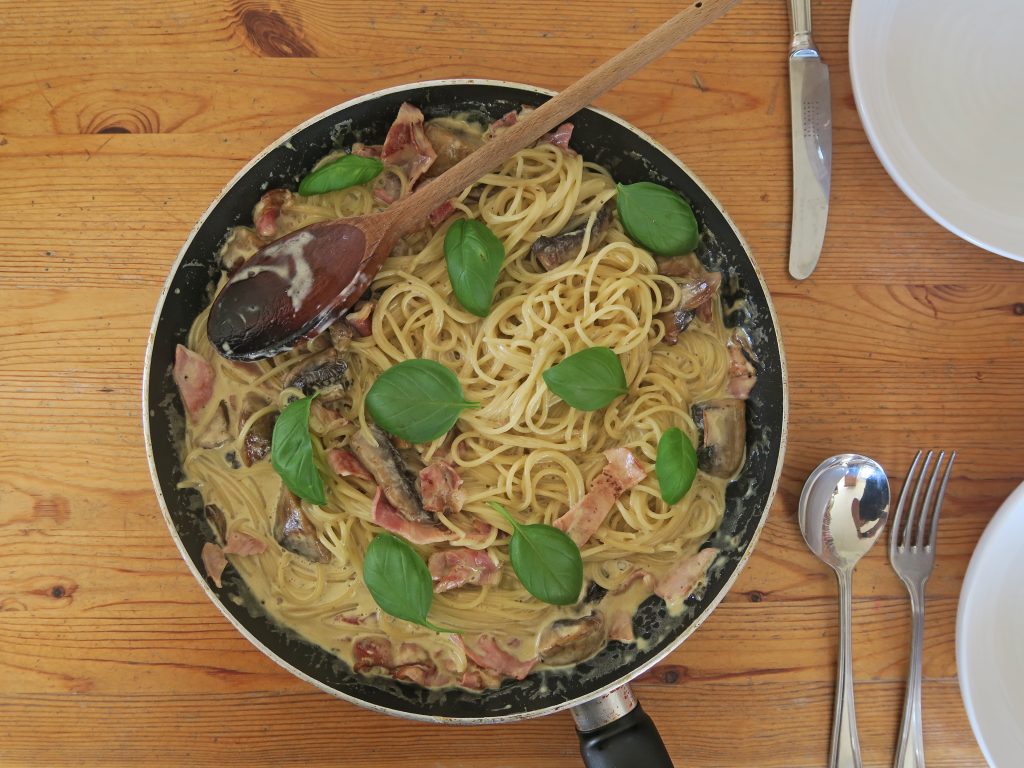
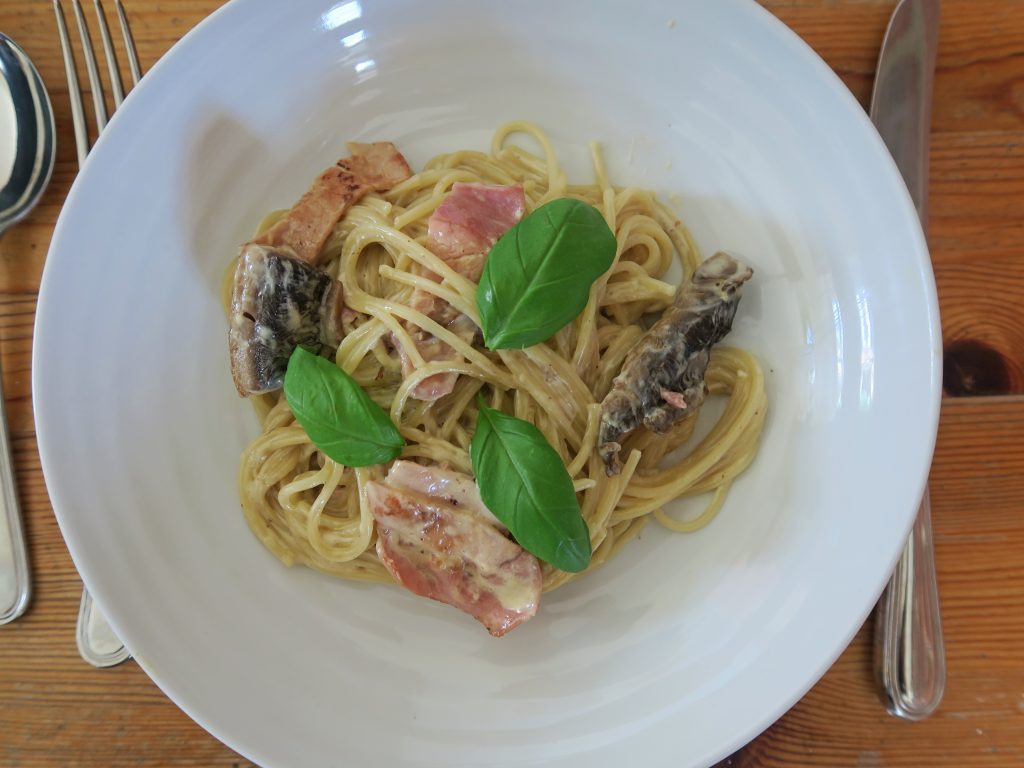
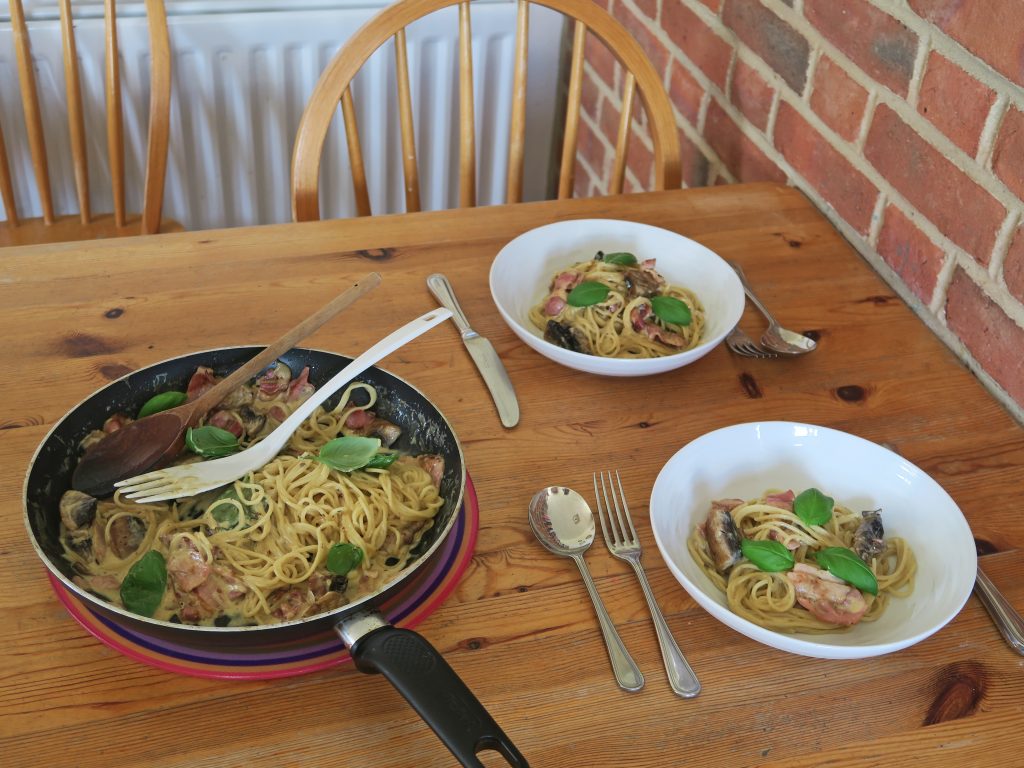
Easy Spaghetti Carbonara

Easy Spaghetti Carbonara

Things I have learnt from uni so far:

  1. Do not boil pasta in a kettle (thanks for that one Ivo).
  2. Banana and pasta is not a bad combination, but equally I would not recommended it.
  3. You can have too many chilli flakes in tuna pasta.
  4. There’s nothing you can do to pasta that will make it taste bad. Apart from puree it.

Ok so, I’m not cooking for myself this year at uni, but I am getting to cook for myself at the weekend! I thought would be this really cool thing to look forward to but apart from my experimental pumpkin pie (fyi a golden syrup bottle does not work as a rolling pin!) I’ve returned to just making a LOT of pasta. As this seems to be a uni staple I thought I’d represent one of m’ faves on here.

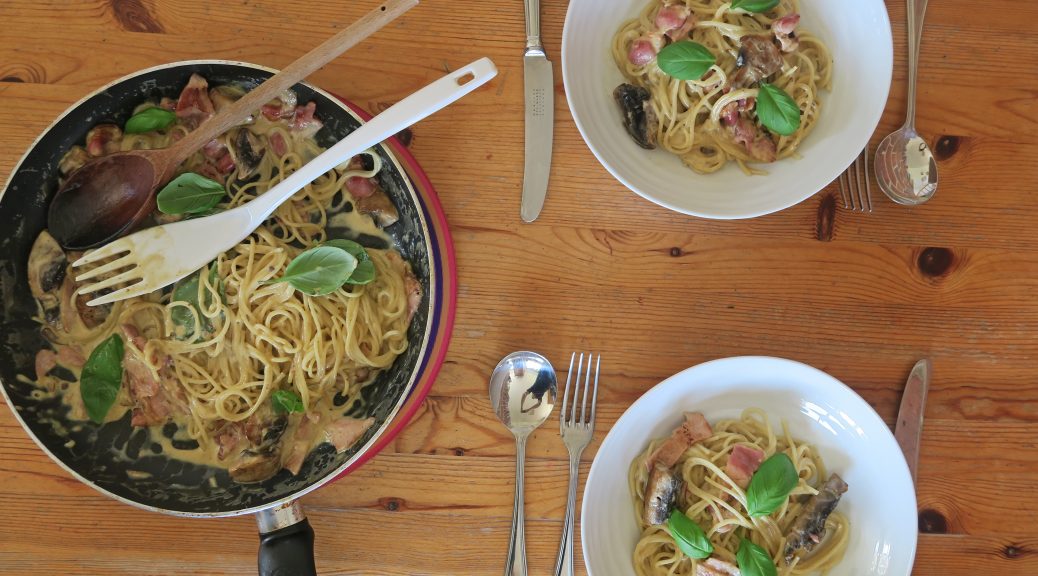
There seems to be something at Oxford called the 5th week blues, which is basically the wave of sadness and despair that hits everyone just after the half way mark in the term. Having just blindly walked into too much to do, with the words ‘do not over commit’ ringing strongly in my ears as I continue to over commit myself, I turn to a big bowl of this to solve all my problems. 5(ish) ingredients, 2 pans, easy to portion. What’s not to love?

Recipe

Serves 2

Time: 10-20 minutes (depending on how quickly your spaghetti cooks)

Ingredients

  • 4 Rashers of Bacon (or 2 slices of ham)
  • 8 Chestnut mushrooms (or one large closed cup mushroom)
  • 50g Dried spaghetti
  • 300ml Double cream
  • 50g Cheddar cheese, grated
  • A few leaves of fresh basil (optional)

Method

  1. Take a large sauce pan and put over a medium-high heat. Chop the bacon into strips with scissors into the pan and fry until cooked through and crispy.
  2. Meanwhile chop the mushrooms into rough slices (or dice it if you’re using a large mushroom). Add the mushroom to the pan with the bacon. Fry for 2-3 minutes, stirring occasionally until the bacon is crispy and the mushrooms have shrunk.
  3. Whilst waiting for the bacon to crisp up, put a pan of water on a high heat to pre-boil for the pasta. Once boiled add the spaghetti and a pinch of salt. Stir once and then leave the pasta to boil to the packet’s instructions (about 10 minutes).
  4. To finish off the sauce pour the cream over the bacon and mushrooms. Then add the grated cheese and stir until the cheese has melted. Leave on a low heat to warm the cream through and simmer gently, but do not boil.
  5. Drain the spaghetti once it’s ready and then add it to the sauce. Mix everything together and then serve with fresh basil!

Thanks for reading!

Emma x

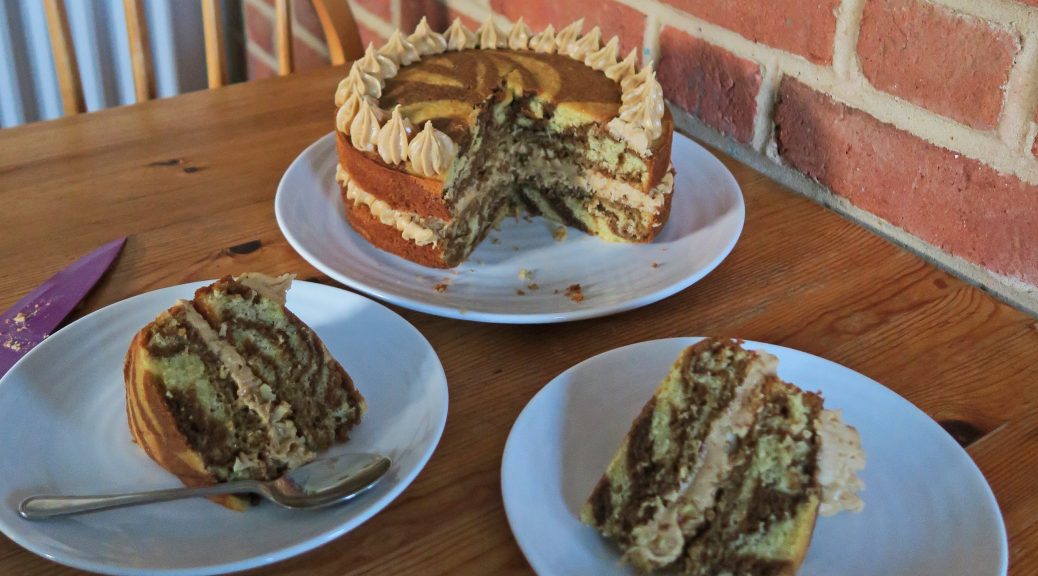
Coffee and Vanilla Zebra Cake

Coffee and Vanilla Zebra Cake

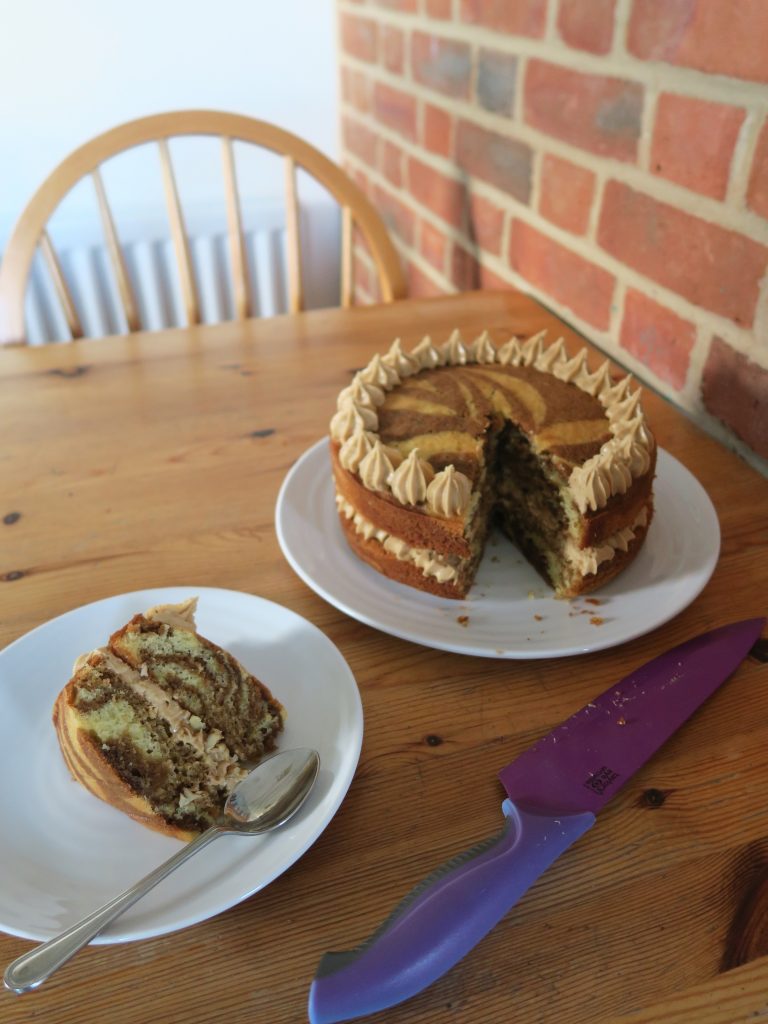
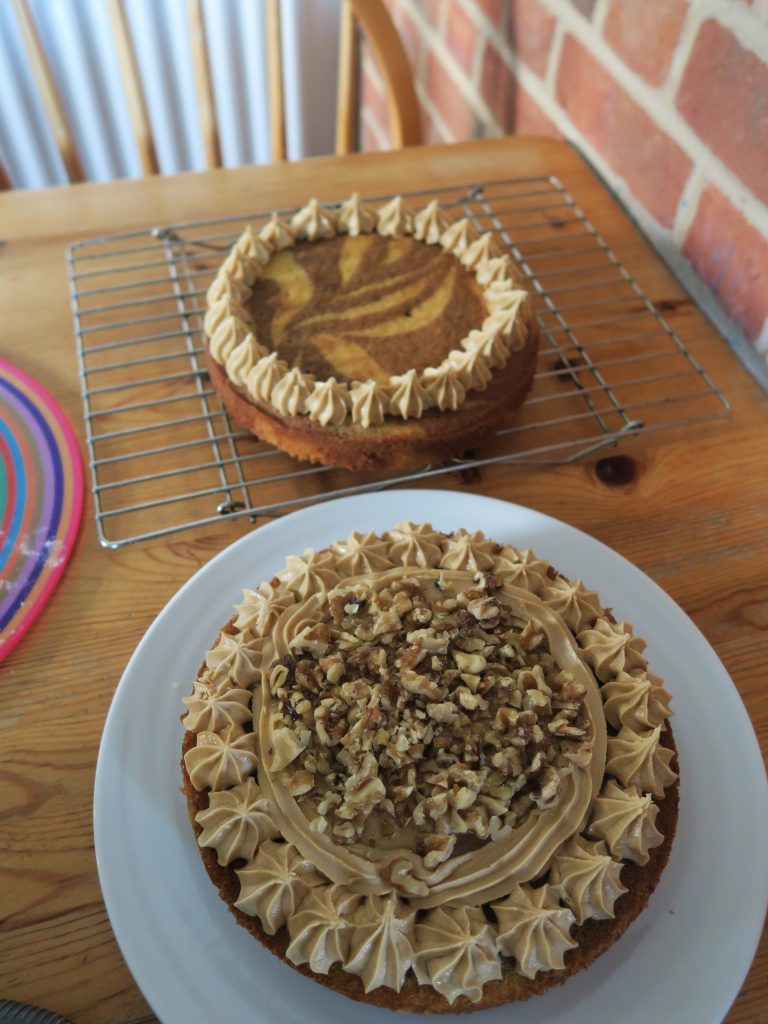
I’m going Zebra themed this week!!! Wahey! Have I gone mad? No! Y’ see now that I’m officially an art student I was thinking about writing some artistic gumph on how zebras can be symbolic of who knows what and so on, but the truth is I’ve just made a zebra cake because I’ve wanted to make one of these for years and they look so cool. So here we go – zebra cakes 101. These are defined by their vertical stripes made by piping blobs of different coloured cake mix on top of each other to make a series of concentric rings (it’s essentially a fancy marble cake). Here I’ve gone for coffee and vanilla as they’re so good together and just sing out to comfort, but you can pair any two that have different colours (e.g chocolate and vanilla, raspberry and lemon, or chocolate and orange).

Now of course all good coffee cakes should be accompanied with walnuts, however with zebra cakes you want the mixture to be fairly smooth as you’ll be piping it. So to stop chunks of walnuts clogging up m’ nozzle I’ve added them to the filling so this has become a sort of coffee-walnut cake, but you can leave the walnuts out if you’d rather. The trick is also to just be patient. Half way through you’ll want to just go ‘what the heck’ and shove both mixes on top of each other and be done with it, but keep going and it’ll look fab!

Recipe

Serves 8

Time: 90 minutes (including baking and cooling)

Ingredients

For the cake

  • 240g Caster sugar
  • 240g Butter
  • 4 Eggs
  • 250g Self raising flour
  • 2 tsp Baking powder
  • 1 tbsp Coffee powder
  • 1 tbsp Milk
  • ½ tsp Vanilla extract

For the icing/to decorate

  • 225g Icing sugar
  • 100g Butter
  • 1 ½ tbsp Coffee
  • 1 tbsp Milk
  • A handful of Walnuts, roughly chopped

Method

  1. Pre-heat the oven to 180˚C. Grease and line two 18cm round tins with butter and baking paper.
  2. Put the butter and sugar into a bowl and beat with a wooden spoon until pale and creamy.
  3. Add the eggs one by one to the mixture, whisking in between each addition until combined. Add the flour and whisk again to make a smooth batter.
  4. Pour half the cake mixture (about 475g) into another bowl. Add the vanilla to this batch and then pour the mixture into a piping bag.
  5. Put the coffee and milk into a small bowl and stir until the coffee dissolves. Add the coffee to the other bowl of cake mixture and mix until combined. Pour the mixture into another piping bag.
  6. Pipe a blob of the vanilla mixture into the centre of each of your lined tins. Then pipe a blob of an equal size on top of the first blob. Repeat piping blobs on top of each other until all the mixture is used up.
  7. Move the tins around to make sure the mixture coats the whole of the tin (but don’t spread it around with a spatula as this will disrupt your layers!). Then bake the cakes in the oven for 15-20 minutes until risen and golden brown. A skewer inserted into the middle should come out clean.
  8. Transfer the cakes to a wire rack and leave to cool before taking them out of the tins.
  9. Meanwhile move onto the icing. Put the icing sugar and butter into a bowl and beat together until smooth and creamy.
  10. Put the coffee and milk into another small bowl and stir until dissolved. Add the coffee mix to the buttercream and mix all together until smooth. Then spoon the icing into a piping bag with a star shaped nozzle.
  11. Put one of your cakes onto your presentation plate. Then pipe blobs of the icing around the edge of the cake. Pipe icing into the middle so the cake is completely covered (you don’t have to do blobs for the middle bit, you could just pipe and then smooth it over with a knife). Scatter the chopped walnuts over the middle of the icing.
  12. Finally take your other cake and place it on top of the base with the best side facing up. Then pip a ring of icing around the edge on the top and serve!

Thanks for reading. If you try this please take a photo and send it to me, I love seeing people use my recipes! Have a great week!

Emma x


Chocolate Chip Skillet Cookie

Chocolate Chip Skillet Cookie

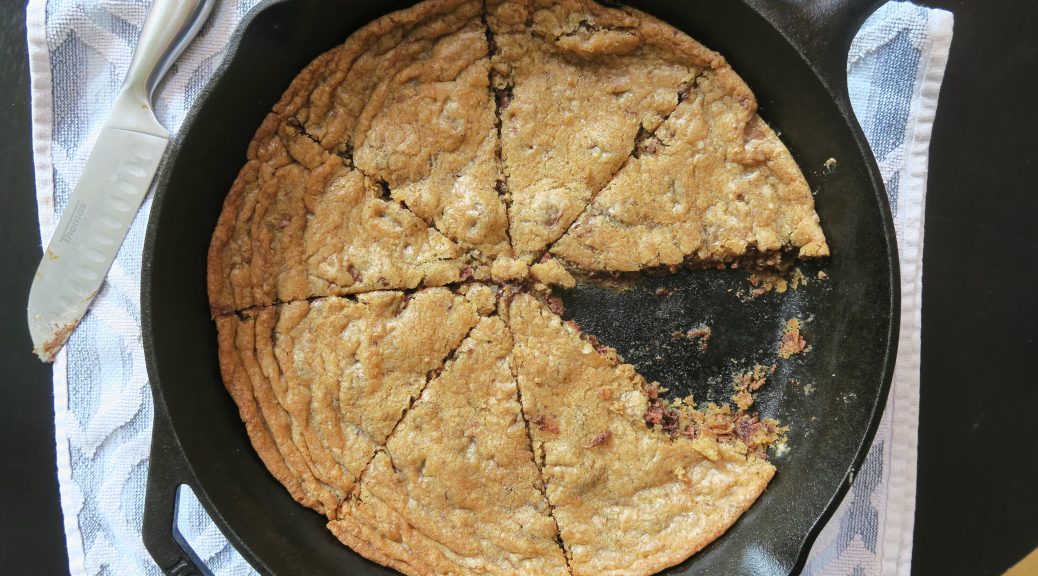
I made this way way back in the summer when I was in Canada and obsessed with making cookies, but I’ve waited until now to post this one as I think it’s perfect for bonfire night. You know that time when you’re waiting to head out into the cold night, but decide to have one last hot chocolate before bracing the frost? This is what that’s for. (I know today’s Halloween but I’m looking ahead so bare with). Anyway, way back when I was rummaging through the pans of the house we were staying in I found this gorgeous skillet pan right at the back, and I knew right away that I was gonna make one of these giant cookies. Iron skillet pans like this are so useful as they’re perfect for getting the ultimate cook on a fillet steak, making tart tatins, and of course making giant cookies like this! Admittedly I don’t have one myself (yet), but If you haven’t got an iron skillet pan like this I’d really recommend getting one.

The best way to serve these is with a big dollop of ice cream in the middle and then just let everyone dive in. Make it into a big sharing, sociable dessert type thing. Alternatively if you don’t like to share you can make one and eat it all yourself – I won’t judge. Another great thing with cookies like this is that you can customise to your hearts content! Try adding fruit, nuts, spices and other kinds of chocolate to make it super tasty!

Recipe

Serves 8

Time: 10 minutes prep, 20 minutes cooking time

Ingredients

• 150g Unsalted Butter
• 75g Light brown sugar
• 125g Granulated sugar
• 1 Large egg
• 1 tsp Vanilla extract
• 150g Plain flour
• ½ tsp Bicarbonate of soda
• 1/2 tsp Salt
• 75g Milk chocolate, chopped into chunks
• 75g Dark chocolate, chopped into chunks

Method

  1. Pre-heat the oven to 180C.
  2. Mix the butter and sugars together in a bowl with a wooden spoon until pale and fluffy. Add the egg and the vanilla and mix to combine. Then add the flour, bicarb, salt and chopped chocolate and mix together to form a smooth dough.
  3. Take a 10 inch skillet pan and press the dough into it. Don’t worry if the dough doesn’t quite fill the whole skillet as it’ll spread and rise as it bakes.
  4. Bake the whole thing in the oven for 15-20 minutes, until puffed up and golden brown. Leave to cool for 5 minutes so that it solidifies slightly, before serving it with lots of vanilla icecream!

Thanks for reading!

Emma x
 

Chicken Ramen

Chicken Ramen

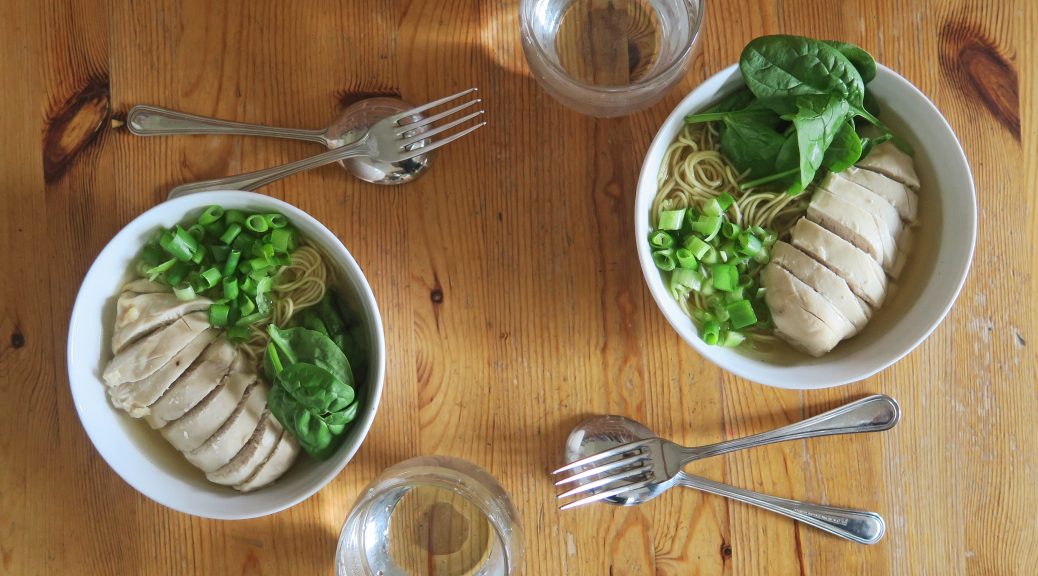
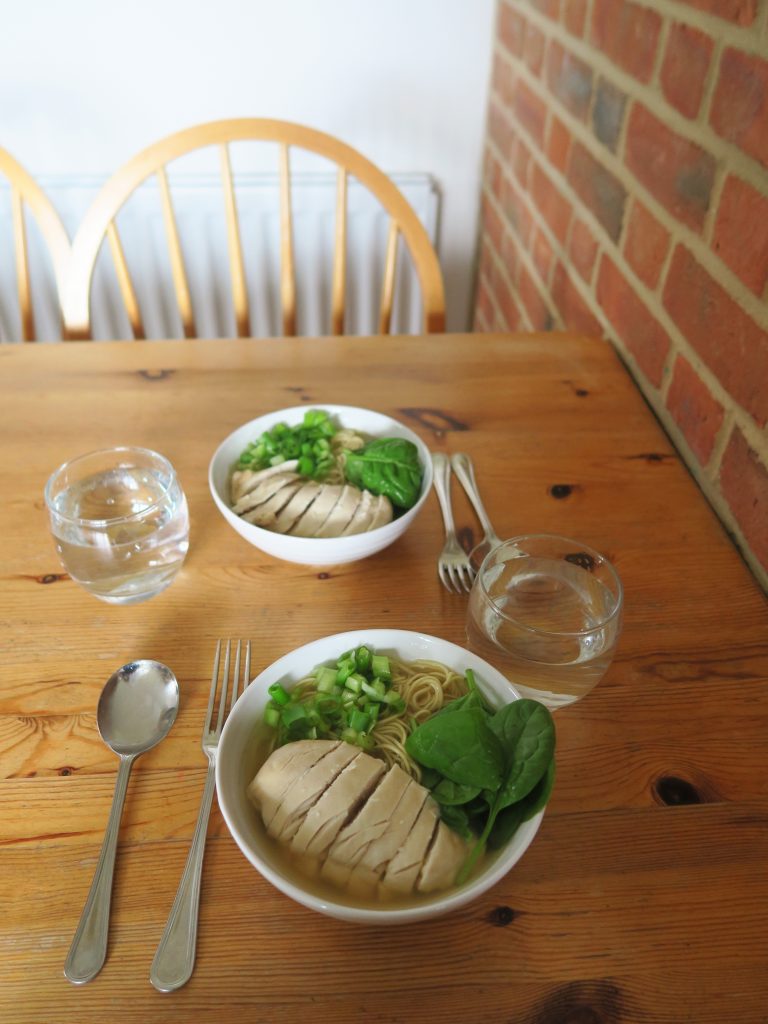
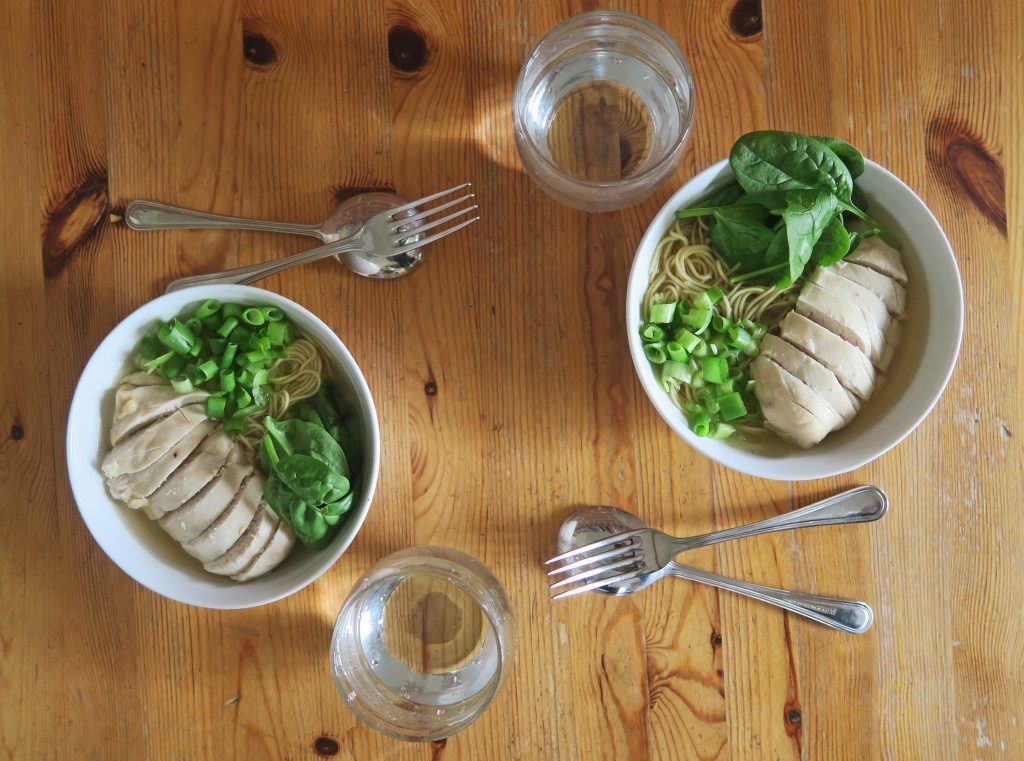
Ladies and gentlemen, I have flu. Like really bad flu. Like the rip your nostrils out, shove a fog horn down your throat kinda flu. So whilst I was going to do something more halloween-y for today’s post, I’ve resorted to what I’d actually want to be eating right now – this soothing bowl of chicken ramen soup. Think of this as pot noodle+. It’s pretty quick to make, and I can safely say that no matter how hung over, ill or dead you are, you will be able to make this. So if you’re like me right now and you feel like the walking dead, rustle yourself up (or find a nice person to do that bit for you) and glug down a decent bowl of this and I promise you you’ll feel a little bit better.

Recipe

Serves 2

Time: 25 minutes

Ingredients

  • 2 Chicken Breasts
  • 1L Chicken stock
  • 2 ‘Layers’ of Noodles
  • 4 Spring onions
  • 2 Handfuls of Baby spinach

Method

  1. Pre-heat the oven to 180˚C. Put the chicken breasts on a sheet of tin foil and then wrap it up around the chicken so the join of the foil is on top. Then put this in a small roasting tin and roast in the oven for 15-20 minutes until cooked all the way through (so it’s not pink inside).
  2. Put the chicken stock into a pan and heat up. (You can make this by putting 1L of water into a pan with a chicken stock cube and bringing it up to the boil.)
  3. Add the noodles and boil until they’re soft but not too floppy.
  4. Meanwhile take the spring onions and chop the tops and tails off them. Then finely slice them into little discs. Add half the spring onions to the stock, keeping the other half for later.
  5. Once the chicken is ready slice it into 1cm slices.
  6. Ladle the stock into 2 bowls. Then portion the noodles between the bowls.
  7. Top with the slices chicken breast, the rest of the spring onions, and a handful of baby spinach on each bowl. Serve!

(Note: If you don’t have an oven you can chop the chicken into chunks and then poach it in the stock until it’s cooked all the way through!)

Thanks for reading!

Emma x