Category: Recipes

Peanut Butter and Chocolate Pinwheel Cookies (Vegan)

Peanut Butter and Chocolate Pinwheel Cookies (Vegan)

With term almost over it’s time to head back to the land of stocked fridge and rolling fields. Whilst I’m looking forward to having a (bit) of a break, this has been the most amazing 8 weeks. From the people I’ve met to the things I’ve learnt, it’s been a total blast and I can’t wait to come back and so it all over again (after a long rest that is!). Some of the best times I’ve had this term have been our group baking sessions in our college kitchen. Trying to fit more people than can physically fit into a lil’ kitchen, jumping over people to get from the sink to the oven and then everyone eating whatever’s made in minutes.
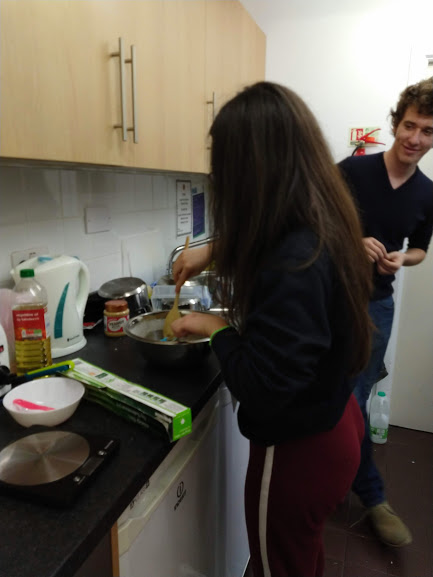
Of course the down side of cooking at uni is the lack of equipment, ingredients and space. For example these were made with only half the ingredients we probably needed and when freezing the pinwheel log before cutting it into slices I had to wedge it into the jam-packed freezer, hence the slightly squashed shape. However, even with the set backs these turned out super tasty and were so fun to make, so I guess the main thing I’ve learnt from student cooking so far is just to make use of what you’ve got to hand and it’ll most likely turn out fine!
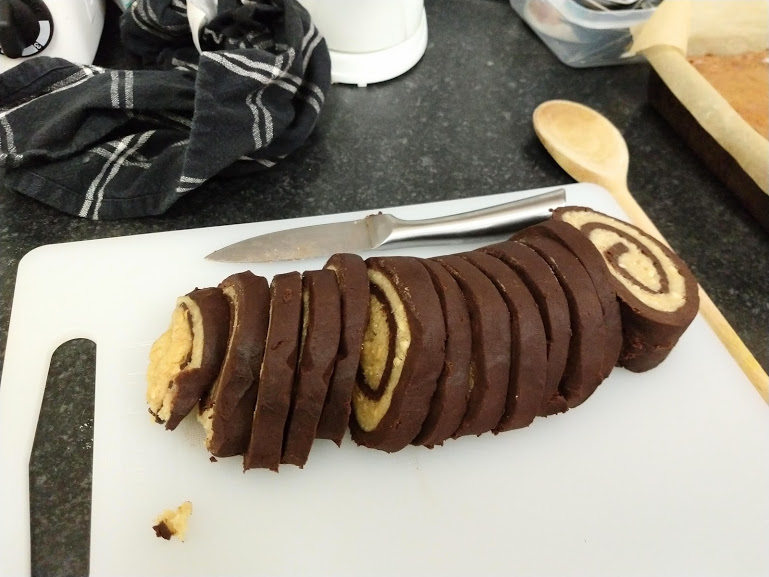
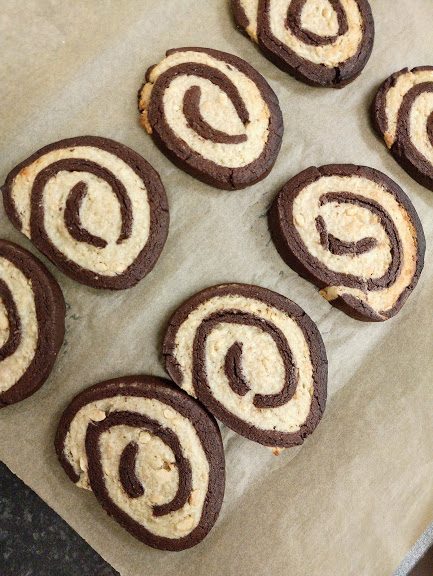
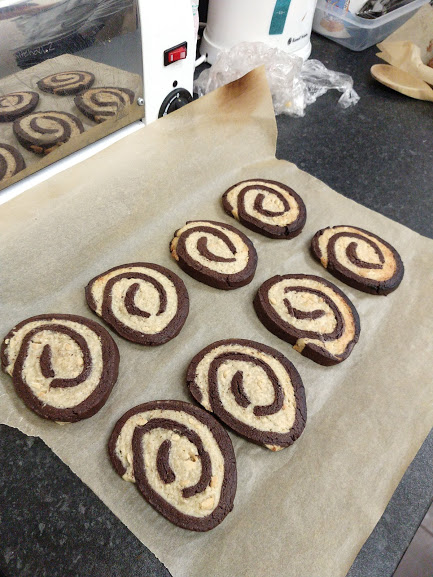
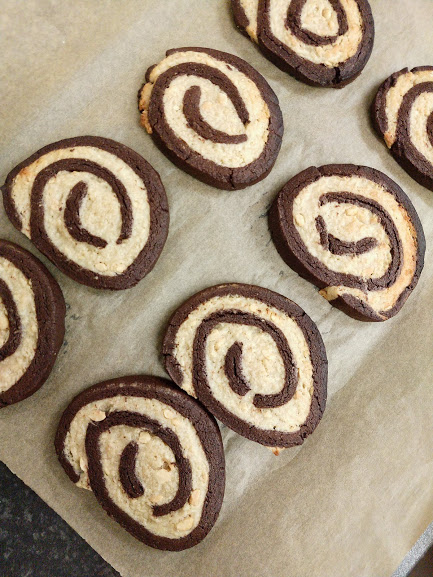
You can also play around with the two flavours in these as much as you like which is fun. I went for chocolate and peanut butter as they’re relatively cheap and taste hella good together. But you could try other combos like chocolate and vanilla, lemon and strawberry, or orange and almond. The key to get these looking good is to make sure that the two doughs have different enough colours to stand out against each other and to make sure you get a tight roll when you roll the wheels up. After that all you’ve got to worry about is getting them to the tin before everyone eats them.
Ingredients

For peanut butter dough

  • 125g Caster sugar
  • 113g Smooth peanut butter
  • A large pinch of Salt
  • 1 tbsp Water
  • 215g Plain flour

For the chocolate dough

  • 125g Caster sugar
  • 113g Smooth peanut butter
  • A large pinch of salt
  • 1 tbsp Water
  • 170g Plain flour
  • 45g Cocoa powder

Method

  1. First make the peanut dough. Put the peanut butter and sugar into a large bowl with the vanilla and a pinch of salt and beat with a wooden spoon until smooth and creamy.
  2. Add the water to the mixture and beat in to loosen the mixture a little. Then add the flour and mix everything together until a smooth dough forms.
  3. Use your hands to make the dough into a ball and then wrap it in cling film and leave it in the fridge until needed.
  4. Now make the chocolate dough. Repeat step 1 with the butter, sugar and so on.
  5. Add the water to the mix and beat to loosen the mixture as you did before. Then add the flour and the cocoa powder to the bowl and mix everything together until a smooth dough forms.
  6. Again, form the dough into a ball and wrap in clingfilm. Leave the two doughs in the fridge for 1-2 hours to harden up slightly.
  7. When ready take the peanut dough out of the fridge. Lay down a sheet of cling film on the work top and then place the dough on top. Lay out another sheet of cling film over the dough. Then take a rolling pin and roll the dough out into a oblong about 20cm x 40cm.
  8. Repeat with the chocolate dough so you have two rectangles of a similar shape.
  9. Take the top layer of the clingfilm off the two doughs. Then turn the chocolate dough over onto the peanut dough and take off the clingfilm sheet which will now be on the top.
  10. Carefully roll the sheet up into a pinwheel, working from short edge to short edge. It can help here to roll over a 1cm bit at the start to begin your spiral and then work from there.
  11. Wrap the log in clingfilm and then freeze for 1-2 hours to make it easier to cut later.
  12. Pre-heat the oven to 180˚C. Line two baking trays with baking paper.
  13. Take the pinwheel log out of the freezer and place it on a chopping board. Take a sharp knife and cut the log into 1cm discs. Place each cookie on the lined baking trays.
  14. Bake the biscuits for 15-20 minutes until slightly golden brown and crispy. Leave to cool before eating!
Thanks for reading!

Emma x
Welsh Cakes

Welsh Cakes

I think we’ve got to that point in the year where it’s dark more than it is light, the words ‘I can’t believe it’s getting dark this early’ ring in the air, and you can no longer convince yourself that you don’t need a coat when you go out. I’m up north for the weekend and about 70% of the time I can’t feel my fingers. Oh yes… we’re in… winter.  (Add dramatic music as you will). But it’s not all bad. The Christmas lights are out, the jumpers are in and comfort food is better than it ever was.

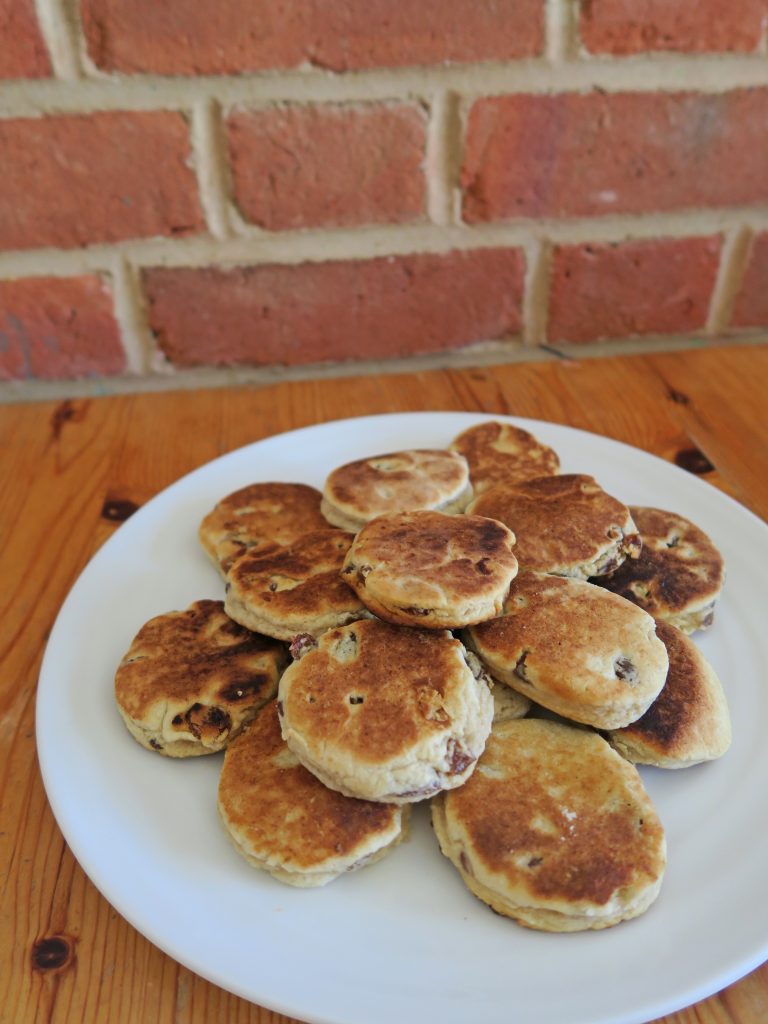
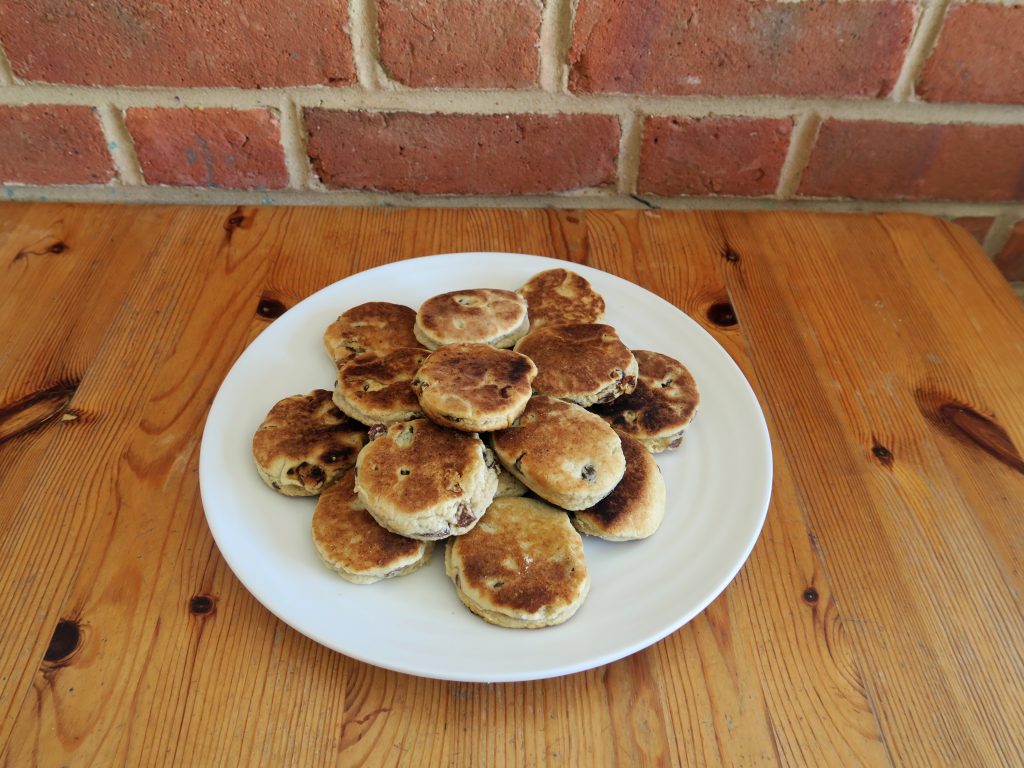
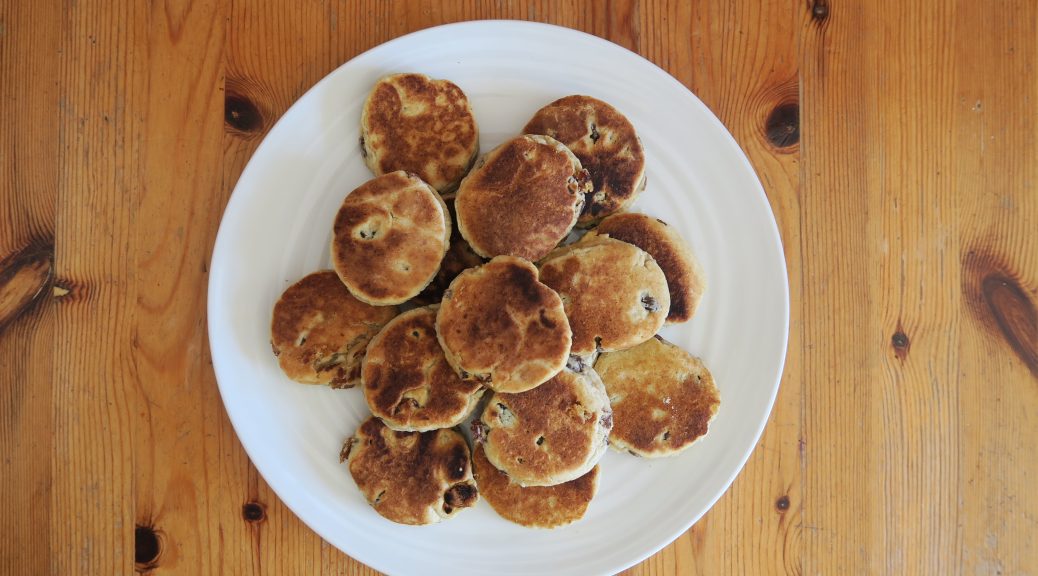
I think this little treats are massively underrated. I find loads of supermarkets sell them, however as they’re small and look a little meh they don’t really get picked up. If you’ve never had one before think of them as a sweeter, slightly shorter scone that you cook in a pan. They’re so easy and quick to rustle up that they’re perfect to make before Strictly on a Sunday evening.

Recipe

Makes 20

Time: 20 minutes

Ingredients

  • 230g Plain flour
  • 90g Caster sugar
  • ¼ tsp Ground ginger
  • ¼ tsp Ground cinnamon
  • ½ tsp Baking powder
  • 50g Unsalted butter
  • 50g Lard, plus extra for frying
  • 70g Raisins or currants
  • 1 Large egg
  • 25ml Milk

Method

  1. Put the flour, sugar, ginger, cinnamon and baking powder into a big bowl and mix together until combined.
  2. Add the butter and the lard and then rub the fats into the dry ingredients with your fingers until the mixture resembles breadcrumbs. Shake the bowl from side to side every so often to get the lumps to the top so you can work them into the mix.
  3. Add the raisins or currants and mix them into the dough.
  4. In another bowl mix together the egg and milk. Then slowly trickle in the milk, mixing with a round bladed knife (like a table knife) until a dough forms.
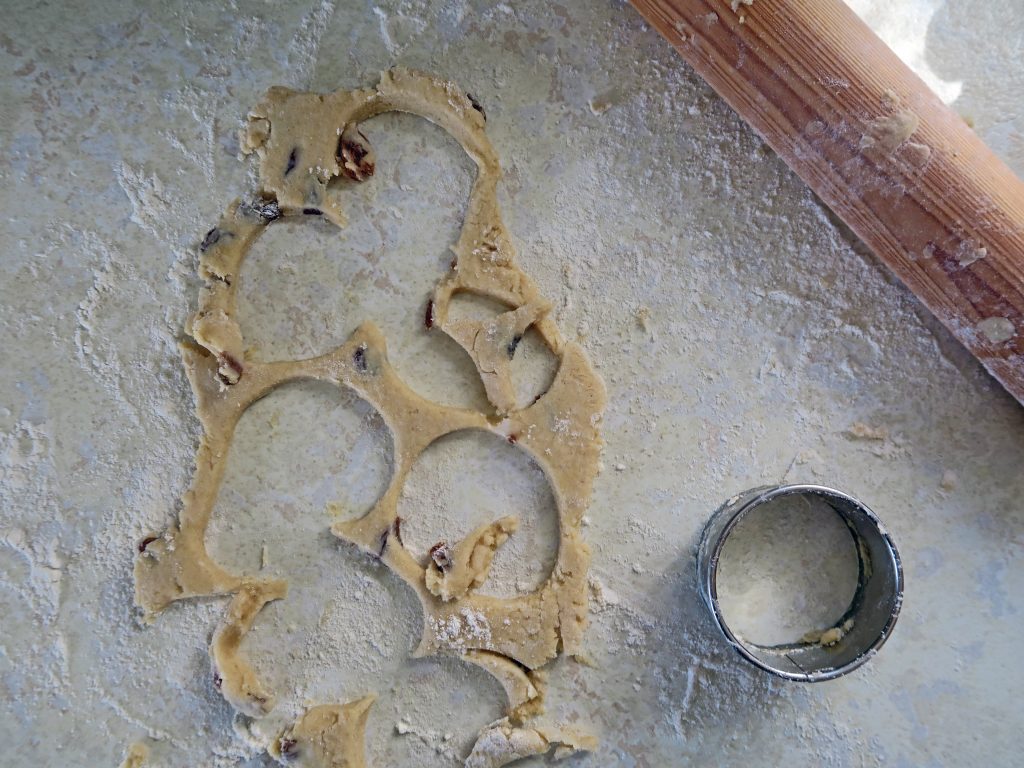
  5. Lightly flour a worktop and roll the dough out into a thin sheet around the thickness of a £1 coin. Take a 6cm round cookie cutter and cut out as many circles as you can, re-rolling the leftovers until you’ve used all the dough.
  6. Put a large skillet or frying pan over a medium heat. Add a knob of lard and leave it to melt. Then place 4-5 welsh cakes on the pan and fry for 3-4 minutes on either side until golden brown and cooked all the way through (they shouldn’t feel squidgy when prodded gently).
  7. Repeat with the rest of your welsh cakes until you have a stack of delicious treats. Serve with jam, butter or just as they are!

Thanks for reading!
Emma x
Easy Gnocchi

Easy Gnocchi

Four steps. Four ingredients. Four sentences. Boom!

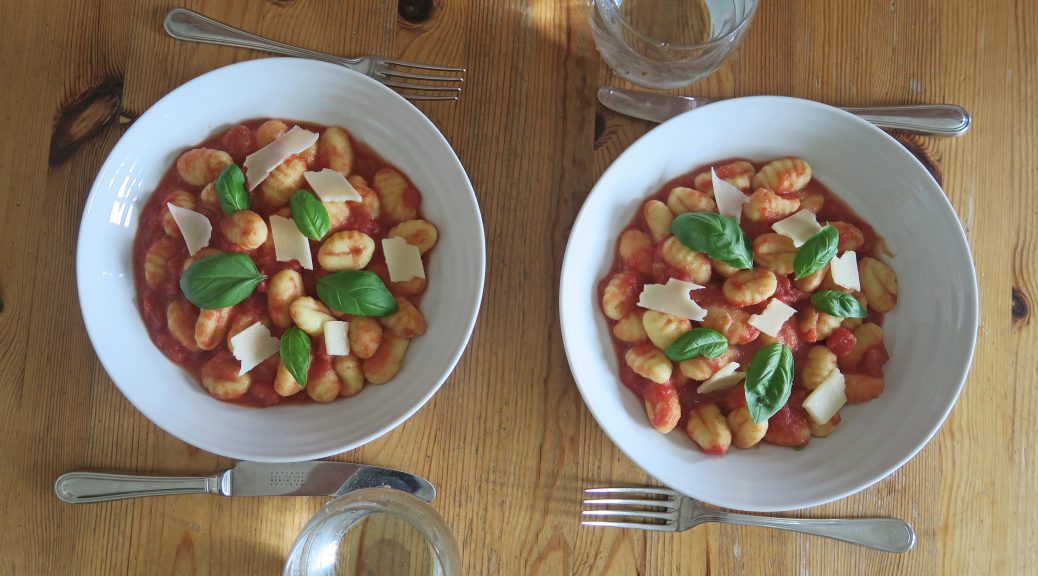
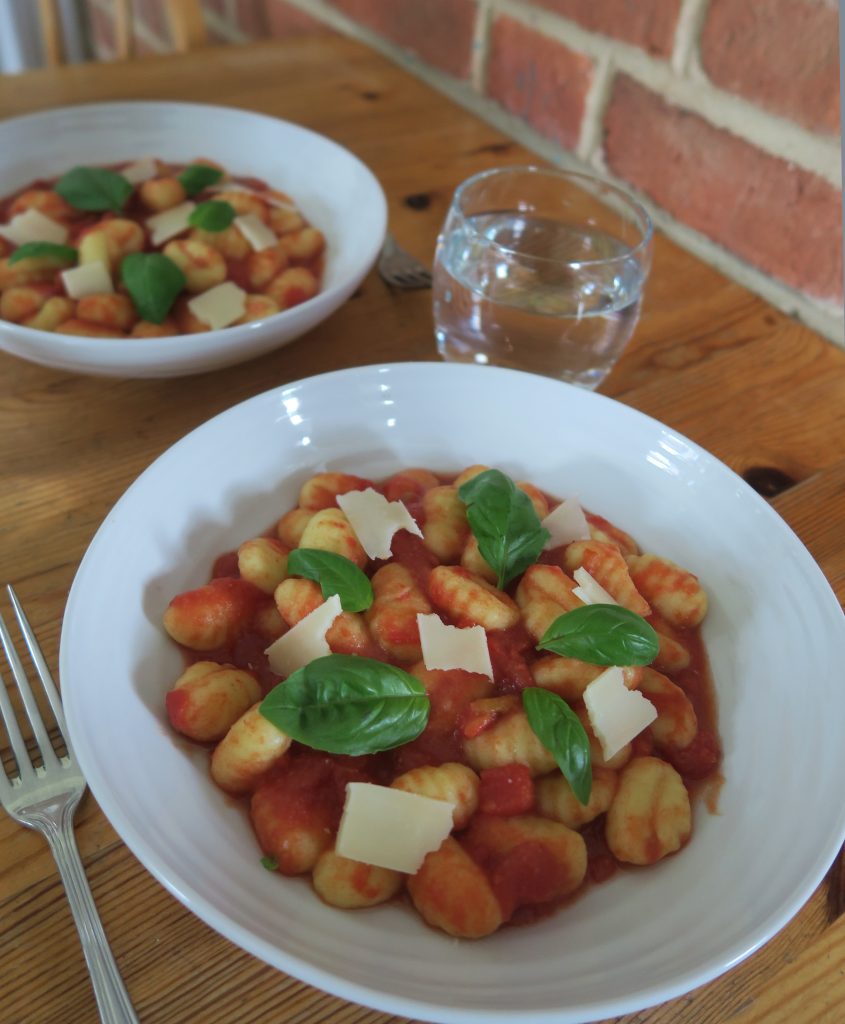
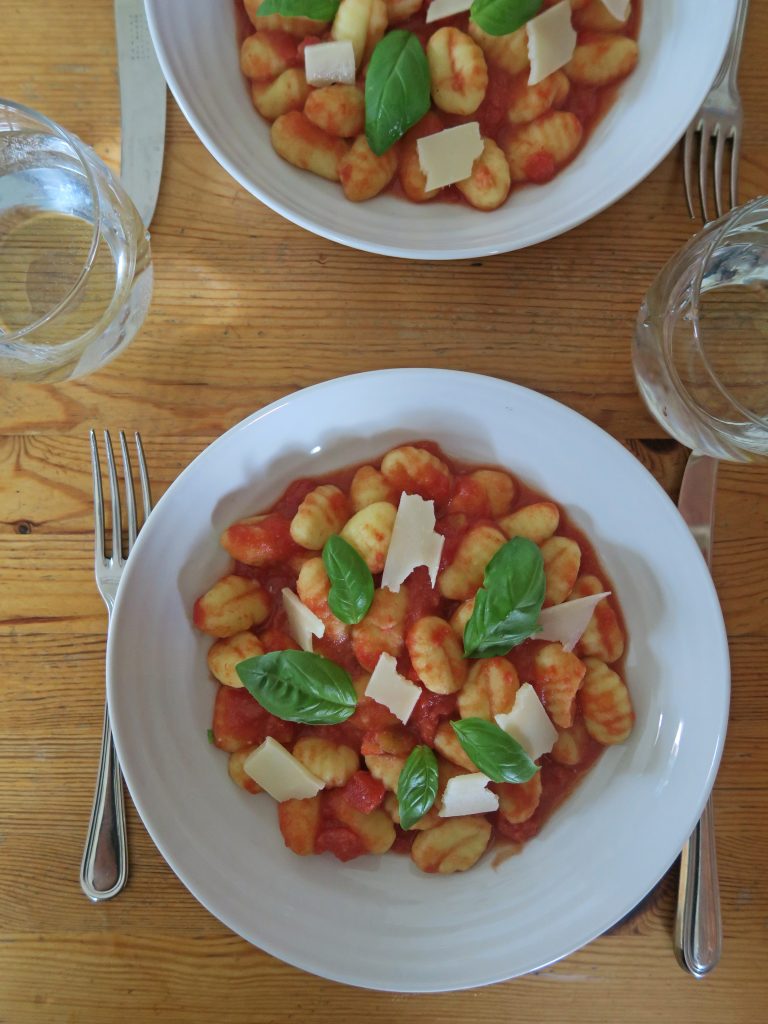
No but seriously. I’ve been turning to pasta so much during my time at uni so far that the time has come to look beyond pasta. Admittedly gnocchi isn’t the most different thing I could have turned to, but it’s so quick and comforting that it’s perfect if you want to shake things up a little. Especially now that you can buy packs of semi-cooked ready-made gnocchi in most supermarkets you can rustle yourself up a bowl of this in minutes. As a tip I’d say that in order to get the best tasting dish you can buy a good a quality passata or tomato sauce. The one I used for the dish photographed here was a budget range one and it was so sour that it made the whole thing taste really meh, but if you get a good one (maybe even with herbs in if you want to be a little fancy) it’ll transform the whole dish!

Recipe

Serves 2

Time: 20 minutes

Ingredients

  • 1 Packet of Gnocchi (around 500g)
  • 400g Tomato passata
  • Fresh bail to garnish (optional)
  • Cheddar cheese or Parmesan to finish

Method

  1. Put a pan of water on a high heat and leave to boil.
  2. Add the gnocchi and cook to the packet’s instructions.
  3. Drain the gnocchi and add the passata. Stir to combine and then leave with the lid on for a few minutes to warm the passata through.
  4. Pop the gnocchi into two bowls and top with the basil and a little grated cheese!

Thanks for reading!

Emma x
Tahini Chocolate Cake

Tahini Chocolate Cake

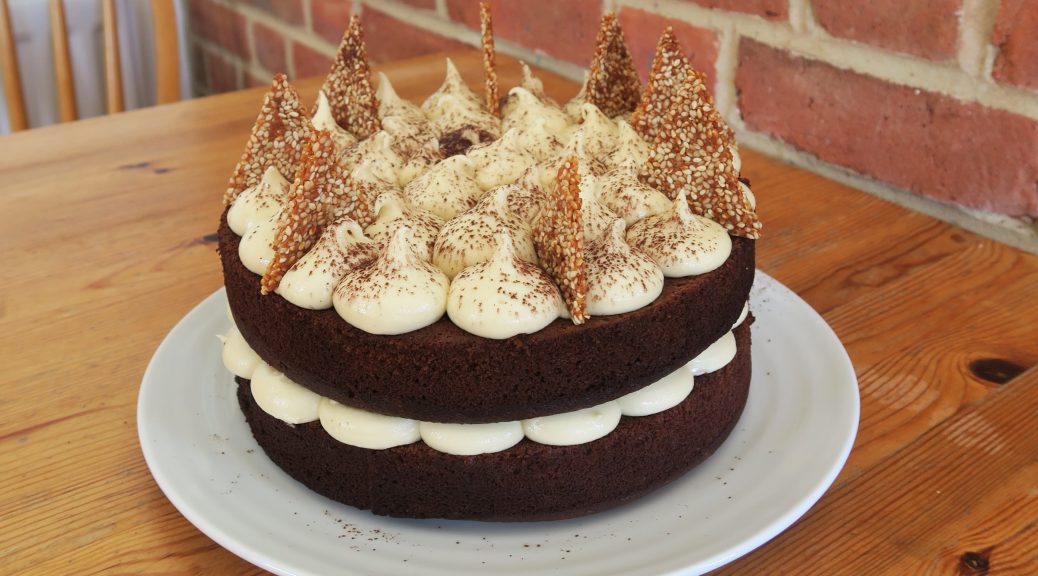
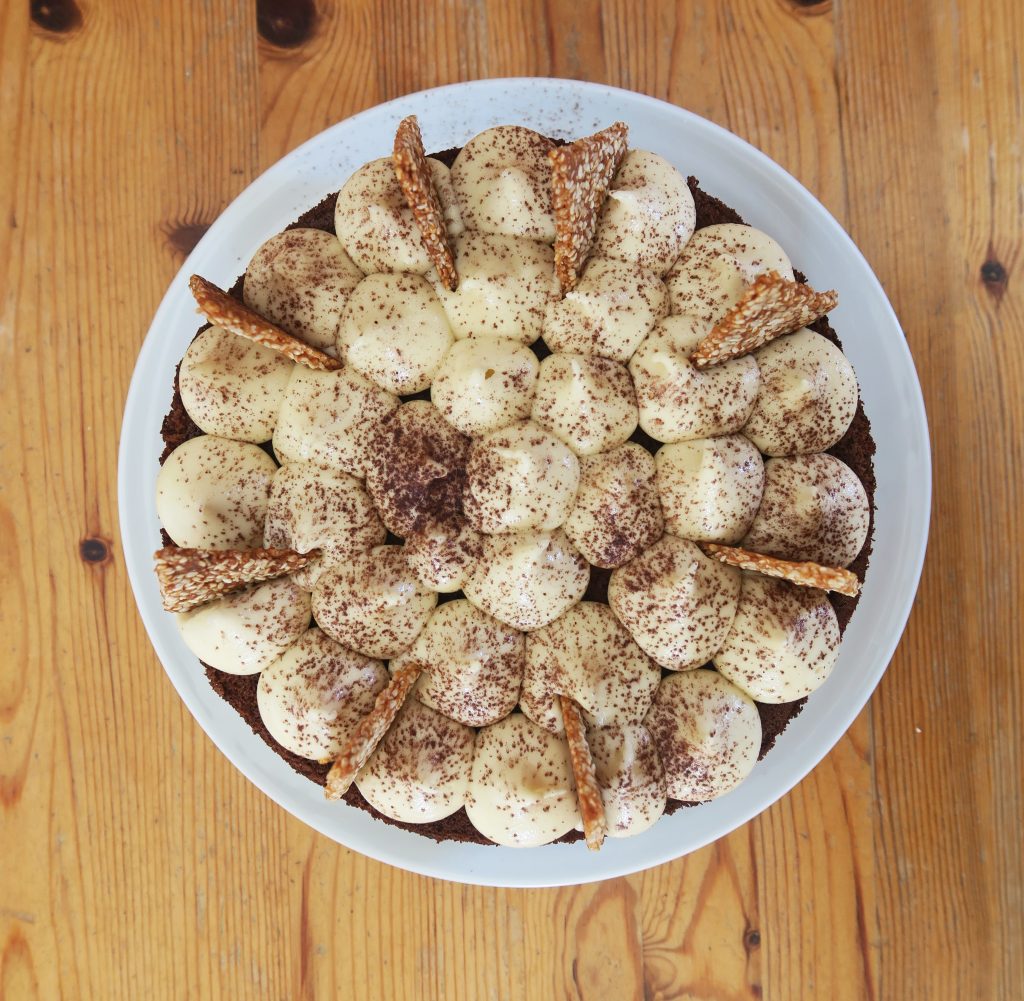
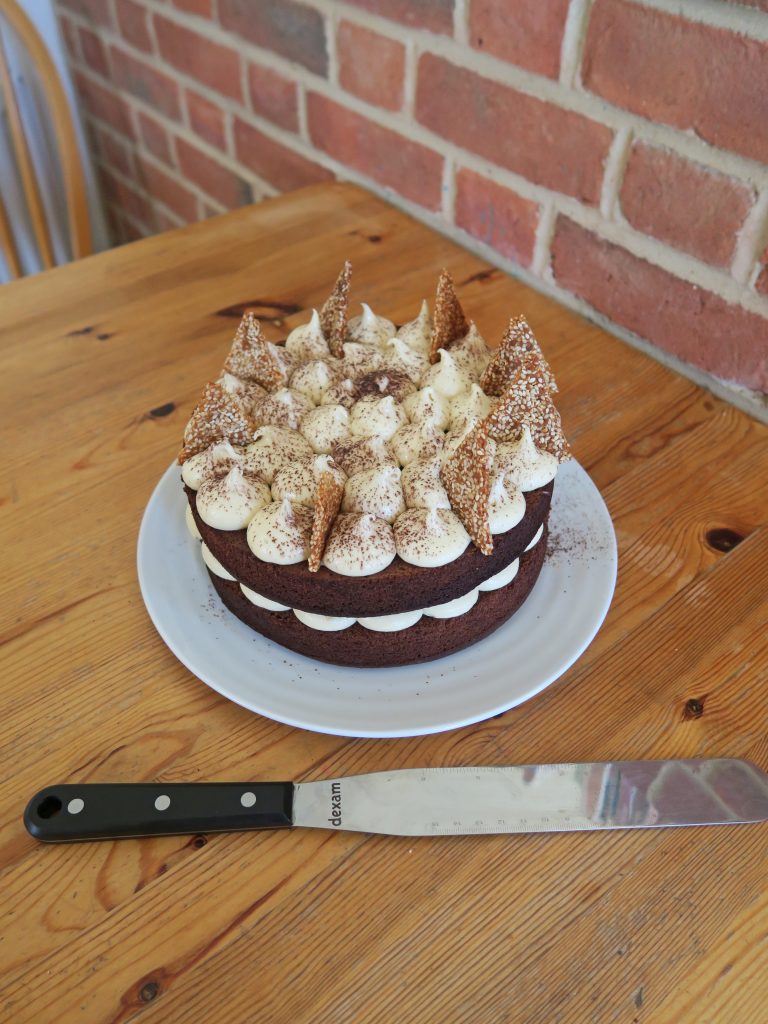
What the hell is tahini I hear you ask? To be honest, the first time I heard about it I thought it could be an exotic grass skirt dance from the Caribbean. But alas… no.  It’s actually a sesame seed paste that is used a lot in Middle Eastern cooking and is a key component of hummus. So if you like hummus you’ll definitely like this, but fear not, this is not hummus cake! The tahini goes in the icing to make a salty, sweet, nutty filling for these super moist chocolate cakes that just works so so well.

This is one of those things that will only make sense when you try it, so if you’re looking at this a little doubtingly then I’d recommend just giving it a go! I made my own sesame snaps for this as I couldn’t for the life of me find any anywhere in the shops, but in the recipe I’ve said use sesame snaps as they taste better and make your life so much easier.

Recipe

Serves 12

Time: 90 minutes

Ingredients

For the chocolate cake

  • 180g Unsalted butter
  • 100g Dark chocolate
  • 240g Plain flour
  • 280g Caster sugar
  • 1 tsp Bicarbonate of soda
  • 3 tbsp Cocoa powder, plus extra for dusting
  • 2 Large eggs
  • 142ml Milk
  • 142ml Greek yoghurt
  • 2 tbsp Tahini

To Decorate

  • 230g Unsalted butter
  • 3 tbsp Tahini
  • 320g Icing sugar
  • 2 Packets of sesame snaps

Method

  1. Preheat the oven to 180˚C. Grease and line two 7.5 inch cake tins.
  2. First make the chocolate cake. Melt the butter and chocolate together in a heat-proof bowl over a pan of simmering water.
  3. In a bowl mix the flour, sugar, bicarb and cocoa together.
  4. In another bowl whisk together the egg, milk, and yoghurt. Add this mixture and the chocolate mixture to the flour mixture, along with the tahini and 100ml boiling water. Whisk quickly until combined and then pour this into the two lined tins.
  5. Bake in the oven for 25-30 minutes, or until a skewer comes out clean once inserted. Leave the cakes to cool for 15 minutes before turning them out onto wire racks and leaving to cool completely.
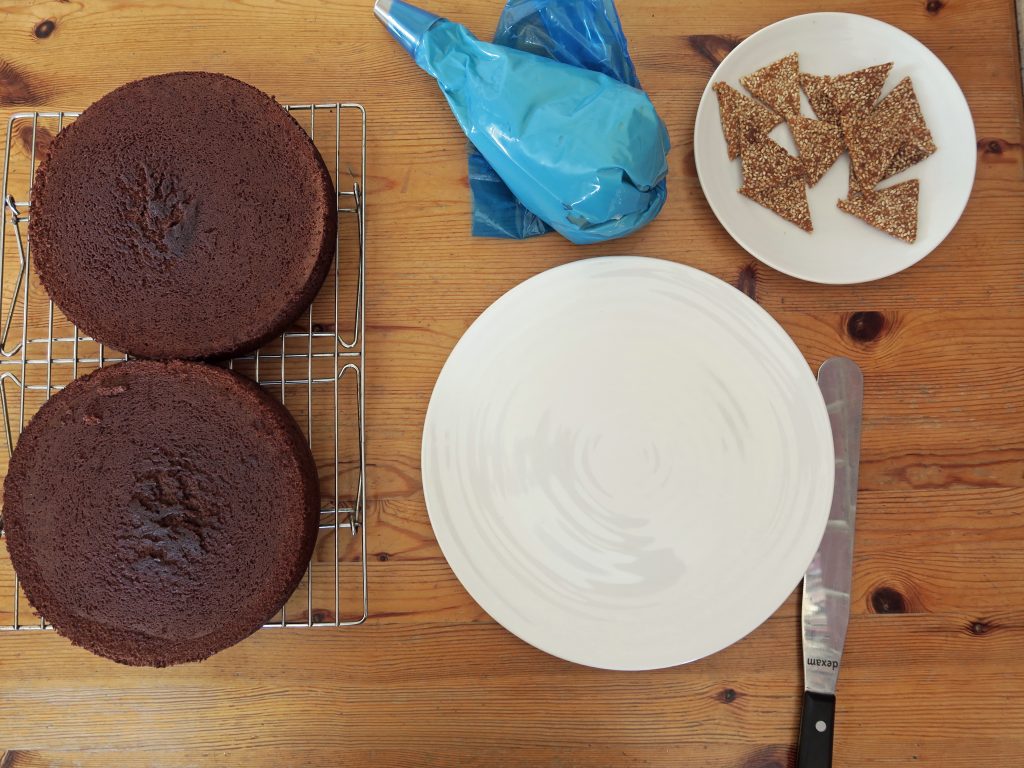
  6. Now make the icing. Put the butter and tahini into a bowl and mix with a wooden spoon until smooth and creamy. Add the icing sugar and beat it into the mixture until smooth. Spoon the icing into a piping bag fitted with a round nozzle and leave in the fridge until needed.
  7. When the cakes have cooled completely put one onto a plate. Pipe blobs of the icing over the base layer and then place the other cake on top.
  8. Pipe the rest of the icing over the top of the cake in blobs.  Dust the cake with a little cocoa powder. Then break the sesame snaps into shards and place them around the top of the cake. Serve!

Thanks for reading!

Emma x
Lentil and Kidney Bean Bolognese

Lentil and Kidney Bean Bolognese

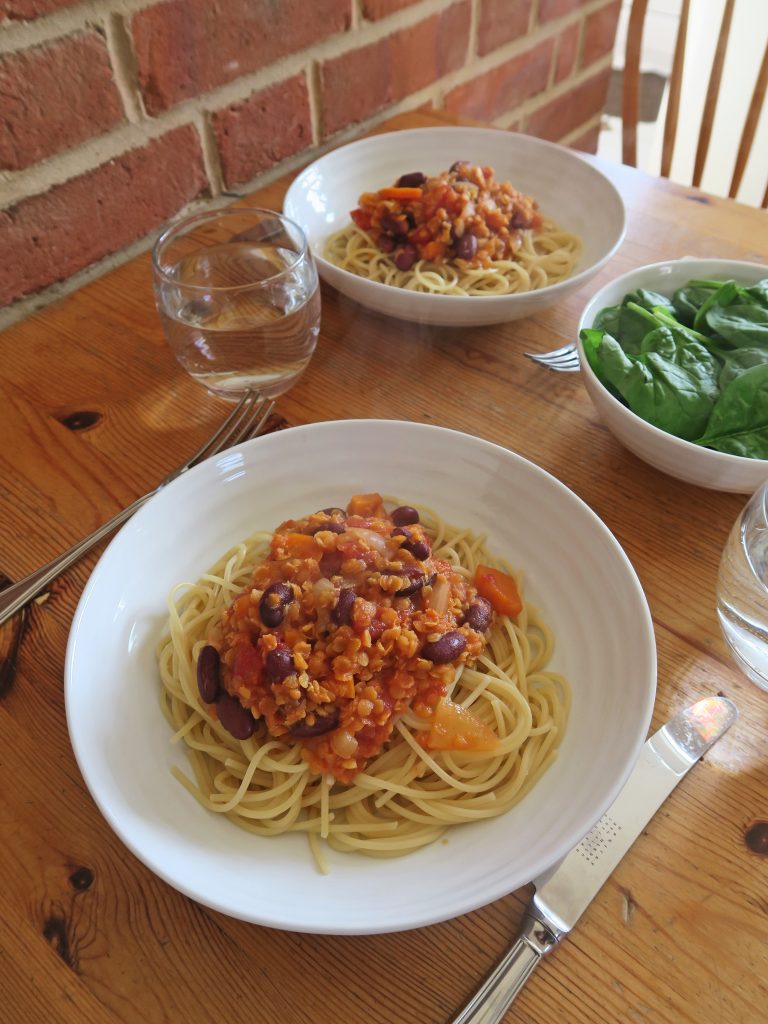
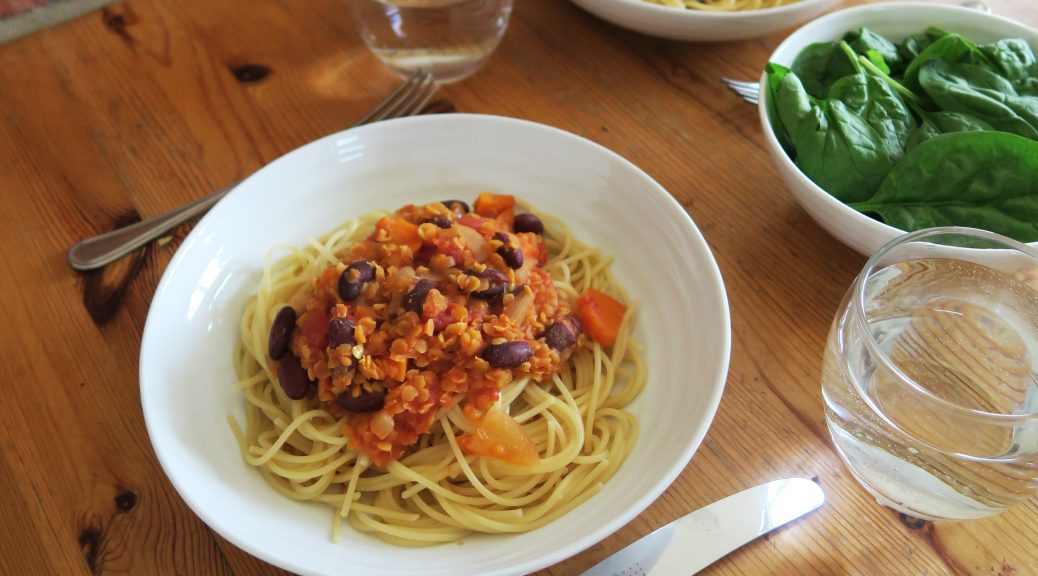
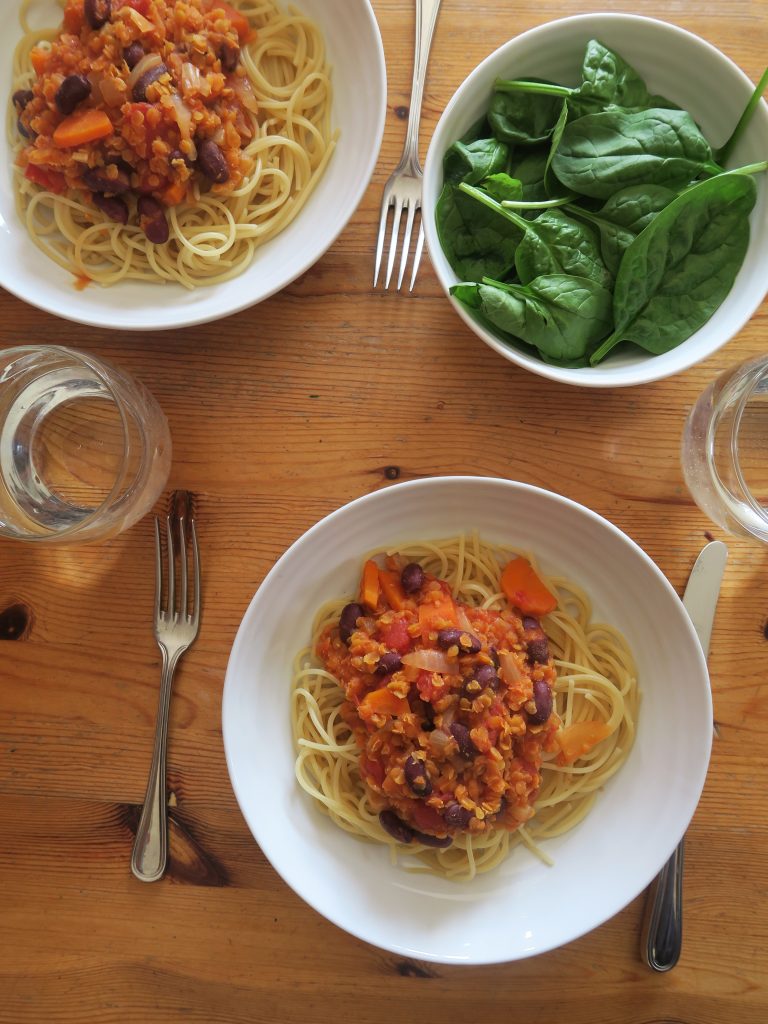
We all have that one vegan friend. You know, the one who eats falafel and carrot sticks and likes to remind you that they’re vegan? Well soon that’s gonna be me! My friend Kat and I are planning on going Vegan for Veganuary, however as that’s a pretty big step we’ve decided to work our way up to it by first going vegetarian and refined sugar free for November (bring on the hummus and carrot sticks!). I was veggie a couple of years ago, and so I’ve got a few recipes up my sleeve to start with like this insanely good Bolognese. This is something I made all the time way back when and I now make it way more than the beef version. It’s full of beans and lentils so it’s got lots of protein in it and as lentils can be kept in the cupboard for years you can rustle this up whenever you want! For any meat eaters out there who are thinking why make something meat-esk, just use meat, try this. It tastes amazing. You won’t regret it.

Recipe

Serves 4

Time: 25 minutes

Ingredients

  • 2 tbsp Oil
  • 1 White onion
  • 2 Carrots
  • 2 Garlic cloves
  • 500g Red lentils
  • 400g Chopped tomatoes
  • 1 tbsp Tomato puree
  • 1L Vgetable stock
  • 1 tsp Mixed herbs
  • 500g Spaghetti
  • 400g Kidney beans
  • Chedda cheese, grated to serve (optional)
  • Fresh Basil to serve (optional)

Method

  1. Put the oil into a large saucepan. Peel and then finely dice the onions and then add them to the oil. Place over a medium-high heat and fry until starting to caramelise.
  2. Peel the carrots and garlic cloves and then dice them. You want the carrots in chunks and the garlic to be finely diced. Add to the onions, mix and then fry for another 2-3 minutes until soft.
  3. Put the lentils, chopped tomatoes, tomato puree and vegetable stock into the pan and leave to simmer for 15-20 minutes until the lentils have cooked through.
  4. Meanwhile put another pan of water on a high heat for the spaghetti. Bring to the boil and then add the spaghetti and cook to the packet’s instructions (normally about 10 minutes).
  5. Add the mixed herbs, kidney beans to the bolognese mix and leave to simmer for another 3-5 minutes.
  6. Drain the spaghetti and serve with the bolognese, grated cheese and a little basil!

Thanks for reading!

Emma x