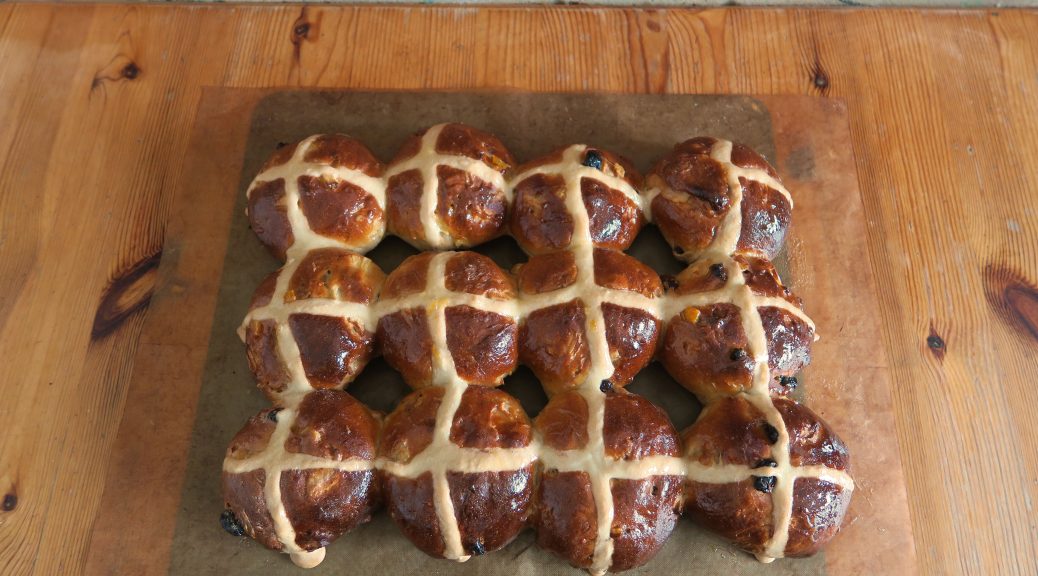
Simnel Hot Cross Buns
I’ve never been much of a fan of hot cross buns – too fruity, too dry, too many of them around wayyy too long before Easter. Yet every year between February and mid-late April the hot cross buns hit the shops and before I know it there’s a couple of slices in the toaster and I’m holding a knife at the ready to slather them in butter.
So this year I’ve finally accepted that there is something to be said for this humble Easter bread and have decided to make my own hot cross buns – but trying to correct all the flaws I think the shop ones you get have. Less fruit – still enough to be a hot cross bun but not so much it’s bitter, a wetter dough to make it softer and less drying on the palette and a little ball of marzipan in the middle to give it an Easter simnel twist. Now, all that nerdism over essentially what is just a blob of fruity bread is probably enough proof that I’m a food fanatic who is a) procrastinating and b) stuck for things to say on this despite that putting marzipan in hot cross buns is a pretty fine combination. So eyo, onto the recipe…
Recipe
Makes 15
Time: 3 hours
Ingredients
For the dough
- 300ml Milk
- 50g Butter
- 500g Strong white bread flour
- 1 tsp Salt
- 75g Caster sugar
- 1 tbsp Sunflower oil
- 7g Fast-action dried yeast
- 1 Large egg, beaten
- 75g Sultanas
- 25g Mixed peel
- Zest of 1 Orange
- 1 Apple, peeled, cored and finely chopped
- 1 tsp Ground cinnamon
- 1 tsp Mixed spice
- 85g Marzipan
To decorate
- 75g Plain flour
- 3 tbsp Apricot jam
Method
- Put the milk into a saucepan and bring to the boil over a medium heat. Add the butter and leave to melt/cool down.
- Put the bread flour, salt, sugar, and yeast into a bowl and mix together. Make a well in the centre and pour in the warm milk. Then add the beaten egg and mix with a round bladed knife until a dough starts to form.
- Tip the dough onto a lightly floured surface and knead for 5-10 minutes until the dough is smooth and stretchy. Place the dough in a lightly oiled bowl and cover with clingfilm. Then leave in a warm place to rise for at least 1 hour, until doubled in size.
- Once proved turn the dough out onto a work top and knead for 5 seconds to knock out the air. Then add the sultanas, mixed peel, orange zest, chopped apple, cinnamon and mixed spice to the dough. Knead them into the dough and then put back into the bowl and leave to rise again until doubled in size, again covered in cling film.
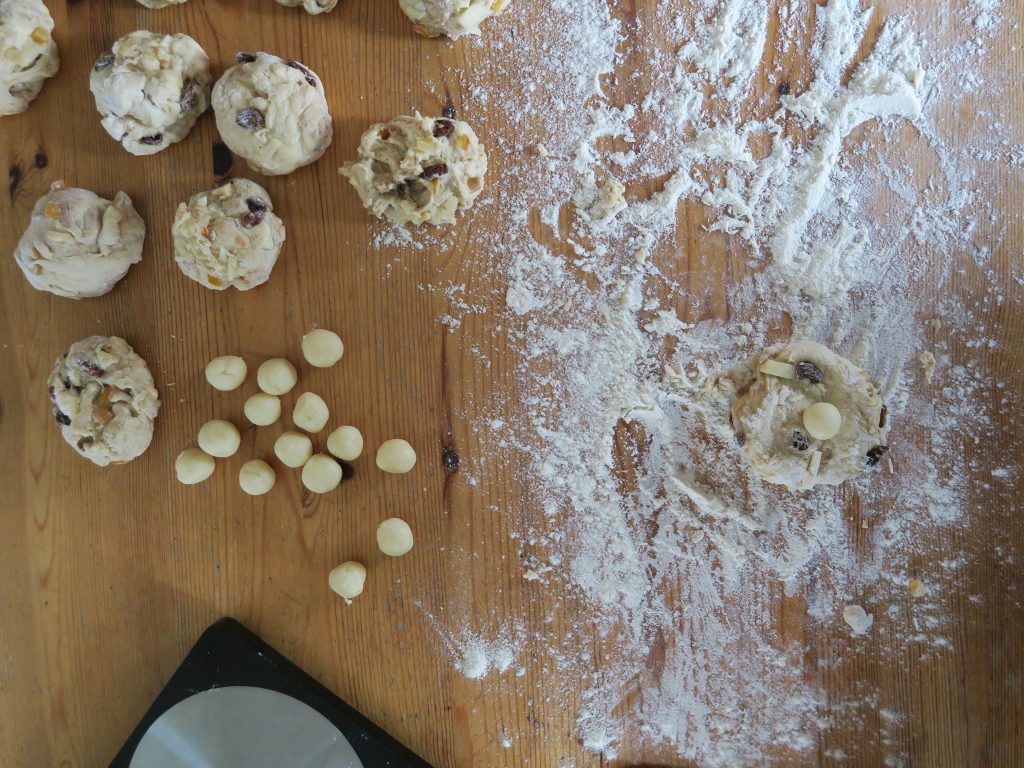
- Meanwhile split the marzipan into 15 equal chunks and then roll each into a ball. Leave to one side, covered in cling film until needed.
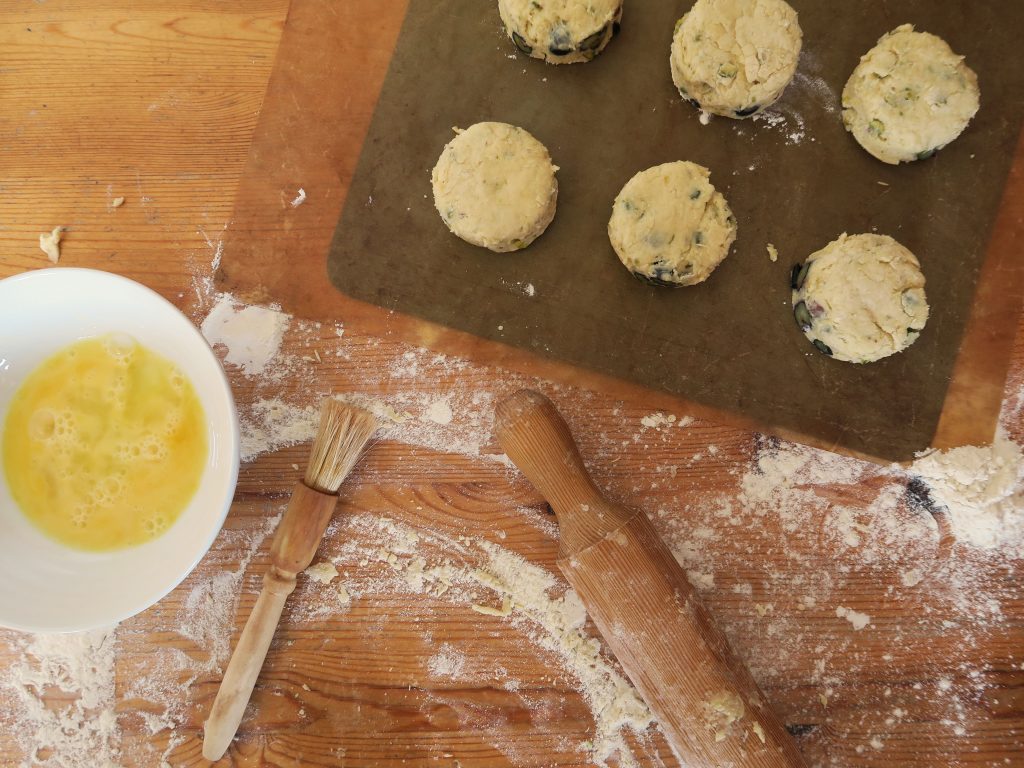
- When risen divide the dough into 15 pieces and roll each into a circle with a rolling pin on a lightly floured surface. Put a ball of marzipan into the centre of each dough disk and then bring the dough up around it so you have dough balls surrounding a ball of marzipan.
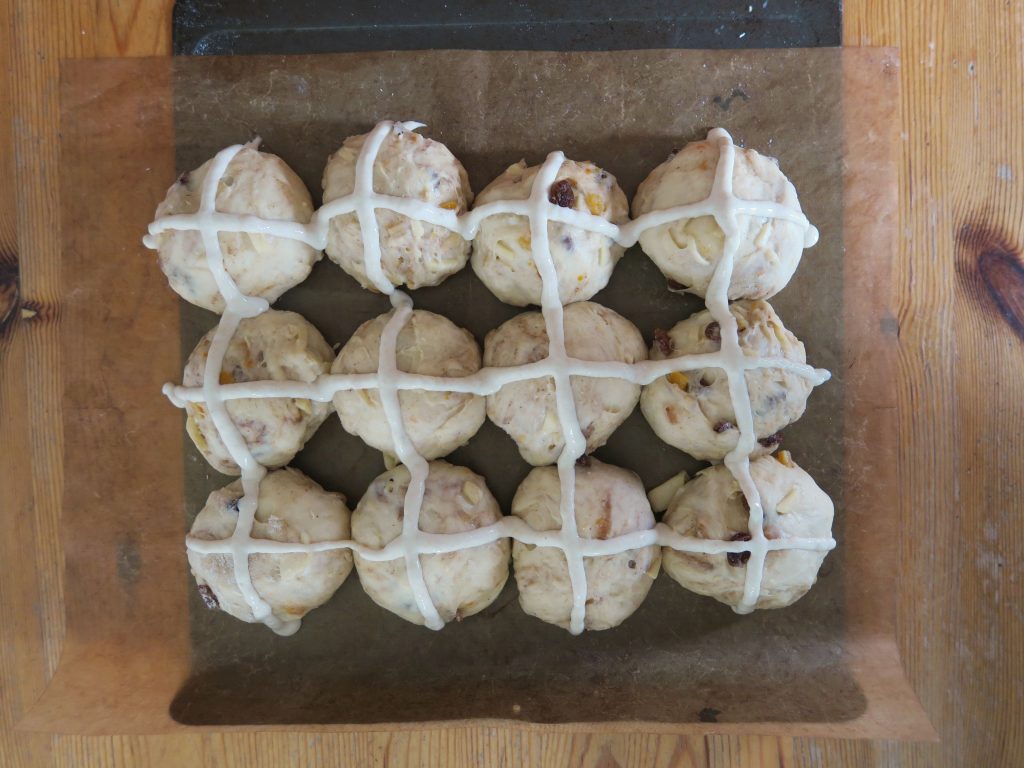
- Place the buns on a baking tray lined with baking paper. Arrange them so they have room to grow, but close enough so they’ll join when they rise. Cover loosely with cling film and leave to rise for another hour.
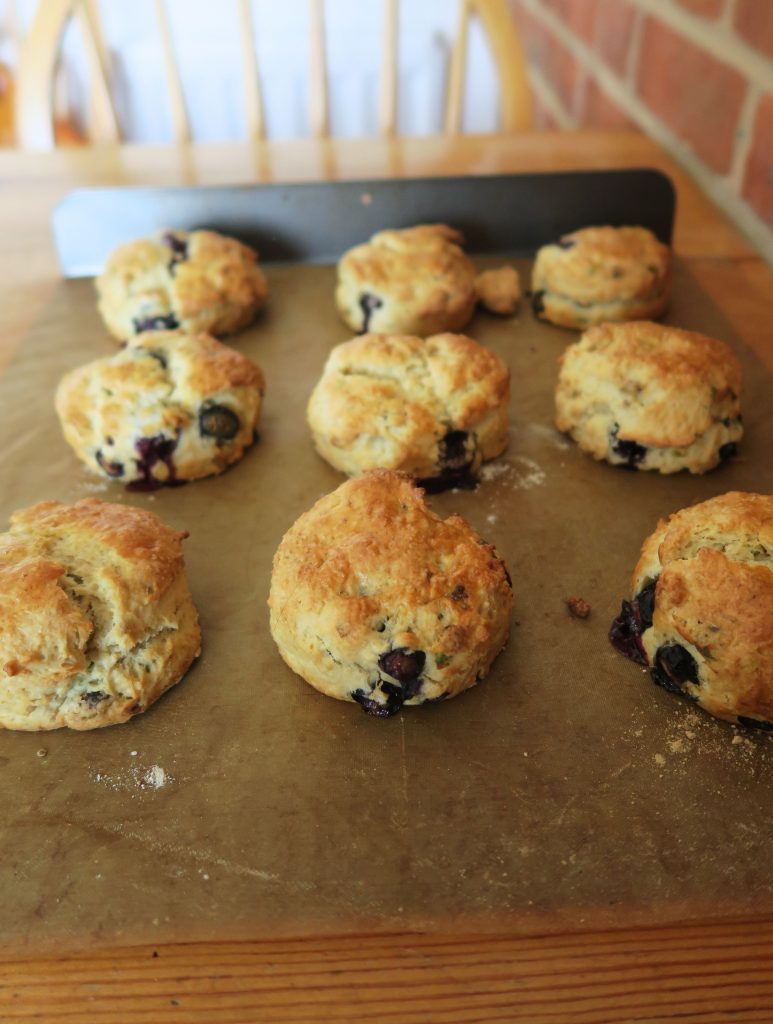
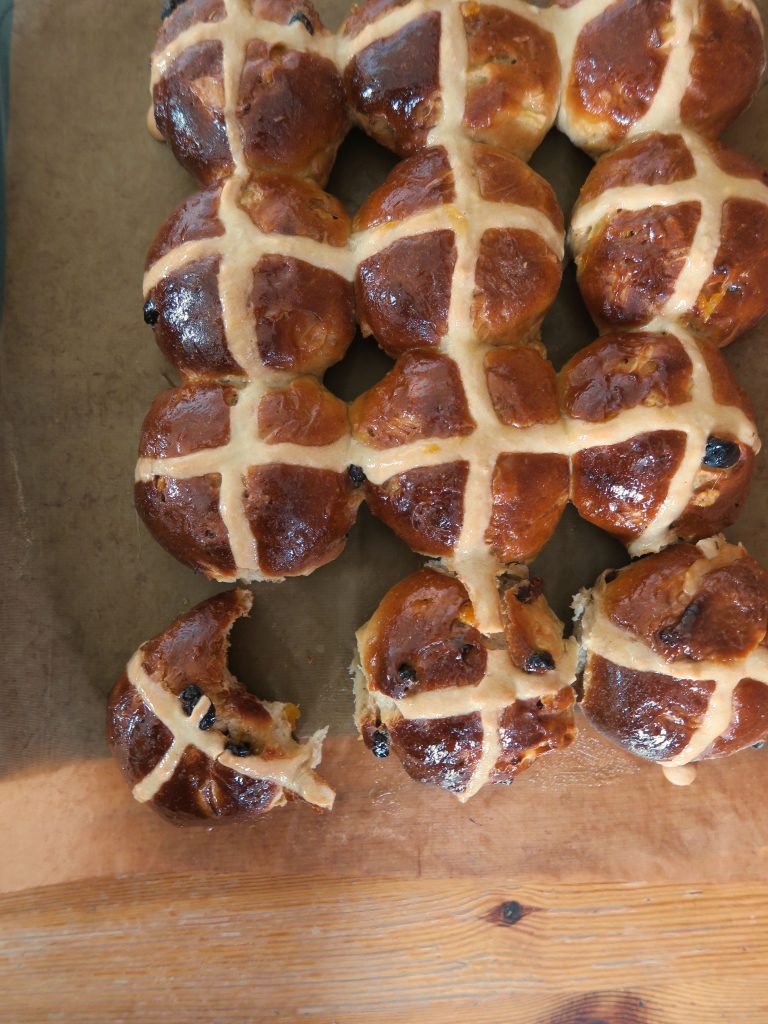
- Pre-heat the oven to 180˚C. Mix the flour with 5 tbsp of water, a little at a time, to make a paste. Spoon this into a piping bag fitted with a small, round nozzle. Pipe a line across the centre of the buns in one direction, then the other to make a cross. Bake the buns in the oven for 20-30 minutes until golden brown and cooked all the way through.
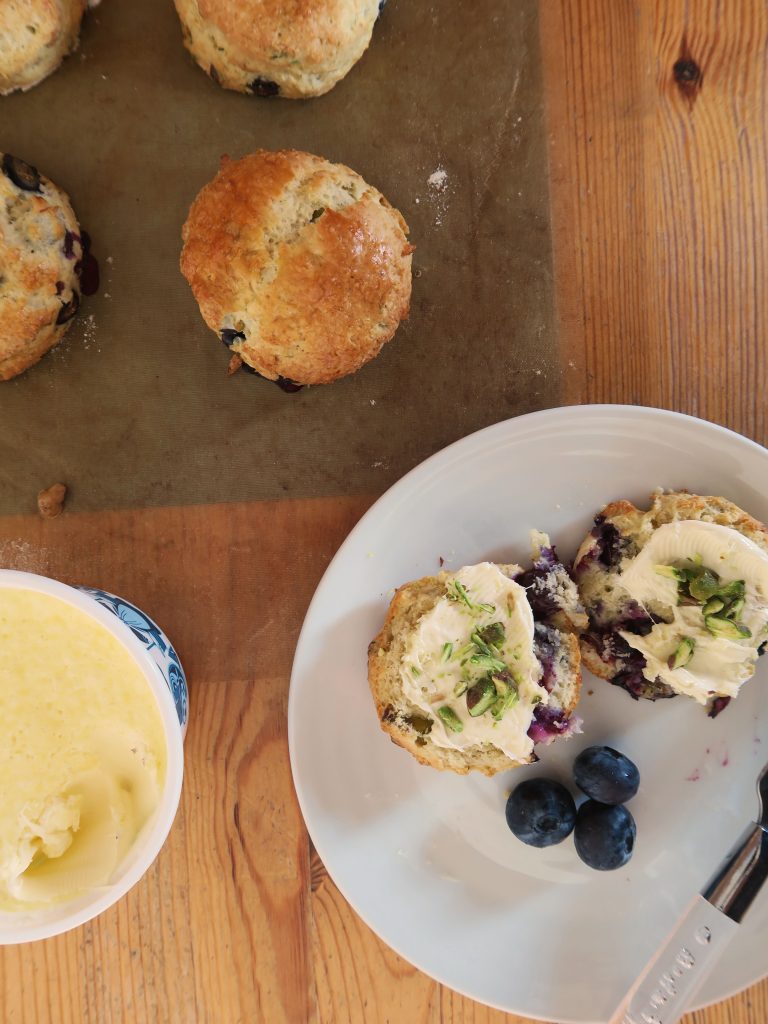
- Gently heat the apricot jam in the microwave for around 20 seconds to loosen it up. Then sieve it to remove any lumps and brush it over the buns to glaze. Leave to cool and then enjoy!
Thanks for reading!
Emma x