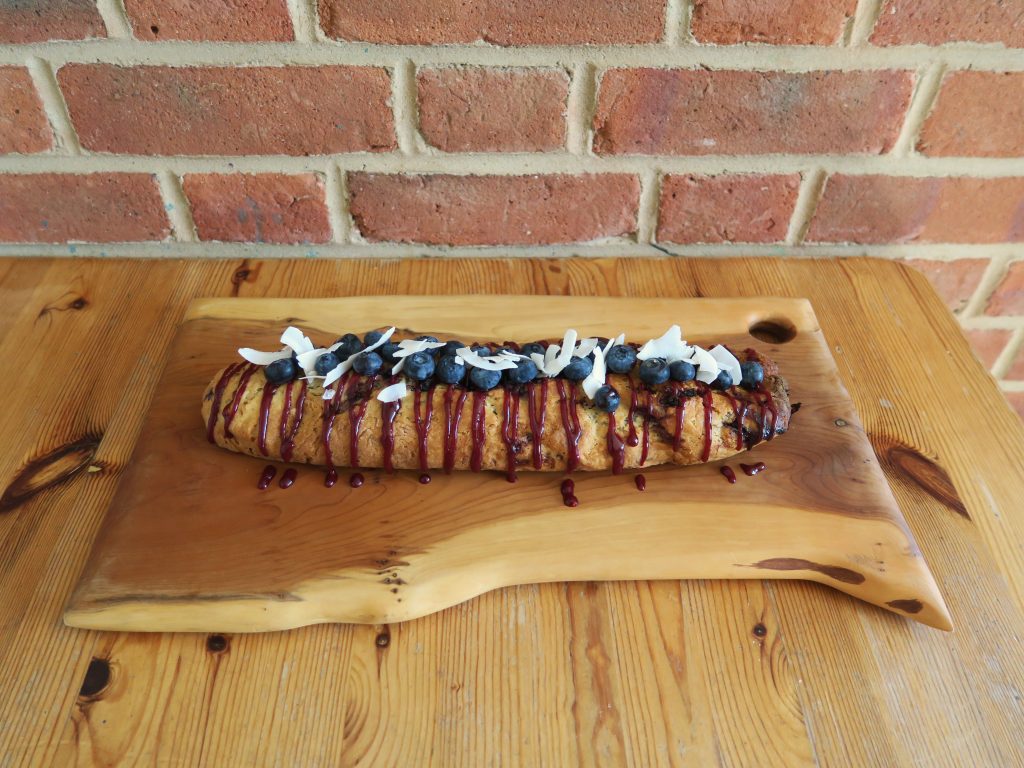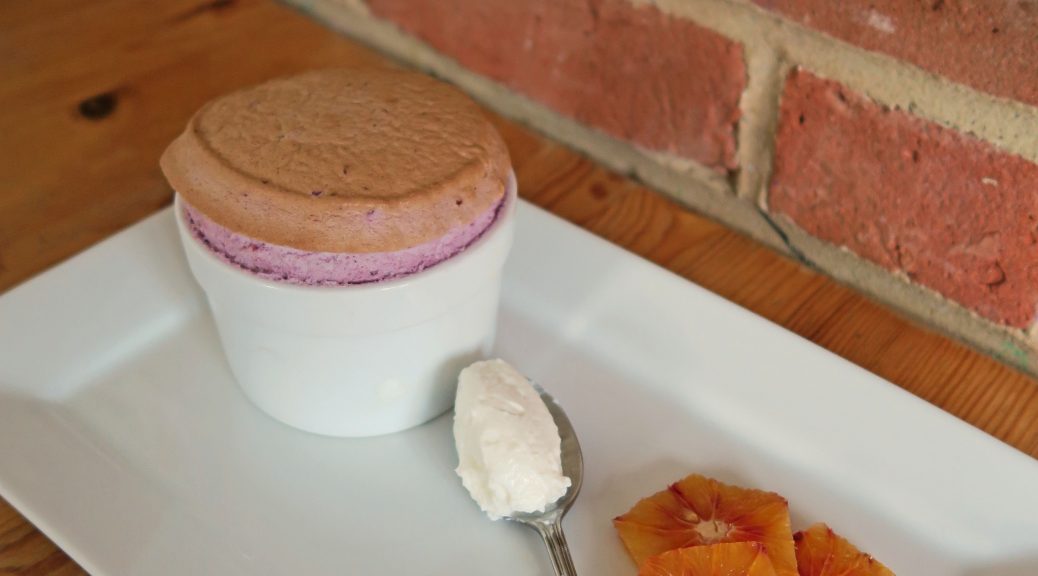
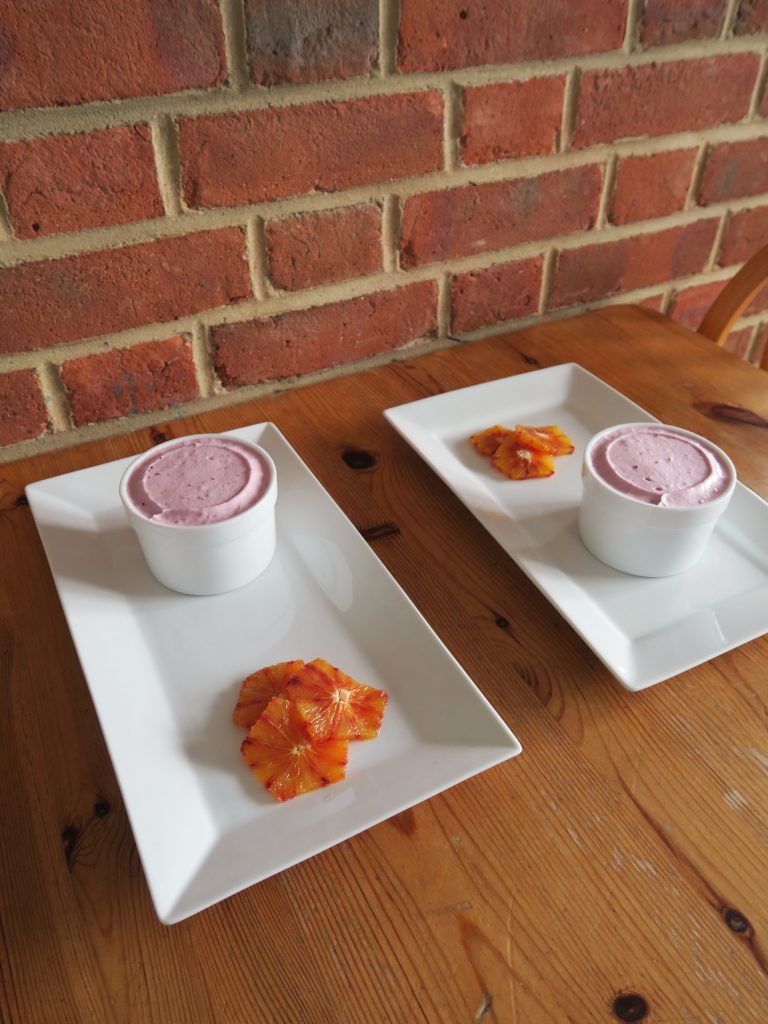
Berry Souffle with Yogurt and Blood Orange
Ok, so for a second I’d like you to cast from your mind any previous things you’ve ever known or thought about souffles. Forget the stereotype that they’re hard, posh and chefy – listen to this. I’m a strong believer that if you have the right recipe you can make just about anything. In the past I’ve struggled with souffles but I think that’s down to the individual recipes rather than the technique. The other day I decided to whip up a quick souffle in the same way I normally would, but this time following a different ratio of ingredients, and it somehow resulted in some of the best souffles I’ve ever made.
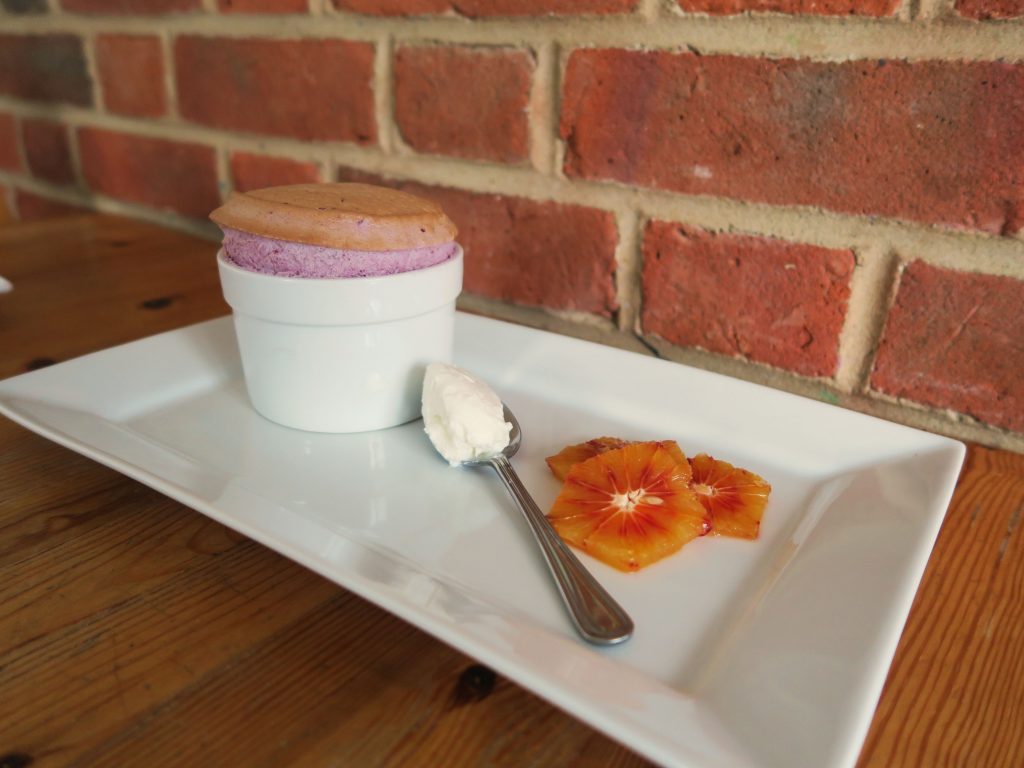
Souffles have to be served straight from the oven otherwise they sink, but I’ve always heard that a good souffle should still have some marshmallowy bounce to it even after it’s sunk from it’s original glory – and hey presto that’s what happened here! Photographs taken, uploaded and tweaked and even after all that these beauties were like little pillows of fruity air. It’s traditional to serve these at fancy dinner parties, but personally I think why not eat them whenever? They take relatively little time to make as far as desserts go and are super light, making them perfect for summer days!
Recipe
Serves 2
Time: 30 minutes
Ingredients
- Butter for greasing
- 100g Caster sugar, plus extra for sprinkling
- 100g Frozen cherries
- 50g Frozen raspberries
- 50g Frozen blackberries
- ¼ tsp Ground cinnamon
- ¼ tsp Ground ginger
- 10g Cornflour
- 2 Egg whites
To serve
- 1 Blood orange
- 2 tsp of Greek yogurt
Method
- Pre-heat the oven to 180˚C. Take 2 ramekins and grease them with butter in vertical lines. Chill the ramekins in the freezer for 15 minutes and then sprinkle a little caster sugar to line the mould. Tap out the excess and then leave in the fridge until needed.
- Now make the fruit puree. Put the frozen fruit and spices into a small pan and leave covered for 15-20 minutes on a low heat to simmer and soften. Then press the mixture through a sieve to make a puree (make sure to scrape mixture off the bottom of the sieve as lots of puree will collect there).
- Put the puree and 50g of the sugar into a pan and bring back up to the boil.
- Mix the cornflour and 2 tsp of water in a small bowl and add it to the puree. Stir over a medium heat until the mixture thickens to a jam-like consistency. Pour 50g of the puree into a large, clean mixing bowl and leave to cool completely.
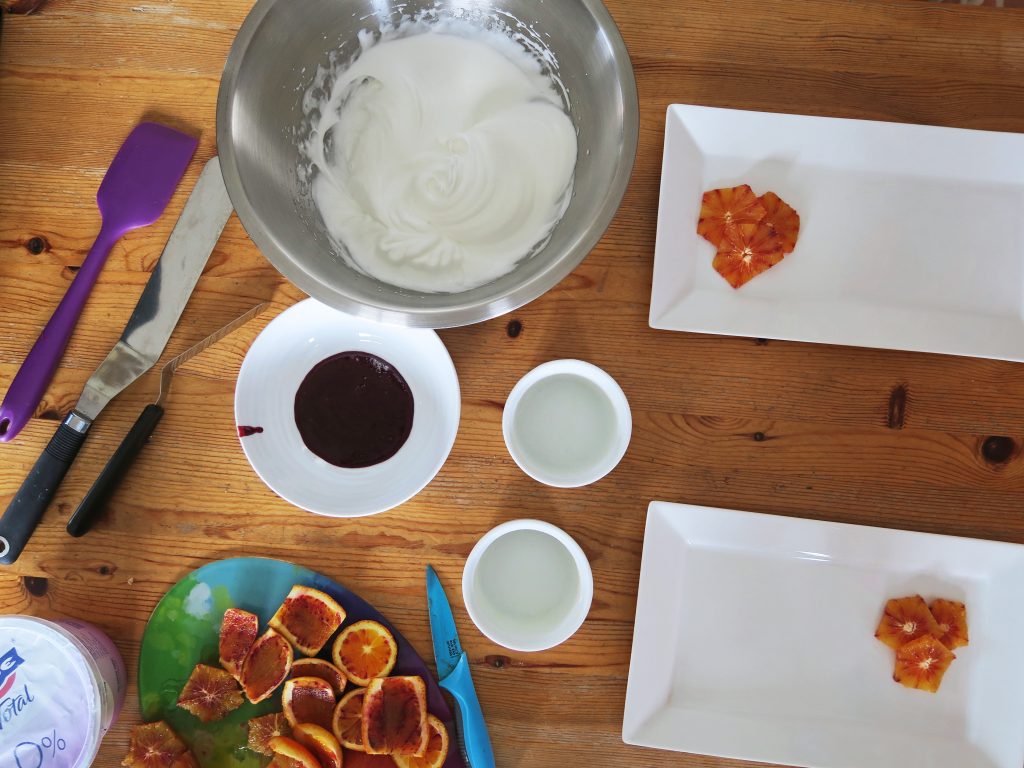
- Crack the two egg whites into a super-clean metal or glass bowl and whisk with an electric whisk until soft peaks form. Add the sugar and whisk again until the mixture is stiff and fluffy.
- Fold 1/3 of the egg whites into the fruit mixture until uniform in colour. Then fold in the other 2/3 to make a thick, even mixture.
- Divide the mixture between the two chilled ramekins and tap them gently on the worktop to make sure the mixture fills the ramekins. Then take a palette knife (or the back of a table knife) and sweep it across the top of the ramekins to make the top a smooth layer.
- Take your thumb at an angle and run it around the rim of the ramekin to shape the top. Then bake the souffles in the oven for 5-10 minutes until risen and just golden on top.
- Whilst baking chop the top and bottom off the blood orange and then peel the skin off with a knife. Then slice the orange into discs around 1/2 cm wide.
- Serve the souffles as soon as they come out of the oven with the orange slices and 1 tsp of yogurt on each plate!
Thanks for reading!
Emma x