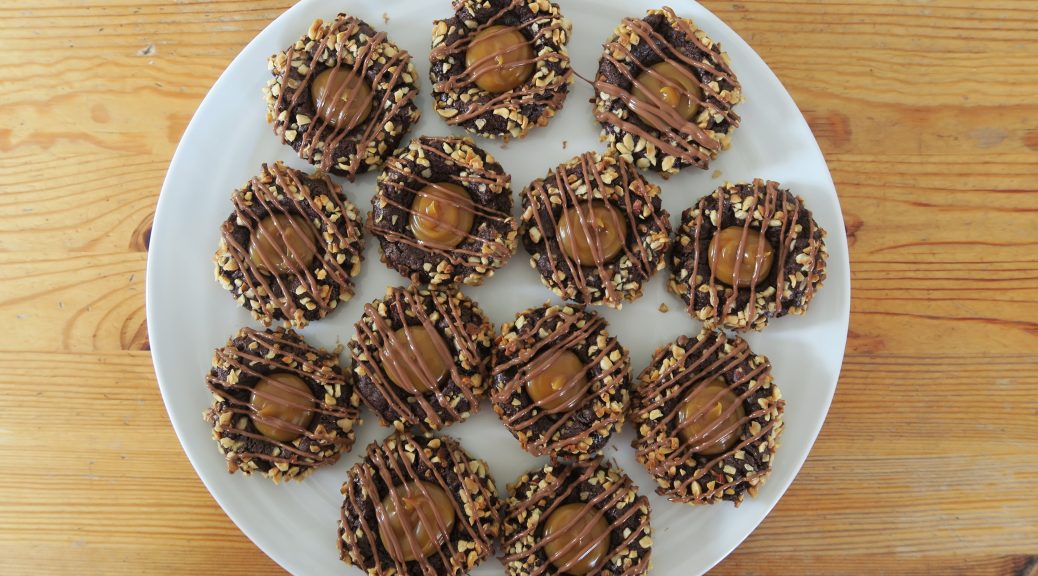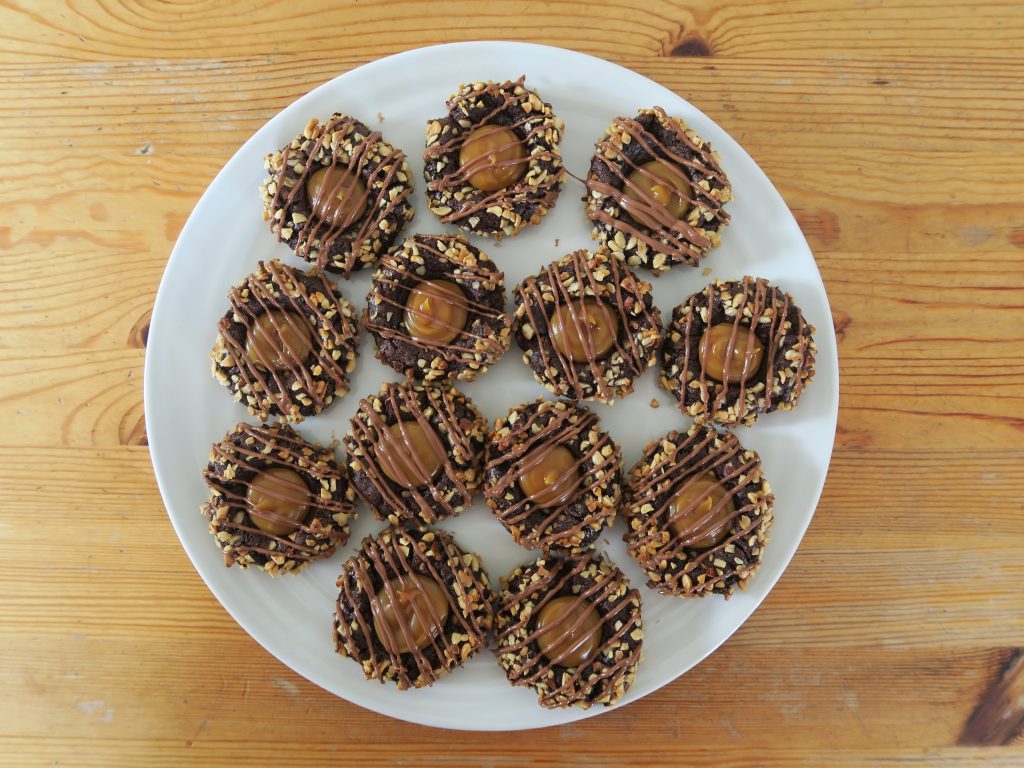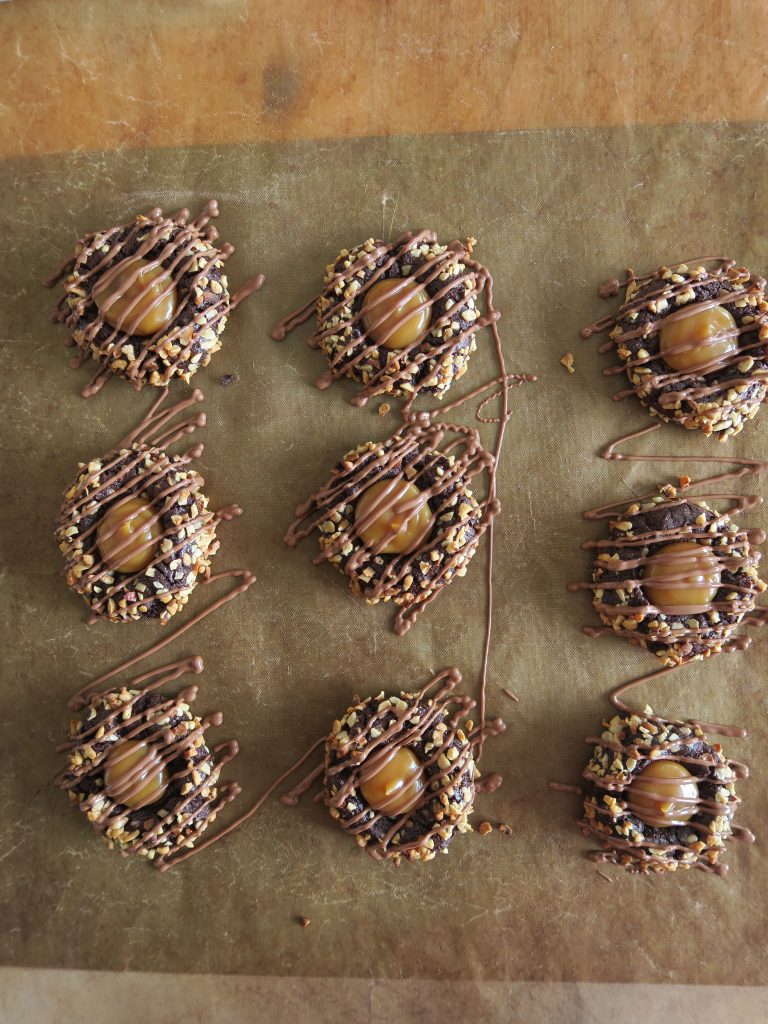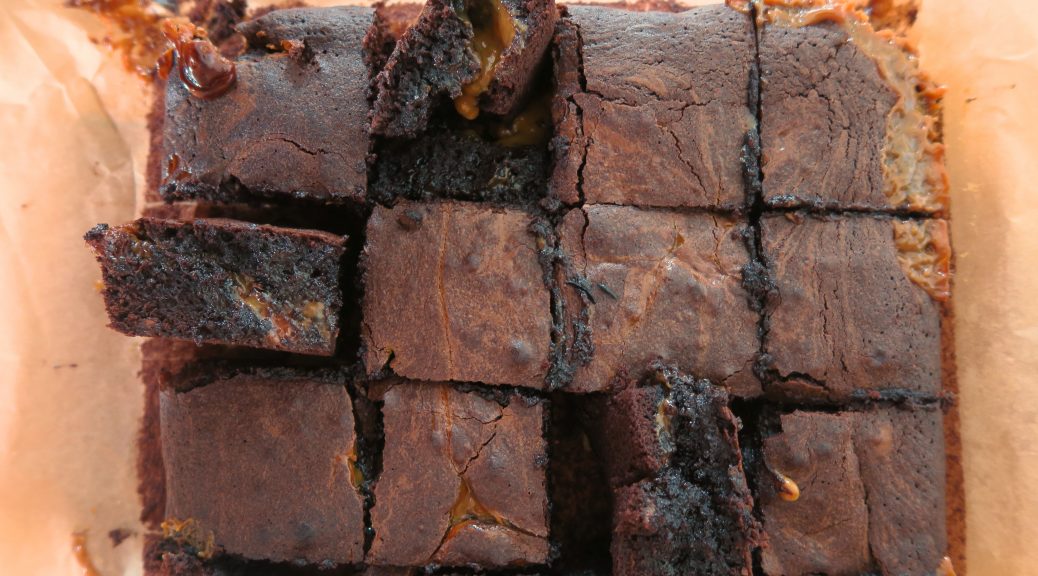
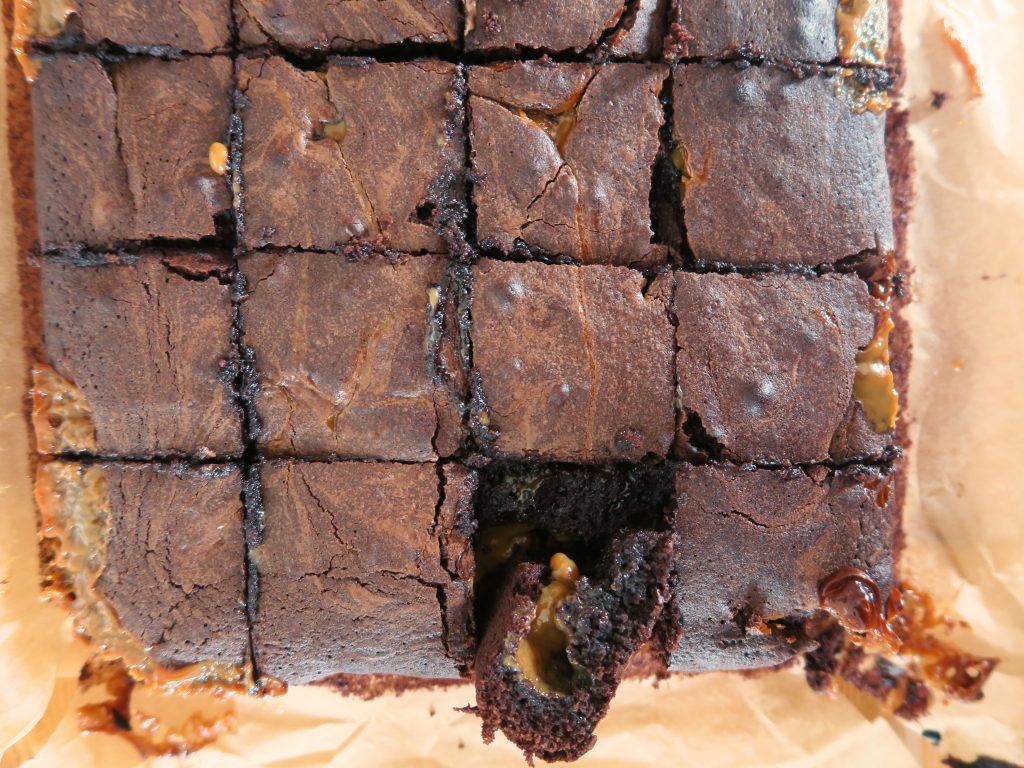
Salted Caramel Brownies
Oki so I have my first exam on Thursday (*insert panicked stress noise*). I’m sure it’ll be fine but I’m still in a roller coaster state of ‘oh it’ll all work out’ and ‘oh man I have so much work to do!!!’. I guess this isn’t helped by the fact that my levels of motivation have hit rock bottom and I’m currently in a state of perpetual procrastination. So I’m going to leave this post short (again) and try to do some work – little and often right?
(Just as a heads up though – these are great revision snacks! They also work really well with jam or fresh berries in the middle instead of the caramel if you’d rather!)
Recipe
Makes 16 squares
Time: 45 minutes
Ingredients
- 210ml Vegetable oil
- 320g Light brown sugar
- 1 tsp Vanilla extract
- 4 Medium eggs
- 80g Cocoa powder (not drinking chocolate, as it has added sugar and less cocoa, and so has much less flavour)
- 130g Plain flour
- 50g Milk chocolate, roughly chopped
- 170g Caramel
- ½ tsp Salt
Method
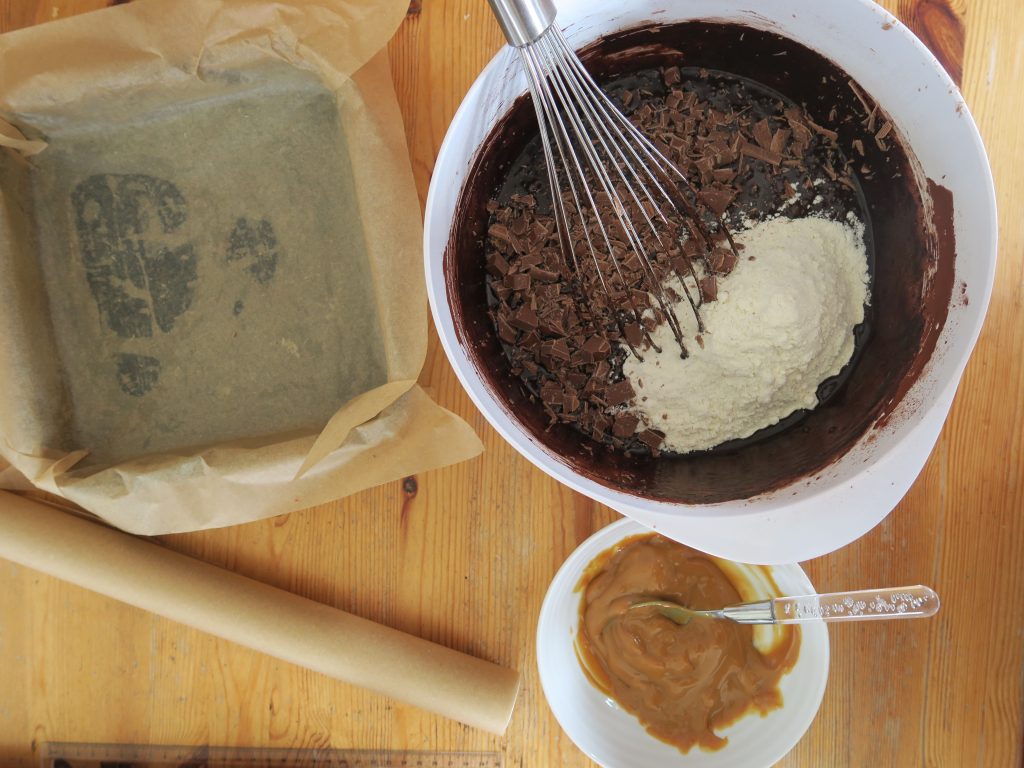
- Preheat the oven to 170˚C. Line a small, square tin (mine was 20×20 cm) with butter and baking paper.
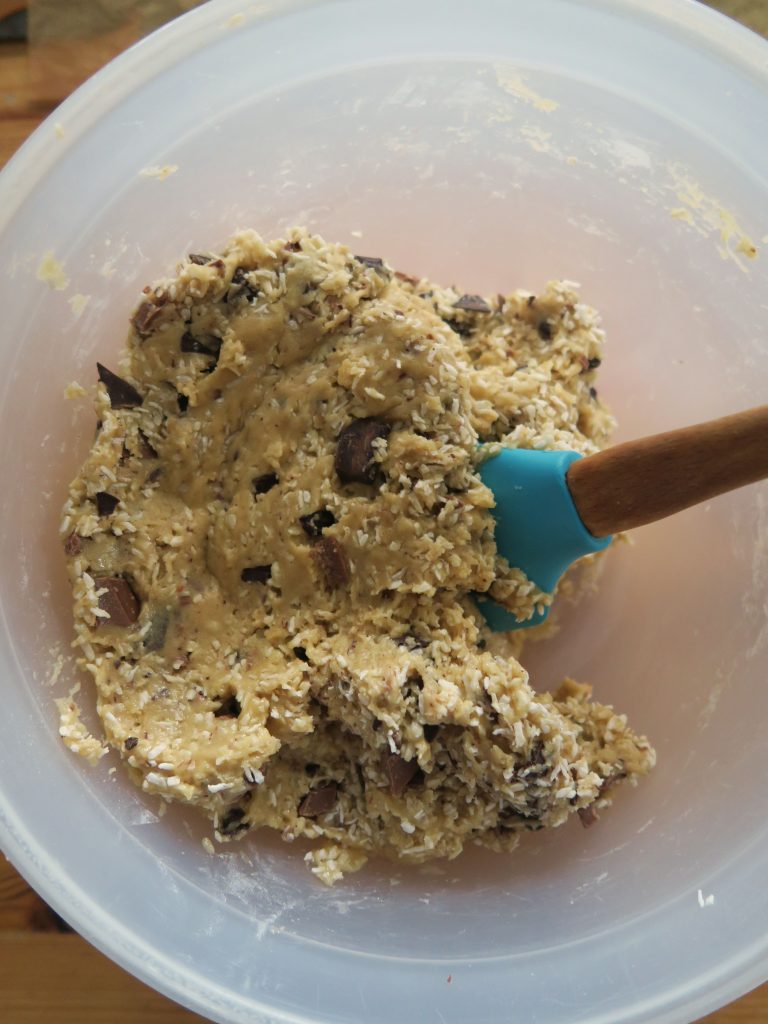
- In a large bowl whisk together the oil, sugar and vanilla. Add the eggs and whisk until fully combined. Add the cocoa and whisk again (go slowly here as the cocoa will go everywhere if whisked too fast). Then add the flour and the chopped chocolate and whisk until fully mixed
- Pour half the mixture into the lined tin and smooth out with a spatula.
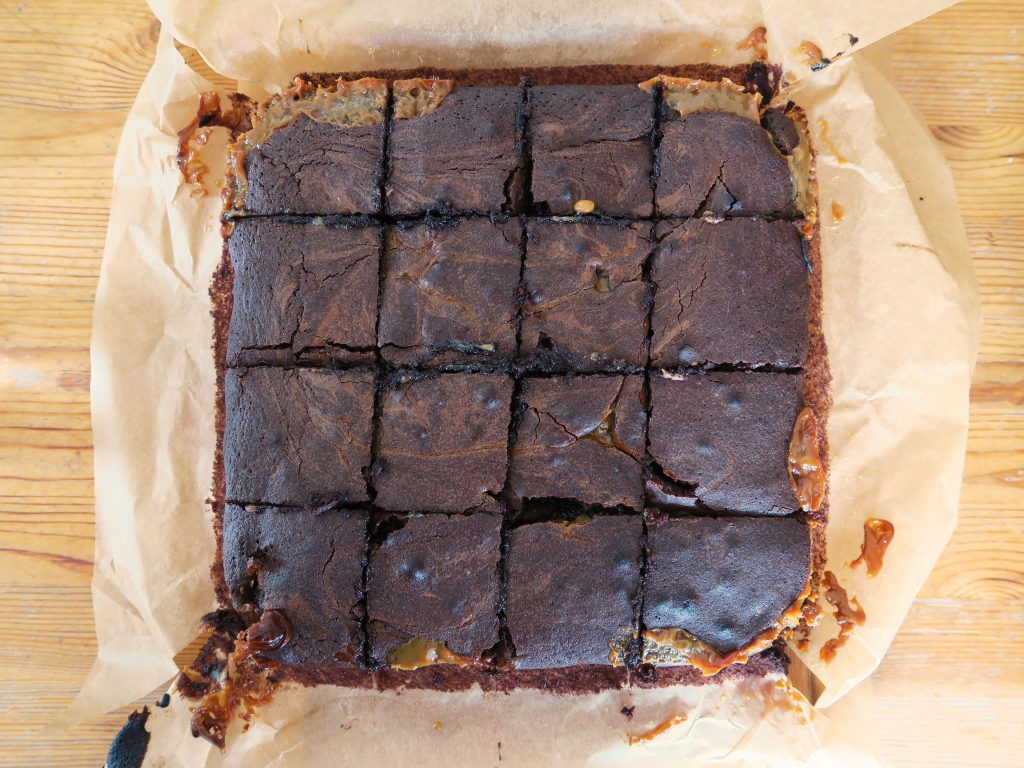
- Mix together the caramel and the salt in a bowl and then blob it over the brownies. Top with blobs of the remaining brownie mixture and then use a knife to swirl the two a little.
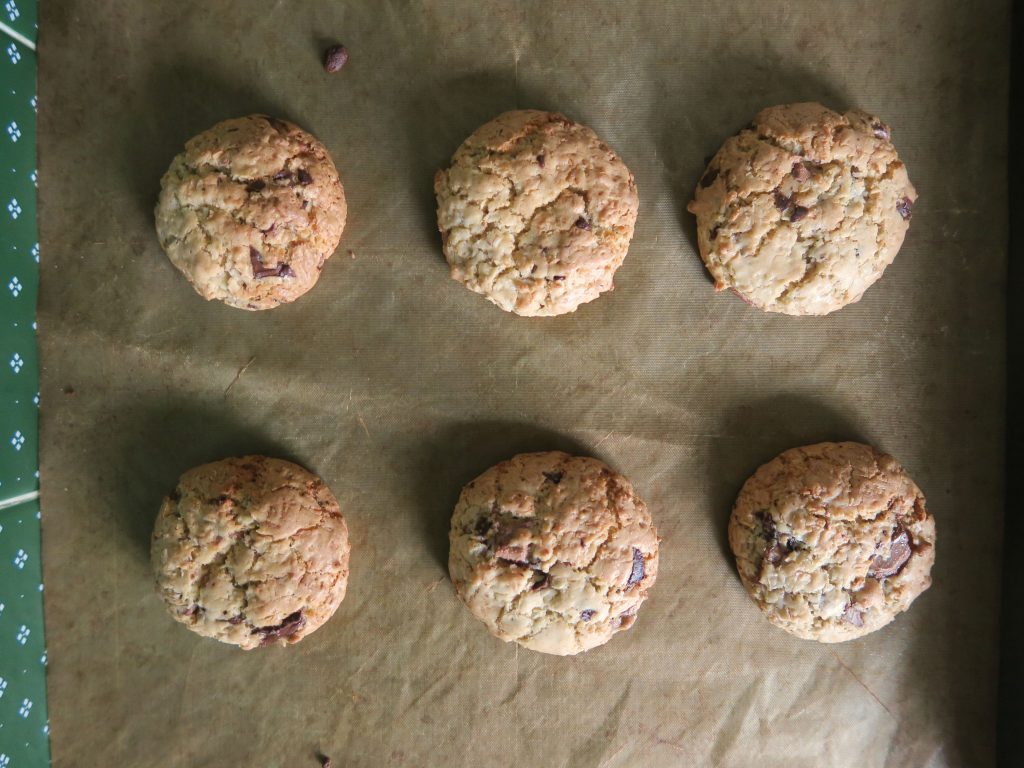
- Bake the brownies in the oven for 25-35 minutes. Be careful not to over bake here, as you want brownies to be slightly gooey in the middle. If you’re used to baking cakes I’d say take them out 5 minutes before you’d think it’d be ready if you were making a cake.
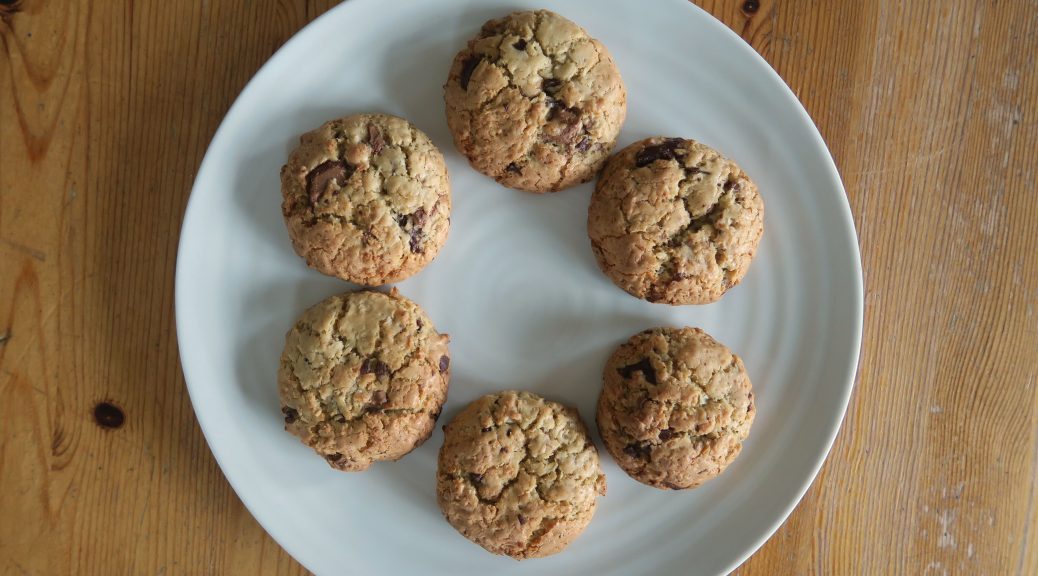
- Cut into 16 squares and serve! (They’re especially good with fresh berries and cream!)
Thanks for reading!
Emma x