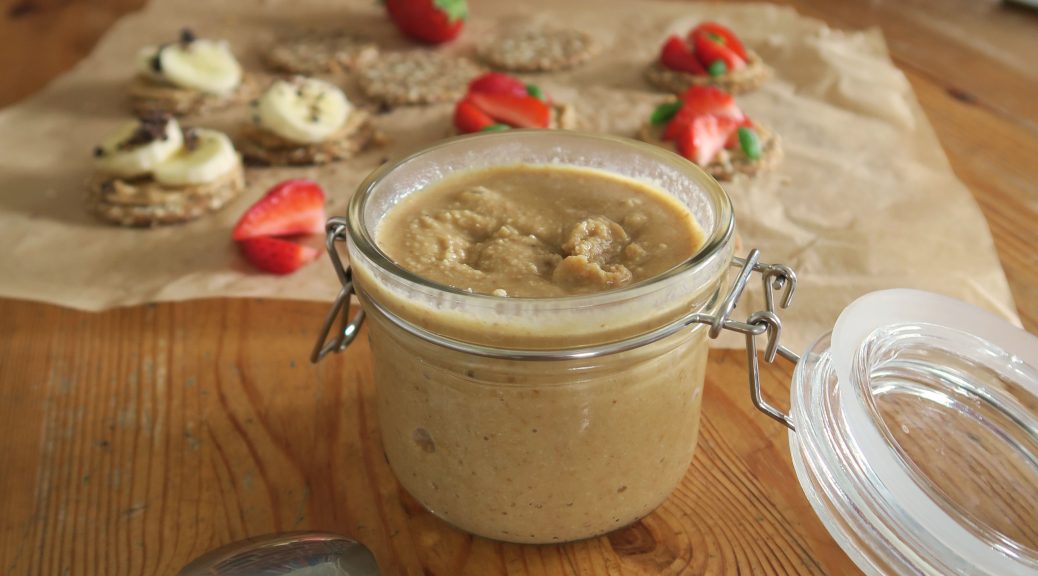
Category: Recipes

Nut Butter

Nut Butter

So, exciting news – in a few weeks I’ll be moving into a house with some friends for the next year of uni! Not only will this be a great chance to live a bit more independently from the comforts of college, but will also come with a gorgeous kitchen to go crazy in (seriously – it’s nicer than my kitchen at home!). Somehow I’ve ended up in a house full of some amazing international students, so it’s going to be really cool seeing all the different cultures and traditions coming out in the kitchen.

Over the past year my friend Kat has been telling me about all the things her family make from scratch back in Kuwait. They make their own bread, chocolate and even nut butters! Whilst this is fairly normal for them, however, in the UK we’re so used to buying everything pre-made from the shops. Recently I’ve become a lot more aware of all the processed foods I’m eating, so now with a summer of time on my hands I’m really keen to start making things from scratch myself – starting with some delicious nut butter!

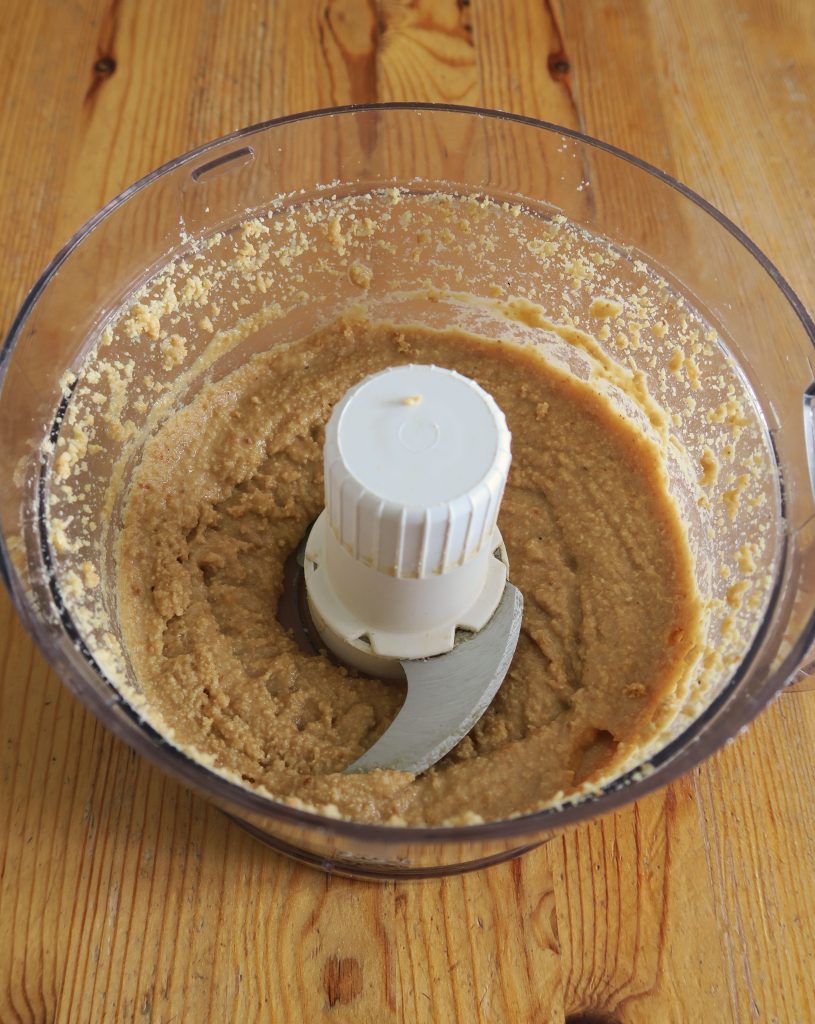
The idea of making something from scratch that you’d normally get in a jar from Tesco can feel a bit pointless, but this is so so easy to make! Just grab some nuts, throw them in a food processor and 10 minutes later you have the smoothest, purest nut butter you can imagine – it’s even easier than going to the shops.

Recipe

Makes 1 Medium sized jar

Time: Around 15 minutes

Ingredients

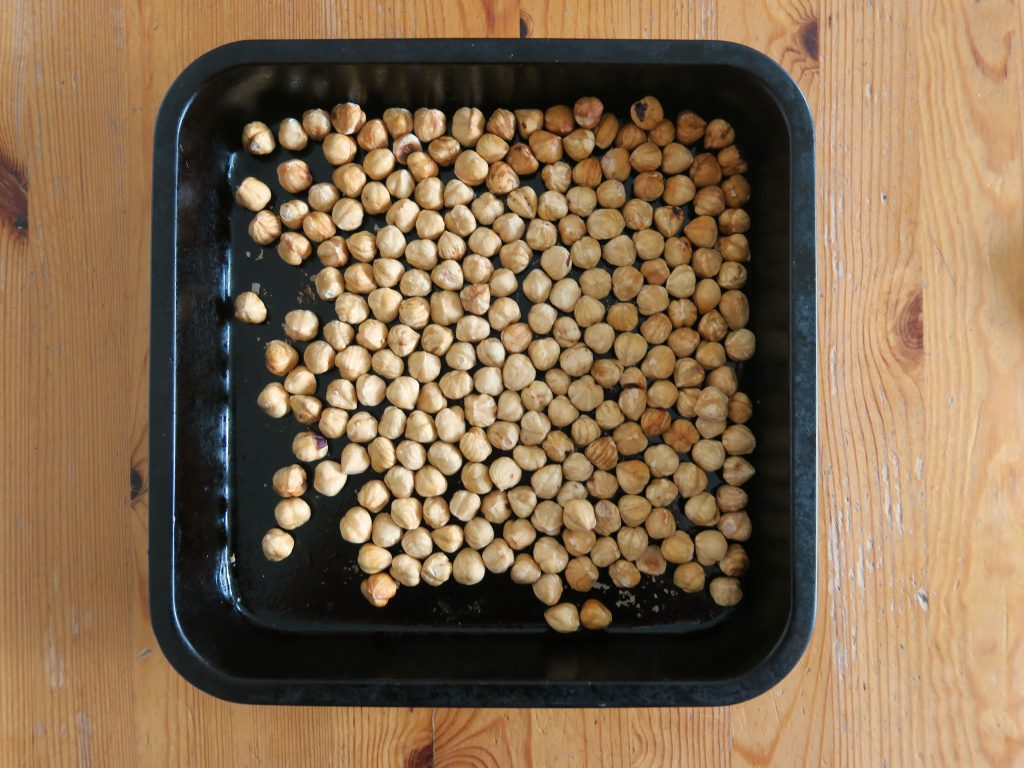
  • 400g Nuts of your choice (I went for hazelnuts)
  • ½ tsp Vanilla extract
  • A pinch of Salt

Method

  1. Pre-heat the oven to 200˚C. Place the nuts of your choice into a small roasting tin and roast in the oven for 5-8 minutes until starting to turn golden brown and smell (if your nuts have shells on them you’ll need to remove these first).
  2. If using skinned hazelnuts you’ll now need to remove the skins. To do this turn the roasted hazelnuts out onto a clean tea towel. Then fold the towel over them and roll the nuts around until most of the skins flake off.
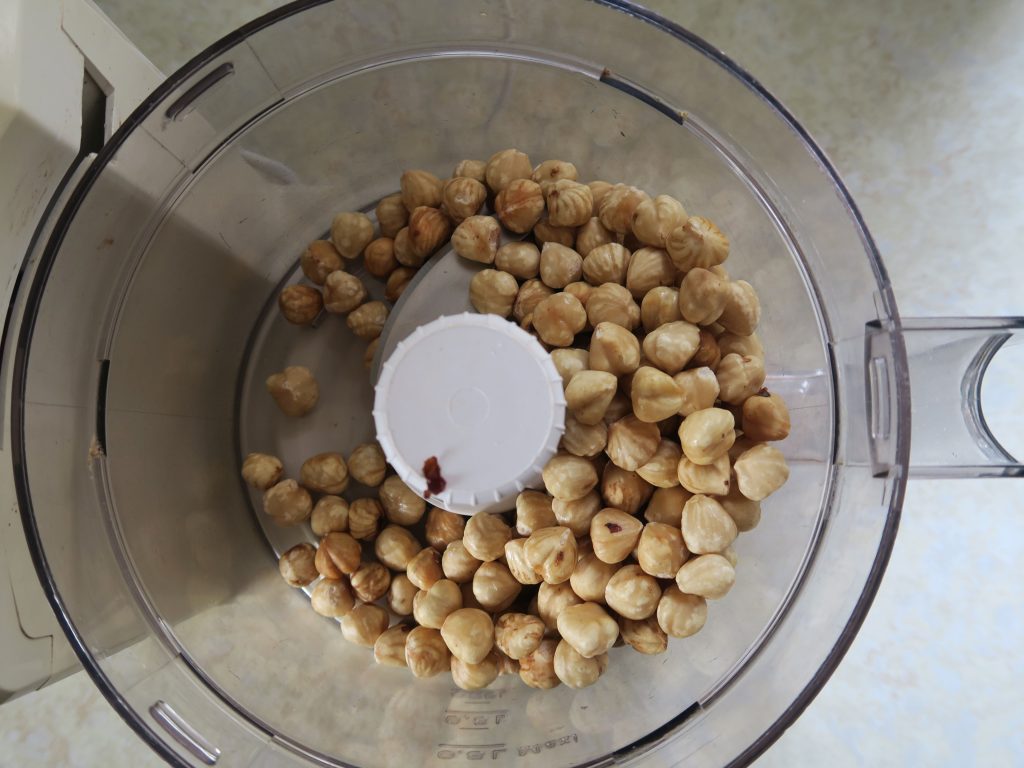
  3. Tip the nuts into a food processor and blend on full power for 10-12 minutes until a smooth butter forms. It’ll take time but have patience!
  4. When smooth add the vanilla and salt and blend again for 30 seconds to mix.
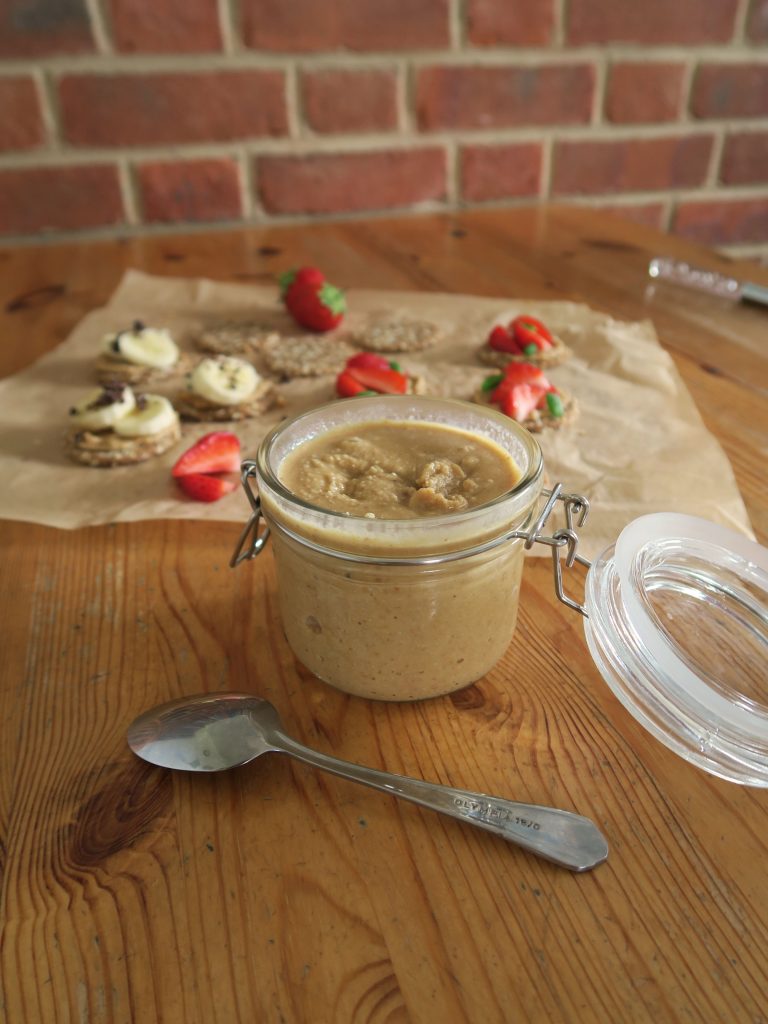
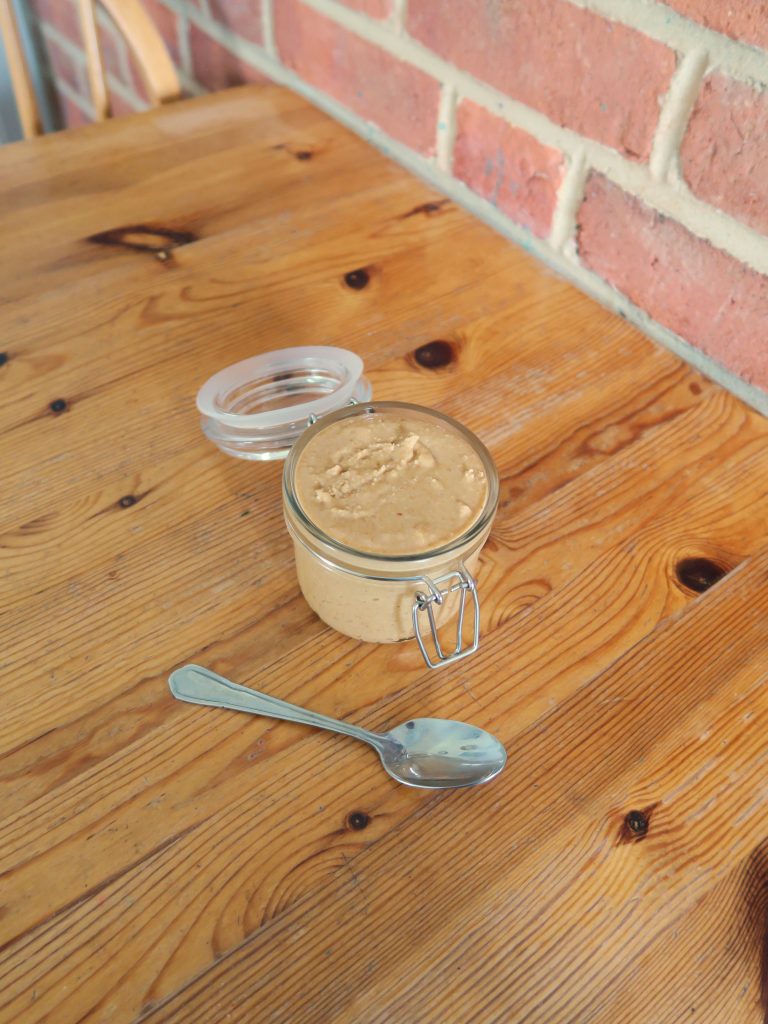
  5. Transfer to a sterile jar or pot (see how-to below) and keep in the fridge for up to 3 weeks!

How to Sterilise Jars

(Useful for jams, nut butters and chutneys)

  1.  Soak your jars (I find washed-out old jam jars the best for this as they’re made for purpose!) in warm, soapy water for 5 minutes and then rinse in clean water.
  2. Leave for 10-15 minutes on a drying wrack to partially air-dry.
  3. Pre-heat the oven to 140C.  Place the jars standing upright in a roasting tin and then heat them in the oven for 15 minutes.
  4. Leave to cool a little and then fill with your contents. (If filling with jam or chutney make sure to do this when the mixture is still hot and then place a wax disc on top to prevent mould from growing, before sealing with a lid – for nut butter you can get away with just using a lid).

Thanks for reading – keep an eye out for recipes you can use this delicious nut butter in,  coming soon!

Emma x

Black Wild Rice, Cherry, and Rocket Salad

Black Wild Rice, Cherry, and Rocket Salad

Recently I’ve decided to try going on a detox again and this time I’m really going to try to get into the habit of healthy eating. I’ve said this before, however at the moment I’m not going away in the near future, I’m not being catered for and I’m free to really focus on what I’m eating, so I’m determined to make this work. They say it takes 30 days to make a habit and 90 days to make a lifestyle, so that’s what I’m aiming for! As of yet it’s going really well: I’ve started thinking out of the box and I’m now getting into the habit of making things that will nourish my body but also taste great. I am craving cake and would like nothing more than to make some danish pastries right now, but I’m standing strong and I’m hopeful that this time I won’t crack.  Something I experimented with the other day was this wild rice and cherry salad and I was chuffed with how well it worked. Delicious, filling and super quick to throw together!

Recipe

Serves 2

Time: 10 minutes

Ingredients

  • 100g Black wild rice
  • Roughly 8 Fresh cherries
  • 4 tbsp Puy lentils
  • 50g Feta cheese
  • A handful of Rocket

Method

  1. Fill a medium sized pan half way full with water and bring to the boil. Reduce the heat to medium and add the rice. Stir once and then leave on a gentle simmer until soft to preference.
  2. Meanwhile, halve and de-stone the cherries and leave to one side for now.
  3. Then put the puy lentils into a medium sized bowl and microwave for 20 seconds to gently warm through.
  4. Drain the rice and then add it to the bowl with the lentils. Stir gently to combine.
  5. Portion the rice out between your two plates. Arrange the halved cherries on top and then scatter over chunks of the feta cheese. Finish with a sprinkling of rocket leaves.

Thanks for reading!

Emma x

Strawberries and Cream Jammy Dodgers

Strawberries and Cream Jammy Dodgers

So it’s been a while since my last post as I’ve been taking a rest from everything. I’m one of those people who will try and do everything and then a little bit more on top, which is great fun until you realise you’ve burnt yourself out. But now I’m feeling refreshed and ready to start going crazy in the kitchen again, fully in the knowledge that I will inevitably crash in the short term future – but hey, you’ve got to make the most of your productive times as and when they hit you right?!

These beauties are in homage to my all time favourite British biscuit – the Jammy Dodger! Generally I’m not a biscuit person, but give me one of these and I’m instantly taken back to happy childhood memories of packed lunches and picnics in my back garden. I’ve fancied these up a little by using a rich clotted cream shortbread as the biscuit component. Essentially by using clotted cream as well as butter you end up with an even richer, melt-in-the-mouth biscuit than your regular shortbread (it’s pretty good if I say so myself!).

Recipe

Makes 12

Time: 90 minutes

Ingredients

For the biscuit

  • 100g Cold butter
  • 100g Clotted cream
  • 100g Caster sugar
  • 300g Plain flour
  • 1 Egg yolk

For the filling

  • 4-5tbsp Strawberry jam

Method

  1. Put the butter, clotted cream and sugar into a bowl and beat together until smooth. Then add the flour and rub the sugar/butter mixture into the flour until it resembles fine breadcrumbs.
  2. Mix the egg yolk with 2 tsp water and then add this to the main bowl. Mix together again until a smooth ball of dough forms. Split the dough into 2 equal balls and then cover each one in cling film and chill in the fridge for 30 minutes – 1 hour.
  3. Pre-heat the oven to 180˚C and line two baking trays with baking paper.
  4. Take one of the balls of dough out of the fridge and put it onto a lightly floured surface. Roll it out to about 5mm thick and then cut out 12, 6cm circles using a round cookie cutter. Place these discs on a baking tray and then gather up and re-roll the dough until it’s all used up.
  5. Roll out the other block of dough to the same thickness and repeat the cutting out of circles. Then take a smaller cookie cutter (diameter about 1cm) and stamp out the middles of the second batch of biscuits to create doughnut-like rings.
  6. Bake the biscuits in the oven for around 15 minutes until golden brown and just starting to crisp. Then leave to cool completely on wire racks.
  7. To prepare the filling put the jam into a bowl and mix a little with a small spoon to loosen it up. Turn over the cooled base biscuits (the full circles) and spread a little of the jam over the base of each one. Top with the biscuits with the holes in the top and then enjoy!

Thanks for reading!

Emma x

Mocha Torte

Mocha Torte

It’s coming to the end of term, the end of an era and a bit of a change in mind on my part. I started this blog mainly as a project for myself – I wanted to create recipes and have a place to put them, a catalogue if you will. Then, last summer I decided to also use this as a platform to explore the topic of mental health and mental health awareness. These are areas I’m still interested in exploring and writing about, however I’ve now decided to let it come more naturally. I’m one of those people who when they set their mind to something will do whatever it takes to make it happen, even if it isn’t the best thing for themselves. In this case I was determined to turn out two recipes a week, every week. However, as I’m restricted to cooking in my holidays, because I don’t have the space or time here at uni, I essentially binge-cook in my vac and then post later on. I also eat ALL the cakes, pastries and general sweet things I make during those times, (roughly 2 recipes a day), leading to me having a really bad diet and so on. Needless to say that isn’t a healthy way of living.

Therefore I’ve decided to keep on going, but to just be more relaxed and varied with my posts. Rather than sticking to a strict twice a week schedule I’ll post as and when I feel inspired to do so. I’ll keep blogging my own recipes, but will also write about mental health, my culinary travels and whatever else feels particularly inspiring. In essence this will continue to be The Mindfulness Kitchen, I’ll just be looking after myself a little more which at this point in my life is something I need to be doing. It’s slightly worrying that it’s taken me this long to realise this – but just because you can doesn’t mean you should. Just because you want to do something, feel like you should do something or feel like you can do something it doesn’t mean you should. Take a second to really think about what you’re doing. Take a minute to think about your life choices and ask yourself is this what’s best for me? Of course, beyond that you should think about others and what’s best for them, but you can’t help anyone if you’re in an emotional pothole, so you should first make sure you don’t end up in one!

(On a side note, anyone else made massively peckish by this wonder of a mocha torte?)

Recipe

Serves 16

Time: 1 hour, plus chilling time

Ingredients

For the base

  • 150g Digestive biscuits
  • 75g Unsalted butter, melted

For the filling

  • 260g Dark chocolate
  • 2 tbsp Golden syrup
  • 600ml Double cream
  • 4 tsp Instant coffee granules

To decorate

  • 300ml Double cream
  • 1 tsp Vanilla bean paste
  • A sprinkling of cocoa powder

Method

  1. Grease and line a 20cm round cake tin with butter and baking paper. Now make the base. Crush the biscuits with the back of a rolling pin to make a rough crumb. Then add the melted butter and stir to make a mixture that resembles damp sand.
  2. Spoon the mixture into the lined tin and level it out with the back of a spoon. Leave in the fridge until needed.
  3. Put the chocolate, syrup and ¼ of the cream into a heatproof bowl and place over a pan of gently simmering water. Leave for 15-20 minutes to allow the chocolate to melt. Stir to make the mixture smooth, remove from the heat and leave to cool until just warm.
  4. Pour the rest of the cream into a bowl and add the coffee. Leave to dissolve and then whisk until just starting to thicken but not yet holding peaks.
  5. Fold the cream into the cooled chocolate with a stiff spatula or large metal spoon until the mixture is smooth and completely combined.
  6. Pour the mixture over the biscuit base and leave to set in the fridge for 1-2 hours.
  7. Pour the cream and vanilla for the topping into a large bowl and whisk until soft peaks form. When the base is set dollop this cream on top. Un-mould the dessert and place it on a plate. Then finish with a sprinkling of cocoa powder and serve!

Thanks for reading!

Emma x

Easy Spaghetti Bolognese

Easy Spaghetti Bolognese

Hello I’m back! It’s been a little while since I last posted anything as I’ve just been through exam season – but now I’m on the other side and ready to start bringing back the recipes. I thought I’d start this new season not with something particularly summer-y (have you seen the weather this past week!) but rather with a full-proof comfort food staple that everyone should know how to make.  A bolognese is such a versatile warming sauce – you can have it with baked potatoes, rice, or pasta, spicy or not spicy, and with any extra veg you want. It’s also easy to make in batches and freeze so it’s the perfect student food for busy times like exam season.

Another reason why I wanted to bring out pasta in this post is because at the end of the month I’ll be off to Italy for several weeks with some friends (yey!) and so I’m gearing myself up for mountains of pasta, pizza, tiramisu and gelato! When over there I’ll be soaking up the culture and art, but first and foremost I’ll be trying to sample as much of the local cuisines as possible so if you have any recommendations for places to go in Rome, Florence and Venice please drop it in the comment box at the end of this post!

Recipe

Serves 4

Time: 45 minutes

Ingredients

For the Bolognese

  • 1 White onion
  • 1 tbsp Olive oil
  • 1 Clove of garlic
  • 2 Carrots
  • 8 Chestnut mushrooms (optional)
  • 400g Minced beef
  • 500g Passata
  • 500ml Beef stock (1 stock cube dissolved in 500ml boiling water)
  • 1 tsp Mixed herbs

To serve

  • Pasta for 4 ( I went for fresh tagliatelle)
  • 100g Cheddar cheese
  • A few leaves of fresh Basil

Method

  1. Chop the top and bottom off the onion. Then peel off the skin and finely chop. Put the oil into a large pan and place it over a medium heat. Add the chopped onion and gently fry for 4-5 minutes until just starting to caramelise.
  2. Meanwhile prep the rest of the veg. Chop the ends off the garlic clove and the carrots. Then peel both. Crush the garlic and set to one side. Then quarter the carrots length-ways and chop into small chunks.
  3. Add the garlic and the carrots to the onions once they’re just starting to colour and fry for 2-3 minutes.
  4. Halve and then roughly chop the mushrooms and then add them to the pan. Fry for another minute and then tip everything into a bowl.
  5. Add the mince into the same pan as what you cooked the veg in. Fry over a medium heat until the meat is browned all over. Add the vegetables back into the pan and then add the passata, beef stock and mixed herbs. Reduce the heat and leave to gently simmer until reduced and rich in flavour (around 25 minutes).
  6. Meanwhile boil the pasta in a pan of boiling the water according to the packet’s instructions.
  7. Season the bolognese with salt and pepper to taste. Drain the pasta and distribute it between your serving dishes. Top with spoonfuls of the bolognese, some grated cheese and fresh basil!

Thanks for reading!

Emma x