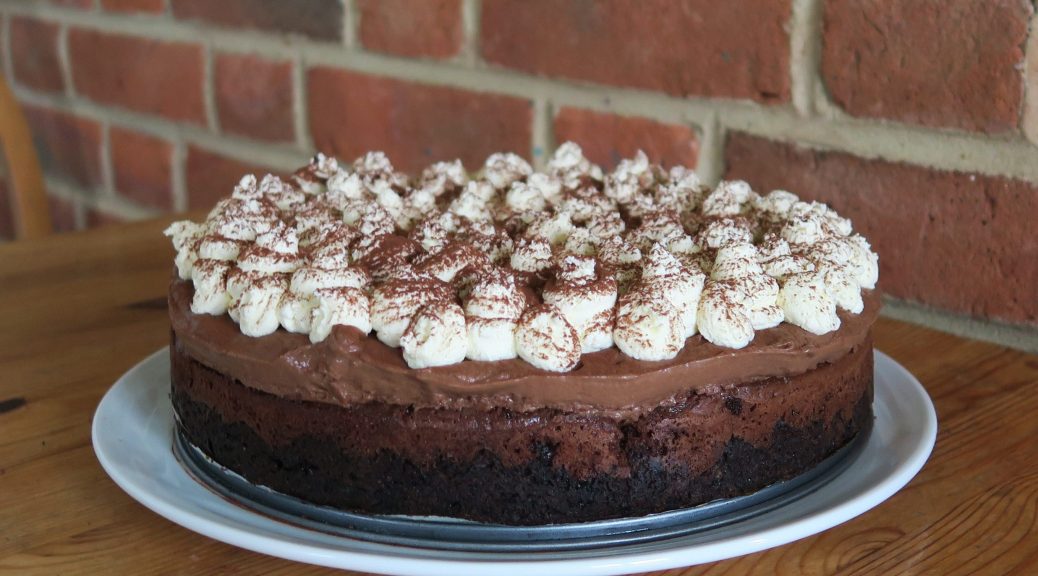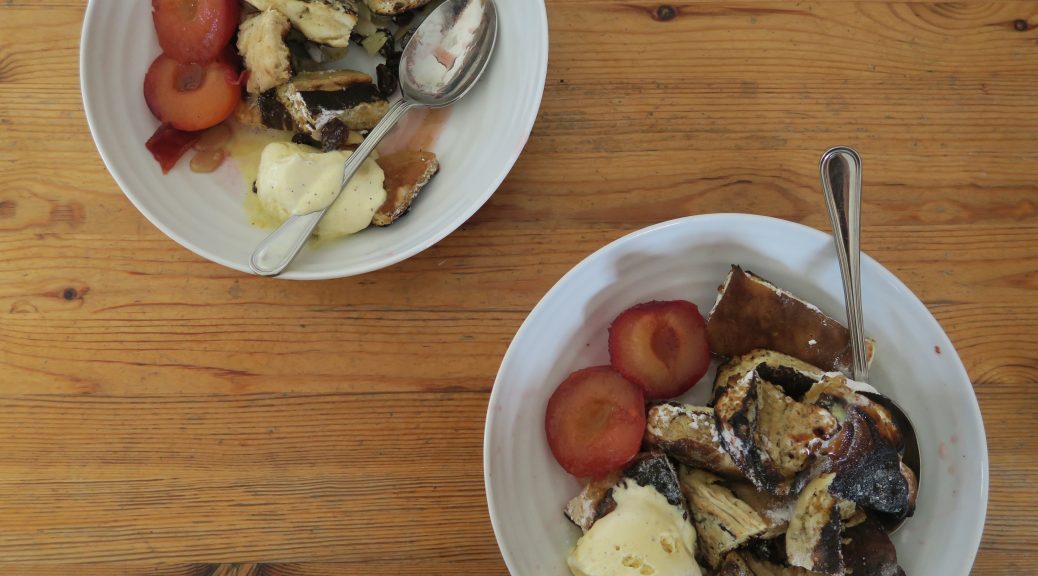
Kaiserschmarrn with Spiced plums
We’re almost into the excitement of Christmas, but here’s one last autumn recipe before the winter warmers come in. I first came across Kaiserschmarrn when I was browsing in the cook book section in a massive book shop. I’ve always loved foreign dishes that I haven’t heard of before, and so I made a note to look it up when I got home. It’s not the prettiest or most refined of dishes, but it tastes really good which is just as important. If you’re not Austrian, Kaiserschmarrn essentially means cut up pancakes with rum and dried fruits. It’s then sprinkled with sugar and put under the grill to caramelise. All in all this elevates the classic pancake to a perfectly delicious dessert.

I’ve paired this with spiced plums, as the first time I made it it came out pretty dry. The plums and the juices from them hydrate the dish and bring some warming fruity flavours which work really well with the soft pancakes and rum. I think traditionally this is made with thin pancakes, more similar to a french crepe, but I’m using thick Scotch pancakes for this as I think the light, fluffy texture works really well. They also soak up the juices and rum a lot better, but you can go for crepes if you prefer.

Recipe
Serves 8
Time 45 minutes
Ingredients
For the pancakes
- 300g Self-raising flour
- 1 ½ tbsp Baking powder
- 60g Caster sugar
- 2 Large eggs
- 200ml Milk
- Vegetable oil for greasing
- 4 tbsp Rum
- 190g Raisins
- 80g Butter
- 100g Flaked almonds
- 2 tbsp Icing sugar
- 1 tsp Ground cinnamon
For the plum sauce
- 8 Plums, halved and stoned
- 125g Caster sugar
- 65ml Orange juice
- 65ml Water
- 1 Cinnamon stick
- 1 Vanilla pod
Method
- Begin by making the pancakes. Put the flour, baking powder and caster sugar into a bowl. Mix to combine and then make a well in the centre. Add the egg and milk in the well and then whisk until combined and smooth.
- Put a large frying pan with 1 tbsp of vegetable over a medium heat. Using a ladle pour a neat circle of batter into the middle of the pan. Leave to cook for 1-2 minutes, until bubbles start to form on top, and then turn over and cook on the other side.
- Once cooked on both sides transfer onto a large plate. Repeat with the rest of the mixture to create a large stack of pancakes.
- Cut the stack of pancakes into 5 strips and then cut these strips into 5 to get squares.
- Now make the spiced plums. Put the all the ingredients for the sauce in a pan over a high heat. Bring to the boil, cover with a lid and then leave on a low heat to gently simmer until the plums soften – about 20 minutes.
- Take the sticks and vanilla pod out of the pan and then set aside for later.
- Now finish the kaiserchmacchan. Heat the rum in a small saucepan. Add the raisins and then leave off the heat to soak.
- Pre-heat the grill on high heat. Melt the butter in a large frying pan. Add the pancake squares, the raisins and rum mix, and the almonds. Cook for 3-4 minutes whilst stirring until warmed through and starting to brown.
- Sift the cinnamon and icing sugar over the top and then put under the grill. Once the sugar starts to caramelise, take out from under the grill and serve immediately with the plums and vanilla ice cream.
Thanks for reading!
Emma x
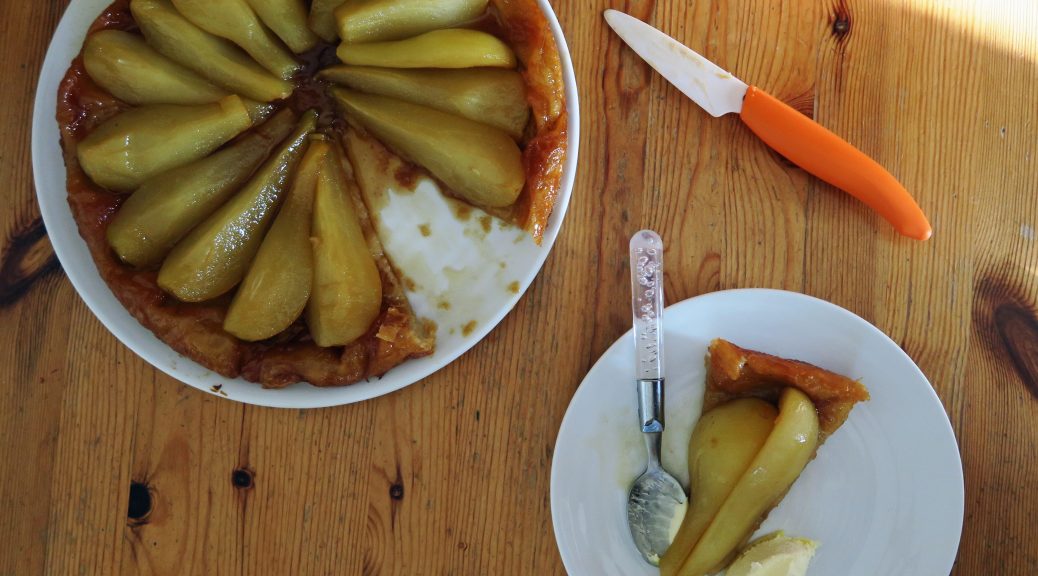
 The first time I ever made this I used shop bought puff pastry and roughly chopped apples. These are two great alterations to make if you want to save time or if you’re just starting to learn how to bake. On the other hand, if you haven’t made your own puff pastry before I’d recommend giving it a go. It takes a bit of time, but it’s not so much time that you have to work on it, more just that you have to leave it a lot to chill in between turns. This recipe is for rough-puff which is a slightly easier and quicker variation on full-puff pastry, but it still gives a beautiful light and crispy pastry.