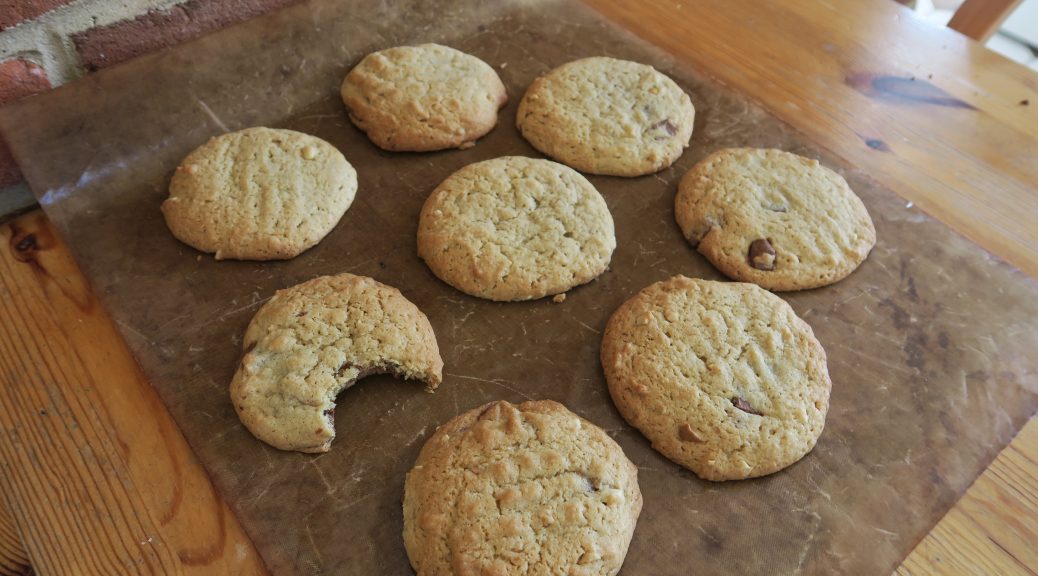
Peanut Butter Chocolate Chip Cookies
Something that I really love about making biscuits, and in particular cookies, is how quick and simple it is to make them. The three basic ingredients in any biscuit is flour, butter and sugar, and anyone who bakes regularly will probably have these in their home at all times, so these are something that can be rustled up at a moments notice without the need for a shop first. I also love how easy it is to make them. Whop everything in a bowl, mix it together, portion it out and bake them. Then, no decoration, filling, or embellishment required, they can be devoured in minutes, warm pools of chocolate oozing out of them!

Peanut and chocolate is one of the ultimate flavour marriages out there, and in these it works sublimely. The little saltiness from the nuts compliments and brings out the richness of the chocolate, and the nutty flavour makes the basic cookie dough a little more interesting than your classic plain stuff. Recently there’s been a food craze of different nut butters (like peanut butter but made out of cashews or almonds etc) so you could also try experimenting with other nut-choco combos. Especially if you’re not a fan of peanuts, there might be another nutty substitute that you’d prefer. These will also freeze really well, so if you want you can make the dough, pop it into a freezer-proof container and leave it in the freezer for months until you need it (and that way a fresh, warm cookie is always only minutes away!)

Recipe
Makes 10
Time: 15 minutes, plus cooking time
Ingredients
- 110g Unsalted butter
- 75g Caster sugar
- 100g Light brown sugar
- 1 Large egg
- 1 tsp Vanilla extract
- 130g Peanut butter
- 200g Plain flour
- 1/2 tsp Bicarbonate of soda
- 1/2 tsp Baking powder
- 75g Milk chocolate
Method
- Begin by putting the butter and sugars into a bowl and beating them with a wooden spoon until pale and fluffy.
- Add the eggs to the mixture and stir until combined. Then add the vanilla and the peanut butter and beat again until incorporated.
- Add the flour, bicarb and baking powder to the mixture and mix until a smooth dough forms.
- Chop the chocolate into rough chunks and then stir it into the dough.
- Split the dough into 16 pieces and then roll each portion into a ball. Place the balls on two trays lined with baking paper. Take a fork and press down on each of the balls in a criss-cross pattern to slightly flatten and decorate them. Chill the biscuits in the freezer for 15 minutes.
- Preheat to 180˚C. When ready bake the biscuits for 10-15 minutes until golden and starting to crisp around the edges. Leave to cool slightly and then enjoy!

Thanks for reading!
Emma x