Making a Pastry Case
Lots of people have been telling me that they love m’ blog but that everything looks too hard to actually make. Whist I’m perfectly happy to keep generating eye candy I thought I’d start some step-by-step posts on how to do relatively complicated but really useful things, like making a pastry case.
For years I couldn’t make these and I’d just buy the ready made ones from Sainsbury’s to avoid the disappointment of another soggy bottom or another crust that has shrunk, but alas years of practice has finally paid off and now these are one of my favourite things to make.
So here’s a step-by-step guide of how to make a pastry case, from making the pastry and lining the tin to baking blind and using your new found skill in actual recipes. Here I’m using a chocolate pastry as the recipe I’m posting next uses a chocolate crust, but feel free to use whatever flavour pastry you want.
How to make a pastry case
1. Make the pastry
This is a seemingly simple step but it is a very important one. How you make the pastry will vary between specific recipes but here’s a few top tips:
- If the recipe says to rub the butter into the flour, begin this process by taking a table knife and cutting the butter up into the flour until it’s too small to keep cutting up. Then go in with your fingers. The warmer the pastry gets the softer it gets and the harder it is to work with, so you want to keep the pastry as cool as possible.
- On a similar note, add your liquid to the dough gradually. If you add too much your dough will be super soft and hard to work with so you could end up over working the dough which would make the pastry undesirably chewy.
- Finally make sure you chill the dough. Personally I’d chill it for at least 90 minutes, maybe more. This will help prevent the dough from shrinking and will also harden up any butter than may have melted during the making of the pastry, making it easier to work with.
2. Shape the dough
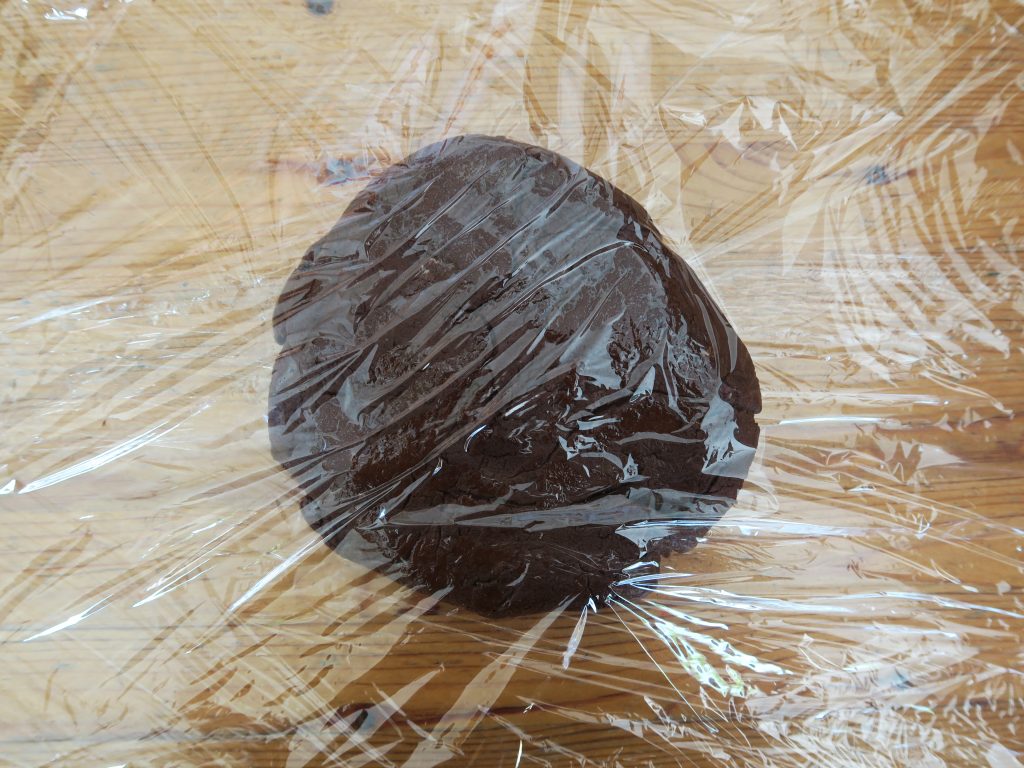
Take the dough out of the fridge and form into a ball. Sandwich the ball between two sheets of cling film and then squash slightly to make a flattened circle. Most people roll their pastry out onto a floured worktop but I find using cling film quicker, less messy and it saves on flour so why not?

3. Rolling out the pastry
Roll the pastry out between the cling film with large rolling pin into a large circle. Use the tin to see how much wider you need the dough to be and in what direction. The pastry should be about 2 cm wider all the way around (to be able to fit up the sides of the tin with some overhang), and be about the thickness of a 10p piece.
4. Putting the pastry into the tin
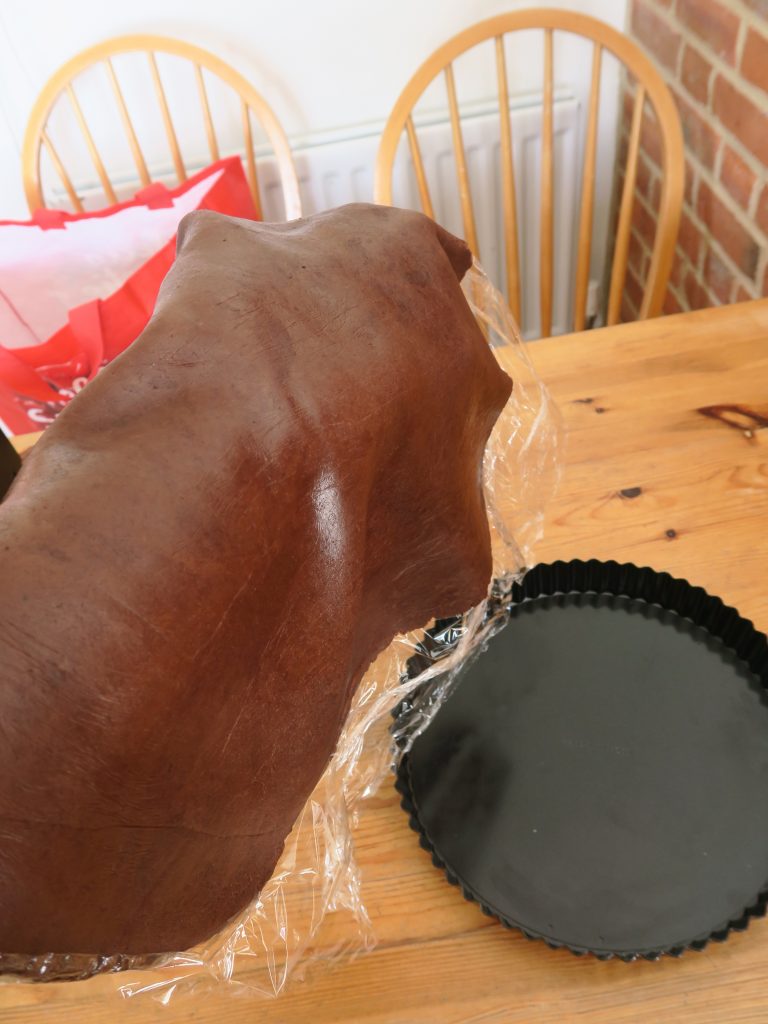
Now you’re going to have to get physical. Take the top layer of cling film off the pastry and discard it. Then ease the forearm of your less dominant hand under the pastry sheet and lift it up as shown above. (You could also do this with a rolling pin if you’d prefer). Then place the tin underneath where your arm is and roll the pastry off you arm and into the tin, making sure that the cling film is on top of the pastry. It’s a good idea to work from one side of the tin to the other, making sure there’s some good overhang.
5. Fit the pastry into the tin
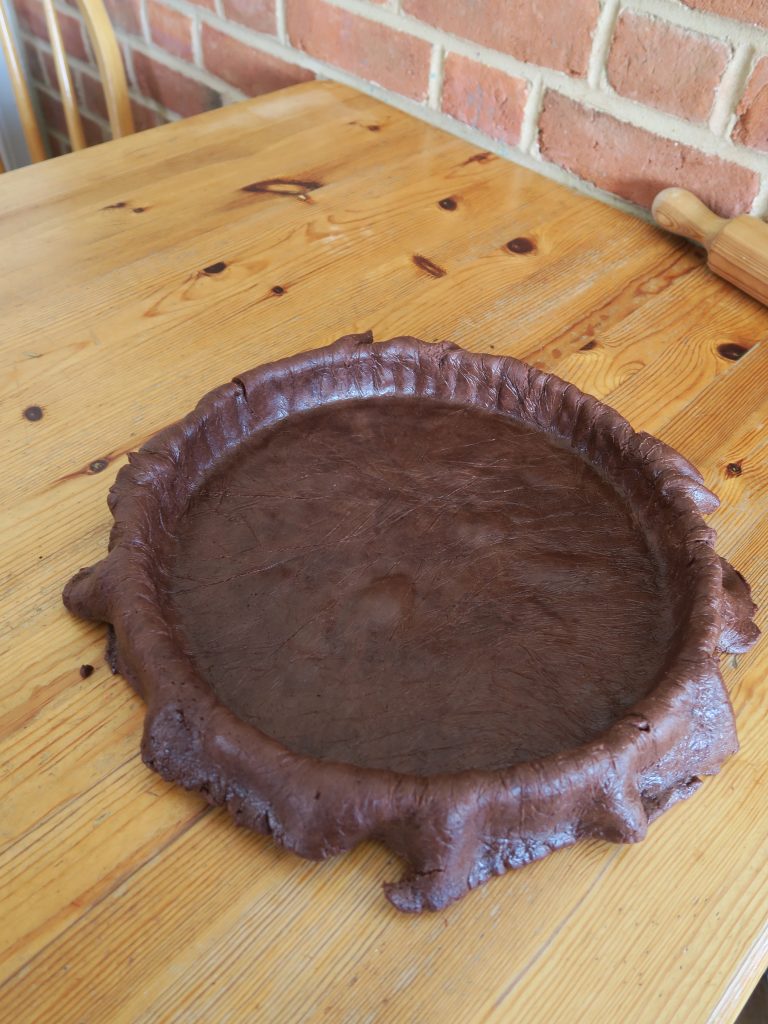
Gently ease the pastry into the shape of the tin so that is has contact with the whole of the tin. This will help it to bake evenly. Then take the layer of cling film off the pastry.
6. Trim off the excess
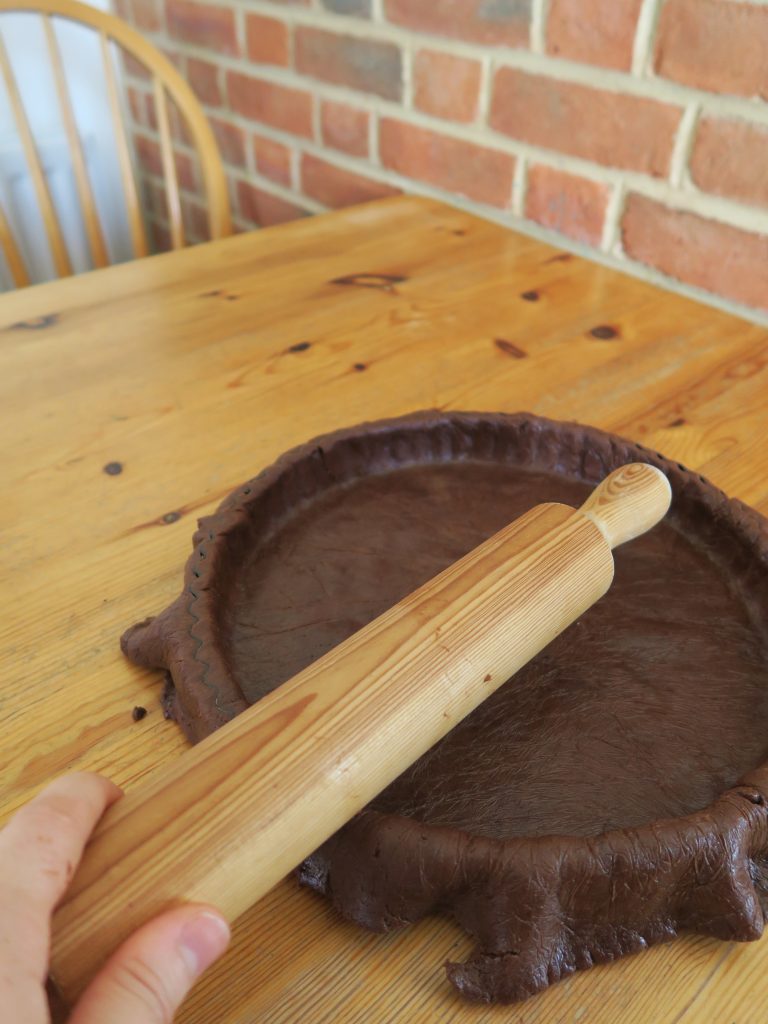
Some people prefer to do this once the case has baked as it helps stop the pastry from shrinking away from the edges too much, but for tarts I think the best way to do it is like this. Make sure all your pastry is fitting snugly into the tin. Then take your rolling pin and roll it around the top of the tin so that the excess pastry is rolled off.
7. Using the excess pastry
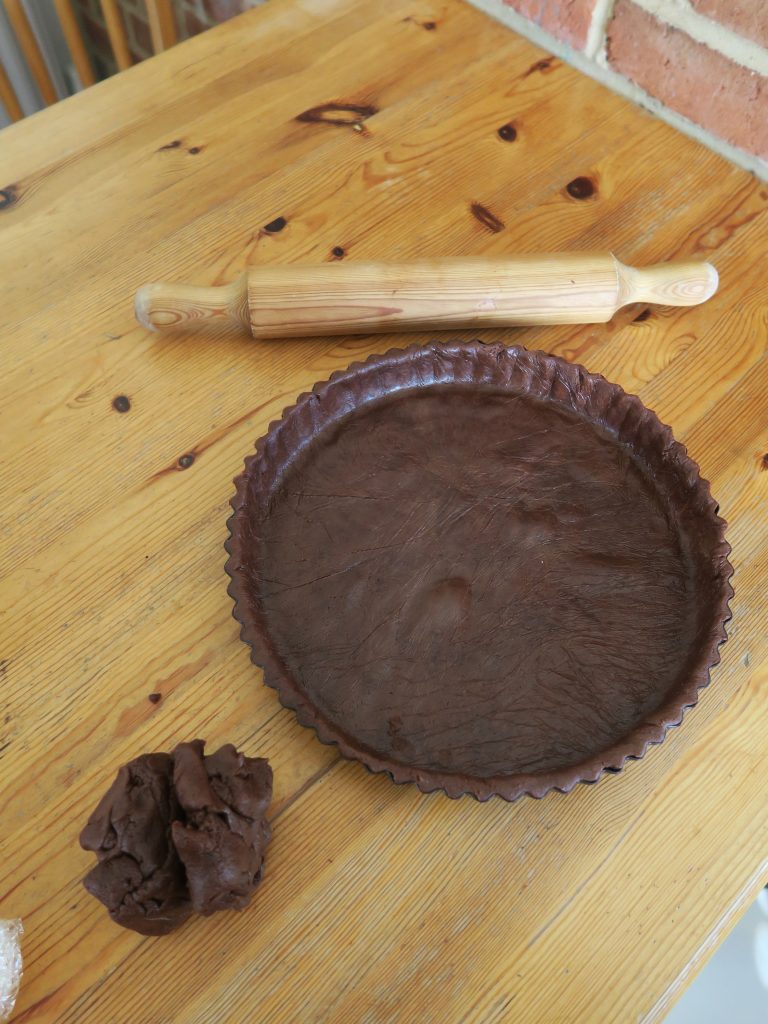
Bundle up your excess pastry. You can use this to fill in any gaps in your base at this stage, or if any cracks appear after the first bake, so don’t throw it away! You could also use it to make pastry decorations, or even make cute little biscuits!
8. Blind baking
Blind baking is where you pre-bake the pastry case before adding the filling. This helps to make sure the base is cooked all the way through and stops you getting a soggy bottom! Some pies and tarts don’t need to be blind baked (pies with tops and bakewell tarts are two that come to mind) but it’s a useful skill to learn anyway.
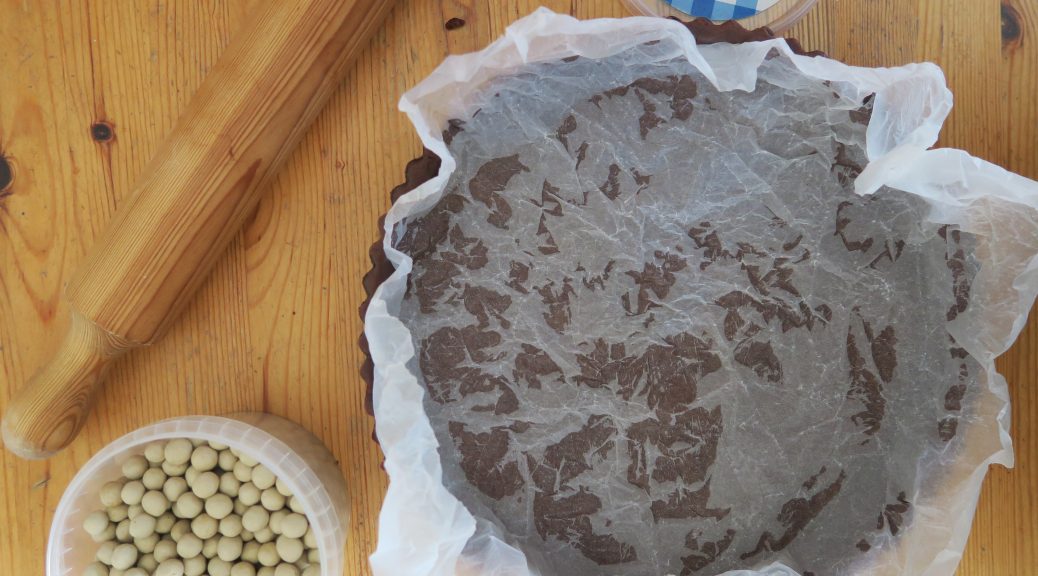
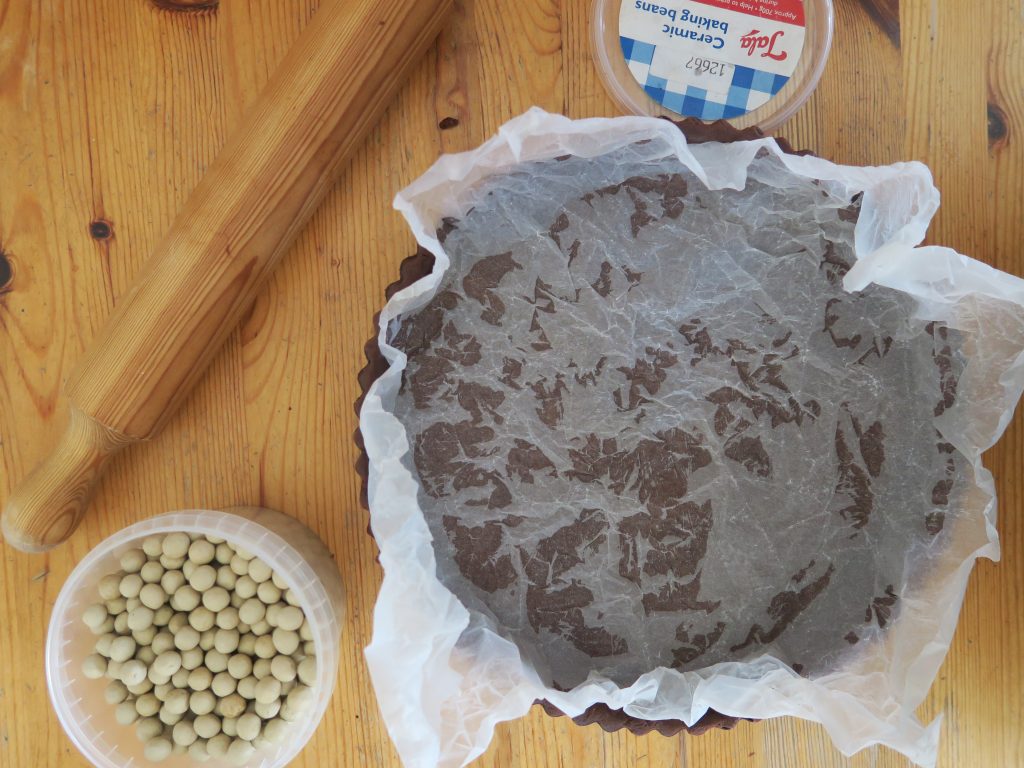
Take a piece of baking paper wider than your tin and scrunch it into a ball like you were going to throw it away. Then un-crumple the paper and line the inside of the pastry case with it. Scrunching it up first should make it easier to make the pastry fit the shape, but still be careful when doing this as you could pull the pastry down from the sides of the tin.
9. Adding the beans
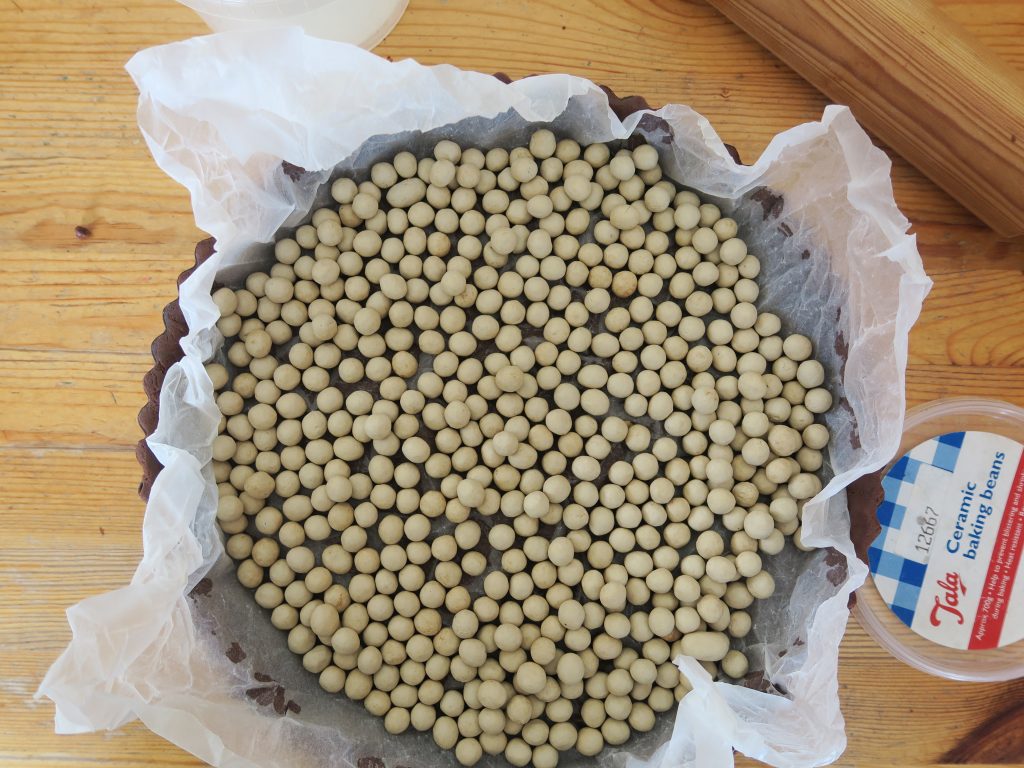
If you bake the pastry case without any filling or weight on it then the base will rise up and leave no room for any fillings. To stop this you can use ceramic beans like these which are re-usable and weigh the pastry down. Alternatively you could use rice, lentils or any other dried pulse to weigh the pastry down, but I prefer using beans as then I don’t feel like I’m wasting food.
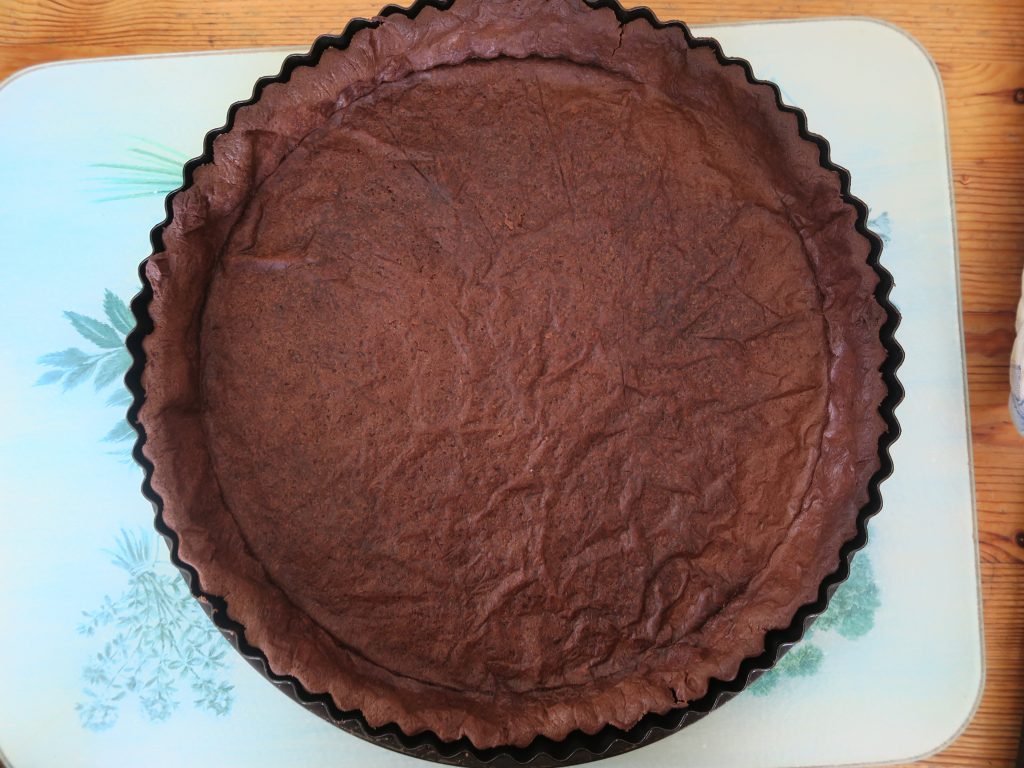
Bake the pastry in the oven for 15-20 minutes. This will vary depending on the size and type of tart you’re making but you generally want the pastry to look cooked all the way through (see photo below), even if it’s not crispy yet.
10. Second bake
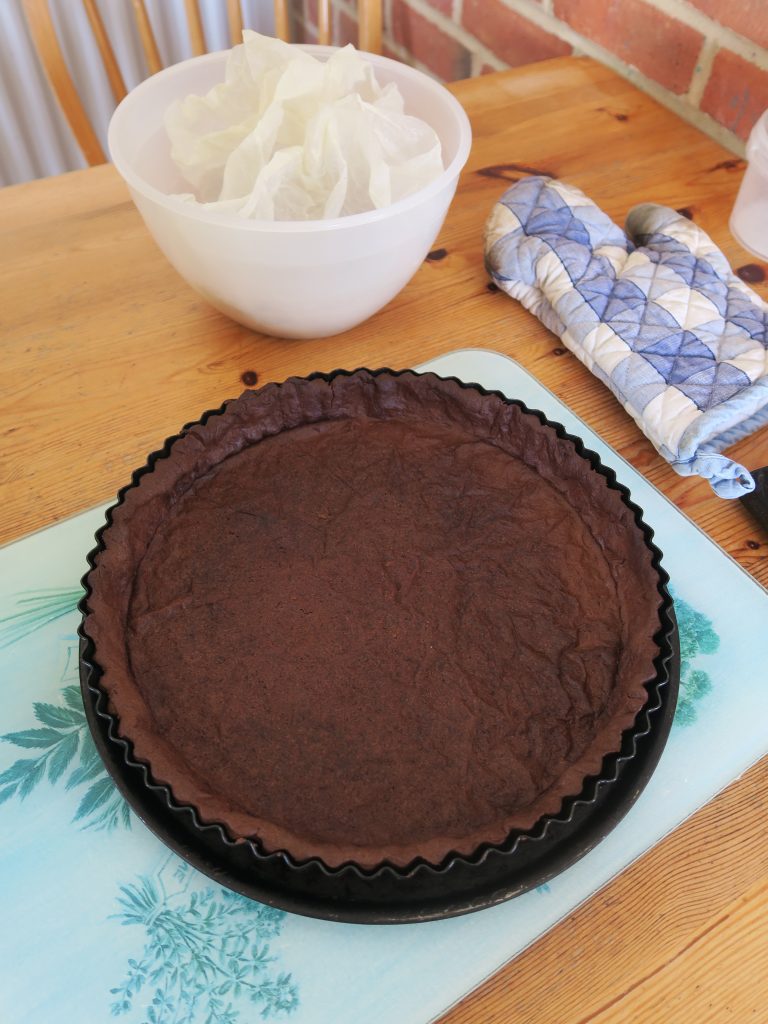
Once the pastry has cooked all the way through, take it out of the oven and take the beans or whatever’s weighing the pastry down out. Also take out and discard the baking paper. Then bake the pastry for a further 5-10 minutes until crispy but not burnt.
11. Be creative!
Hopefully you should have a perfect crisp pastry case to work with now. You can either stop the baking here and fill the case with things that need to be chilled to set, or you could fill it with mixtures and fillings that need to be baked. Here’s a few of my faves to try…
Baked fillings
Frangipane – This is a cake-type mixture made with almonds. It’s traditionally used for bakewell tarts but it’s also a great base for other types of baked tarts!
Custard – Whilst some custard fillings will just set naturally, some need to be baked, like Portuguese custard tarts. You can really experiment with this type of filling as the custard can be flavoured and customised a lot.
Fruit – Mainly for pies, but also for tarts. Peel and de-stone whatever fruit you like and then either stew it first or pop it into a pastry case raw.
Cold fillings
Jams – This works really well in the bottom of a tart with a baked frangipane or a light mousse over the top as it packs great flavour!
Ganache – The first tarts I made were just chocolate tarts made by pouring warm cream over an equal amount of chopped dark chocolate and leaving it to set. You can also add liqueurs to your ganache if you want to make a boozy tart.
Mousse – It’s slightly untraditional to put mousse in a tart, but I think a soft fruit mousse can work really well in a pastry case, especially if layered with a jam or jelly.
Creme pattisserie – On the other side of our baked custard tarts are the tarts filled with creme patisserie – a custard that doesn’t need to be baked. This is really good when topped with fresh fruit and berries! (See recipe below).
Recipe suggestions…
Thanks for reading! If you have any other pastry queries I haven’t talked about here please let me know by leaving a comment below.
Emma x