I’ve just got back from an incredible weekend at Greenbelt Festival and will no doubt be posting lots of thoughts, ideas and recipes inspired from all that. For today though I’ve got this fun lil’ recipe for you!
It’s been a while since I’ve tried anything wacky and elegant in the kitchen so I thought it was about time I got experimental again. I always have around 3-4 ideas for dishes in my head at a time, but it’s the effort needed to work out the recipe and make the dish that slows me down in actually getting them tried and tested. As for this dessert, the flavour ideas and components have been in my mind for a long time, so it’s really satisfying to finally see it all on a plate and tasting delicious!
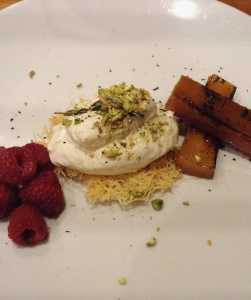
I first came across the idea of feta cheesecake in a little Mediterranean restaurant in a remote village in north Devon (as you do). It easily caught my attention on the menu as it’s something I’d never even heard of before, let alone eaten, and I just had to know if it worked. Needless to say it was a revelation! The salty tang of the feta works really well in a simple cheesecake, and even more so in a dessert like the one I tried in Lynton and this one I developed at home.
(This is the feta dessert I tried at the Vanilla Pod in Lynton – if you’re ever nearby I’d really recommend eating there!)
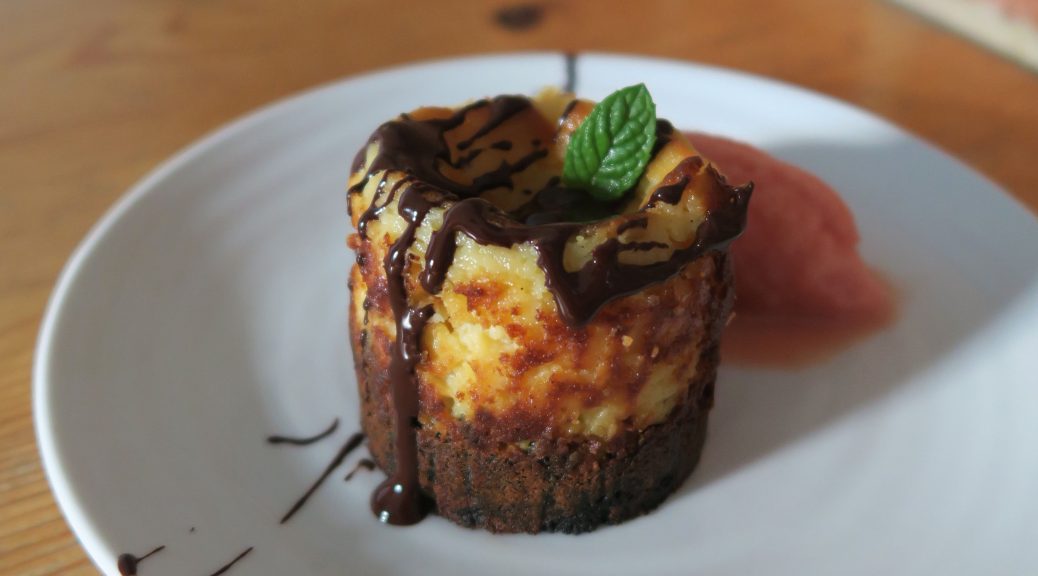
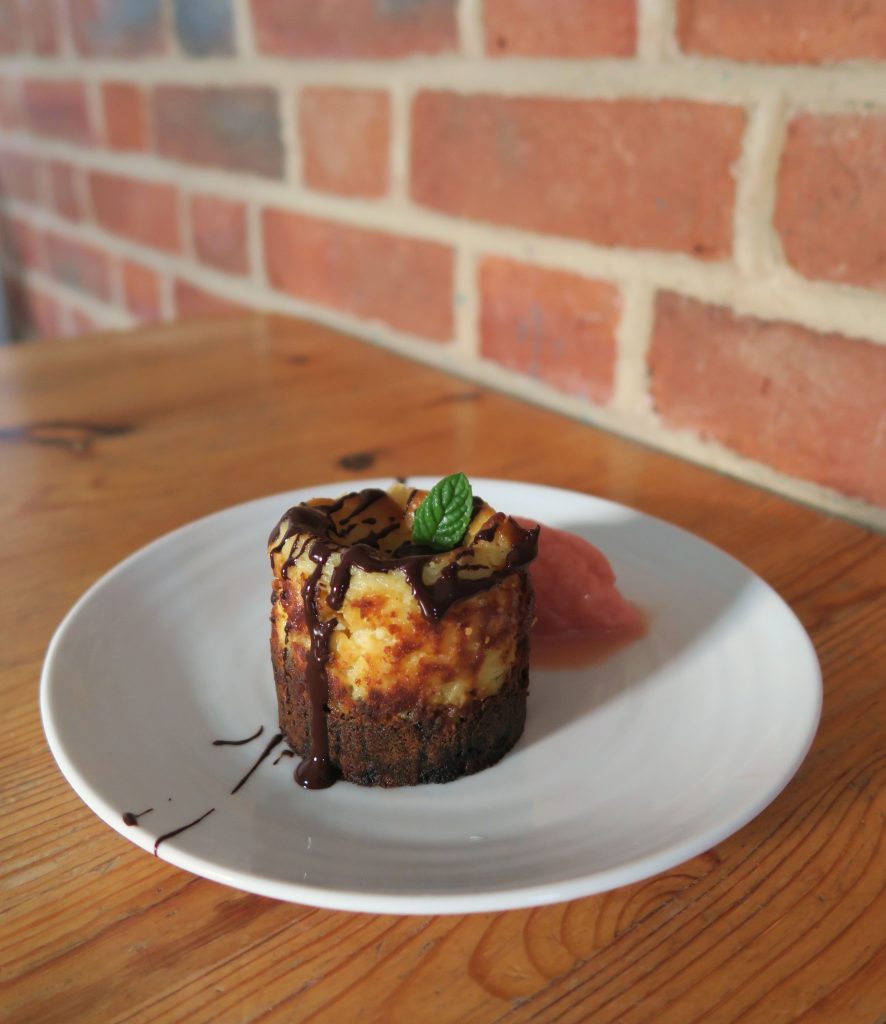
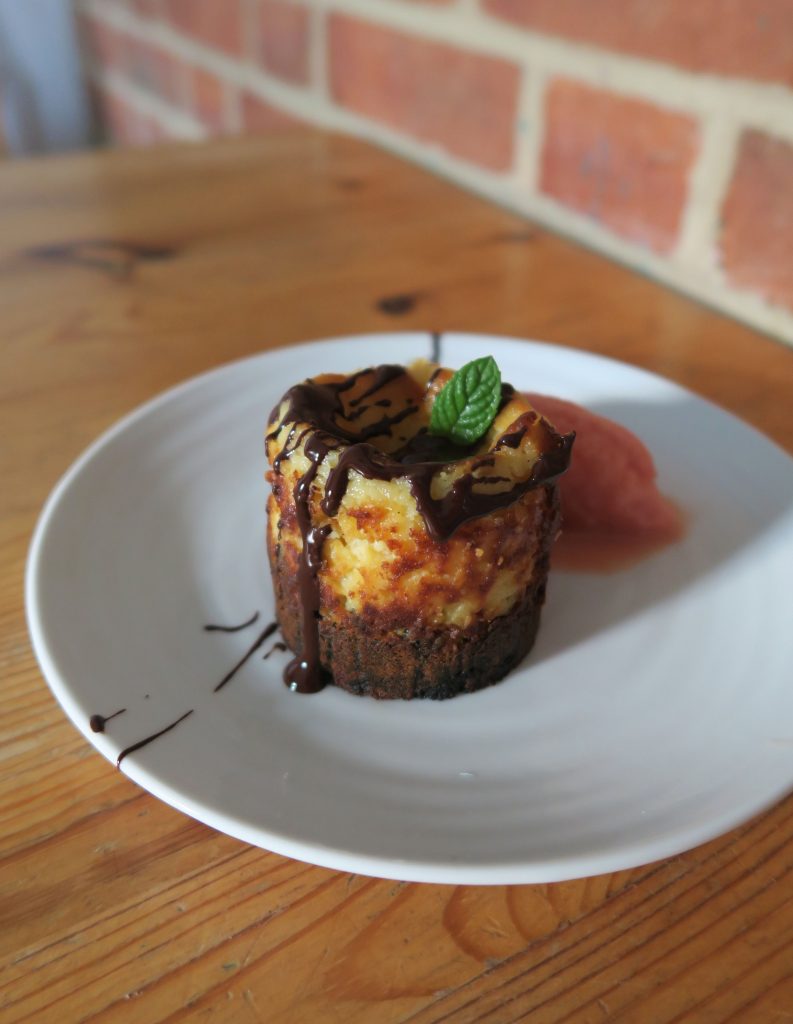
The ideas for the other flavour components in this came from my current obsession with super bitter dark chocolate and that delicious watermelon ice cream I first tasted in Rome (recipe went up last week!). What resulted from these ideas and flavour inspirations that I’ve been wanting to couple up for ages is a rich, warm feta cheesecake with a bitter cocoa base, served with a refreshing watermelon gelato! Sounds fancy, looks fancy, tastes amazing, and is not too complicated to put together – so it’s pretty much a win all round!
Recipe
Serves 3
Time: 2 hours
Ingredients
For the base
50g Dark chocolate biscuits (I used oreos with the creamy centre scraped out)
55g Unsalted butter
50g 100% cocoa chocolate
For the filling
50g Feta Cheese
30g Heavy cream
60g Cream cheese
1 Small egg
¼ tsp Lemon zest
2 tbsp Lemon juice
½ tbsp Vanilla bean paste
½ tbsp Plain flour
55g Caster sugar
To serve
50g Dark chocolate
50 ml Double cream
Watermelon ice cream (see last week’s recipe – a fruit sorbet could also work here, but I really recommend the watermelon!)
Fresh mint to garnish (optional)
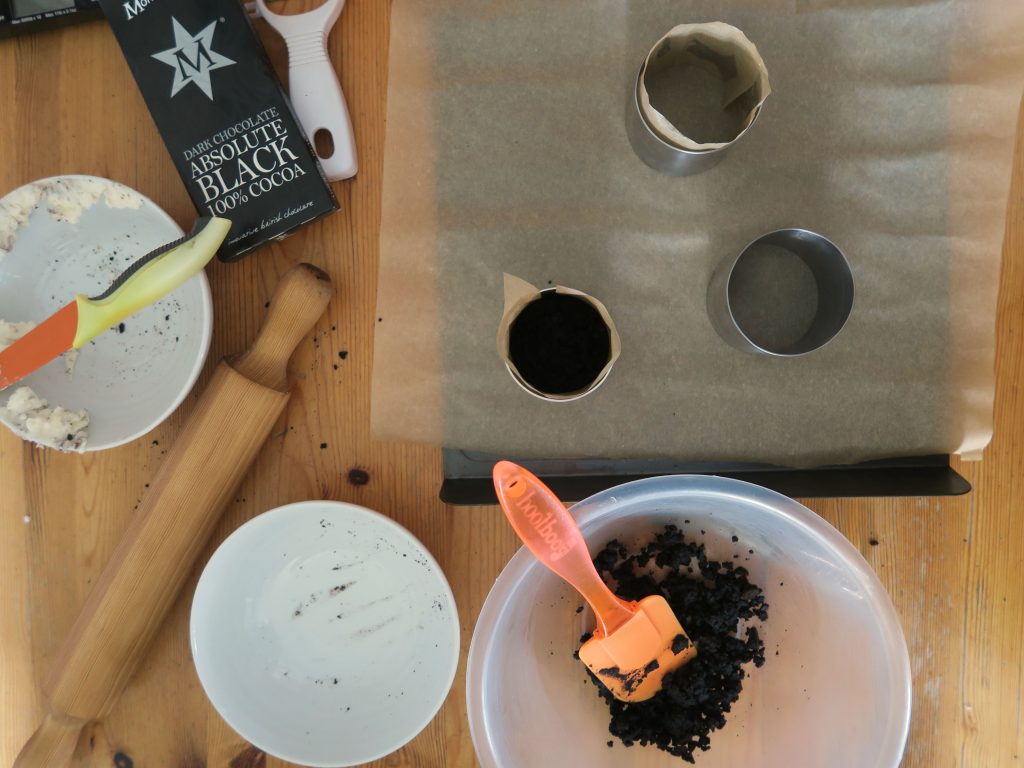
Note: This recipe uses metal dessert rings which gives the cheesecakes their beautiful cylindrical shape. However, if you don’t have these to hand you could use a greased muffin tin, metal ramekins or even make one big one in a lined cake tin!
Method
Pre-heat the oven to 180˚C and line a baking tray with baking paper.
Begin by making the base. But the biscuits into a bowl and crush with the base of a rolling pin to make a fine crumb. Grate the chocolate into the biscuits and stir to combine.
Meanwhile melt the butter in a small pan and then pour this over the crushed biscuits. Stir to make a mixture with the texture of damp sand.
Take 3 metal dessert rings (about 7.5cm in diameter and 6cm tall) and place them on your lined baking tray. Press the biscuit mixture into the base of your moulds with the back of a spoon (or your fingers) and then bake in the oven for around 10 minutes until starting to crisp.
Meanwhile make the filling. Put the feta and cream into a bowl and beat with a wooden spoon until smooth. Then add the cream cheese and mix again. Next add the egg, lemon zest, lemon juice and vanilla and mix together, before adding the flour and sugar and stirring again to make a smooth mixture.
Pour the mixture over the cooked bases and shake the trays a little from side to side to knock out any air bubbles. Bake the cheesecakes in the oven for 15-20 minutes until they start to brown a little on top. Then leave them in their moulds whilst you prepare the topping.
Finely chop the chocolate for the topping and place into a heatproof bowl. Then heat the cream in a small saucepan until it just reaches the boil. Quickly pour the warm cream over the chocolate and stir until the chocolate is melted and the ganache is smooth.
To plate up begin by putting the cheesecakes onto separate plates. Take a sharp prep knife and run it under some warm water to warm it up. Then dry it and run it around the edge of the cheesecakes to loosen them from their moulds. Carefully lift the moulds up and off of the cheesecakes and set to one side. Drizzle the cheesecakes with a little of the chocolate ganache and then finish a scoop of watermelon ice cream and a garnish of fresh mint!
The sky might be getting greyer, the days shorter and the wind windier, but it’s never too late in the season for some ice cream! A little while ago my friends and I went on a trip to Rome and needless to say the art, culture and architecture it had to offer were incredible, but the food was out of this world! From the little cafes on street corners where we’d grab breakfast in the morning, to the on-street restaurants and bistros where we’d have our long meals in the evening, it was a real treat for the taste buds! One downside of going mid July was the heat. I’m 100% a jumpers and duvet kinda girl so being thrown into a world of shorts and siestas was an interesting experience, but it did give the chance for lots of guilt-free geltao!
Without a doubt I’m a mint choc-chip person when in the UK. I’ve heard all the arguments against, but no, to me it does not taste like toothpaste! Even so, when I was in Rome I didn’t try any of the stuff because there were so many other flavours I’d never tried before, and being me I wanted to try them all! One of these was the incredible watermelon ice cream. I was craving watermelon the whole time I was out there as I needed something juicy and fruity, however all the fresh watermelon was massively overpriced, so when I saw it as a gelato flavour I knew I had to try it! The other thing that drew me to it was the sheer idea of a watermelon flavoured ice cream. The inner chef inside me was saying how can you make watermelon into a thick, creamy gelato?! Watermelon is full of water, ice cream is full of cream. But if anyone knew how to do it it’d be the Italians, and it was so so good – (I have no idea why this isn’t more popular in the UK – it’s AMAZING!).
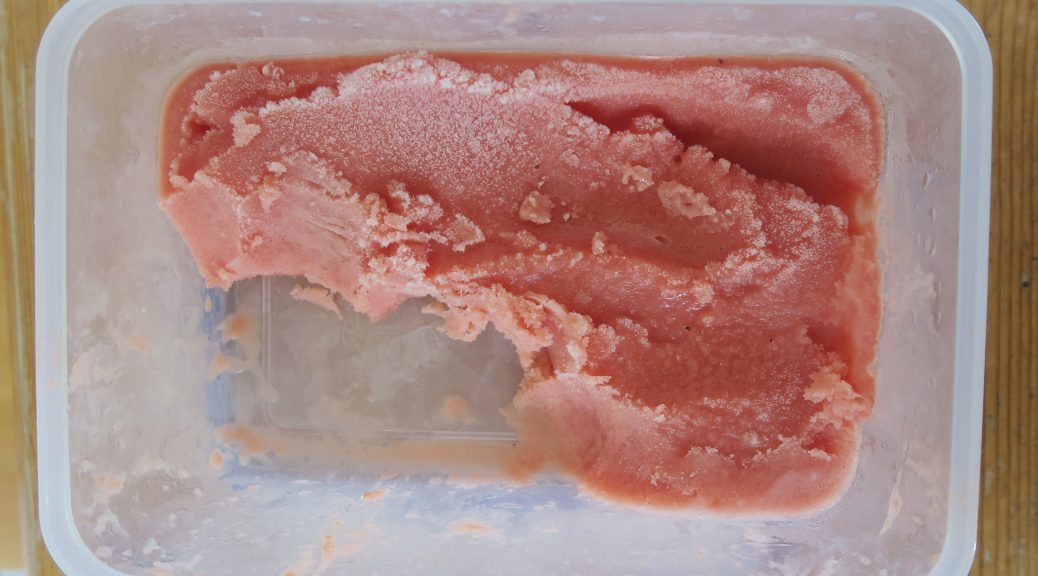
Naturally I began to get very excited (as I always do when I come across a new foodie-find) and I knew that when I got home I’d have to make my own. Unfortunately this was so good and it was so warm when I made it that my family and I tucked into it before I remembered to snap a photo (hence the half devoured tub in the header image) – but if anything that just shows how mouth wateringly-good it was! Oh… and did I mention it’s vegan? I’ve used a coconut and almond milk base for this so even though it’s super creamy and rich it’s 100% plant based and vegan friendly. If you want to make it really special try adding some 100% cocoa chocolate to the mixture before putting it into the ice cream machine. It’ll give some dark flecks like watermelon seeds to the pink base as well as some delicious cocoa flavour!
Recipe
Makes 1 tub
Time: 1 hour, plus freezing time
Ingredients
160g Caster sugar
130ml Almond milk
160g Coconut milk
1 tbsp Cornflour
1 tsp Vanilla extract
615ml Watermelon juice or 1 Watermelon
Method
Place the sugar, almond milk, coconut milk, and cornflour into a medium sized saucepan and place over a medium heat.
Bring the pan to the boil and then leave to boil, stirring occasionally until thickened. Stir in the vanilla and then leave to cool to room temperature. Then leave in the fridge until completely cool.
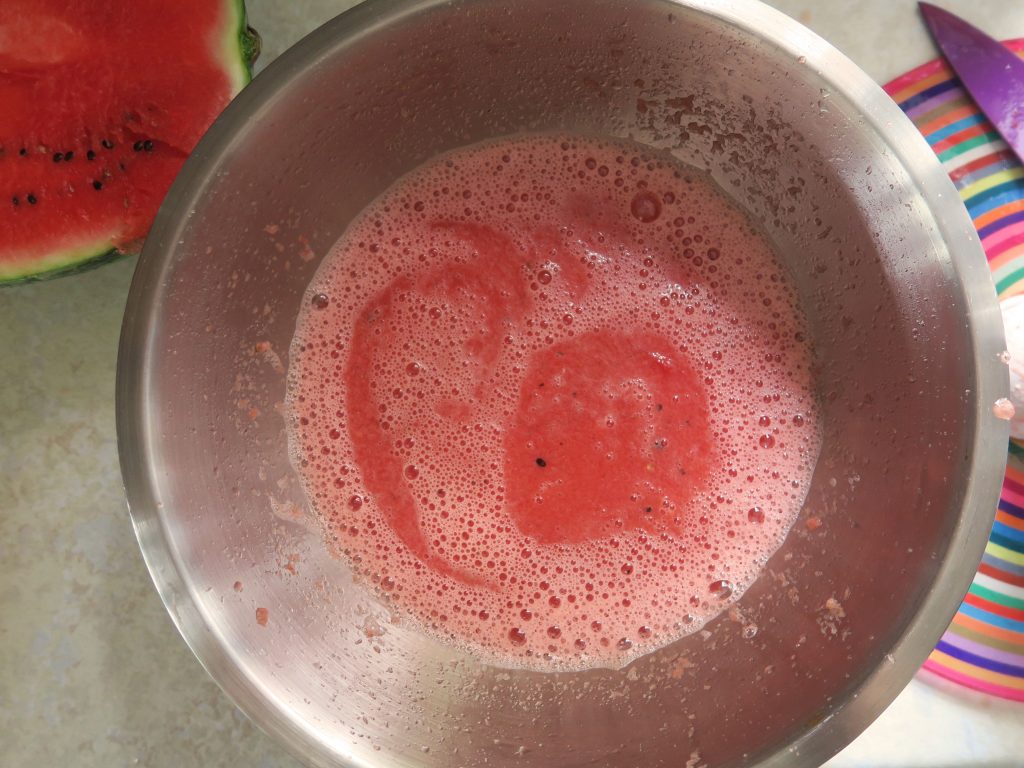
Meanwhile slice the watermelon into 4 and scoop out the flesh. I find the easiest way to do this is to make vertical slices along the watermelon, almost all the way to the peel, and then run the blade parallel to the peel to make lots of little pieces. Chill the watermelon pieces for 30 minutes and then puree them with a hand blender. Sieve the pulp into another bowl and then take out 615ml of the juice. This is what you’ll use, you can freeze the rest to use at a later date or to eat as a watermelon ice!
Mix the watermelon puree with the cooled milk mixture and then pour it into an ice cream maker. Churn until thick and semi-frozen. Pour the mixture into a freezeable container and leave in the freezer until completely frozen. Enjoy!
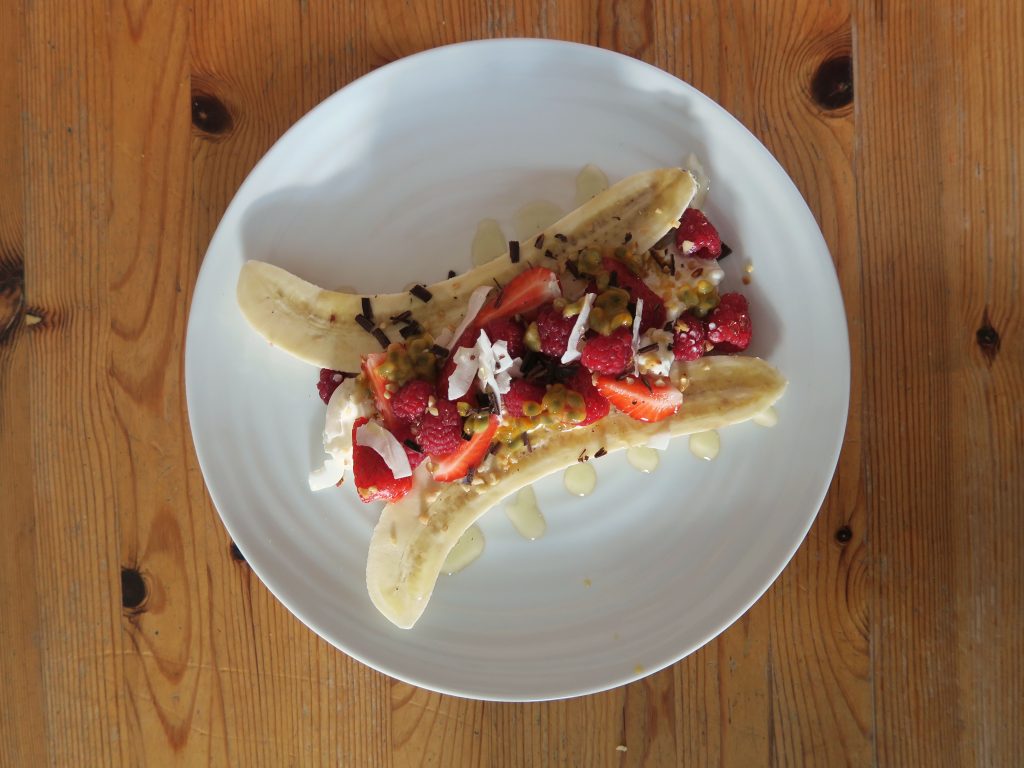
Something that’s really hard to balance when you’re trying to eat healthy is that end of a meal slump when you want something sweet but not so sweet it’ll spike your blood sugar. This is where these beauties come in! I used to eat banana splits a lot as a child, piling them high with sweets, ice cream and chocolate, but now I’ve found a way to make them healthy and just as delicious! Start with a banana and some yogurt (whatever variety you like) and then you can top that with whatever you want. Personally I like a mixture of fresh fruit with some nuts and a little bit of super-dark chocolate, but you can top yours with whatever you fancy – which is partly what makes it so good!
Recipe
Serves 1
Time: 10 minutes
Ingredients
1 Banana
3 tbsp Greek Yogurt (or yogurt of choice)
1 Passion fruit
A handful of fresh Berries (I went for strawberries and raspberries)
Peel and then slice your banana in half and splay out on a plate or in a bowl.
Spoon the yogurt generously over the top, sandwiching the two banana halves.
Prepare your fruit toppings, for example halve the passion fruit and scoop out the seeds and then hull the strawberries. Scatter the fruit over the top.
Grate the chocolate over the top of this, sprinkle over the coconut flakes and finish with a drizzle of honey. Add any extras you want to the mixture and the enjoy!
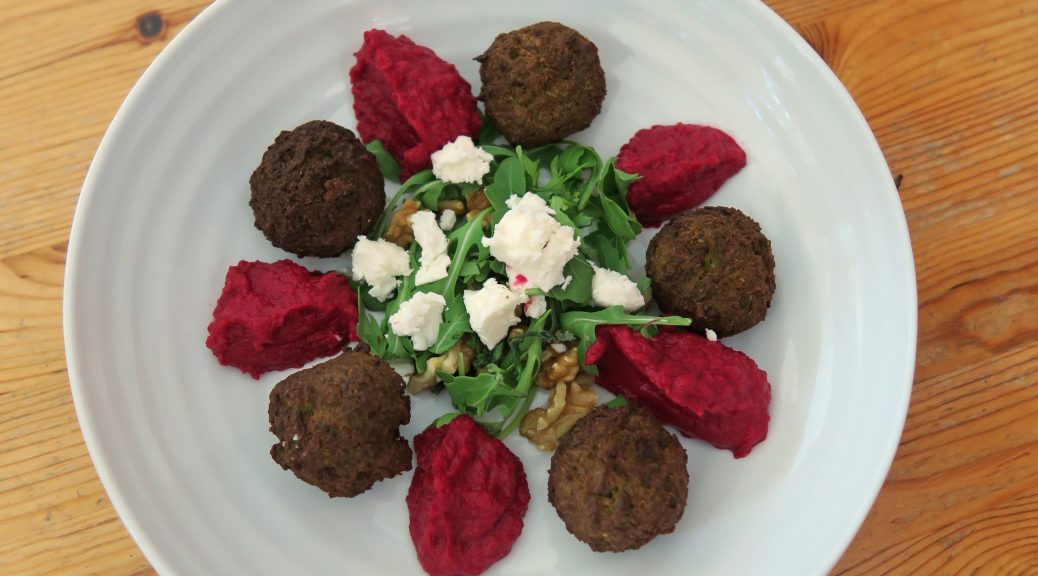
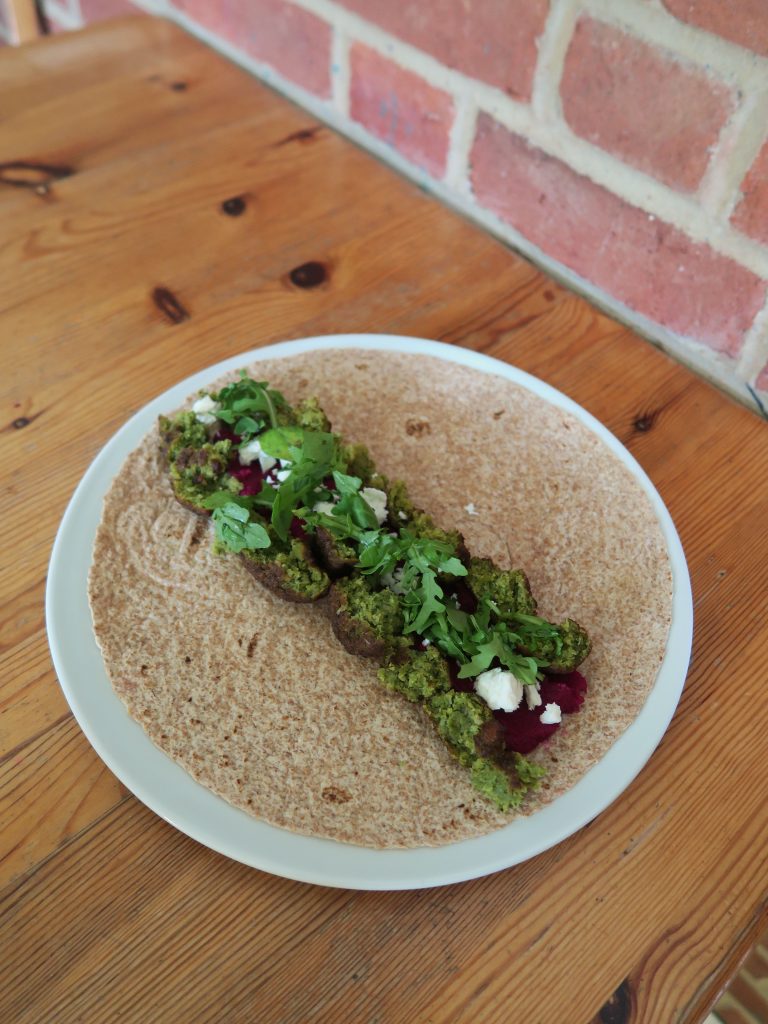
This summer I’ve been on a healthy food pilgrimage – slowly crawling towards finding enough tasty meals that will benefit my waistline, whilst also keeping my culinary fancies happy. So you could say I was pleased as punch when I first discovered beetroot hummus. I never thought I’d be one for messing around with the wonder that is traditional hummus – why mess with perfection right? But this stuff is really cool. It’s kind of earthy, rich hummus with the most incredible colour. I mean can you be sad when you have something this bright on your plate? The artist in me is very, very happy with this.
There is also this massive trend at the moment for making falafels out of everything left right and centre. Name an ingredient, someone somewhere has probably tried making a falafel out of it. Millennials and vegans eh? Anyway, the other day I had some beetroot hummus on this amazing spicy aubergine dish and they served it all with a walnut sauce – something I’ve never tried before but it was really good! So I thought hey, why not make some walnut falafel to go with my pinker than pink hummus? And boy jove, it works!
Recipe
Serves 2 (with lots of hummus left over!)
Time: 1 hour
Ingredients
For the Falafel
1 Small onion or shallot
1 Garlic clove
2 tbsp Olive oil
75g Walnuts
150g Chickpeas
Zest of 1 Lemon
½ tsp Paprika
1 Small egg (or a 50/50 mixture of water and oil if you want to make these vegan)
Salt and pepper to season
For the Hummus
250g Raw Beetroot (about 2 small beetroot)
400g Chickpeas, drained
Juice of 1 Lemon
1/2 tbsp Ground cumin
A large pinch of Salt
To serve
A handful of Rocket leaves
A sprinkling of Feta cheese
Method
Begin by making the falafel. Pre-heat the oven to 200˚C and line two baking trays with baking paper.
Chop the ends off the shallot and garlic, peel and then the finely chop them.
Put half the oil into a small pan and put over a medium heat. Add the chopped onion and fry for 2-3 minutes until starting to caramelise. Then add the garlic and fry for another couple of minutes before taking off the heat.
Tip the onion, garlic and walnuts into a food processor and blitz until coarse. Add the chickpeas, cumin, lemon zest and paprika and blitz again until the chickpeas are just broken down and the mixture is coming together – you want it to be more breadcrumb-like in texture than like a puree.
Season the mixture with salt and pepper and pulse again to mix. Then add the egg and pulse to bring the mixture together as a dough.
Divide the mixture into 10 small balls. Place these onto a lined baking tray and then leave in the fridge to chill for at least half an hour.
When ready to bake take the falafels out of the fridge, drizzle with the rest of the olive oil and then put into the oven to bake for 20 minutes, until golden brown and crisp.
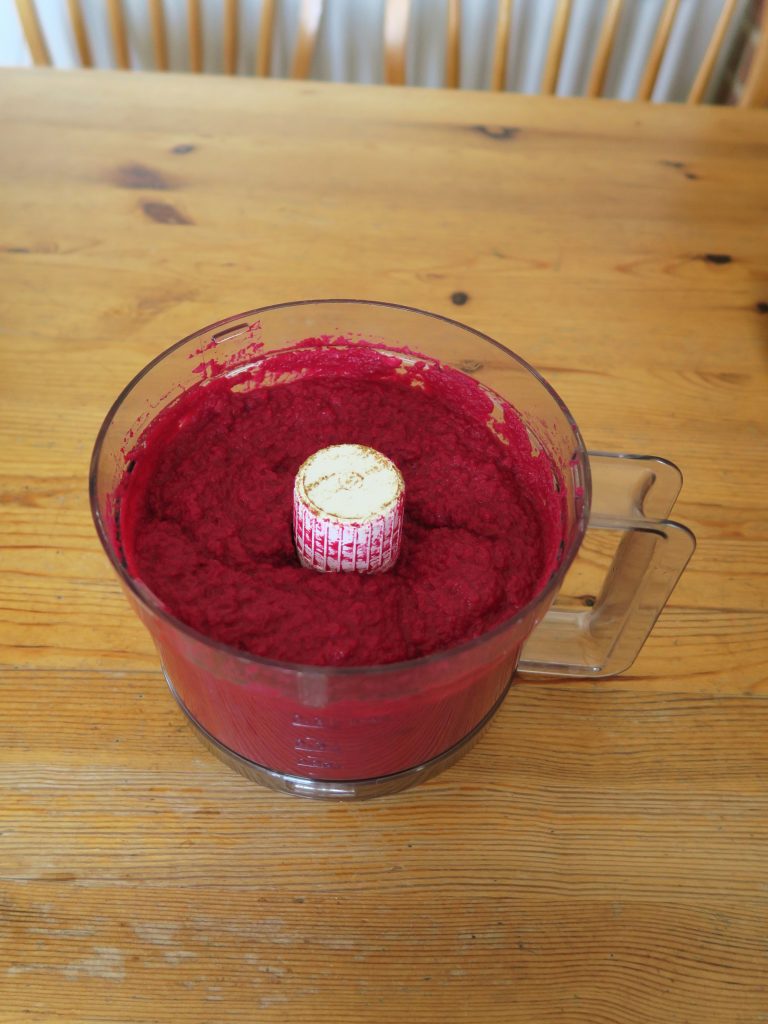
Meanwhile make the hummus. Bring a large pan of water to the boil. Add the beetroot and then leave to simmer for 30-40 minutes until tender. Drain the water from the beetroot and leave to cool.
When cool enough to handle take off the roots, stalks and peel the beetroot. Then roughly chop the flesh and put it into a food processor.
Add the chickpeas, lemon juice, cumin, salt and pepper into the processor and then blend until smooth and creamy. Taste the mixture and if needed season with some extra salt, pepper, paprika or cumin.
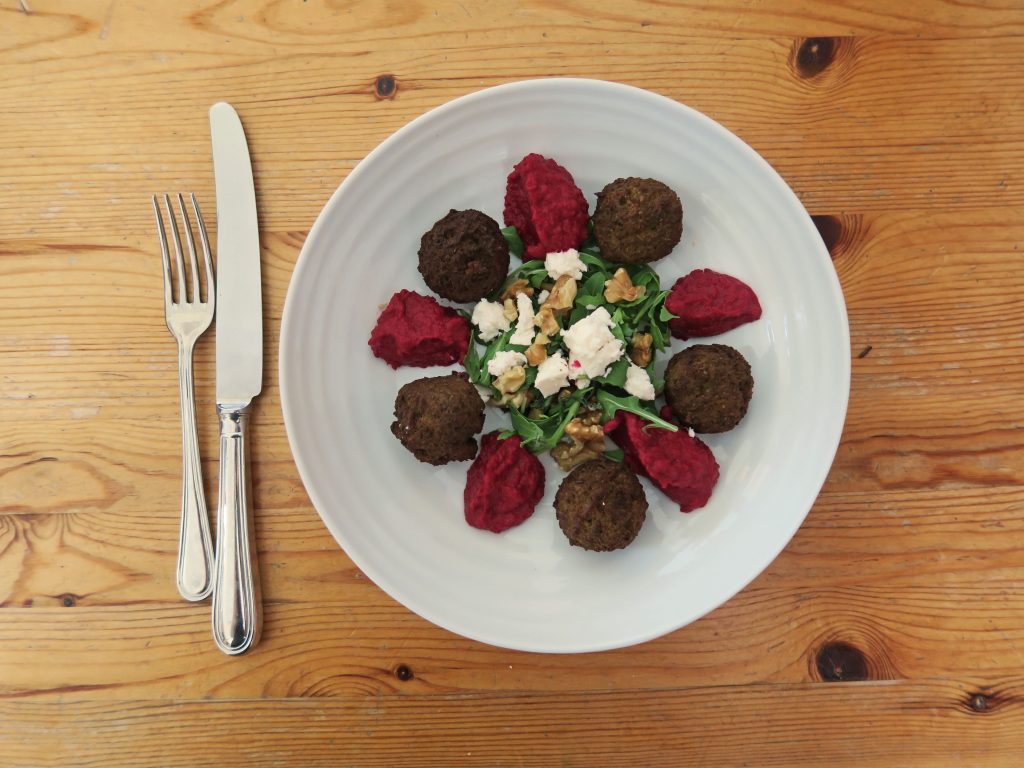
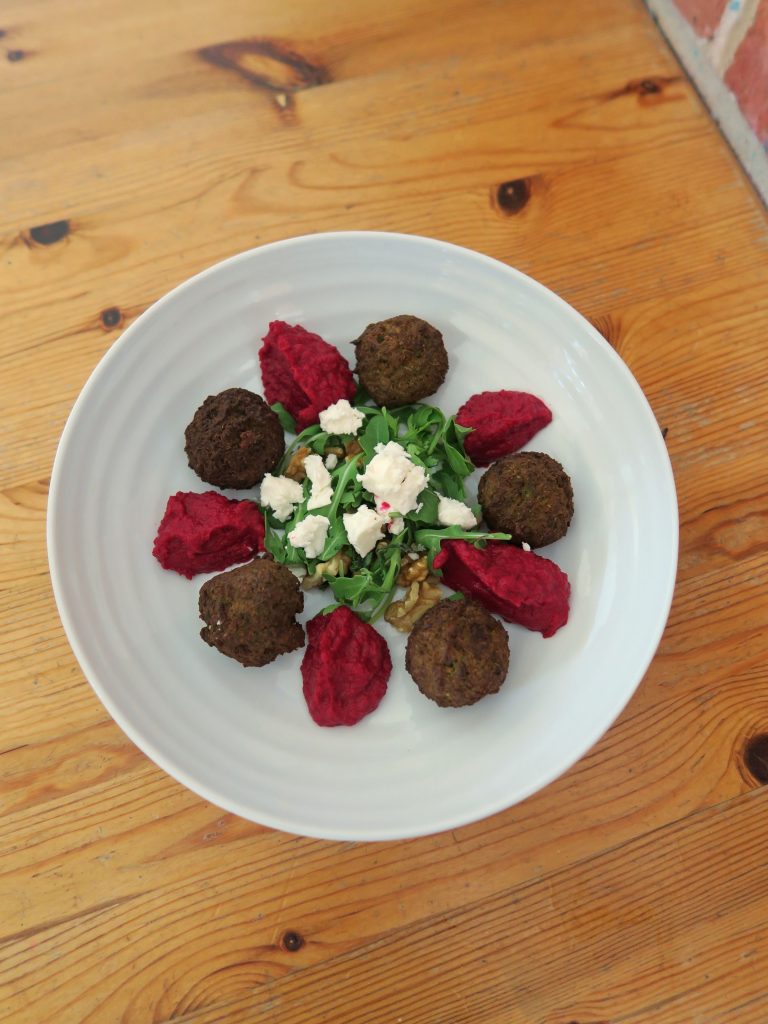
Serve the warm falafels with a dollop of the hummus, a sprinkling of feta and some fresh rocket!
Note: this also works really well as a wrap for eating on the go! Just layer up the hummus, rocket, nuts, feta in a line on a wholemeal wrap. Then crush and sprinkle over pieces of the warm falafel and roll up!
Thanks for reading!
Emma x
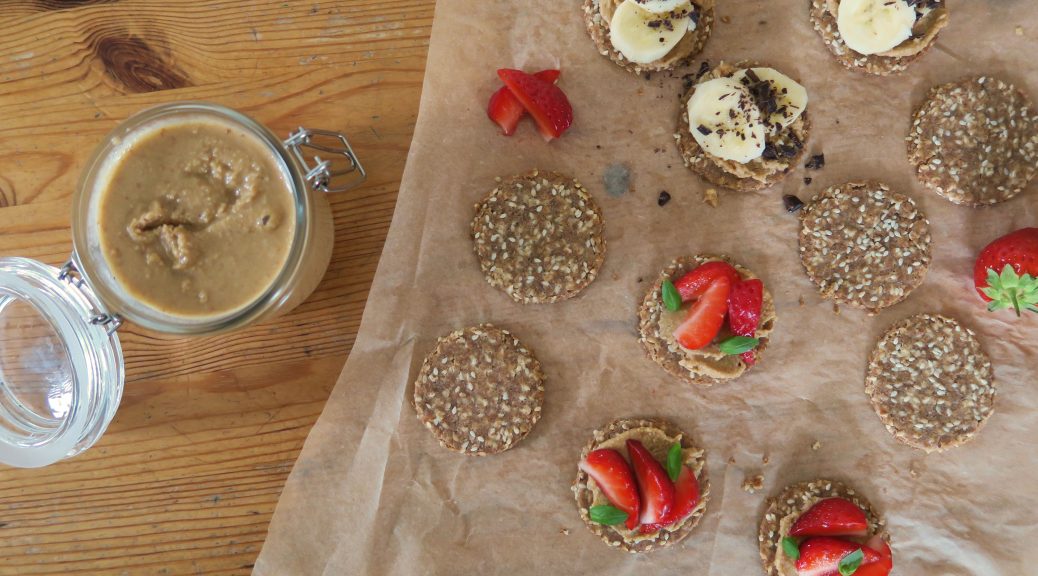
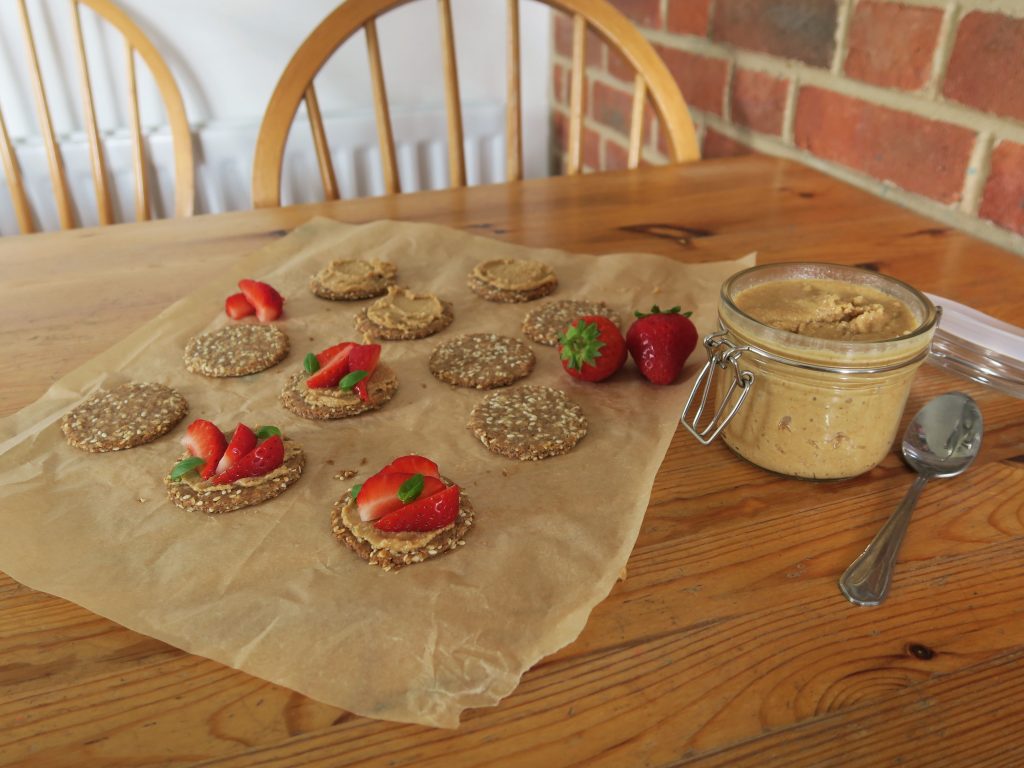
Wholegrain Crackers with Homemade Hazelnut Butter and Strawberries
Last week I made some delicious hazelnut butter, now it’s time for something to it with! I’ve found it really good as a sandwich filler, a porridge topper and a yoghurt pal, however if you want to make something specific to pair with your creation look no further than these delicious wholegrain crackers. These can taste a little bland on their own, but they’re the perfect carrier for all kinds of toppings from caramel, to nutella to this nut butter.
I’ve also found by topping it all with some fresh berries you can end up bringing some sweetness to the package which makes a great little healthy, filling snack!
Recipe
Makes 18 biscuits
Time: 45 minutes
Ingredients
For the crackers
160g Whole-wheat flour
55g Sesame seeds
½ tsp Salt
60ml Olive oil
4-5 tbsp Water
To top
3 tbsp Homemade nut butter (see last week’s recipe for how to make your own!)
4 Fresh Strawberries
A few Mint leaves to garnish
Method
Begin by making the crackers. Pre-heat the oven to 180˚C and line two baking trays with baking paper.
Mix the flour, sesame seeds and salt in a large bowl. Then add the oil and mix it in with a fork to make a crumbly texture. Add the water and then mix with your hands until a smooth dough comes together.
Roll the dough out between two sheets of baking paper until the thickness of a 1p coin. Cut rounds out of the dough with a cookie cutter, transferring the crackers to your lined trays as you do. Make sure to space them out enough so they’re not touching.
Bake the crackers in the oven for 10-15 minutes until golden brown and crisp. Leave to cool completely.
When cooled spread your nut butter over the crackers. Hull and slice the strawberries and arrange them on top of the crackers. Garnish with a little mint and then serve!
Alternatives:
Why not try topping the crackers and nut butter with…