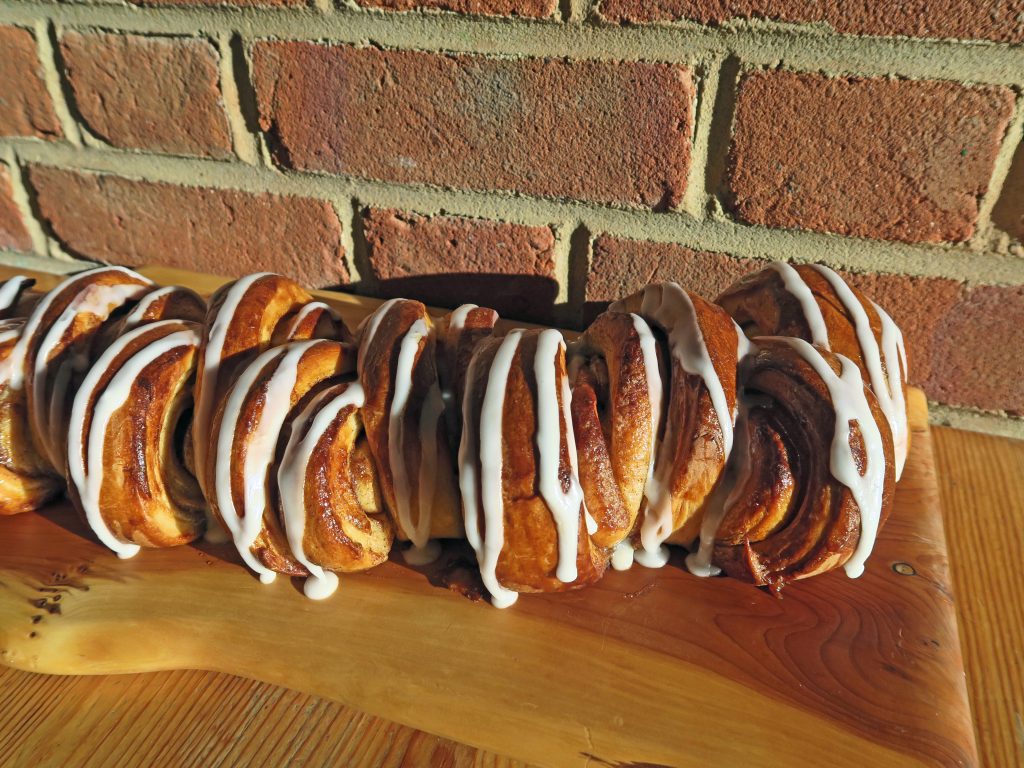
It’s thanksgiving tomorrow, and how better to celebrate it than with a huge Mississippi mud pie. Being a Brit I don’t normally celebrate, or even know when thanksgiving is. Yet luckily last Sunday I was at one of my drama rehearsals, and when we were trying to work out who was free for a rehearsal this Thursday a fellow cast memeber, who’s American, replied ‘yes, even though it’s Thanksgiving’. The convo then spiralled off into talks of pumpkin pie and pastry crusts, but this got me thinking. Why not look into classic American dishes and make one to celebrate? I know Mississippi Mud Pie isn’t strictly traditional for thanksgiving, and the Americans out there will be gritting their teeth that I haven’t made a pumpkin or pecan pie. But personally I find the later overly sweet and not suited to my British palette, whereas this chocolate binge of a pie is heaven on a plate to me.

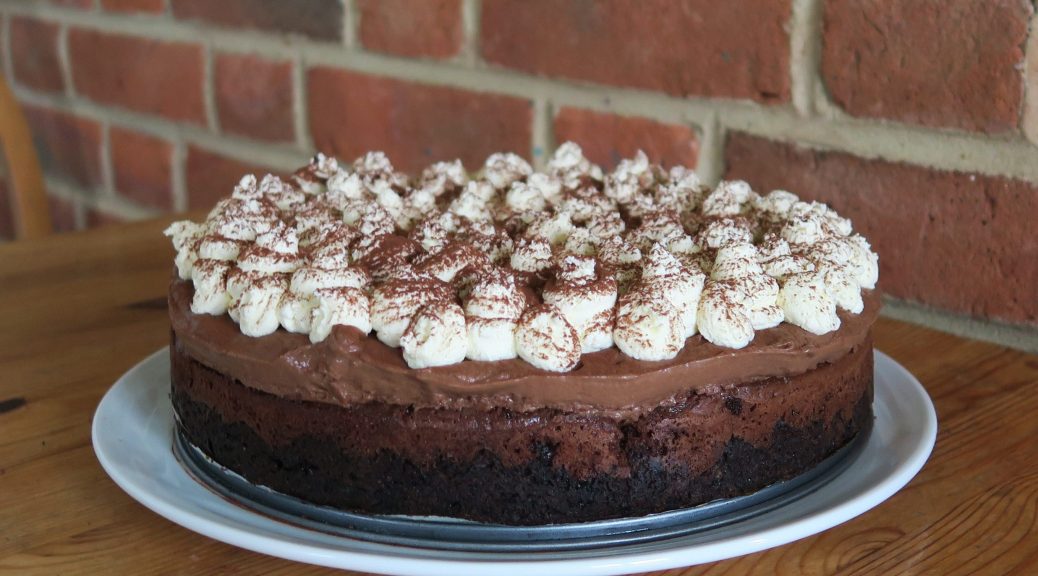
I’m not sure why it’s called Mississippi mud pie – the name unfortunately doesn’t do the dish justice. I’ve been skipping past it in cook books for years, not even looking to see what it is, and stupidly I think it’s probably because of the name. There have been many variations from the original, but it’s essentially a chocolate biscuit base, a gooey chocolate brownie on top, then a smooth chocolatey creamy mousse thing, and finally topped off with freshly whipped cream. I’m a huge chocoholic, and as I was making this I was getting way too excited with each layer I was putting on. You might be looking at it and thinking that’s way too much chocolate, but it’s actually not overpowering. Think of it as an ombre cake where each layer is slightly more subtle than the last. The Oreo and Bourbon base is really rich, then the brownie is slightly sweeter and less rich, then the next layer is chocolatey and creamy, and the top layer of cream is a great break from the chocolate.

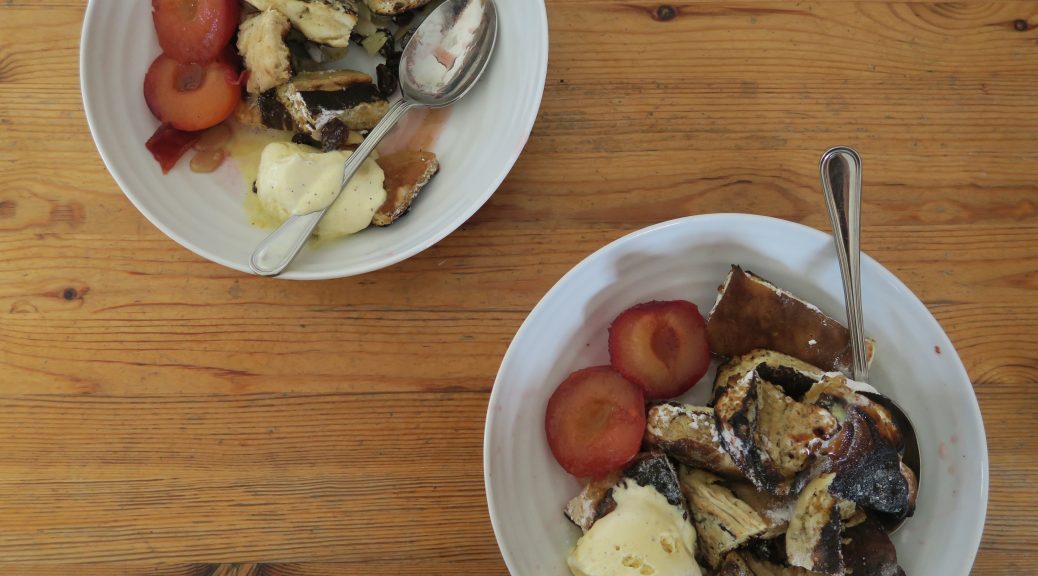
With the days getting darker at the moment I’m constantly struggling to make my dishes before the light dims and so I was a little rushed making this. As I wanted to photograph this before the natural light started to go, to avoid the yellow wash that comes from my kitchen lights, I took it out of the mould after only two hours of resting. When you read the recipe you’ll see that I recommend at least 4 hours, or even better overnight, which is why in some of the pictures the chocolate filling is pouring out everywhere. Trust me though, if you leave it for long enough it will set and look beautiful when cut. I left mine in the fridge over night and this morning the chocolate filling had set and gone all beautiful, so be patient. That said, it still tasted amazing after 2 hours, so if you can’t wait, and you don’t need it to look neat and elegant when cut into, an hour is long enough for chilling.

Recipe
Serves at least 8
Time 1 hour 15 minutes, plus lots of time for chilling
Ingredients
For the Chocolate crust
- 160g Oreos
- 200g Bourbon biscuits
- 100g Unsalted butter, melted, plus extra for greasing
For the Chocolate brownie
- 150g Butter
- 210g Dark chocolate
- 3 Medium eggs
- 210g Caster sugar
- 40g Plain flour
- 100g White chocolate, roughly chopped
For the Chocolate filling
- 100g Dark chocolate
- 290ml Whole milk
- 3 Egg yolks
- 60g Caster sugar
- 15g Plain flour
- 1 tbsp Cocoa powder
- 20g Cornflour
- 150ml Double cream
For the Topping
- 350ml Double cream
- 1 tsp Vanilla bean paste
- Cocoa powder for dusting
Method
- Pre-heat the oven to 180˚C. Grease and line a 24cm loose bottomed cake tin with butter and baking paper.
- Put the biscuits into a large bowl and crush with the end of a rolling pin to make into a fine crumb. Pour over the butter and mix to combine.
- Tip the mixture out into the tin and smooth out into an even thickness with a spoon. Put into the oven and bake for 5 minutes to firm it up.
- Now make the brownie mix. Put the butter and chocolate into a bowl over a pan of simmering water and leave to melt.
- Take another bowl and whisk the eggs until pale and fluffy with an electric whisk. Add the sugar and continue to whisk until it leaves a trail when the whisk is taken out.
- Fold the chocolate into the eggs, sieve in the flour and add the chopped white chocolate. Fold everything again until combined.
- Pour the mixture into the biscuit case and bake again for about 15-20 minutes until a crust has formed on top and it feel slightly firm. Set aside to cool.
- Now make the chocolate filling. Put the chocolate into a heat-proof bowl and melt over a pan of simmering water. Put the milk into a pan and heat until just boiling.
- In another bowl whisk the egg yolks, sugar, plain flour, cocoa powder and cornflour until smooth. Pour in the milk whilst whisking until smooth.
- Pour the mixture back into the pan and cook gently until just starting to thicken. Take off the heat, stir in the melted chocolate and leave in the fridge to cool completely.
- Take the filling out of the fridge and whisk to break up. In another bowl whisk the double cream to soft peaks. Fold the cream into the chocolate mix and then pour this over the cool brownie. Put this into the fridge to chill for 2 hours.
- Finally whip up the double cream and vanilla into soft peaks. Spoon this into a pipping bag with a round nozzle and pipe in blobs over the chilled chocolate filling. Put all this back into the fridge to chill for at least another 2 hours, or even better overnight.
- When ready to eat, take it out of the mould and dust with cocoa powder before serving.

Thanks for reading and happy Thanksgiving for tomorrow!
Emma


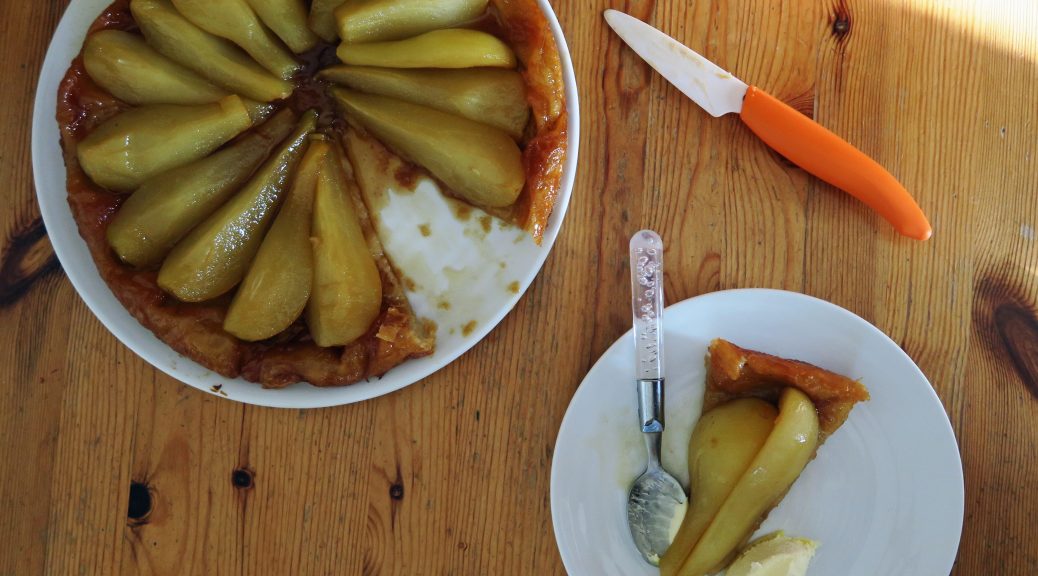
 The first time I ever made this I used shop bought puff pastry and roughly chopped apples. These are two great alterations to make if you want to save time or if you’re just starting to learn how to bake. On the other hand, if you haven’t made your own puff pastry before I’d recommend giving it a go. It takes a bit of time, but it’s not so much time that you have to work on it, more just that you have to leave it a lot to chill in between turns. This recipe is for rough-puff which is a slightly easier and quicker variation on full-puff pastry, but it still gives a beautiful light and crispy pastry.