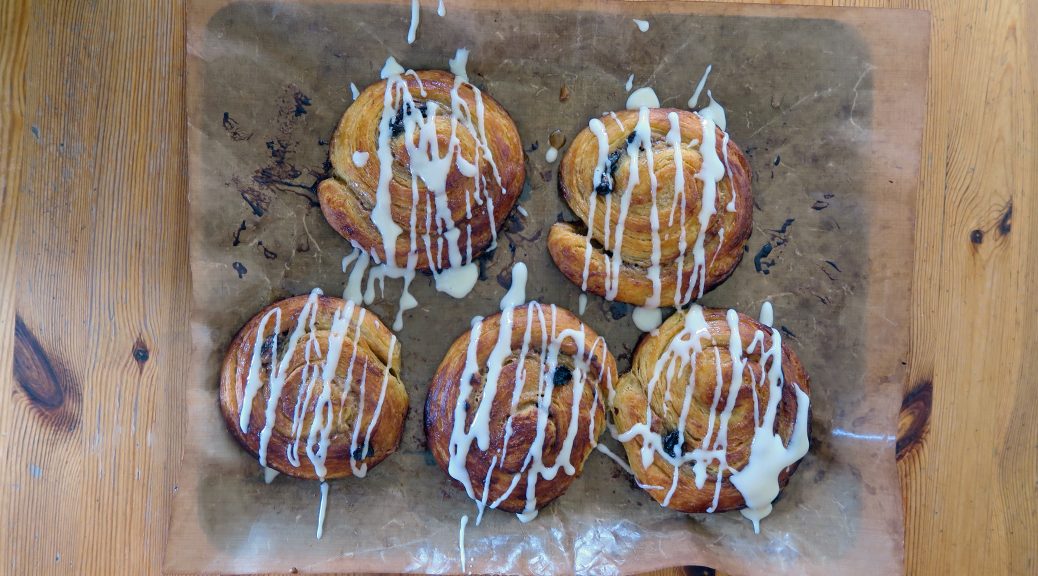
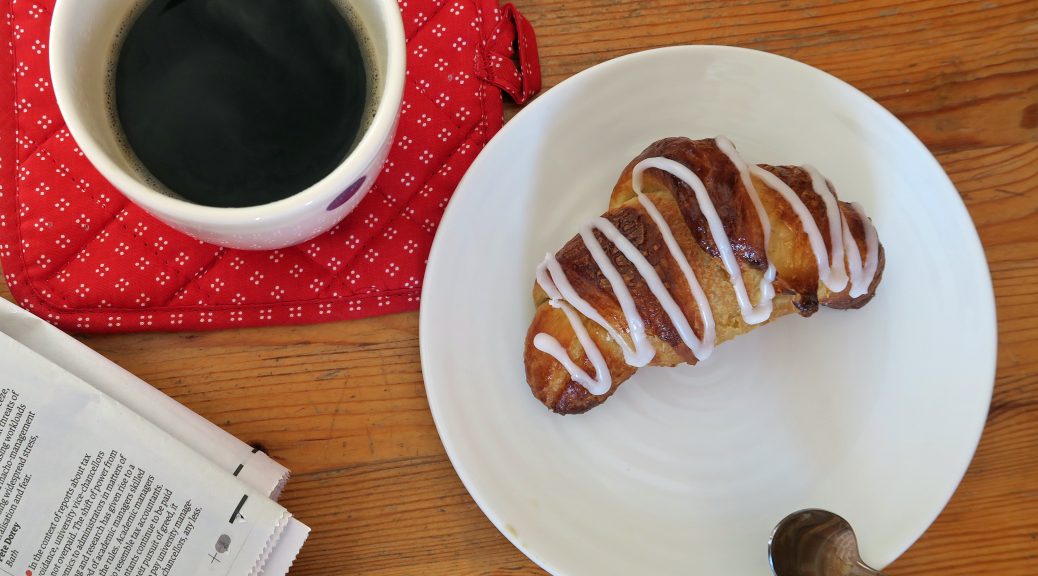
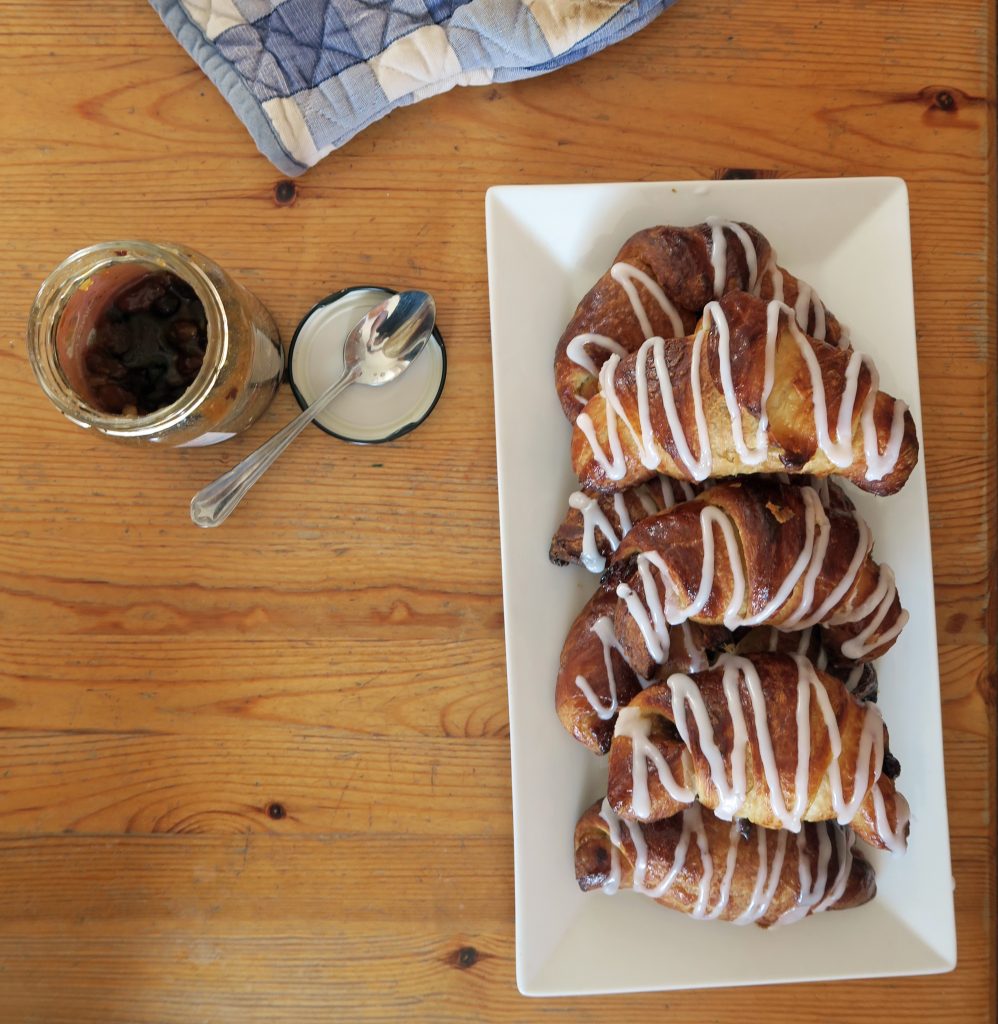
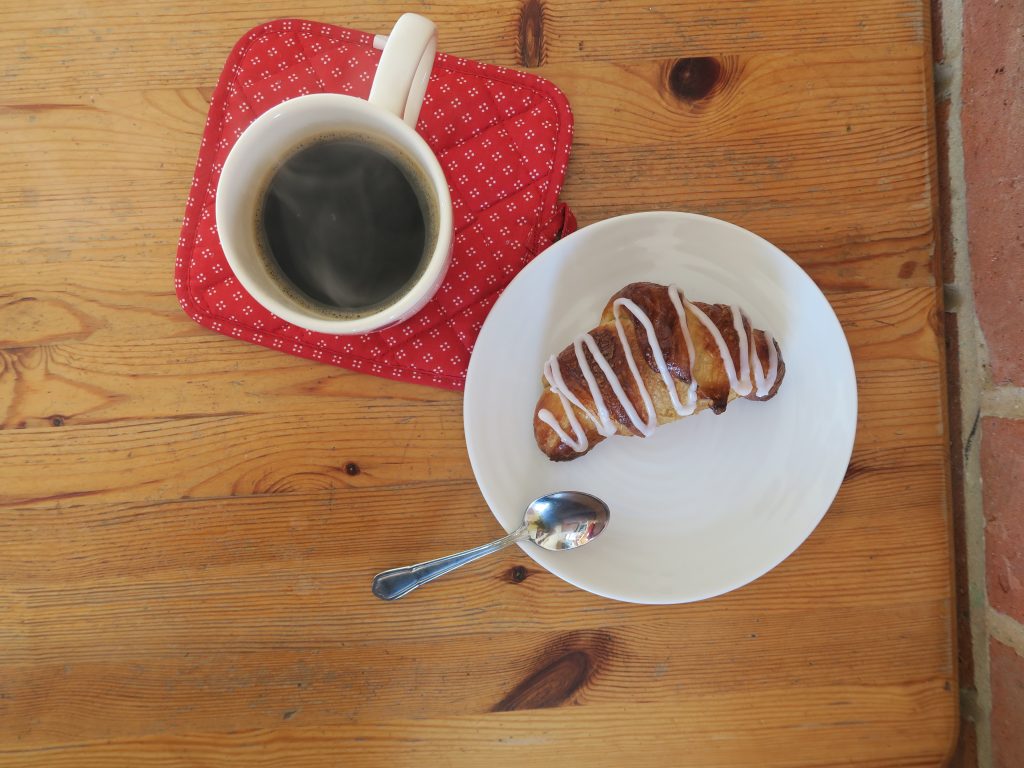
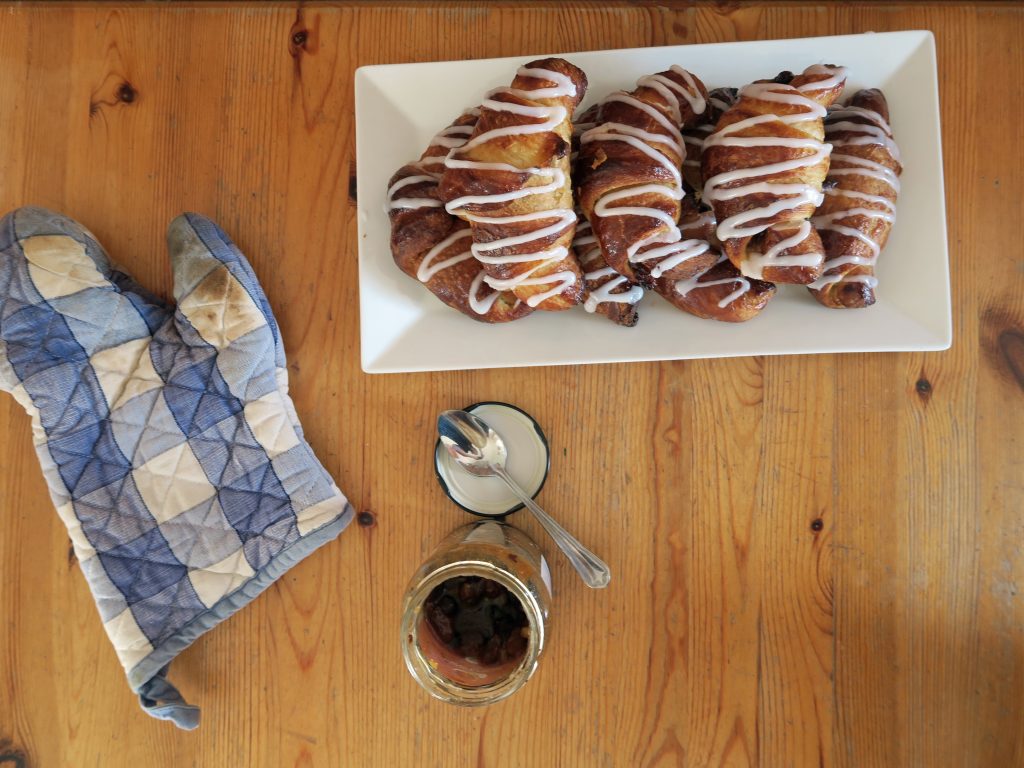
Banana Maple Pain au Raisin
I’d say that generally bananas are my fruit of choice. They’re easy to eat, with none of the effort that comes with peeling an orange, and they taste really good. There is always that problem though when you buy a bunch of them. To begin with they’re all rock solid, green, and basically inedible. Then they all hit perfect ripeness at the same time and you feel compelled to eat them all before they go bad. Inevitably though at least one will go brown, then black and just slowly worse as you pass it everyday thinking ‘I really should eat that’, but at the same time ‘I really don’t want to eat that’. This is exactly the process that happened in the lead up to these beauties. I had a couple of dying bananas next to the fruit bowl, but I really didn’t want to eat them, so I started brainstorming anything that I could put them in so they didn’t go to waste.

My first choice for old bananas would normally be a banana chocolate cake. However I made one of those for my blog already, and as I’m watching my weight I’ve decided to only bake things that appear on the blog, so another chocolate banana cake, whilst delicious, wasn’t the answer. Then, I’m not sure how, the idea of banana in crème patisserie, all rolled up into a Danish popped into my mind and these were born! It’s best to make these with really ripe, almost gone bananas as they have a really intense flavour. I found that this means you don’t have to use so much banana to get the flavour coming through in the crème pat, and therefore you don’t mess around with the consistency too much! I’ve used home-made pastry here as I love making it. I will warn you though that it does take a little time and tlc, so if you’re in a hurry you can use ready rolled croissant or puff pastry instead.

Recipe
Makes 12
Time: 2 hours plus lots of chilling, resting, and baking time
Ingredients
For the dough
- 500g Strong white bread flour
- 10g Salt
- 80g Caster sugar
- 10g Instant yeast
- 300ml Cool water
- 300g Unsalted block butter
- 1 Egg, beaten
For the crème patisserie
- 200ml Whole milk
- 1 tbsp Vanilla bean paste
- 45g Caster sugar
- 3 Egg yolks
- 10g Plain flour
- 10g Cornflour
- 1 tsp Cinnamon
- 2 Very ripe bananas
- 100g Raisins
For the topping
- 3 tbsp Maple syrup
- 100g Icing sugar
Method
- First make the dough. Put the flour, salt, sugar, yeast, and water into a big bowl and use a large spatula to mix it into a dough.
- Turn the dough out onto a lightly floured surface and knead for 8-10 minutes until smooth and elastic. Then tip it into a lightly oiled bowl, cover with clingfilm, and leave to chill in the fridge for an hour.
- Meanwhile, take the block butter and place it between two sheets of cling film. Using a rolling pin beat the butter out into a rectangle about 40 x 19 cm. Cover it in clingfilm and put back into the fridge to chill until needed.
- Lightly flour your surface and take the dough out of the fridge. Roll it out into a 60 x 20 cm rectangle, about the thickness of a pound coin. The dough will spring back and resist being shaped, but just persist and you will get there.
- Put the butter sheet onto the dough so that it covers two thirds, leaving the top third exposed.
- Fold the exposed dough onto the first third of the butter, and then fold the bottom third, covered in butter, up onto the dough you’ve just folded down. You should now have layers of dough, butter, dough, butter, dough. Loosely clingfilm the dough and put back into the fridge for an hour.
- Take the dough out of the fridge and put onto a floured surface with the short end facing you. Roll it out to a rectangle 60 x 20cm. Fold the top third down and then fold the bottom third up on top, as you did before. Turn the square block 90˚ and repeat the rolling and folding. Wrap the dough in clingfilm and chill the pastry in the fridge for 1 hour.
- Repeat step 7 two more times, leaving the dough to chill for an hour in between turns. After the last rolling and folding wrap the dough very loosely (wrapping tightly will stop the dough from rising) and leave in the fridge overnight (or for at least 8 hours).
- Meanwhile make the crème pat filling. Put the milk and vanilla into a pan and put over a medium heat. Bring the mixture to a simmer.
- In another bowl put the sugar, egg yolks, flour, cornflour, and cinnamon and whisk them all together to make a smooth paste. Pour the warm milk over the egg mix, whisking constantly. Once all combined pour the mixture back into the pan and heat whilst whisking until the mixture starts to thicken.
- Take the bananas and mash them with a fork to make a smooth puree. Stir this puree into the crème pat and then leave it to cool completely
- Once the dough has rested and you’re ready to start shaping. Line 3 baking trays with baking paper.
- Lightly flour a surface and roll out the dough to 50 x 30cm, trimming the edges so you have a neat rectangle. Spread the crème pat over the dough and then sprinkle over the raisins.
- Roll the dough up from the long edge like a swiss roll. Then leave the roll to chill in the freezer for 30 minutes – this will make it a lot easier to cut later.
- When ready slice the roll into 12 slices, about 2-3cm thick and lay them flat on the baking trays. Leave for a final time to rise for an hour.
- Pre-heat the oven to 180˚C. Brush the pain au raisin with the beaten egg to glaze and then bake in the oven for 30-40 minutes until golden brown and risen.
- Take the pastries out of the oven and brush with half the maple syrup whilst they’re still warm. Then leave them to cool.
- Mix the icing sugar and the rest of the syrup in a bowl and drizzle it over the cooled pastries, then serve!

Thanks for reading!
Emma x
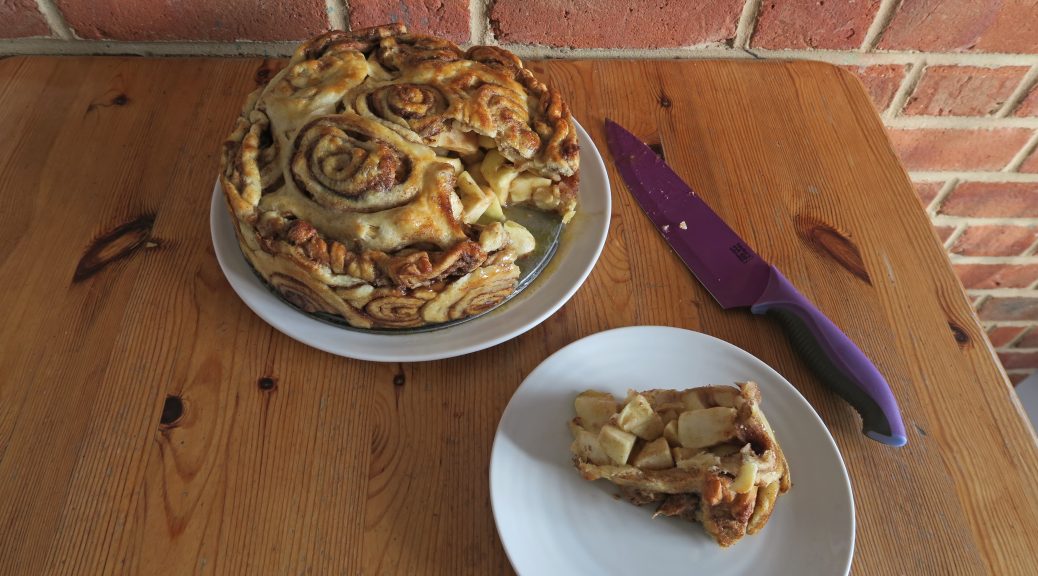


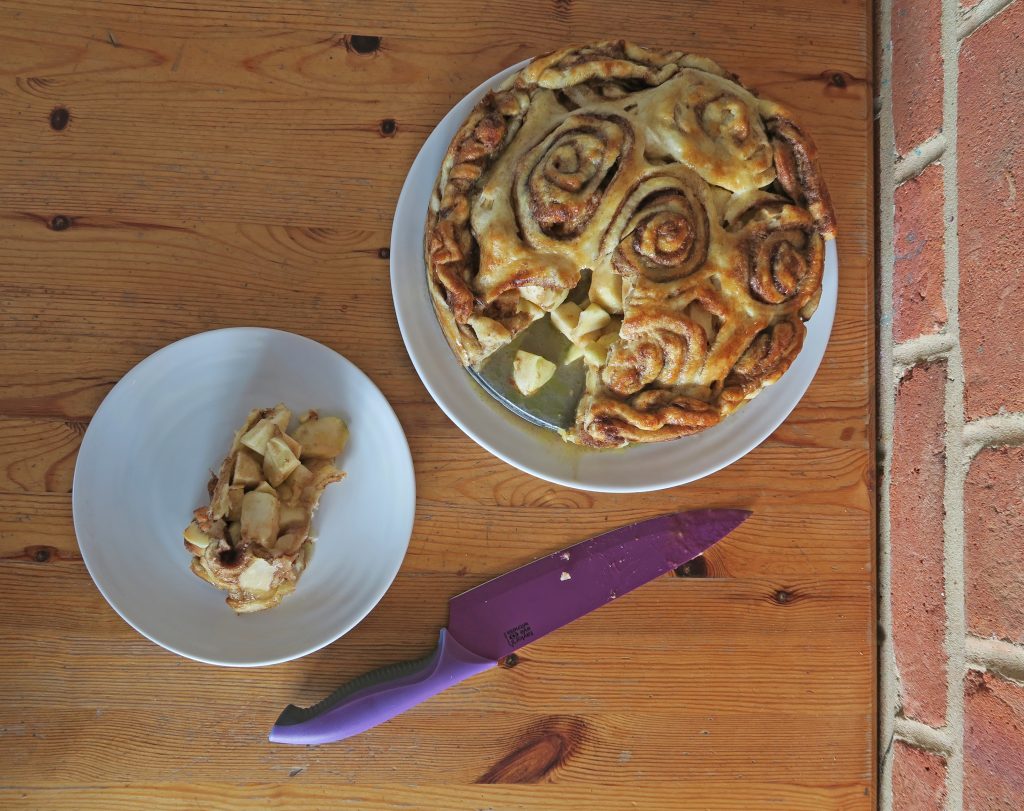


 The first time I ever made this I used shop bought puff pastry and roughly chopped apples. These are two great alterations to make if you want to save time or if you’re just starting to learn how to bake. On the other hand, if you haven’t made your own puff pastry before I’d recommend giving it a go. It takes a bit of time, but it’s not so much time that you have to work on it, more just that you have to leave it a lot to chill in between turns. This recipe is for rough-puff which is a slightly easier and quicker variation on full-puff pastry, but it still gives a beautiful light and crispy pastry.
