
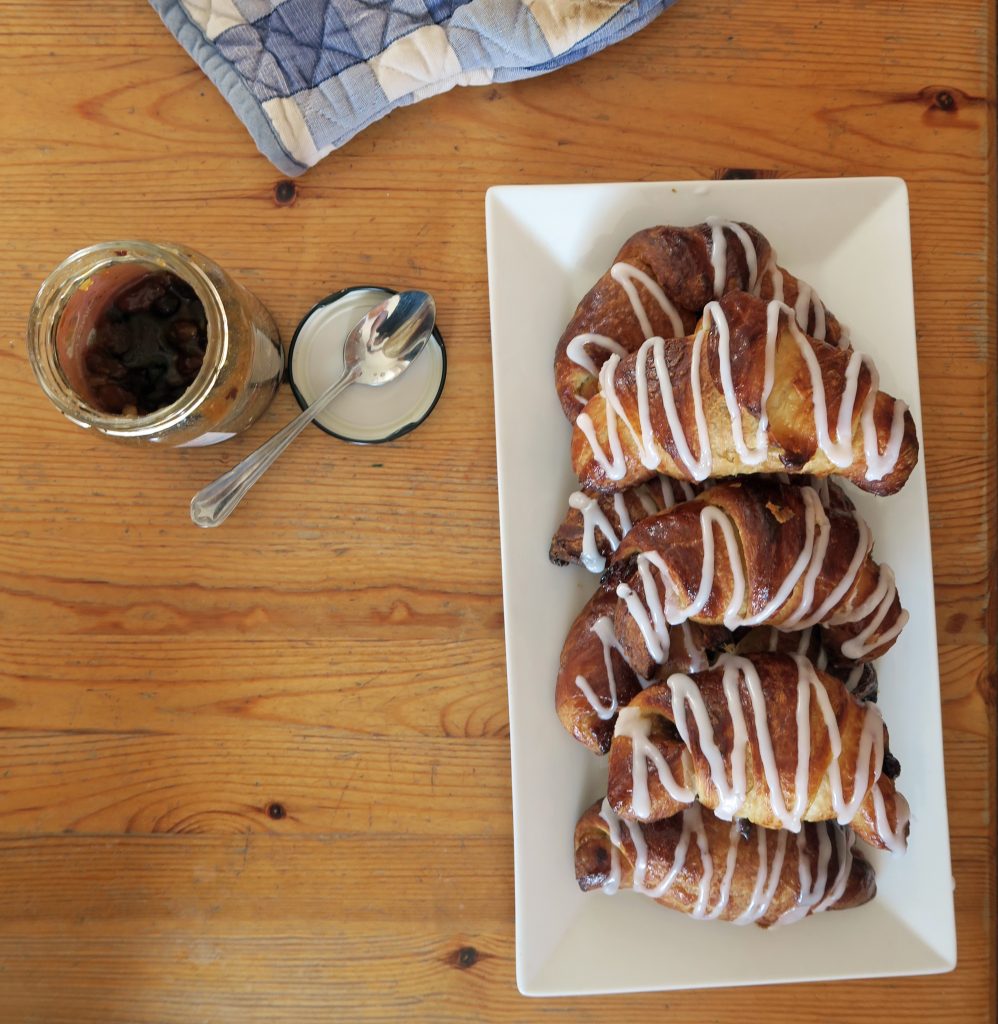
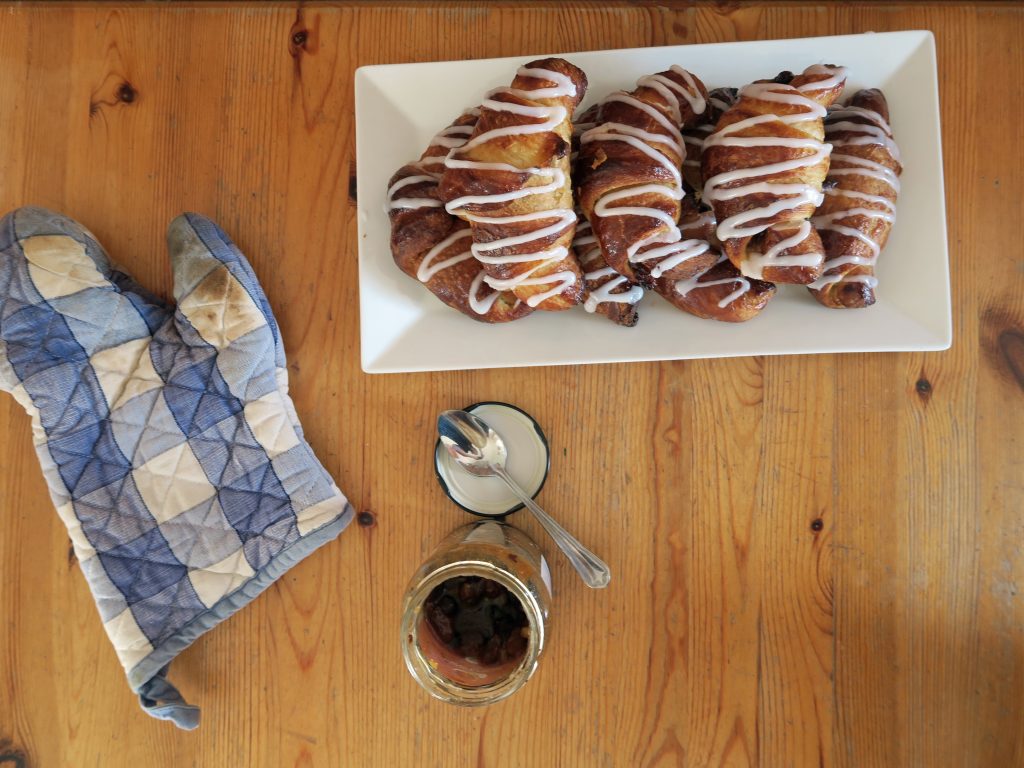
Mince Pie Croissants
There’s nothing more quintessentially Christmas than mince pies, and for me there’s nothing better on Christmas morning than a warm croissant which has just come out of the oven. I’ve never seen mincemeat in croissants before, but as chocolate, almonds and nutella make the grade I couldn’t see why it wouldn’t work – and it does – really well. The light, buttery, flakyness of the pastry really works with the rich filling, and unlike normal mince pies there isn’t so much mincemeat that it becomes sickly and overpowering. However, I know mincemeat’s like marmite – ya love it or hate it. If you’re a hater you obviously don’t have to put it in, you could either leave them plain or you could fill them great alternatives like chocolate.
As I’m a baking junkie and I love hands-on baking I’ve made my own pastry for these. This does take a long time and is a bit of a pain to do as you have to leave it a really long time between turns. You also have to make the pastry a day before you’re going to use it as it’s a yeasted dough which needs to rise. So whilst it’s really satisfying and fun to make your own dough, if you don’t have the patience or the time, as most of us don’t at Christmas, you can use ready made croissant dough or puff pastry instead. To be honest, in my opinion the best bit is the shaping, and so even using shop bought pastry can be fun and create better croissants than shop ones. In this case just skip to step 9 in the recipe and go on from there.

Recipe
Makes 12
Time: 1 ½ hours for the dough (+ chilling) and 45 minutes for the shaping and decorating
Ingredients
For the dough
- 500g Strong white bread flour
- 10g Salt
- 80g Caster sugar
- 10g Instant yeast
- 2 tsp Mixed spice
- 300ml Cool water
- 300g Unsalted block butter
To finish
- About 200g Mincemeat (or alternative like chocolate)
- 1 Medium egg
- 100g Icing sugar
Method
- Put the flour, salt, sugar, yeast, and water into a big bowl and use a large spatula to mix into a dough.
- Turn the dough out onto a lightly floured surface and knead for 8-10 minutes until smooth and elastic. Tip into a lightly oiled bowl, cover and leave to chill in the fridge for an hour.
- Meanwhile, take the chilled block butter and place it between two sheets of cling film. Using a rolling pin beat the butter out into a rectangle about 40 x 19 cm. Cover in clingfilm and put back into the fridge to chill until needed.
- Lightly flour you surface and take the dough out of the fridge. Roll it out into a 60 x 20 cm rectangle, about the thickness of a pound coin. The dough will spring back and resist being shaped, but just persist and you will get there.
- Put the butter sheet onto the dough so that it covers two thirds, leaving the top third exposed.
- Fold the exposed dough onto the first third of the butter, and then fold the bottom third, covered in butter, up onto the dough you’ve just folded down. You should now have layers of dough, butter, dough, butter, dough. Loosely clingfilm the dough and put back into the fridge for an hour.
- Take the dough out of the fridge and put onto a floured surface with the short end facing you. Roll out to a rectangle 60 x 20cm. Fold the top third down and then fold the bottom third up on top, as you did before. Turn the square block 90˚ and repeat the rolling and folding. Wrap the dough in clingfilm and chill the pastry in the fridge for 1 hour.
- Repeat step 7 two more times, leaving the dough to chill for an hour in between turns. After the last rolling and folding wrap the dough very loosely (wrapping tightly will stop the dough from rising) and leave in the fridge overnight (or for at least 8 hours).
- Once the dough has rested and you’re ready to start shaping line 3 baking trays with baking paper.
- Lightly flour a surface and roll out the dough into a 50 x 30cm, trimming the edges so you have a neat rectangle.
- Cut the rectangle in half so you have two 25 x 30cm rectangles. Then cut triangles along the length of the strip, each with a 12cm base and 25cm from middle of the base to tip. This should give you 12 triangles in total.
- Take one of the triangles and pull the two points making up the base to stretch the dough. Then stretch the dough lengthways so it’s as long and wide as possible.
- Spoon about 2 tsp of mincemeat into the wide base of the dough. Then roll the croissants up from the base to the tip. To stop the dough from unravelling in the oven press the end into the croissant to stick it together. Then put the croissant onto the lined baking tray, curling the ends in slightly to get the classic shape. Repeat with the rest of the triangles.
- Lightly cover the croissants in cling film again and leave for another 2 hours to rise and double in size.
- Heat the oven to 180˚C. Beat the egg with a fork and then lightly brush the croissants to glaze. Put in the oven for 15-20 minutes until risen and golden brown. Take out the oven and leave to cool on a cooling rack.
- Whilst cooling make the icing. Put the icing sugar into a bowl and add just enough water to make an icing which is just pourable – be careful not to make it too loose. Pour this into a piping bag with a small round nozzle.
- Once cool drizzle the croissants with the icing and serve!
Thanks for reading! Another Christmas treat coming on Wednesday…
Emma x