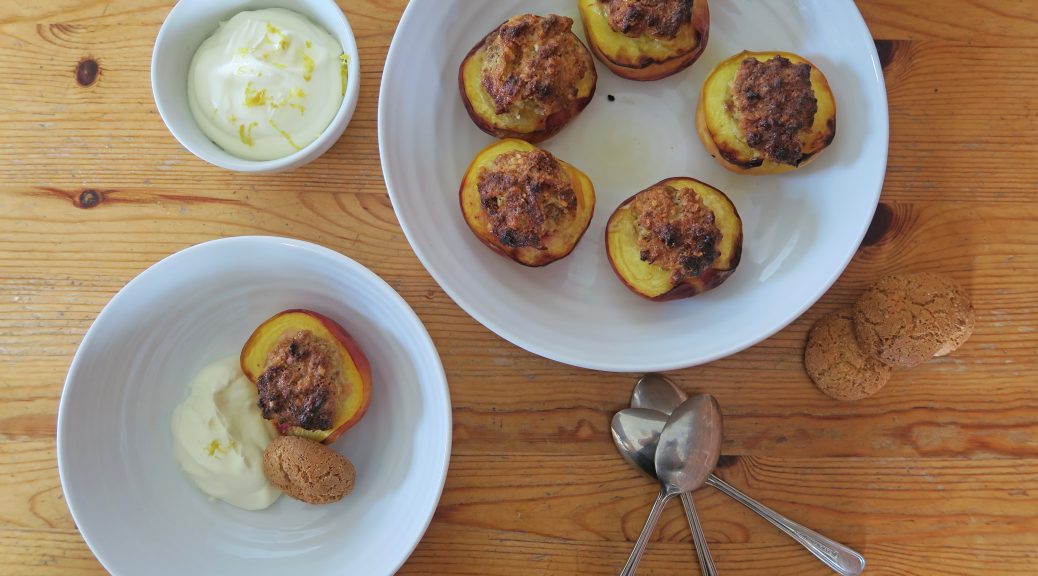
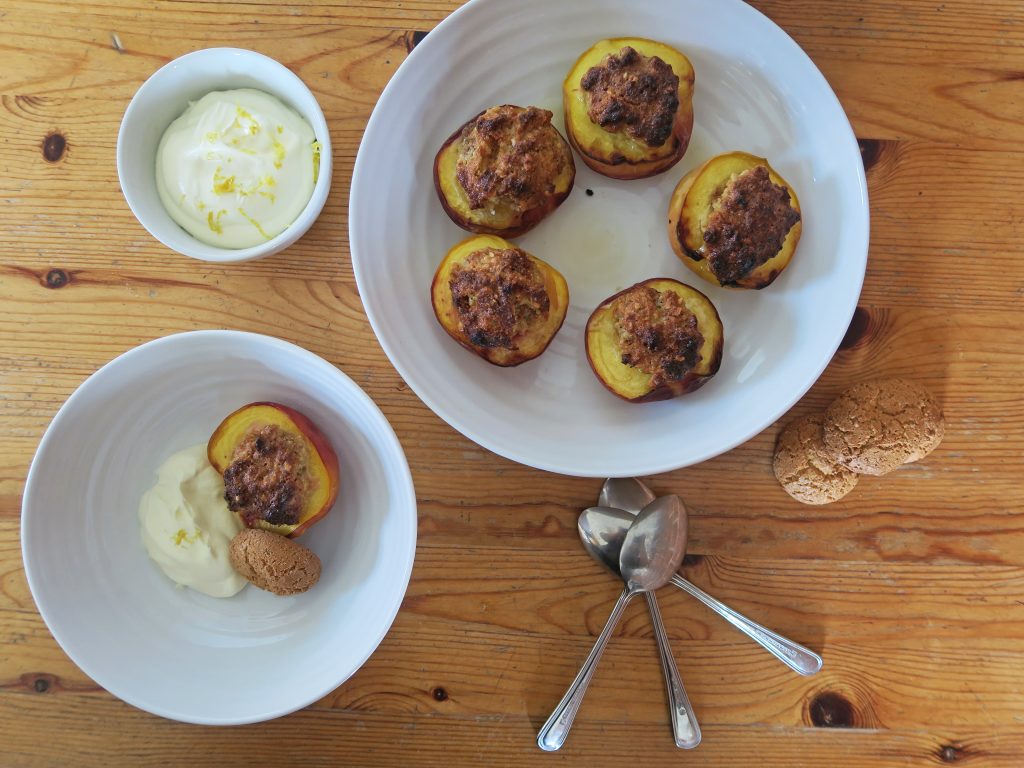
Amaretti Stuffed Peaches with Lemon Cream
As it’s world mental health awareness day today I wanted to make a recipe that’s perfect for all states of mind. For me cooking is that relaxing, creative outlet for all my anxiety, anger and so on and I think lots of people similarly find that it’s a great de-stress activity. There’s also something very communal about making something you can share with others, and most of all making something that is tasty to eat. However there are times when the thought of going into the kitchen is not appealing and whilst I know it’d help me feel better, everything I can think of to cook feels too complicated. Bring on the stuffed fruit!

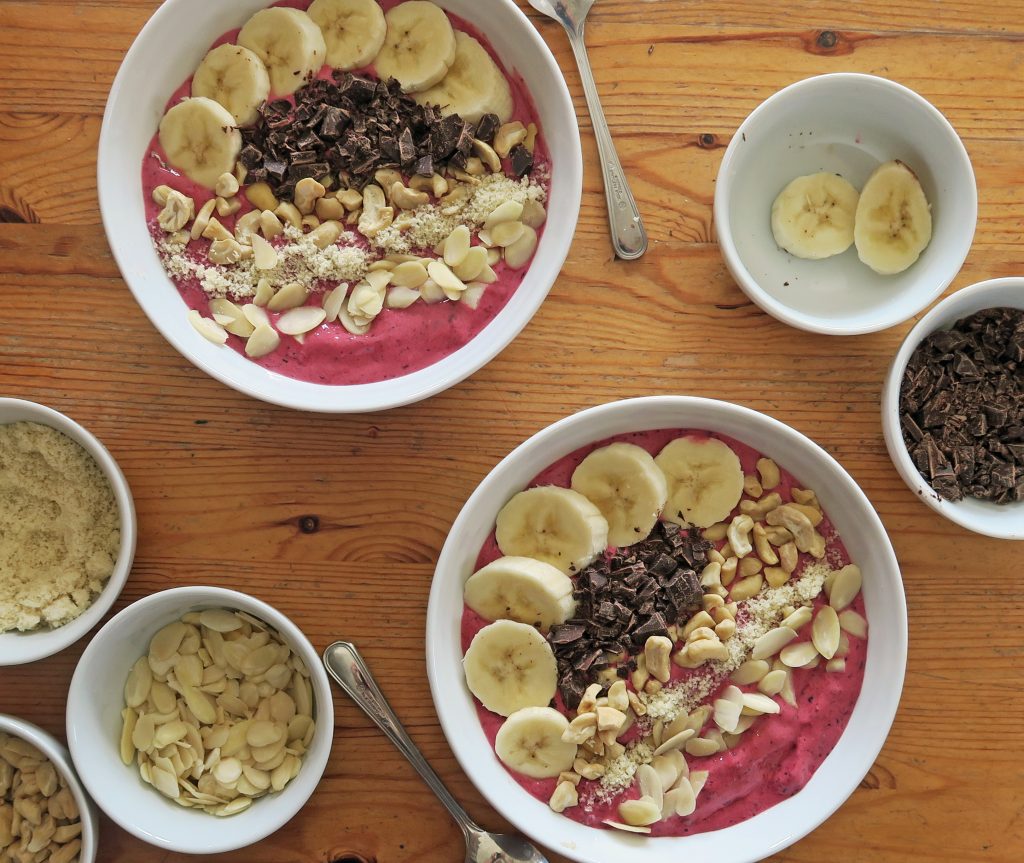
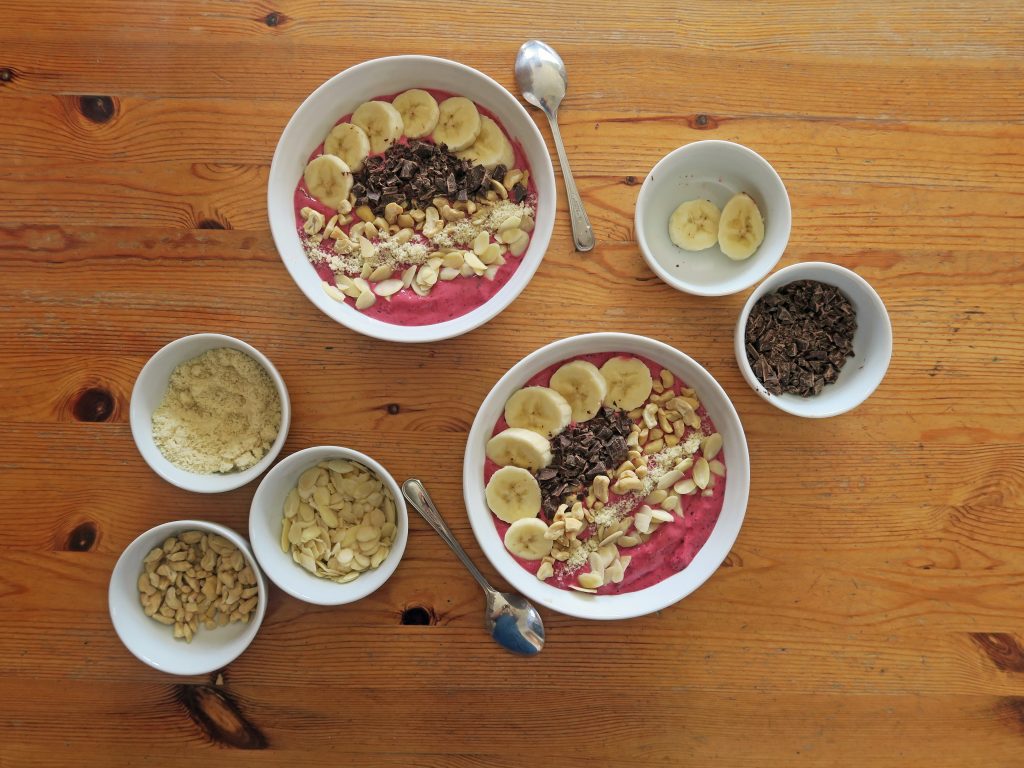
I’ve never been much of a fan of stuffing fruit for desserts; I generally prefer to stuff desserts with fruit. But if you want a quick, delicious dessert that is super easy to throw together and very hard to get wrong then I seriously recommend these! By crushing up some amaretti biscuits you can make a really flavoursome stuffing for these peaches in seconds, and it also works really well in plums, nectarines and apples so you can work with whatever fruit is in season. I realise that amaretti biscuits may be a little pricey and niche for the average student/household, so if you don’t have any amaretti biscuits around you could use a selection of nuts instead.
Recipe
Serves 3
Time: 20 minutes
Ingredients
For the peaches
- 3 Peaches
- 30g Ground almonds
- 20g Chopped almonds or hazelnuts
- 20g Crushed amaretti biscuits
- Zest of ½ a Lemon
- 1 tbsp Caster sugar
- 1 Small egg
- A few drops of rosewater
- A few drops of Vanilla extract
- 1 tsp Amaretto (optional)
- 250ml Apple juice
For the cream
- 250ml Double cream
- Zest of ½ an Lemon
- 2 tbsp Icing sugar
- 1 tsp Orange blossom water
Method
- Pre-heat the oven to 180˚C. Slice the peaches in half and then take out the stones. Put the peach halves into a deep gratin dish or roasting tin in a single layer.
- In a bowl mix together the ground almonds, chopped almonds, crushed amaretti biscuits, lemon zest, sugar, egg, rosewater and vanilla until combined.
- Spoon this mixture into the space in the peaches where the stones were, making a little mound.
- Mix the apple juice and the amaretto in a bowl and then pour this around the peaches.
- Then bake the peaches in the oven for 30-40 minutes until soft and slightly caramelised (the time will vary depending on the peaches ripeness).
- Now make the cream. Gently whip the cream with a hand whisk until soft peaks form. Then add the lemon zest, sugar and orange blossom water and fold in gently to combine.
- Serve the warm peaches with the cream and little of the poaching juices!
![]()
Thanks for reading!
Emma x