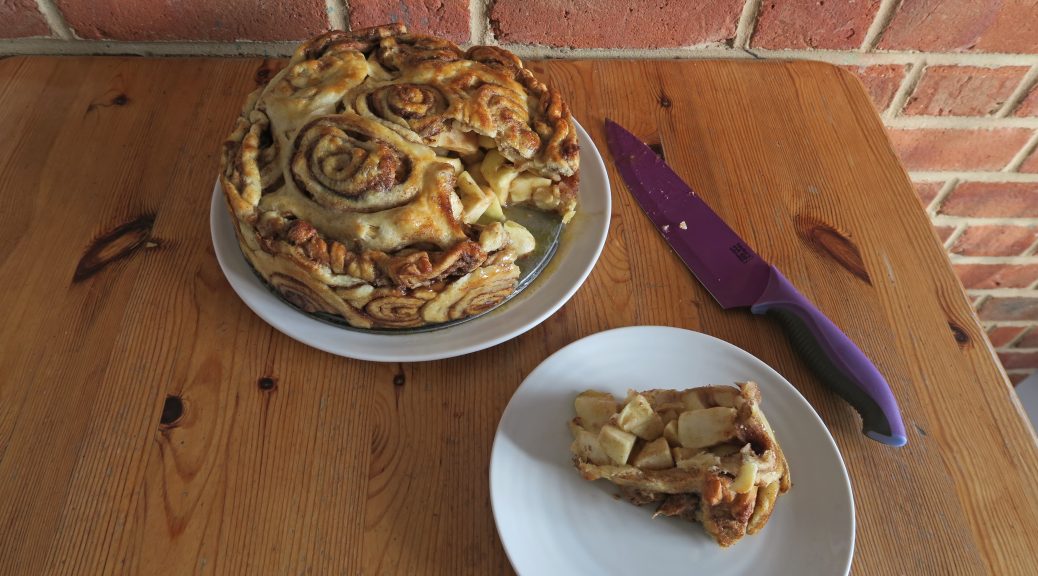
Cinnamon Roll Apple Pie
My bakes never last very long in my house. Leave something on the kitchen table and it seems to disappear within a day or two, and this cinnamon roll apple pie is no exception! This style of pie crust is becoming a bit of a food trend, flooding every kind of social media. My sister knows I’m a big fan of cinnamon rolls and apple pie so I first saw the idea when my she tagged me in a post on it, and as soon as I saw it I knew I had to make my own!

Instead of making (or buying) a dough for the crust – as you would if you were making cinnamon rolls – I’m using a shop-bought shortcrust here for two reasons, 1) it’s more sturdy and therefore a better container for the apple filling, and 2) it’s a lot quicker and easier to work with, and will therefore help you get a tight roll which should make the pie more aesthetically appealing. This also means that it’s not too tricky or time consuming to make, so if you want to make something that looks cool but doesn’t require too much culinary nous this is a good one to try.

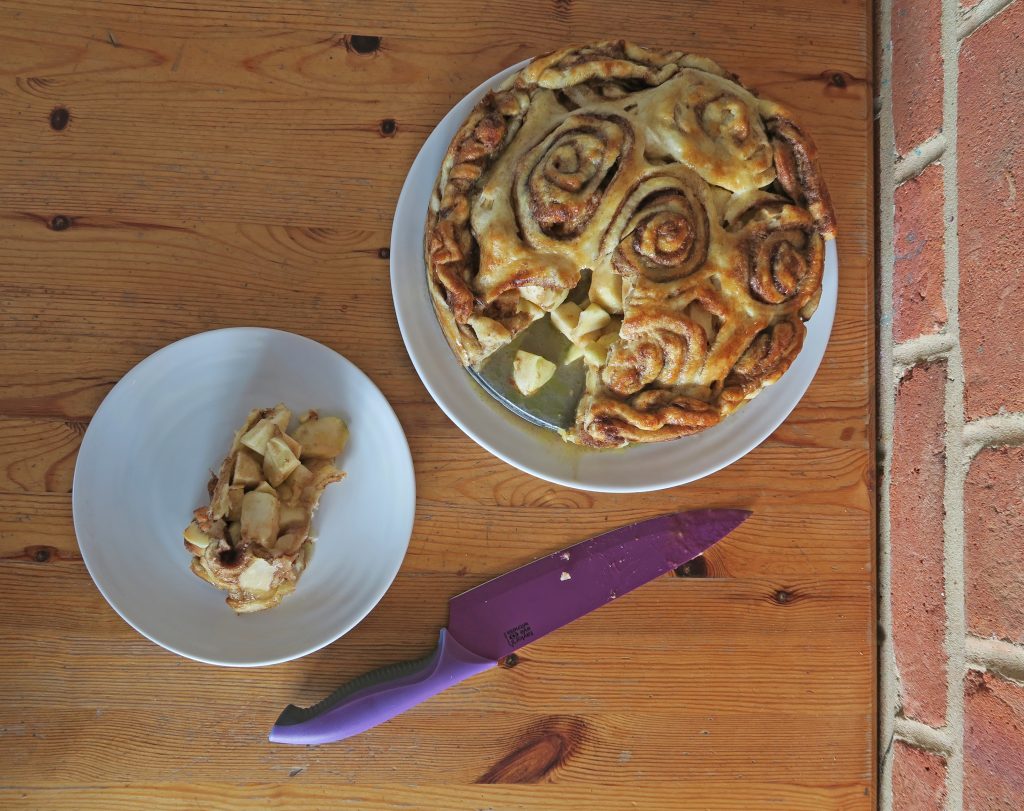
I was experimenting on this one a bit which is why it doesn’t look very neat, but I’ve now worked out how to make it look better. Originally I tried to roll the little rolls together into one sheet (as above) but this didn’t work as the individual rolls didn’t fuse together. Therefore I’d recommend doing what I ended up doing next – roll each little roll out to the thickness you want it to be (about 1/2 the thickness of a pound coin) and then line the tin with these flat discs, overlapping and pressing adjacent rolls together so they fuse when cooking and so there’s no gaps. That said though, even if it doesn’t look completely neat it’s guaranteed to taste good so don’t worry!

Recipe
Serves 8
Time: 1 hour
Ingredients
For the crust
- 2 tbsp Ground cinnamon
- 80g Light brown sugar
- 2 packs of ready rolled shortcrust pastry (I used Jus-Rol)
- 60g Butter
- Flour for dusting
- 1 Egg, beaten
For the filling
- 6 Medium sized Bramley apples
- 140g Caster sugar
- ½ tsp Ground cinnamon
- 3 tbsp Flour
Method
- Pre-heat the oven to 180˚C.
- Mix the cinnamon and sugar in a bowl and set to one side. Lay out the pastry on your surface. Spread over the butter and then sprinkle over the cinnamon sugar mix so that it covers the whole sheet of pastry in an even layer.
- Roll the pastry up from the short end, like a swiss roll, to make a tightly rolled log. Wrap the roll in cling film and chill for 30 minutes.
- Meanwhile begin to prep the filling. Peel, core and slice the apples and then wrap them in layers of kitchen roll and set to one side, (this will help to take some of the moisture out of the fruit so you don’t end up with soggy bottom pastry).
- Put the sugar, cinnamon and flour for the filling into a bowl, mix and set aside for later.
- Take the pastry out of the fridge and put it onto a chopping board. Take a sharp knife and slice the roll into discs about the thickness of a pound coin.
- Lightly flour a surface. Then take one of the discs and use a rolling pin to flatten it into a thinner disc, about half the thickness it was before. Repeat with 2/3 of the discs.
- Take these discs and line the tin with them, starting from the centre of the base and working up the sides of the tin until you have a little overhang. Press the discs together so that they fuse and there’s no gaps.
- Put the apples into the bowl of sugar, cinnamon and flour. Mix everything together and then tip this into the pie case.
- Cover your work surface with a sheet of clingfilm and arrange the rest of the pastry rolls on it in a round shape, making sure they’re close together. Cover these with another layer of clingfilm (this will make it easier to work with them) and then roll over them with a rolling pin to merge them into a single sheet. You want this sheet to be about 1 cm wider than the pie tin do that it comes into contact with the overhanging pastry.
- Brush the edge of the pie with a little water. Then take off one of the layers of clingfilm and flip the pastry sheet onto the top of the pie. Then take the other sheet of clingfilm off the pastry sheet.
- Take a knife and use it at a 45˚ angle to cut off the extra pastry around the edge. Then crimp the edge of the pie to seal everything by pinching the pastry between your thumb and first finger on one hand and your first finger on the other.
- Brush the top of the pie with the beaten egg to glaze and then bake in the oven for 35-40 minutes until the pastry is golden brown and crisp.
- Leave to cool slightly before serving with cream, custard or ice cream!
Thanks for reading!
Emma x


 (Note: If you don’t have a blowtorch you can caramelise the sugar under the grill. Be careful with this though as it can burn very easily (as I’ve done a bit in these ones))
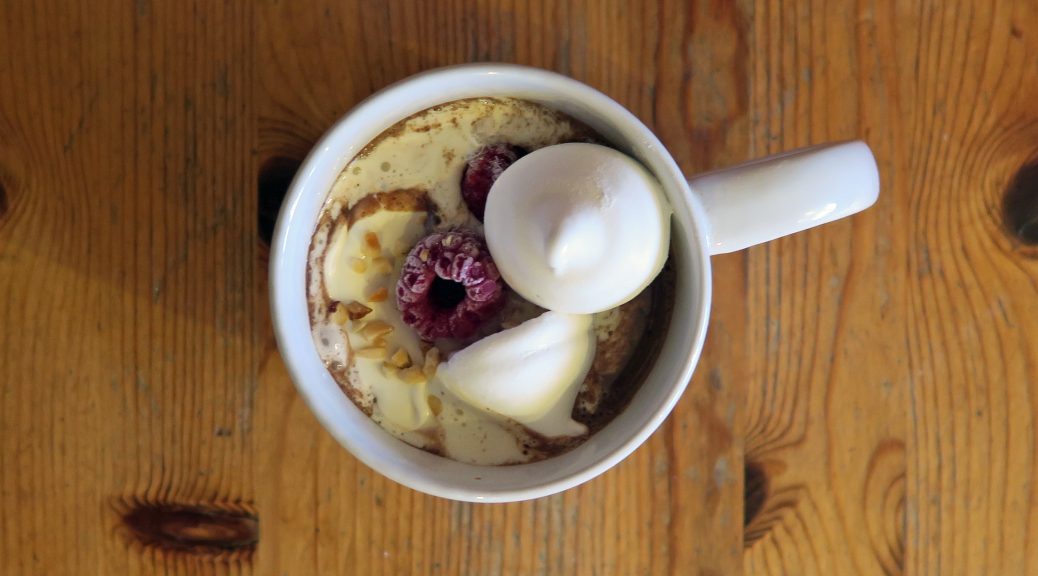


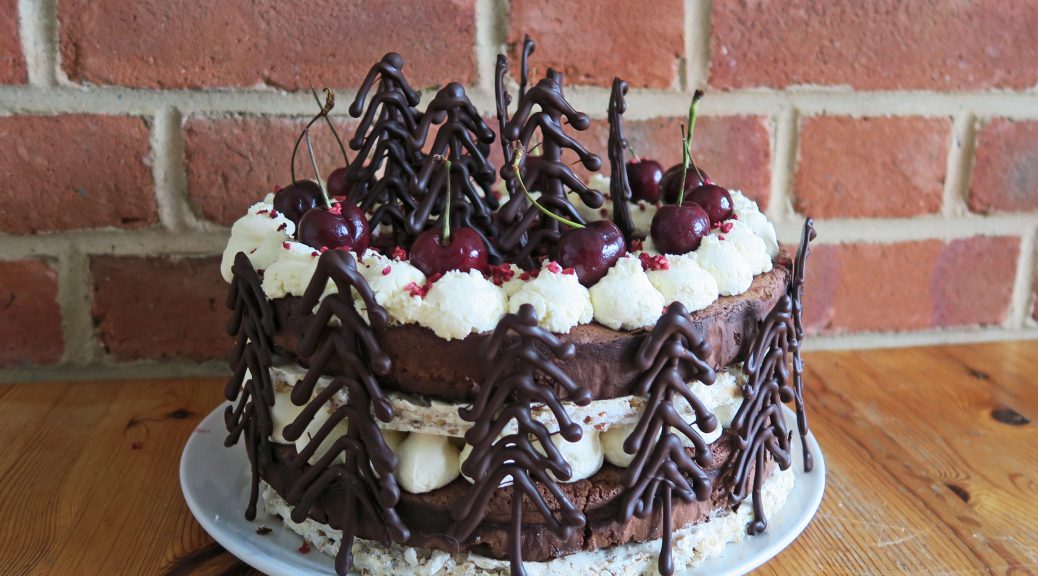

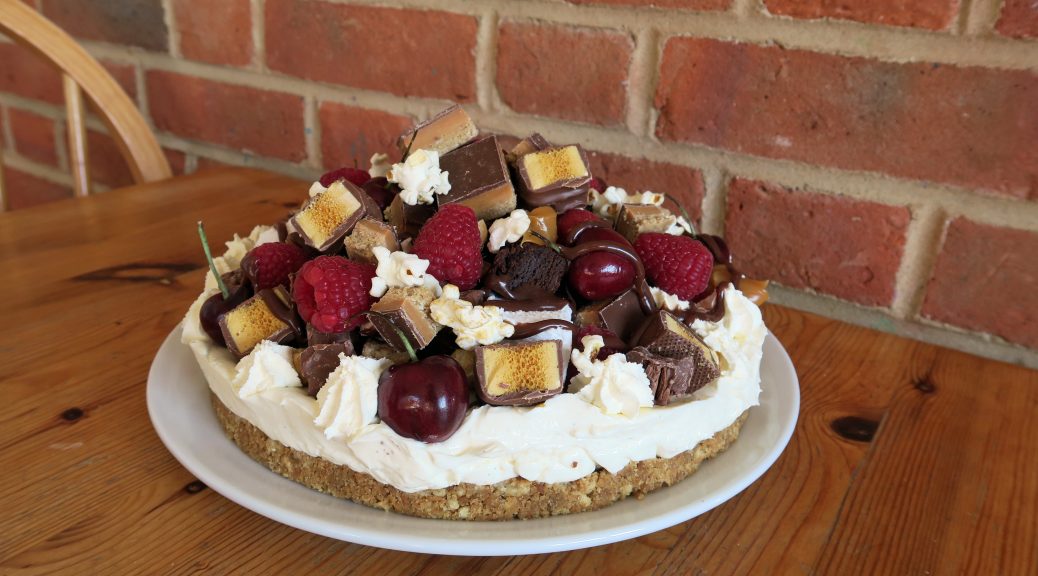
 That said I have adapted this slightly by adding a daquoise, aka a nutty meringue, which adds a bit of texture and brings some sweetness to contrast the rich chocolate cake and creamy filling. Whilst I think this is as good as it gets, if you’re short on time or want to go for a more traditional gateau you could leave out the meringue layers and you’d still end up with something delicious. On the other hand, you could leave out the cake and then you’d end up with a derlish layered, hazelnut and cherry pavalova!

