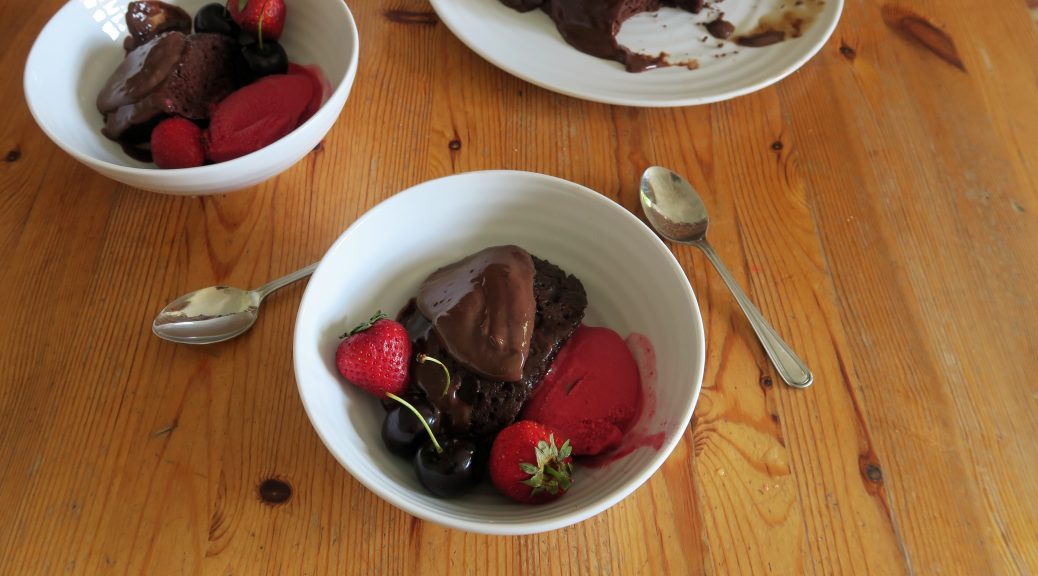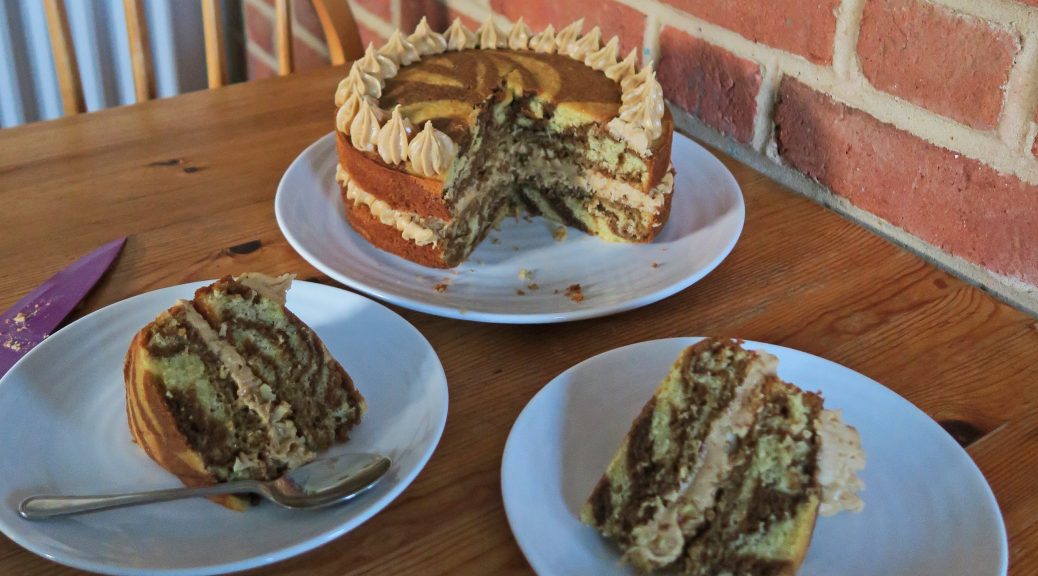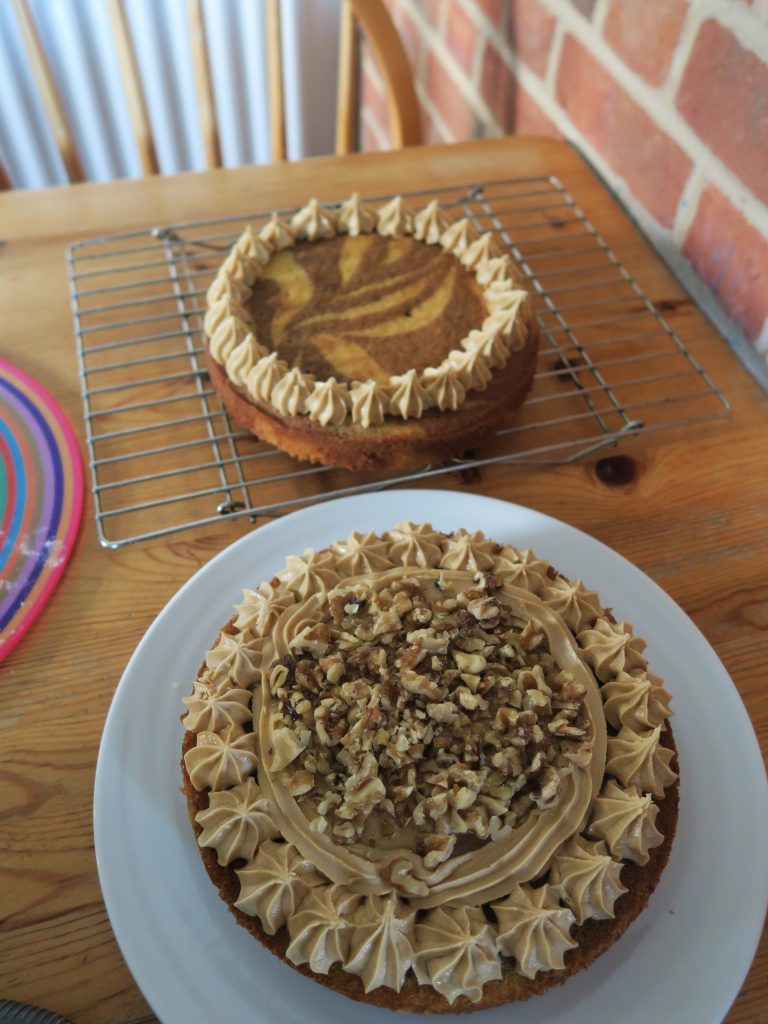
Tahini Chocolate Cake
What the hell is tahini I hear you ask? To be honest, the first time I heard about it I thought it could be an exotic grass skirt dance from the Caribbean. But alas… no. It’s actually a sesame seed paste that is used a lot in Middle Eastern cooking and is a key component of hummus. So if you like hummus you’ll definitely like this, but fear not, this is not hummus cake! The tahini goes in the icing to make a salty, sweet, nutty filling for these super moist chocolate cakes that just works so so well.
This is one of those things that will only make sense when you try it, so if you’re looking at this a little doubtingly then I’d recommend just giving it a go! I made my own sesame snaps for this as I couldn’t for the life of me find any anywhere in the shops, but in the recipe I’ve said use sesame snaps as they taste better and make your life so much easier.
Recipe
Serves 12
Time: 90 minutes
Ingredients
For the chocolate cake
- 180g Unsalted butter
- 100g Dark chocolate
- 240g Plain flour
- 280g Caster sugar
- 1 tsp Bicarbonate of soda
- 3 tbsp Cocoa powder, plus extra for dusting
- 2 Large eggs
- 142ml Milk
- 142ml Greek yoghurt
- 2 tbsp Tahini
To Decorate
- 230g Unsalted butter
- 3 tbsp Tahini
- 320g Icing sugar
- 2 Packets of sesame snaps
Method
- Preheat the oven to 180˚C. Grease and line two 7.5 inch cake tins.
- First make the chocolate cake. Melt the butter and chocolate together in a heat-proof bowl over a pan of simmering water.
- In a bowl mix the flour, sugar, bicarb and cocoa together.
- In another bowl whisk together the egg, milk, and yoghurt. Add this mixture and the chocolate mixture to the flour mixture, along with the tahini and 100ml boiling water. Whisk quickly until combined and then pour this into the two lined tins.
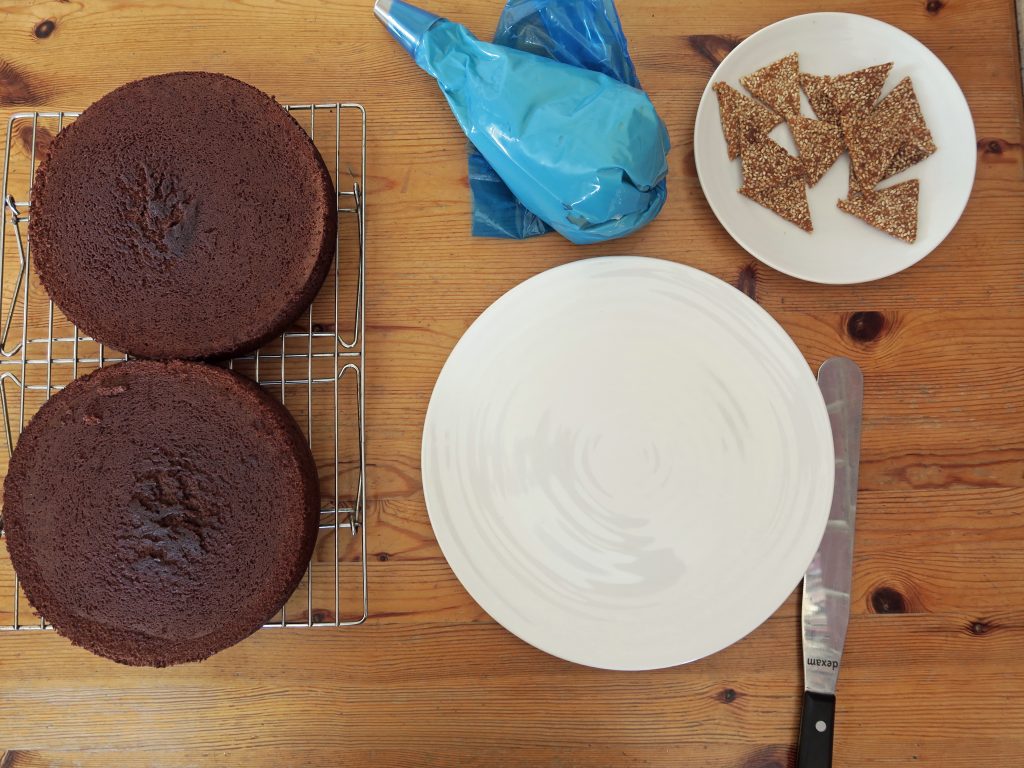
- Bake in the oven for 25-30 minutes, or until a skewer comes out clean once inserted. Leave the cakes to cool for 15 minutes before turning them out onto wire racks and leaving to cool completely.
- Now make the icing. Put the butter and tahini into a bowl and mix with a wooden spoon until smooth and creamy. Add the icing sugar and beat it into the mixture until smooth. Spoon the icing into a piping bag fitted with a round nozzle and leave in the fridge until needed.
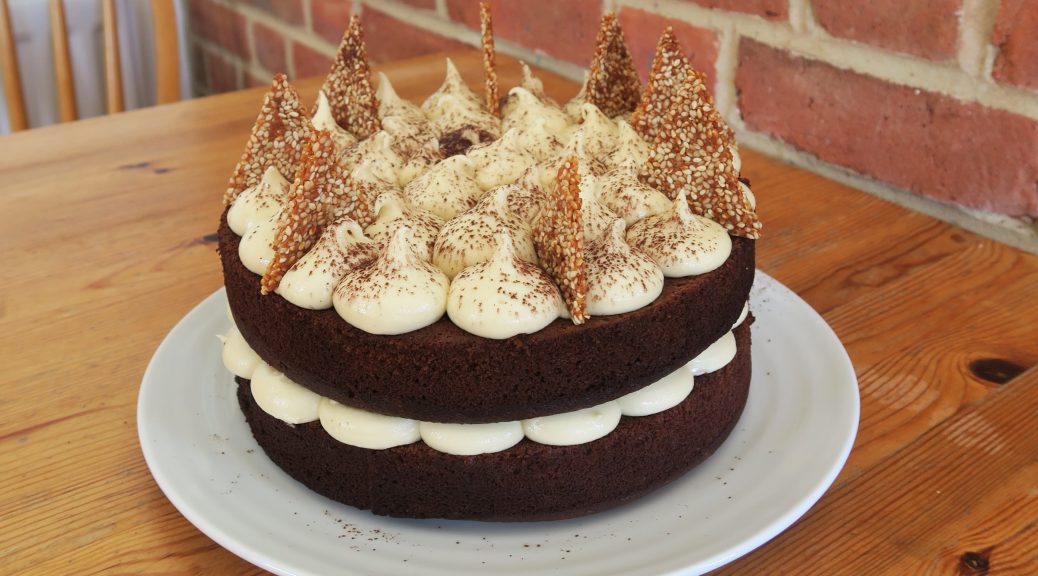
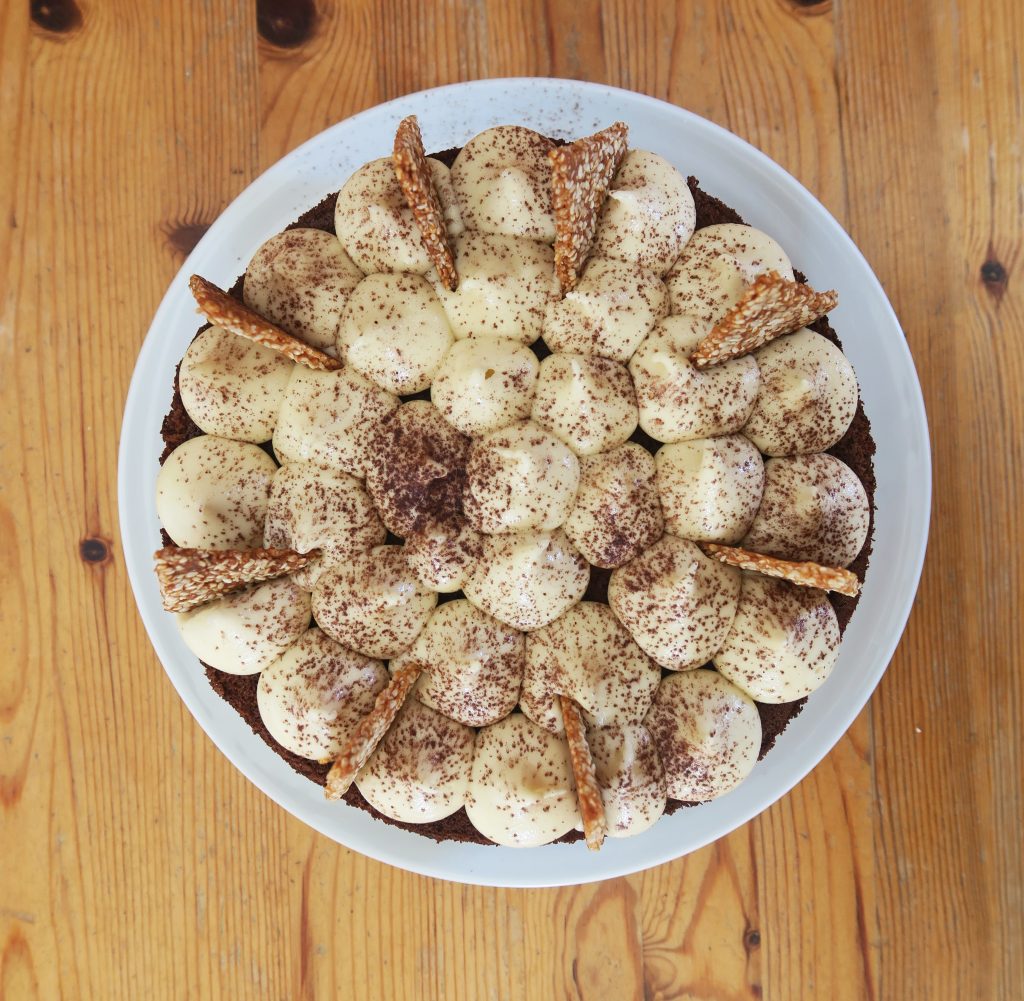
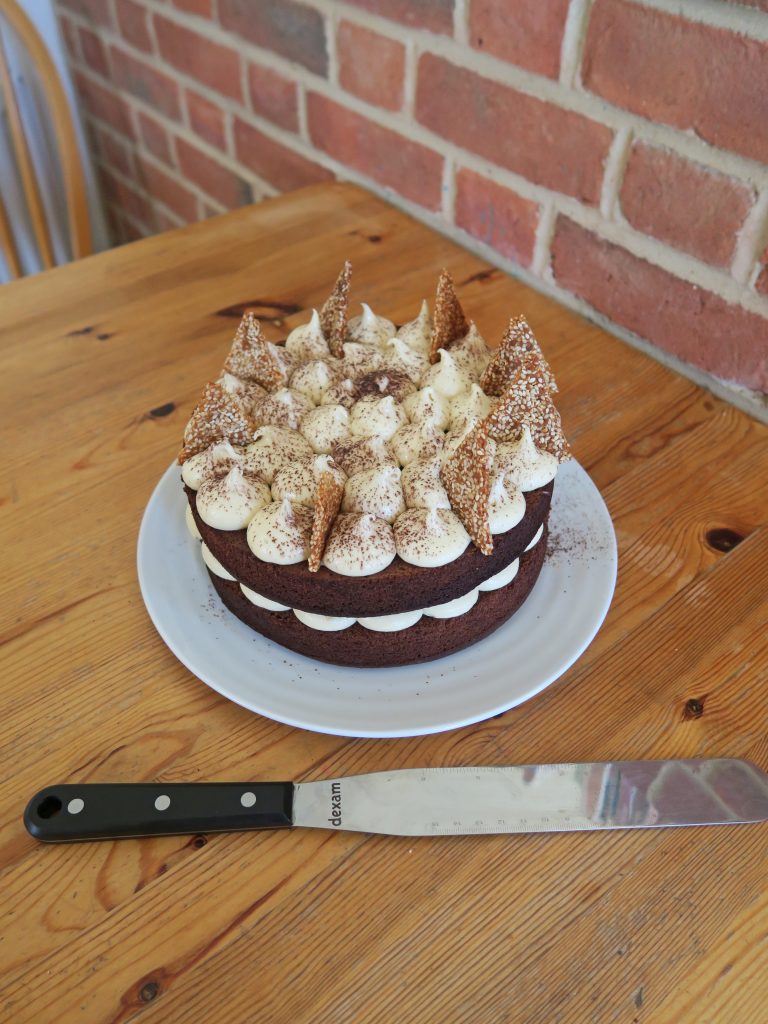
- When the cakes have cooled completely put one onto a plate. Pipe blobs of the icing over the base layer and then place the other cake on top.
- Pipe the rest of the icing over the top of the cake in blobs. Dust the cake with a little cocoa powder. Then break the sesame snaps into shards and place them around the top of the cake. Serve!
Thanks for reading!
Emma x