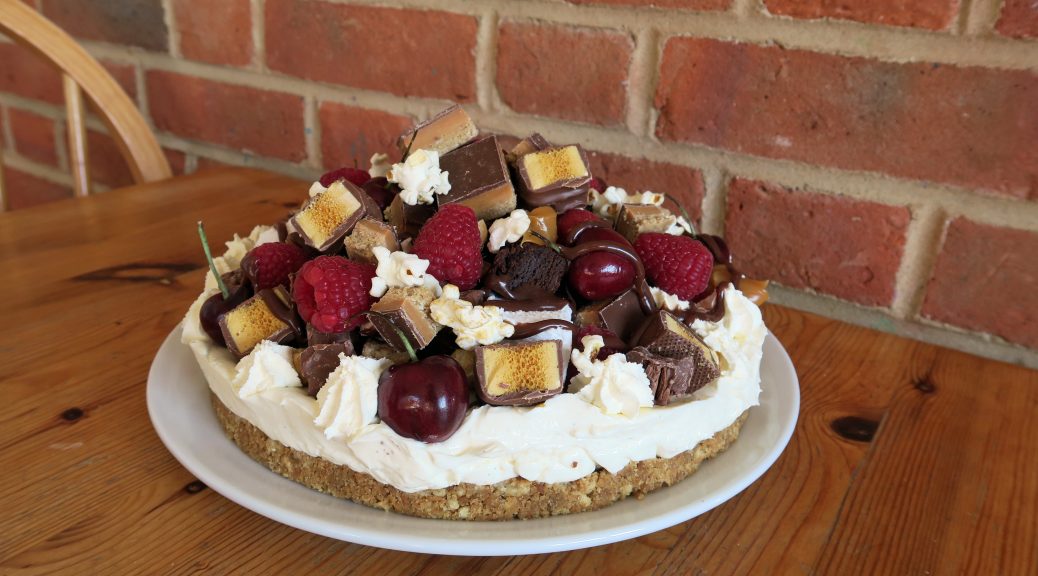
Billionaires Freakshake Cheesecake
The other day I was milling around on Pinterest, as you do, and I stumbled across something that’s becoming a bit of a new food trend – the freakshake. For those who don’t know it’s basically a milkshake in a funky jar, topped with tonnes of tasty treats such as brownies, waffles, popcorn, cream etc. I almost got diabetes just looking at it, and so naturally I decided to do a spin off of my own.

For some reason I’ve never made a cheesecake before, so I decided that this was the perfect opportunity to go for it. Hence the billionaires freakshake cheesecake was born- a stunning vanilla cheesecake topped with every indulgent treat out there, with a general theme of the flavours of billionaires shortbread thrown in. This is insanely good for a night in/movie night/house party, but as those don’t come around every day it’s understandable that this might look a bit over-the-top for the every day household. Therefore I’ve included a list of alternative ways of topping the basic cheesecake at the bottom of the post, as the simple vanilla base is a delicious canvas for any flavour of cheesecake.

This takes very little effort or skill to make, but it does need time to set, so I’d recommend making this the day before you need it and leaving it to chill overnight. That way you can be sure that it’ll be set for when you want to serve it, and you won’t end up with cheesecake flopping all over your kitchen worktop.

Recipe
Serves 12
Time: 45 minutes plus chilling
Ingredients
For the Base:
- 100g Butter
- 300g Digestive biscuits
For the Filling:
- 1 tbsp Vanilla bean paste
- 550g Soft cheese
- 75g Icing sugar
- 250ml Double crem
For the Topping:
- 100ml Double cream
- 100g Milk chocolate
- 1 Box mini millionaire shortbreads
- 1 Box of mini brownies
- 100g Raspberries
- 100g Strawberries
- 3 Crunchies
- 1 Bag of twirl bites
- A handful of Caramel popcorn
Method
- Begin by making the base. Put the butter into a pan and melt over a medium heat.
- Then take the biscuits, put them into a large bowl and break them up into crumbs with the back of a rolling pin. Pour the butter into the bowl and then mix it all together until the biscuits begin to clump together.
- Take a 21cm cake tin and line it with butter and cling film. Tip in the crushed biscuit mix and smooth it over with the back of a spoon to make a compact layer of even thickness. Put this into the fridge whilst you make the next layer.
- Put the vanilla and cream cheese into a bowl and whisk together until the cream cheese begins to soften. Add the icing sugar and double cream and mix again until smooth and the mixture starts to thicken.
- Pour the creamy mixture onto the biscuit base. Smooth it over with a spoon or palette knife to make an even layer and then put back into the fridge to chill for at least 4 hours (better overnight).
- When the basic cheesecake is ready begin prepping the toppings. Put the cream into a bowl and whisk it until it forms soft peaks. Put this into a piping bag with a star shaped nozzle and leave in the fridge until needed.
- Then put the chocolate into a heatproof bowl over a pan of gently simmering water and leave to melt. Then transfer it to another piping bag with a small round nozzle and get ready to start decorating!
- Begin by stacking up the larger elements of your decoration, such as the millionaires shortbread and brownies, in the centre of the cheesecake. Then place the fruit, popcorn and chocolates in and around these to build up the stack. Cut some of the shortbread bites and chocolates into quarters and sprinkle them over the cheesecake to top it off. Finish the decorating by piping the cream into any gaps and then drizzle over the chocolate.
- Serve and enjoy!

Alternatives:
For all of the following make the cheesecake as written in steps 1-5. Then take 300ml of double cream and whisk to soft peaks. Tip this onto the cheesecake and smooth out with a palette knife to make an even layer and then top with the following –
Berry Bonanza Cheesecake – Scatter over a handful each of blueberries, raspberries, strawberries and blackberries and garnish with fresh mint!
Banoffee Cheesecake – Slice two bananas into discs about the thickness of a pound coin. Drizzle a little lemon juice over the banana slices so they don’t brown over time. Arrange these slices on top of the cheesecake. Put a little salted caramel sauce into a piping bag with a small round nozzle and drizzle the cheesecake with it. Serve!
Lemon Meringue Cheesecake – Take a lemon and cut into into very thin discs. Put 100ml of water into a pan and add the lemon slices. Boil for 2 minutes and then drain the lemon and set them to one side. Put 100g of sugar and water into a pan and bring to the boil, whilst stirring, until the sugar has dissolved. Then stop stirring and add the lemon slices. Leave to simmer, but not boil, for about 1 hour. Take out of the pan using tongs and leave to set on a lined baking tray. Take some small meringues and either arrange them around the edge of the cheesecake or crush and sprinkle them over the cheesecake, depending on the size of them. Decorated with your candid lemon and finish with a drizzle of lemon curd.
Amaretto Cheesecake – Crush some amaretto biscuits and sprinkle them over the cheesecake. Sprinkle over some toasted flaked almonds and finish with a dusting of icing sugar.

Thanks for reading!
Emma x


 (Note: If you don’t have a blowtorch you can caramelise the sugar under the grill. Be careful with this though as it can burn very easily (as I’ve done a bit in these ones))
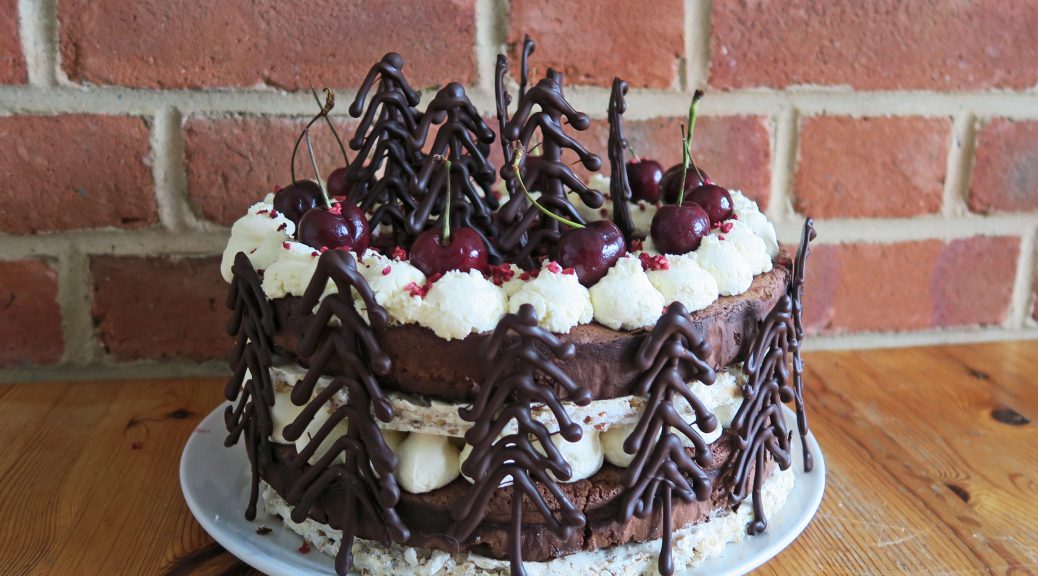

 That said I have adapted this slightly by adding a daquoise, aka a nutty meringue, which adds a bit of texture and brings some sweetness to contrast the rich chocolate cake and creamy filling. Whilst I think this is as good as it gets, if you’re short on time or want to go for a more traditional gateau you could leave out the meringue layers and you’d still end up with something delicious. On the other hand, you could leave out the cake and then you’d end up with a derlish layered, hazelnut and cherry pavalova!