Tag: Baking

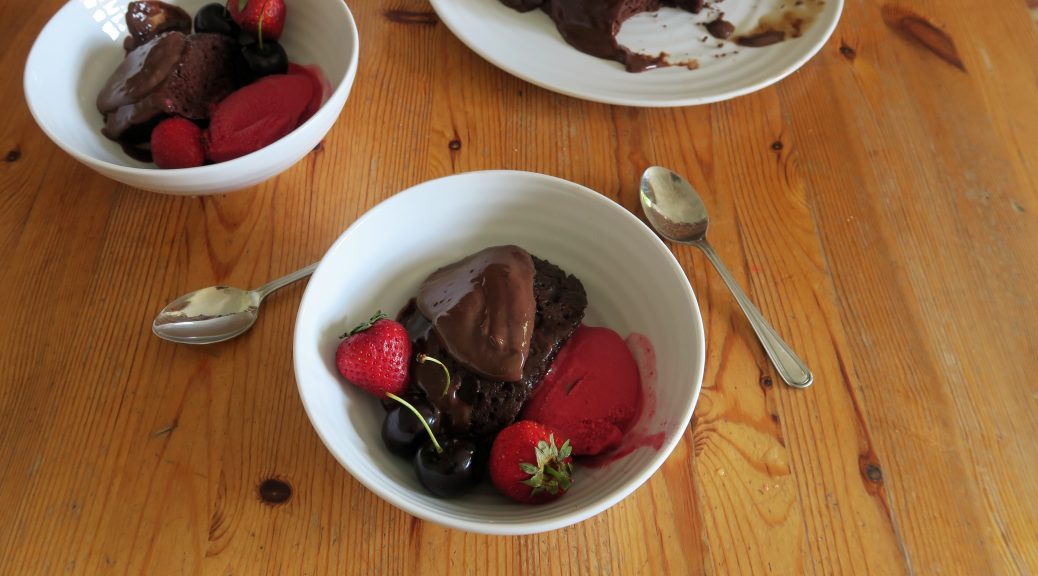
Easy Chocolate Pudding with Chocolate Custard

Easy Chocolate Pudding with Chocolate Custard

From an easy main to an easy dessert, I love making complicated things but there are those times when you just need something you can throw together without thinking about it. Being a student I’m truly experiencing the struggles of little money, little space and little time, so that’s when something like this becomes a godsend. This can be made in the oven or a microwave and so it’s the perfect last-minute, ‘I need chocolate cake now’ kind of dessert.

Of course no good fudgy sponge cake is complete without a good dollop of custard. For this one I’ve used custard powder. Whilst I think fresh custard made with eggs is always a lot nicer, you can’t deny the ease and speed at which you can make custard with a powder mix, so in the interest of preserving your sanity this custard recipe is as quick and as easy as you could want it to be! By extension though, if you don’t want to bother making custard at all, or if you don’t have a hob at your disposal you can use packet custard and then either add cocoa powder to it or just leave it as a vanilla custard.

Recipe

Serves  8

Time: 15 minutes

Ingredients

For the sponge

  • 180g Butter
  • 80g Light brown sugar
  • 50g Cocoa powder
  • 3 Large eggs
  • 2 tbsp Whole milk
  • 175g Self raising flour

For the custard

  • 400ml Milk
  • 5 tbsp Custard powder
  • 5 tbsp Light brown sugar
  • 25g Cocoa powder

To serve

  • Fresh berries (e.g blueberries, strawberries or raspberries)
  • Ice cream or Sorbet (I recommend raspberry sorbet with this!)

Method

  1. Take a 1L pudding bowl and butter the inside (this can be any kind of bowl but just make sure it’s not metal as it’ll be going into the microwave).
  2. Put the butter and sugar into a bowl and beat until smooth. Add the cocoa powder to the mix and then stir until combined.
  3. Add the eggs and milk to the batter and whisk them in, followed by the flour to get a pourable mixture.
  4. Pour the mixture into the greased pudding bowl and cover loosely with clingfilm. Then microwave for 4 ½ minutes on high heat until cooked through. Check the pudding with a skewer to make sure the centre’s not raw, and then leave the pudding to rest for a few minutes.
  5. Meanwhile make the custard. Put the milk into a pan and bring to the boil.
  6. Put the custard powder, sugar and cocoa powder into a bowl and whisk together. Pour a little of the milk onto the mixture and whisk in to make a smooth paste. Then slowly pour the rest of the warm milk into the mixture, whisking constantly, until combined.
  7. Pour the custard mix back into the pan and then cook whilst whisking over a medium heat until the mixture thickens.
  8. Turn the pudding out onto a plate and then pour some of the custard over the top. Serve slices of the pudding with the rest of the custard, fresh berries and sorbet/ice-cream!

Thanks for reading!

Emma x
Coffee and Vanilla Zebra Cake

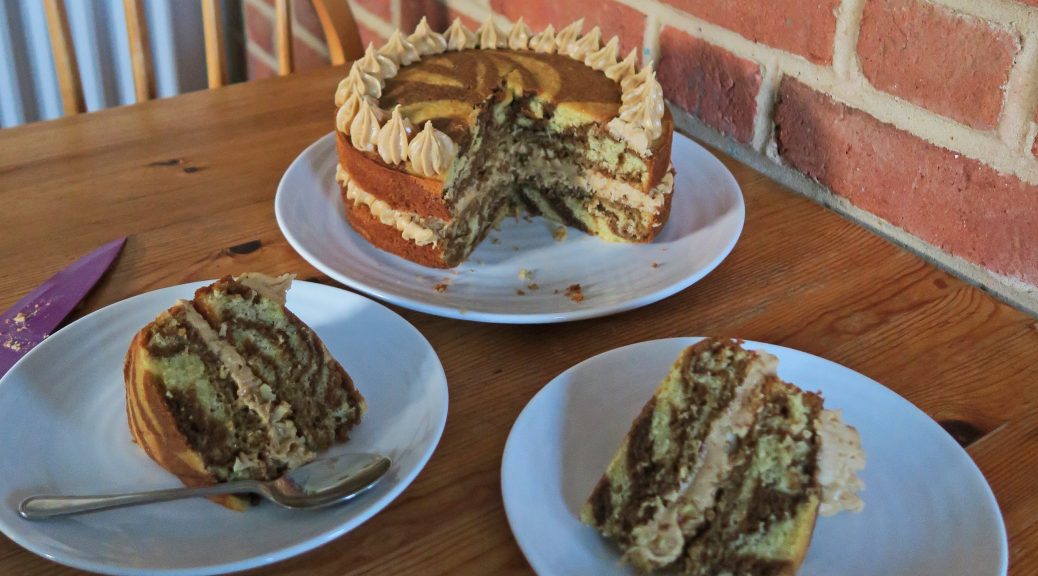
Coffee and Vanilla Zebra Cake

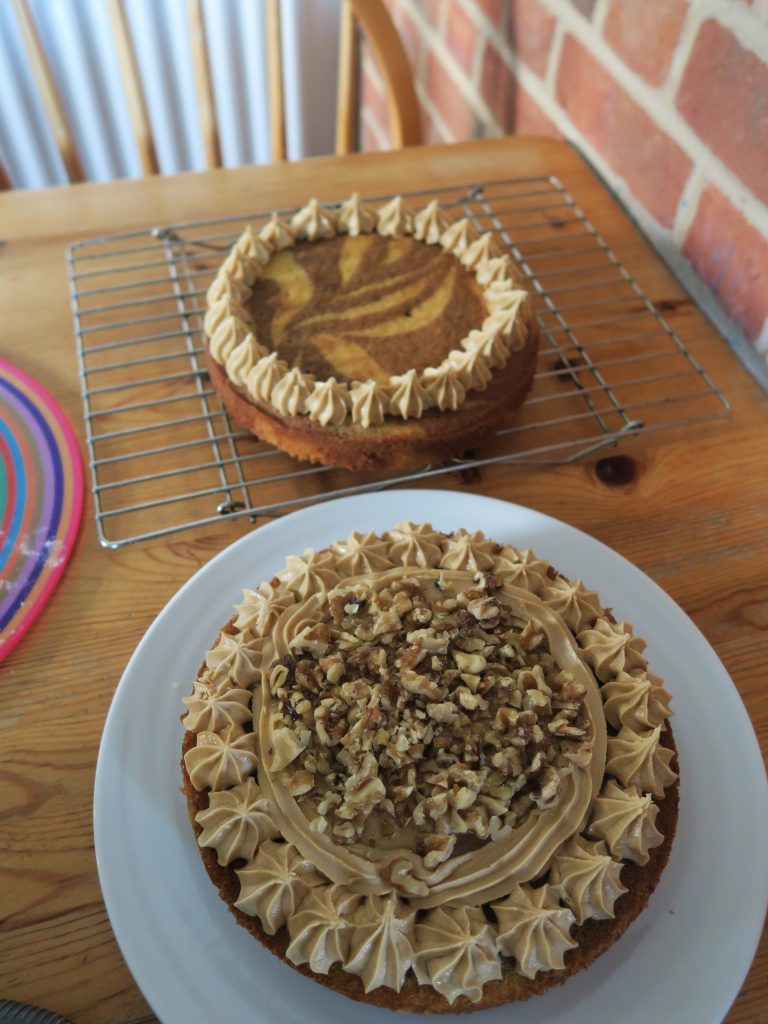
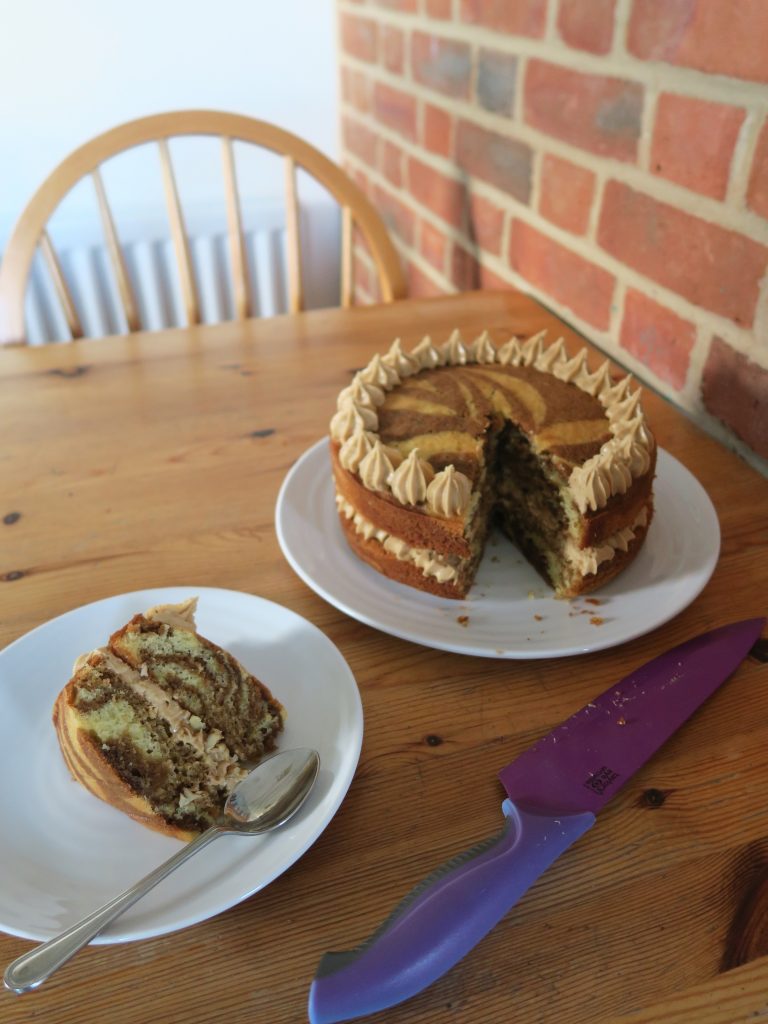
I’m going Zebra themed this week!!! Wahey! Have I gone mad? No! Y’ see now that I’m officially an art student I was thinking about writing some artistic gumph on how zebras can be symbolic of who knows what and so on, but the truth is I’ve just made a zebra cake because I’ve wanted to make one of these for years and they look so cool. So here we go – zebra cakes 101. These are defined by their vertical stripes made by piping blobs of different coloured cake mix on top of each other to make a series of concentric rings (it’s essentially a fancy marble cake). Here I’ve gone for coffee and vanilla as they’re so good together and just sing out to comfort, but you can pair any two that have different colours (e.g chocolate and vanilla, raspberry and lemon, or chocolate and orange).

Now of course all good coffee cakes should be accompanied with walnuts, however with zebra cakes you want the mixture to be fairly smooth as you’ll be piping it. So to stop chunks of walnuts clogging up m’ nozzle I’ve added them to the filling so this has become a sort of coffee-walnut cake, but you can leave the walnuts out if you’d rather. The trick is also to just be patient. Half way through you’ll want to just go ‘what the heck’ and shove both mixes on top of each other and be done with it, but keep going and it’ll look fab!

Recipe

Serves 8

Time: 90 minutes (including baking and cooling)

Ingredients

For the cake

  • 240g Caster sugar
  • 240g Butter
  • 4 Eggs
  • 250g Self raising flour
  • 2 tsp Baking powder
  • 1 tbsp Coffee powder
  • 1 tbsp Milk
  • ½ tsp Vanilla extract

For the icing/to decorate

  • 225g Icing sugar
  • 100g Butter
  • 1 ½ tbsp Coffee
  • 1 tbsp Milk
  • A handful of Walnuts, roughly chopped

Method

  1. Pre-heat the oven to 180˚C. Grease and line two 18cm round tins with butter and baking paper.
  2. Put the butter and sugar into a bowl and beat with a wooden spoon until pale and creamy.
  3. Add the eggs one by one to the mixture, whisking in between each addition until combined. Add the flour and whisk again to make a smooth batter.
  4. Pour half the cake mixture (about 475g) into another bowl. Add the vanilla to this batch and then pour the mixture into a piping bag.
  5. Put the coffee and milk into a small bowl and stir until the coffee dissolves. Add the coffee to the other bowl of cake mixture and mix until combined. Pour the mixture into another piping bag.
  6. Pipe a blob of the vanilla mixture into the centre of each of your lined tins. Then pipe a blob of an equal size on top of the first blob. Repeat piping blobs on top of each other until all the mixture is used up.
  7. Move the tins around to make sure the mixture coats the whole of the tin (but don’t spread it around with a spatula as this will disrupt your layers!). Then bake the cakes in the oven for 15-20 minutes until risen and golden brown. A skewer inserted into the middle should come out clean.
  8. Transfer the cakes to a wire rack and leave to cool before taking them out of the tins.
  9. Meanwhile move onto the icing. Put the icing sugar and butter into a bowl and beat together until smooth and creamy.
  10. Put the coffee and milk into another small bowl and stir until dissolved. Add the coffee mix to the buttercream and mix all together until smooth. Then spoon the icing into a piping bag with a star shaped nozzle.
  11. Put one of your cakes onto your presentation plate. Then pipe blobs of the icing around the edge of the cake. Pipe icing into the middle so the cake is completely covered (you don’t have to do blobs for the middle bit, you could just pipe and then smooth it over with a knife). Scatter the chopped walnuts over the middle of the icing.
  12. Finally take your other cake and place it on top of the base with the best side facing up. Then pip a ring of icing around the edge on the top and serve!

Thanks for reading. If you try this please take a photo and send it to me, I love seeing people use my recipes! Have a great week!

Emma x


Chocolate Chip Skillet Cookie

Chocolate Chip Skillet Cookie

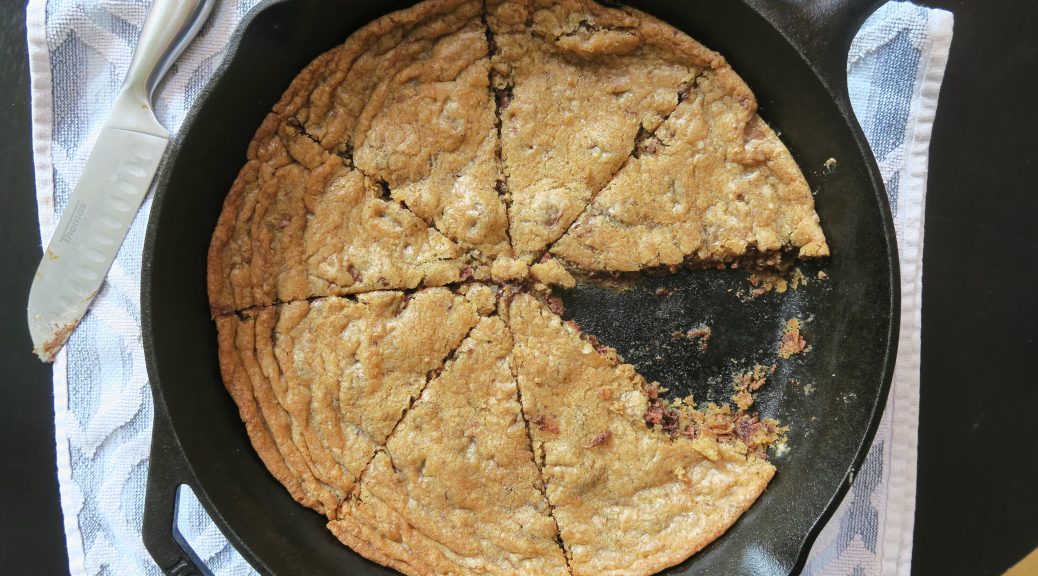
I made this way way back in the summer when I was in Canada and obsessed with making cookies, but I’ve waited until now to post this one as I think it’s perfect for bonfire night. You know that time when you’re waiting to head out into the cold night, but decide to have one last hot chocolate before bracing the frost? This is what that’s for. (I know today’s Halloween but I’m looking ahead so bare with). Anyway, way back when I was rummaging through the pans of the house we were staying in I found this gorgeous skillet pan right at the back, and I knew right away that I was gonna make one of these giant cookies. Iron skillet pans like this are so useful as they’re perfect for getting the ultimate cook on a fillet steak, making tart tatins, and of course making giant cookies like this! Admittedly I don’t have one myself (yet), but If you haven’t got an iron skillet pan like this I’d really recommend getting one.

The best way to serve these is with a big dollop of ice cream in the middle and then just let everyone dive in. Make it into a big sharing, sociable dessert type thing. Alternatively if you don’t like to share you can make one and eat it all yourself – I won’t judge. Another great thing with cookies like this is that you can customise to your hearts content! Try adding fruit, nuts, spices and other kinds of chocolate to make it super tasty!

Recipe

Serves 8

Time: 10 minutes prep, 20 minutes cooking time

Ingredients

• 150g Unsalted Butter
• 75g Light brown sugar
• 125g Granulated sugar
• 1 Large egg
• 1 tsp Vanilla extract
• 150g Plain flour
• ½ tsp Bicarbonate of soda
• 1/2 tsp Salt
• 75g Milk chocolate, chopped into chunks
• 75g Dark chocolate, chopped into chunks

Method

  1. Pre-heat the oven to 180C.
  2. Mix the butter and sugars together in a bowl with a wooden spoon until pale and fluffy. Add the egg and the vanilla and mix to combine. Then add the flour, bicarb, salt and chopped chocolate and mix together to form a smooth dough.
  3. Take a 10 inch skillet pan and press the dough into it. Don’t worry if the dough doesn’t quite fill the whole skillet as it’ll spread and rise as it bakes.
  4. Bake the whole thing in the oven for 15-20 minutes, until puffed up and golden brown. Leave to cool for 5 minutes so that it solidifies slightly, before serving it with lots of vanilla icecream!

Thanks for reading!

Emma x


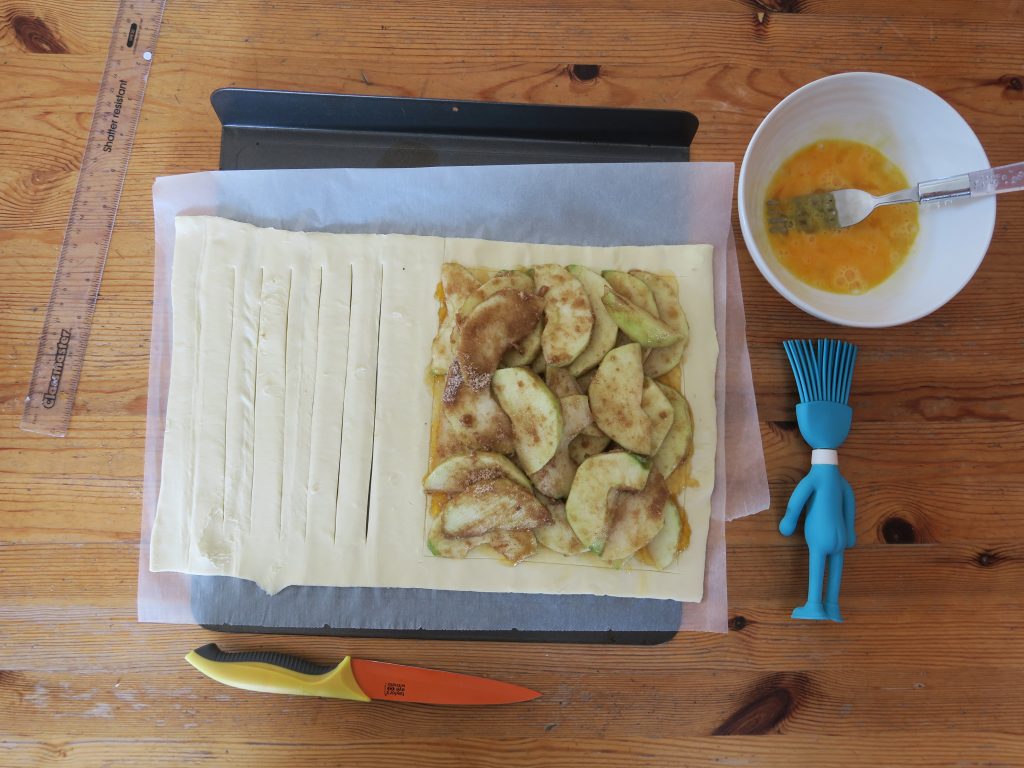
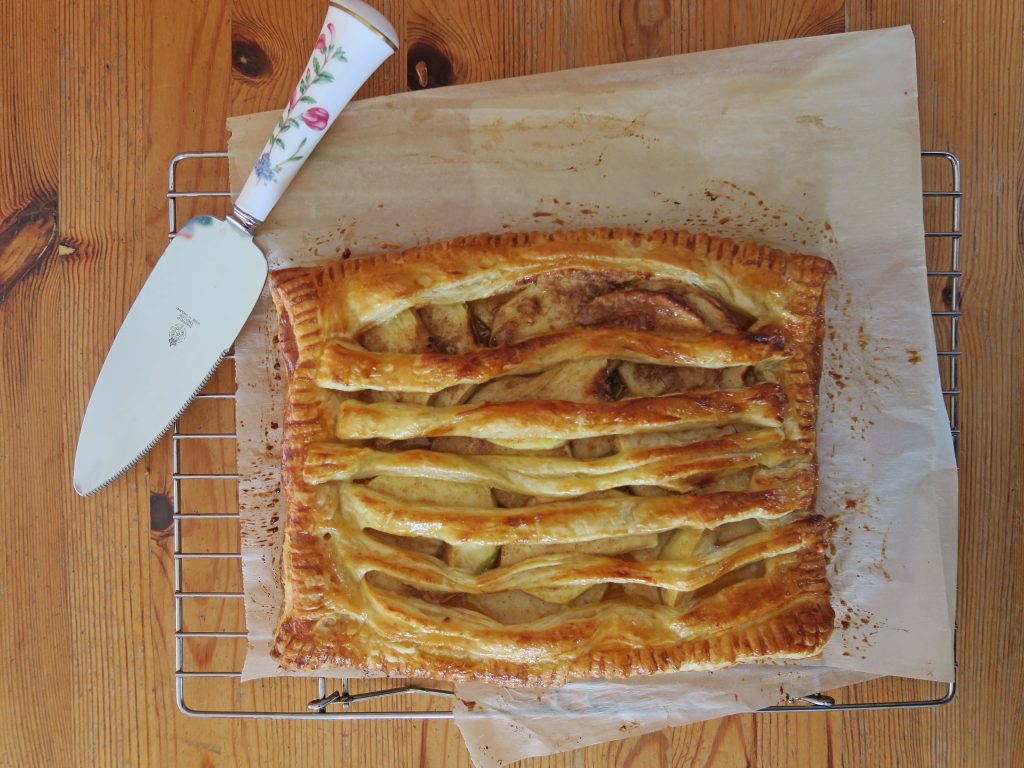
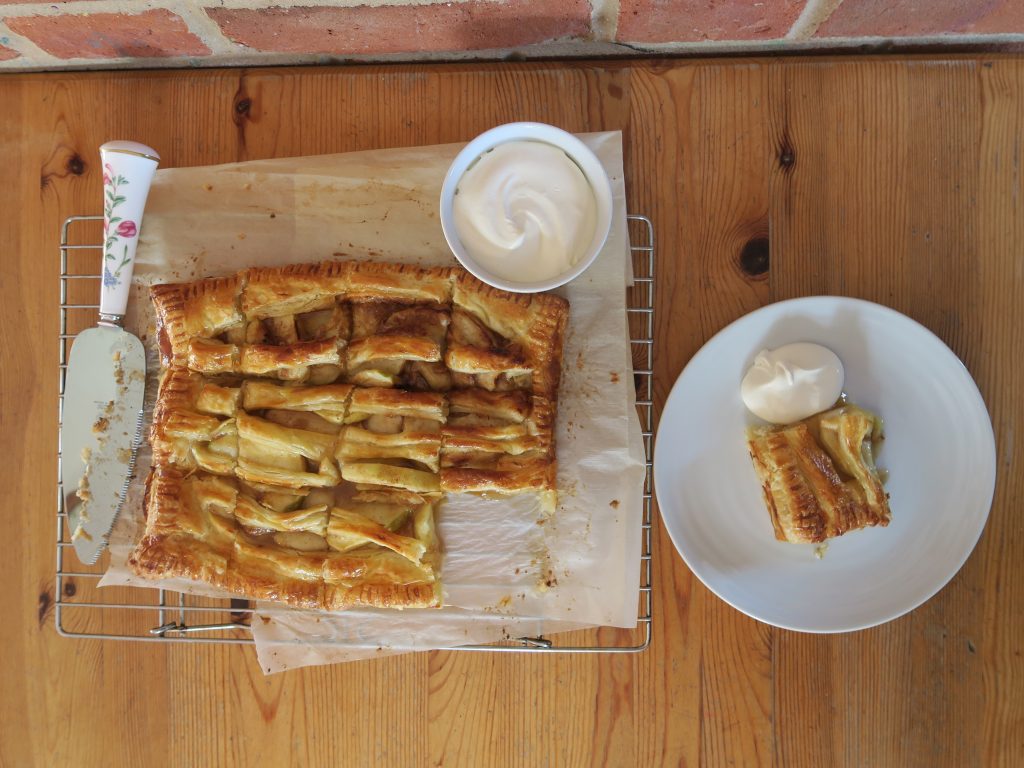
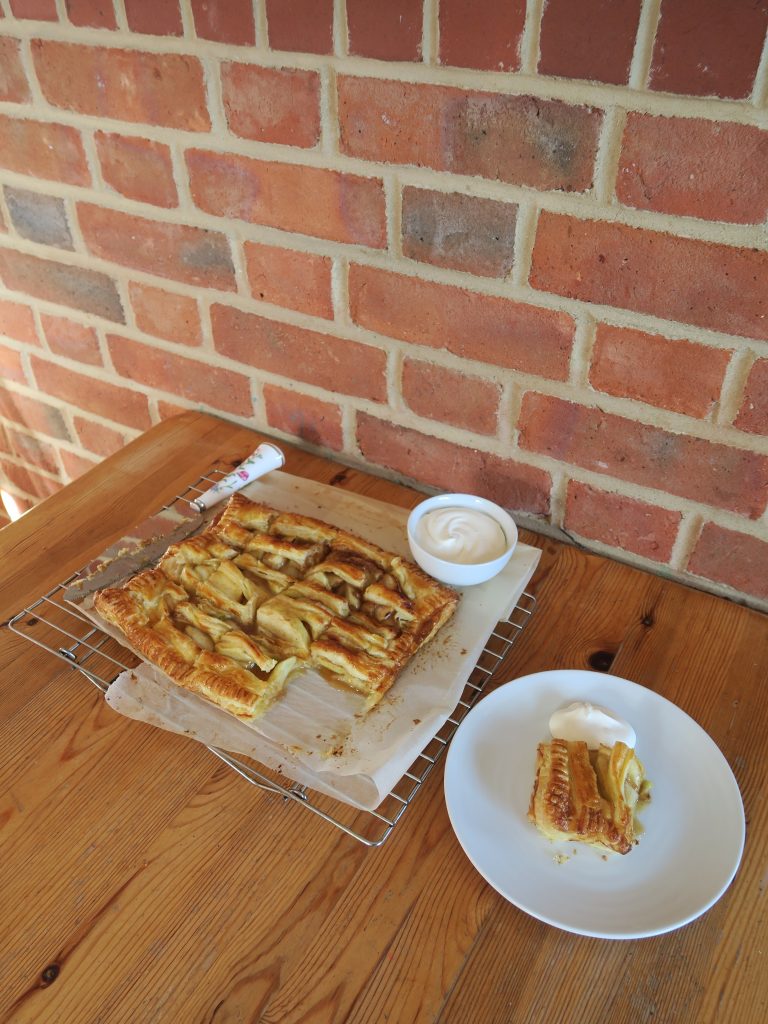
Apple Jalousie

Apple Jalousie

It’s taken a while for me to get my head around the new direction of this blog, specifically how on earth am I going to combine food with mental health awareness? As food is such a social and communal thing you’d think it’d be the perfect medium through which to spark conversations, and that’s what I thought, but sitting here at my laptop typing away I’m stumped as to how to make this work from my end. I’m generally one of those people who thinks out loud so I’ve decided that’s what I’m going to do now. As always the hardest things is to know how to start. How do you introduce such a sensitive topic and how do you even begin to open up about your own problems? Y’ see, I don’t think of myself as a writer and yet I thought I could write a food blog because I feel like I know about food, but when it comes to writing about something more serious than puff pastry I get a little tongue tied.

As this is a food blog I wouldn’t be surprised if most of you clicked onto this post expecting to see lots lengthy descriptions of beautiful autumn apples or to find out what the hell a jalousie actually is – that’s what you’d expect to read and that’s what I still want to deliver.  So my challenge is to find a way to write mouth-watering food themed paragraphs, glossy recipes, and at the same time talk about what needs to be talked about without being way too long and boring. The question is how?

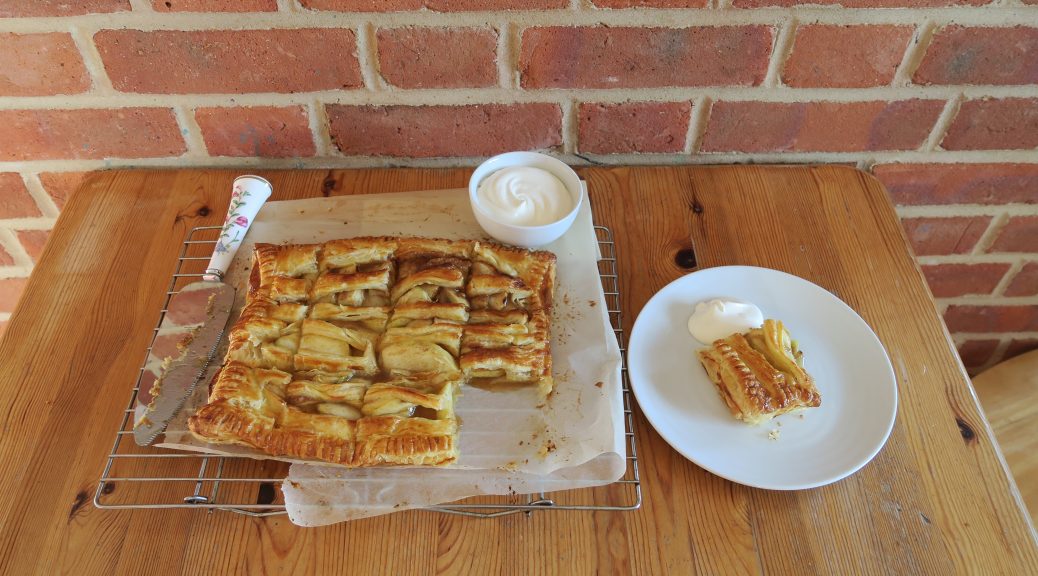
I’m afraid I haven’t come to a conclusion on that yet, but I promise I’ll keep working on it! My high school yearbook quote was “I have no idea what I’m doing, but I’m doing it”, which I think is pretty applicable. I have no idea how I’m going to do what I’m planning on doing, but it’ll work out in some way, shape or form. In the meantime (talk about not giving you mountains to read!) let me introduce you to a little fun pastry called jalousie. I first made one of these way back in school when I was young and could burn water. This is a super easy and quick way of using up any apples you’ve got lying around and is a perfect dessert for autumn!

Recipe

Serves about 9

Time: 15 minutes, plus baking time

Ingredients

  • 1 Pack of puff pastry
  • 2 tbsp Apricot jam
  • 1 Large cooking apple (I went for Bramley)
  • 1 tbsp Brown sugar, plus extra for sprinkling
  • 2 tsp Plain flour
  • ½ tsp Ground cinnamon
  • 1 Small egg, beaten

Method

  1. Pre-heat the oven to 180˚C and line a baking tray with baking paper.
  2. On a lightly floured surface roll the pastry out into a rectangle about half the thickness of a £1 coin (or just buy ready rolled pastry to make your life easier). Using a knife score a 2cm boarder around the edge of the rectangle and then score a line down the middle. Transfer the pastry sheet to your lined baking tray.
  3. Spread the apricot jam over one half of the rectangle, leaving the 2cm boarder around the edge.
  4. Peel, core and thinly slice the apples. Bung them in a bowl with the sugar, flour, and cinnamon, and then mix together until combined. Arrange the apples over the pastry with the apricot jam so they cover the area evenly.
  5. Take a sharp knife and cut 1cm thick lines into the other half of the pastry, again leaving the 2cm boarder that you scored earlier around the edge.
  6. Crack the egg into a bowl and beat with a fork. Then brush a little of the egg around the 2cm boarder (this will help the pastry to stick).
  7. Fold the pastry top over the apples, separating the strips slightly so they’re separate. Then take a fork and press around the edge of the pastry to seal the top and the bottom together.
  8. Brush more of the egg over the pastry to glaze. Finish with  sprinkle of brown sugar and then bake in the oven for 10-15 minutes until puffed up and golden brown.
  9. Serve warm with ice cream, whipped cream and/or custard!

Thanks for reading! You can now follow/subscribe to The Mindfulness Kitchen on all kinds of social media – links in the side bar!

Emma x

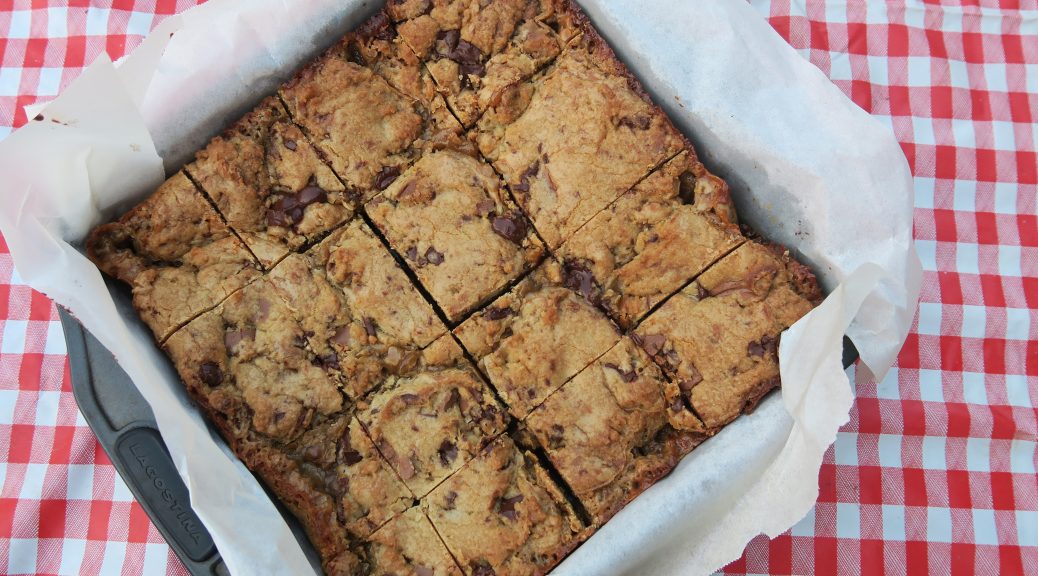
Salted Caramel Cookie Bars

Salted Caramel Cookie Bars

During my time in Canada this summer I was surprised to find myself being more sociable than I’d ever been in my 19 years living in the UK. As my sister used to live out there she had loads of people to catch up with, and as all of them were so lovely and hospitable we were invited to more BBQs and picnics than I can count! It was so amazing to be in a culture where everyone is so welcoming. Maybe it’s because I’m English, or maybe it’s because I’m more specifically a Southerner, but until then I’d never experienced so many strangers being so hospitable and kind to me. A few plates of ribs, wings and chicken breasts and it felt like you were slipping into a community you were already apart of, sitting around with friends you’d known for years.

On the evening’s we were lucky enough to have a BBQ to go to we’d always take some food to add to the table, and being a keen baker it was often a dessert that I contributed. I made these particular bad boys to take to a BBQ at my sister’s old work friends Bonnie and Wanda’s house. They were super quick to make, really easy to transport and perfect for sharing as we could cut them up into as many pieces as we needed. For these I made my own caramel because I happened to have to ingredients for it lying around, but you could use a pre-made caramel to make these super easy!

Recipe

Makes 16 squares

Time: 20 minutes, plus cooking time

Ingredients

For the caramel

  • 125g Light brown sugar
  • 350ml Double cream
  • 50g Unsalted butter

For the cookie dough

  • 300g Plain flour
  • A pinch of salt
  • ½ tsp Bicarbonate of soda
  • 180g Unsalted butter, melted
  • 130g Light brown sugar
  • 100g Granulated sugar
  • 1 Large egg
  • 1 Large egg yolk
  • 2 tsp Vanilla extract
  • 100g Milk chocolate, chopped roughly
  • 100g Dark chocolate, chopped roughly

Method

  1. Begin by making the caramel. Put the butter, sugar and half the cream into a pan and bring to the boil whilst stirring. Leave to boil for 5 minutes, until starting to thicken and turning golden, and then take off the heat. Stir in the rest of the cream and set aside to cool until needed later.
  2. Preheat oven to 170˚C and then line an 19x19cm square tin with baking paper.
  3. In a bowl whisk together flour, salt and bicarb.
  4. In another bowl mix together the melted butter and the sugars. Then add the egg, egg yolk, and vanilla and beat until smooth.
  5. Slowly add dry ingredients, mixing as you do, and then the chopped chocolate. Mix together until combined.
  6. Divide the dough into two and put half the cookie dough in the lined tin. Smooth over with a spatula to make an even layer.
  7. Pour the cooled caramel over the cookie layer. Then spread the rest of the cookie dough over the top. (Spooning it on first can help here as the caramel will make it hard to spread out. If you can’t cover all the caramel don’t worry as they dough will spread itself out during baking).
  8. Bake for 25-30 minutes until the top is golden brown and the edges have started to crisp. Leave to cool and then cut into 16 bars.

Thanks for reading!

Emma x