Category: Student

Vegan Peanut Butter Blondies

Vegan Peanut Butter Blondies

In the last 3 days I’ve moved back to college, have had 36 hours of drama rehearsals and now I have a tonne of coursework to do before term starts, so this is gonna be a fairly short post. Essentially, I made some of these last April and then I found myself craving another batch. However, unable to use eggs and milk at the moment I had to make a vegan version of my fave PB blondies instead. Dare I say it, I actually prefer these to the originals because they’re so much easier to make and they taste so damn good!

Recipe

Makes 16 squares

Time: 15 minutes, plus baking

Ingredients

  • 150g Light brown sugar
  • 200g Peanut butter
  • 45ml Sunflower oil (or other oil like vegetable or coconut)
  • 130g Plain flour
  • ½ tsp Baking powder
  • 100ml Soy milk
  • 100g Vegan white chocolate chips

Method

  1. Pre-heat the oven to 180˚C. Then grease and line a 25x25cm cake tin with a little oil and baking paper.
  2. Put the sugar, peanut butter and oil into a large bowl and beat together with a wooden spoon until smooth.
  3. Add the flour, baking powder, milk and chocolate chips to the batter and mix again to make a smooth batter (it may be fairly thick).
  4. Pour the mixture into the tin and smooth out to make an even layer.
  5. Bake in the oven for 15-20 minutes until golden brown and baked all the way through. Leave to cool a little before serving!

Thanks for reading!

Emma x

Peanut Butter and Chocolate Pinwheel Cookies (Vegan)

Peanut Butter and Chocolate Pinwheel Cookies (Vegan)

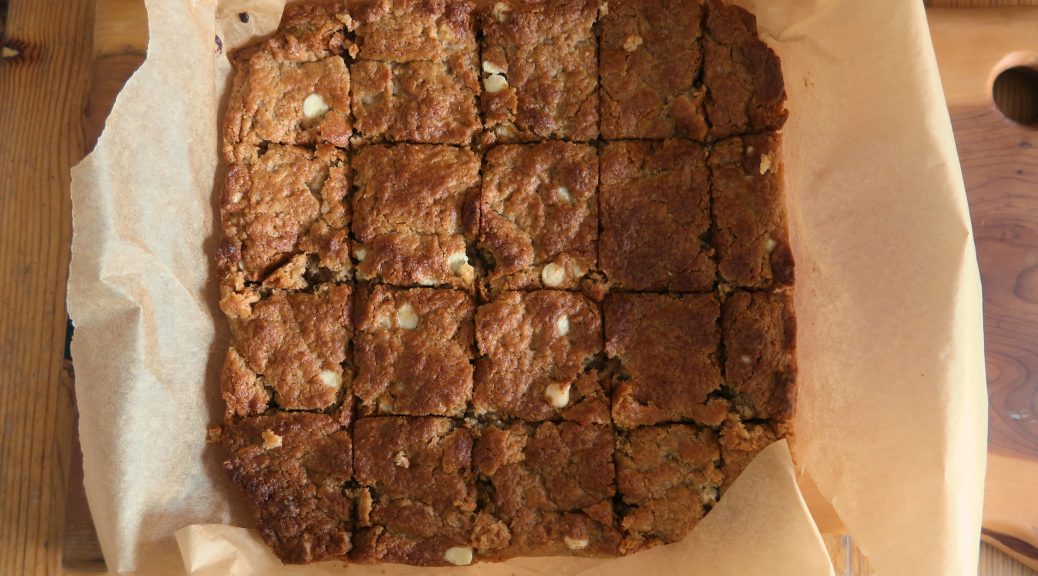
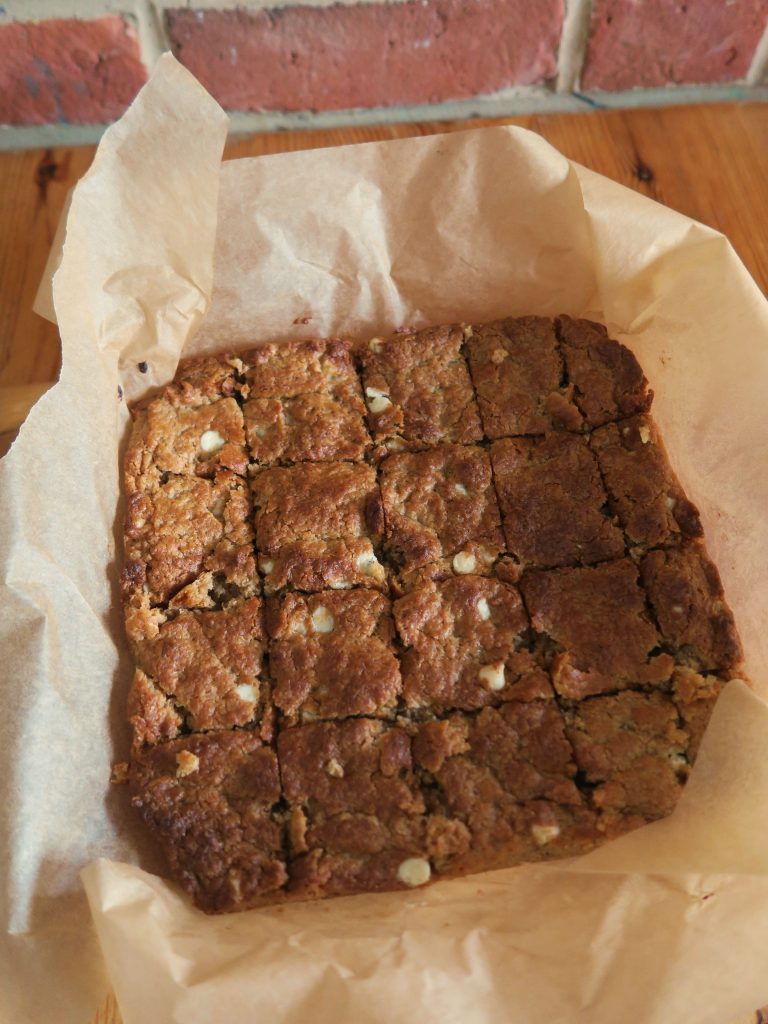
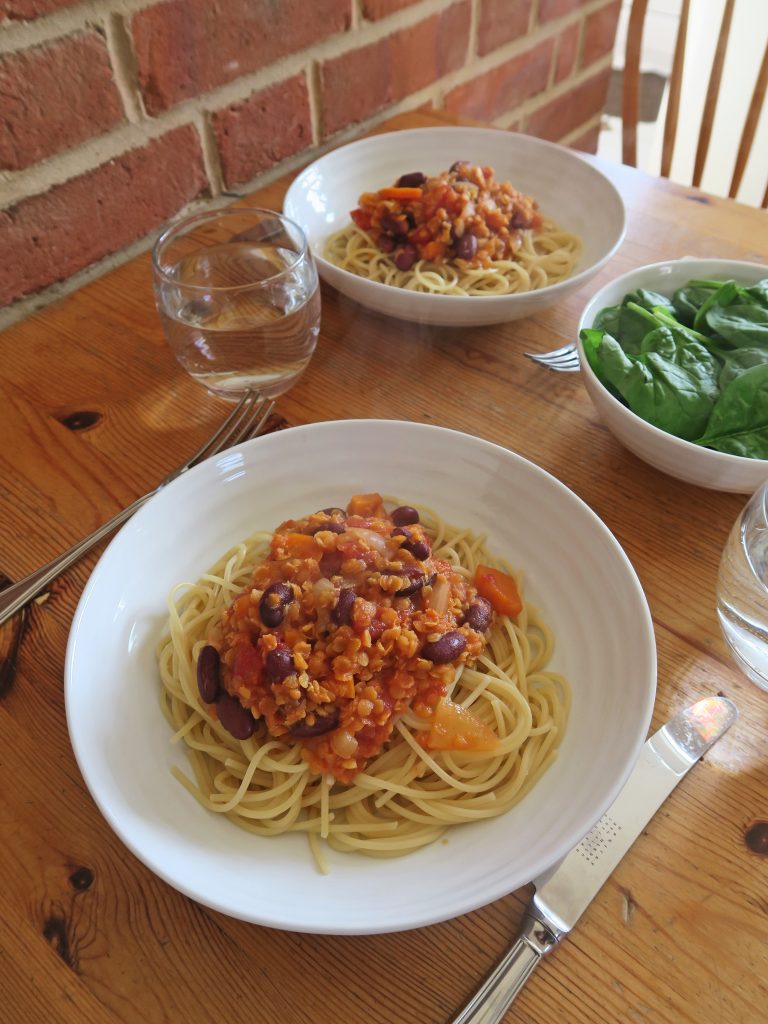
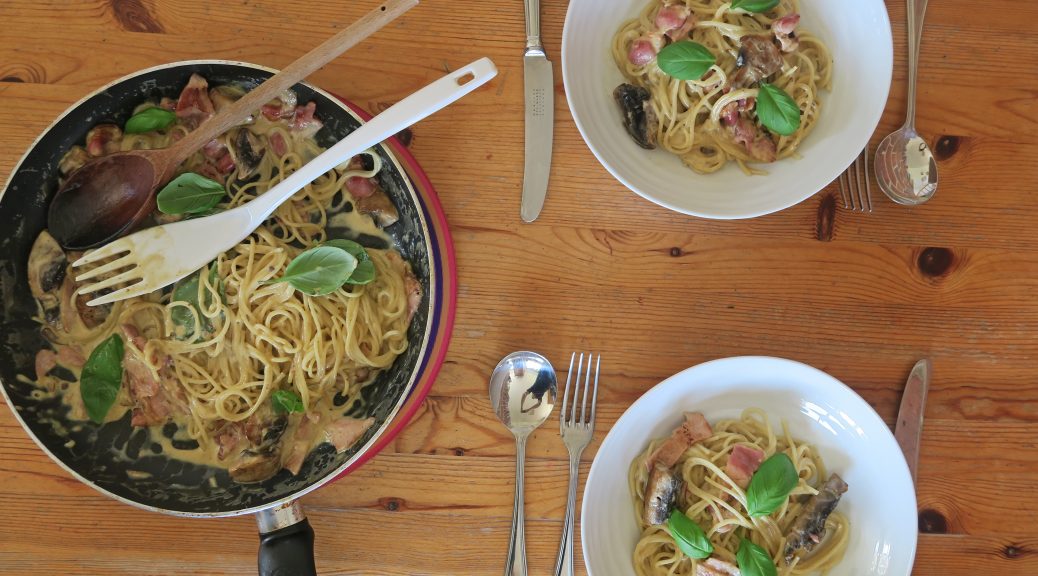
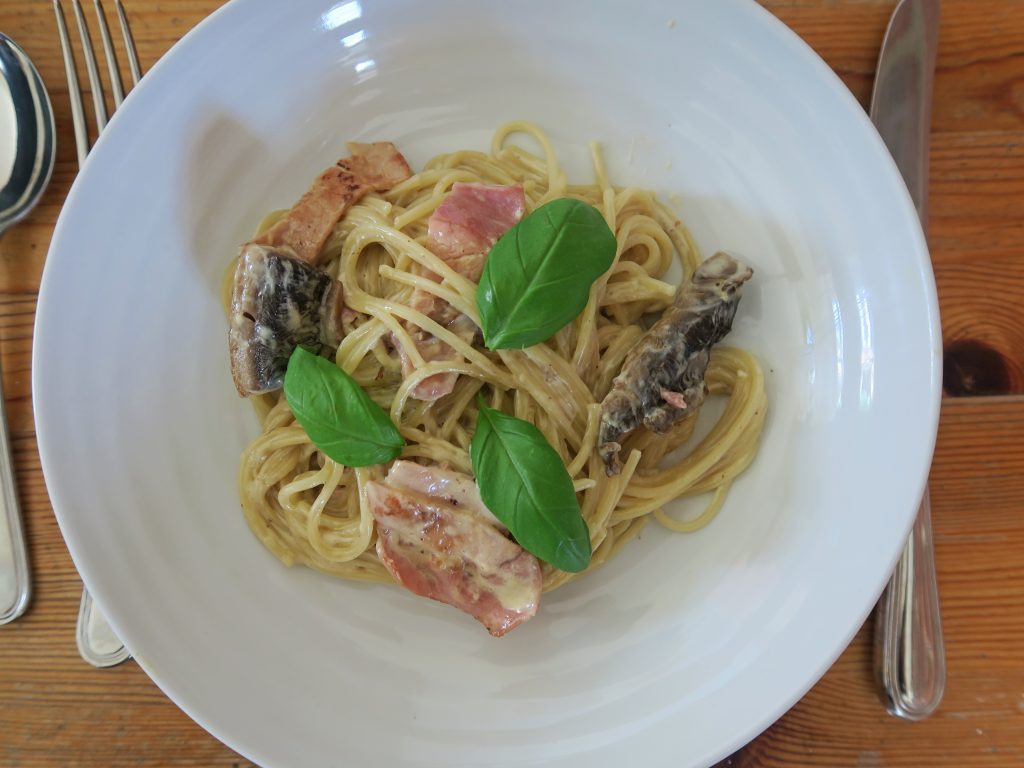
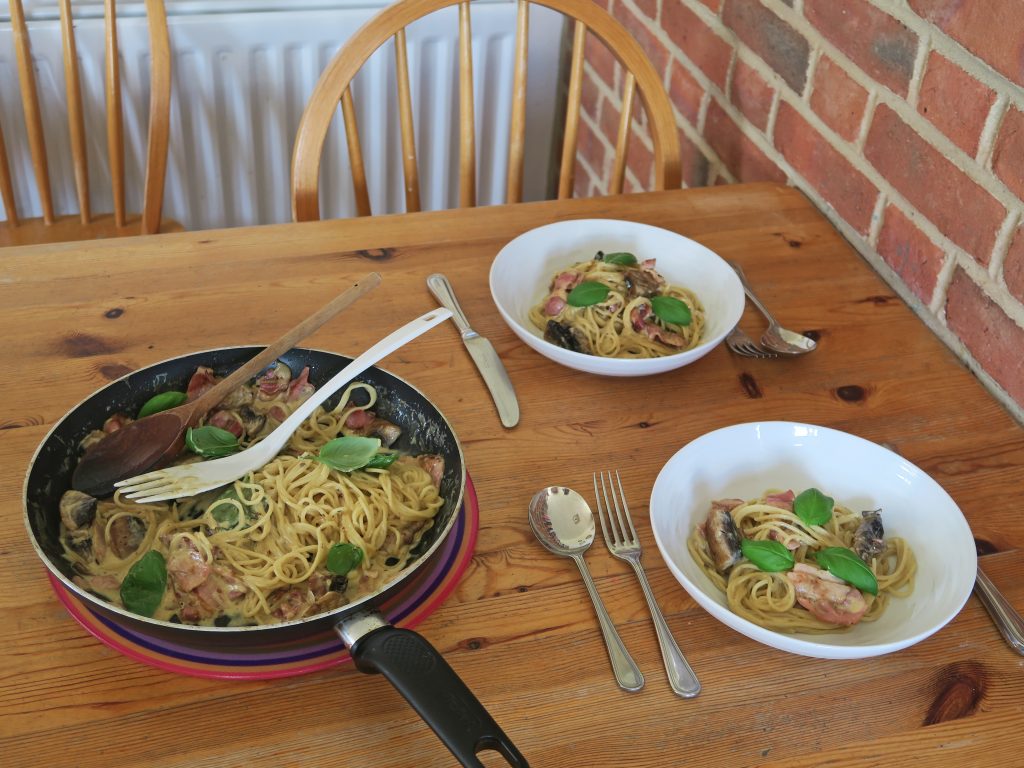
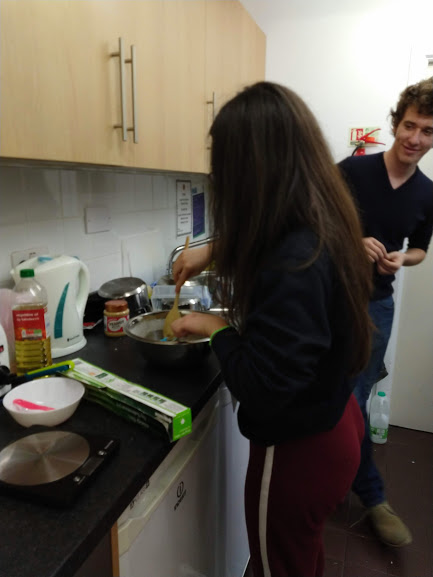
With term almost over it’s time to head back to the land of stocked fridge and rolling fields. Whilst I’m looking forward to having a (bit) of a break, this has been the most amazing 8 weeks. From the people I’ve met to the things I’ve learnt, it’s been a total blast and I can’t wait to come back and so it all over again (after a long rest that is!). Some of the best times I’ve had this term have been our group baking sessions in our college kitchen. Trying to fit more people than can physically fit into a lil’ kitchen, jumping over people to get from the sink to the oven and then everyone eating whatever’s made in minutes.

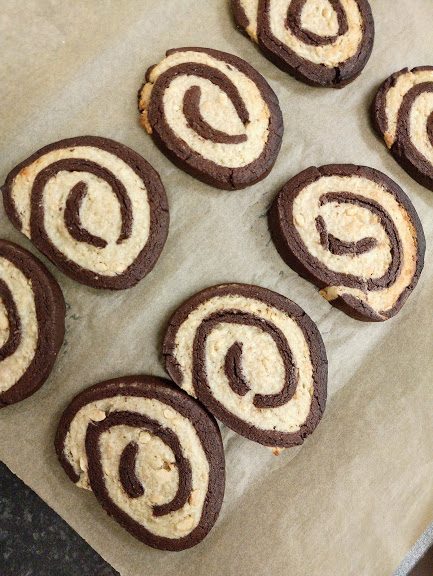
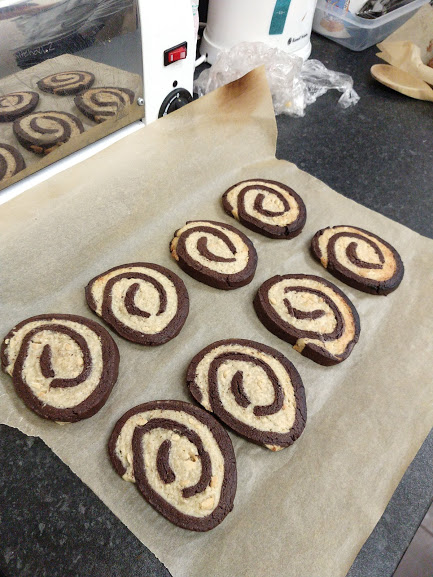
Of course the down side of cooking at uni is the lack of equipment, ingredients and space. For example these were made with only half the ingredients we probably needed and when freezing the pinwheel log before cutting it into slices I had to wedge it into the jam-packed freezer, hence the slightly squashed shape. However, even with the set backs these turned out super tasty and were so fun to make, so I guess the main thing I’ve learnt from student cooking so far is just to make use of what you’ve got to hand and it’ll most likely turn out fine!

You can also play around with the two flavours in these as much as you like which is fun. I went for chocolate and peanut butter as they’re relatively cheap and taste hella good together. But you could try other combos like chocolate and vanilla, lemon and strawberry, or orange and almond. The key to get these looking good is to make sure that the two doughs have different enough colours to stand out against each other and to make sure you get a tight roll when you roll the wheels up. After that all you’ve got to worry about is getting them to the tin before everyone eats them.

Ingredients

For peanut butter dough

  • 125g Caster sugar
  • 113g Smooth peanut butter
  • A large pinch of Salt
  • 1 tbsp Water
  • 215g Plain flour

For the chocolate dough

  • 125g Caster sugar
  • 113g Smooth peanut butter
  • A large pinch of salt
  • 1 tbsp Water
  • 170g Plain flour
  • 45g Cocoa powder

Method

  1. First make the peanut dough. Put the peanut butter and sugar into a large bowl with the vanilla and a pinch of salt and beat with a wooden spoon until smooth and creamy.
  2. Add the water to the mixture and beat in to loosen the mixture a little. Then add the flour and mix everything together until a smooth dough forms.
  3. Use your hands to make the dough into a ball and then wrap it in cling film and leave it in the fridge until needed.
  4. Now make the chocolate dough. Repeat step 1 with the butter, sugar and so on.
  5. Add the water to the mix and beat to loosen the mixture as you did before. Then add the flour and the cocoa powder to the bowl and mix everything together until a smooth dough forms.
  6. Again, form the dough into a ball and wrap in clingfilm. Leave the two doughs in the fridge for 1-2 hours to harden up slightly.
  7. When ready take the peanut dough out of the fridge. Lay down a sheet of cling film on the work top and then place the dough on top. Lay out another sheet of cling film over the dough. Then take a rolling pin and roll the dough out into a oblong about 20cm x 40cm.
  8. Repeat with the chocolate dough so you have two rectangles of a similar shape.
  9. Take the top layer of the clingfilm off the two doughs. Then turn the chocolate dough over onto the peanut dough and take off the clingfilm sheet which will now be on the top.
  10. Carefully roll the sheet up into a pinwheel, working from short edge to short edge. It can help here to roll over a 1cm bit at the start to begin your spiral and then work from there.
  11. Wrap the log in clingfilm and then freeze for 1-2 hours to make it easier to cut later.
  12. Pre-heat the oven to 180˚C. Line two baking trays with baking paper.
  13. Take the pinwheel log out of the freezer and place it on a chopping board. Take a sharp knife and cut the log into 1cm discs. Place each cookie on the lined baking trays.
  14. Bake the biscuits for 15-20 minutes until slightly golden brown and crispy. Leave to cool before eating!

Thanks for reading!

Emma x

Easy Gnocchi

Easy Gnocchi

Four steps. Four ingredients. Four sentences. Boom!

No but seriously. I’ve been turning to pasta so much during my time at uni so far that the time has come to look beyond pasta. Admittedly gnocchi isn’t the most different thing I could have turned to, but it’s so quick and comforting that it’s perfect if you want to shake things up a little. Especially now that you can buy packs of semi-cooked ready-made gnocchi in most supermarkets you can rustle yourself up a bowl of this in minutes. As a tip I’d say that in order to get the best tasting dish you can buy a good a quality passata or tomato sauce. The one I used for the dish photographed here was a budget range one and it was so sour that it made the whole thing taste really meh, but if you get a good one (maybe even with herbs in if you want to be a little fancy) it’ll transform the whole dish!

Recipe

Serves 2

Time: 20 minutes

Ingredients

  • 1 Packet of Gnocchi (around 500g)
  • 400g Tomato passata
  • Fresh bail to garnish (optional)
  • Cheddar cheese or Parmesan to finish

Method

  1. Put a pan of water on a high heat and leave to boil.
  2. Add the gnocchi and cook to the packet’s instructions.
  3. Drain the gnocchi and add the passata. Stir to combine and then leave with the lid on for a few minutes to warm the passata through.
  4. Pop the gnocchi into two bowls and top with the basil and a little grated cheese!

Thanks for reading!

Emma x

Lentil and Kidney Bean Bolognese

Lentil and Kidney Bean Bolognese

We all have that one vegan friend. You know, the one who eats falafel and carrot sticks and likes to remind you that they’re vegan? Well soon that’s gonna be me! My friend Kat and I are planning on going Vegan for Veganuary, however as that’s a pretty big step we’ve decided to work our way up to it by first going vegetarian and refined sugar free for November (bring on the hummus and carrot sticks!). I was veggie a couple of years ago, and so I’ve got a few recipes up my sleeve to start with like this insanely good Bolognese. This is something I made all the time way back when and I now make it way more than the beef version. It’s full of beans and lentils so it’s got lots of protein in it and as lentils can be kept in the cupboard for years you can rustle this up whenever you want! For any meat eaters out there who are thinking why make something meat-esk, just use meat, try this. It tastes amazing. You won’t regret it.

Recipe

Serves 4

Time: 25 minutes

Ingredients

  • 2 tbsp Oil
  • 1 White onion
  • 2 Carrots
  • 2 Garlic cloves
  • 500g Red lentils
  • 400g Chopped tomatoes
  • 1 tbsp Tomato puree
  • 1L Vgetable stock
  • 1 tsp Mixed herbs
  • 500g Spaghetti
  • 400g Kidney beans
  • Chedda cheese, grated to serve (optional)
  • Fresh Basil to serve (optional)

Method

  1. Put the oil into a large saucepan. Peel and then finely dice the onions and then add them to the oil. Place over a medium-high heat and fry until starting to caramelise.
  2. Peel the carrots and garlic cloves and then dice them. You want the carrots in chunks and the garlic to be finely diced. Add to the onions, mix and then fry for another 2-3 minutes until soft.
  3. Put the lentils, chopped tomatoes, tomato puree and vegetable stock into the pan and leave to simmer for 15-20 minutes until the lentils have cooked through.
  4. Meanwhile put another pan of water on a high heat for the spaghetti. Bring to the boil and then add the spaghetti and cook to the packet’s instructions (normally about 10 minutes).
  5. Add the mixed herbs, kidney beans to the bolognese mix and leave to simmer for another 3-5 minutes.
  6. Drain the spaghetti and serve with the bolognese, grated cheese and a little basil!

Thanks for reading!

Emma x


Easy Spaghetti Carbonara

Easy Spaghetti Carbonara

Things I have learnt from uni so far:

  1. Do not boil pasta in a kettle (thanks for that one Ivo).
  2. Banana and pasta is not a bad combination, but equally I would not recommended it.
  3. You can have too many chilli flakes in tuna pasta.
  4. There’s nothing you can do to pasta that will make it taste bad. Apart from puree it.

Ok so, I’m not cooking for myself this year at uni, but I am getting to cook for myself at the weekend! I thought would be this really cool thing to look forward to but apart from my experimental pumpkin pie (fyi a golden syrup bottle does not work as a rolling pin!) I’ve returned to just making a LOT of pasta. As this seems to be a uni staple I thought I’d represent one of m’ faves on here.

There seems to be something at Oxford called the 5th week blues, which is basically the wave of sadness and despair that hits everyone just after the half way mark in the term. Having just blindly walked into too much to do, with the words ‘do not over commit’ ringing strongly in my ears as I continue to over commit myself, I turn to a big bowl of this to solve all my problems. 5(ish) ingredients, 2 pans, easy to portion. What’s not to love?

Recipe

Serves 2

Time: 10-20 minutes (depending on how quickly your spaghetti cooks)

Ingredients

  • 4 Rashers of Bacon (or 2 slices of ham)
  • 8 Chestnut mushrooms (or one large closed cup mushroom)
  • 50g Dried spaghetti
  • 300ml Double cream
  • 50g Cheddar cheese, grated
  • A few leaves of fresh basil (optional)

Method

  1. Take a large sauce pan and put over a medium-high heat. Chop the bacon into strips with scissors into the pan and fry until cooked through and crispy.
  2. Meanwhile chop the mushrooms into rough slices (or dice it if you’re using a large mushroom). Add the mushroom to the pan with the bacon. Fry for 2-3 minutes, stirring occasionally until the bacon is crispy and the mushrooms have shrunk.
  3. Whilst waiting for the bacon to crisp up, put a pan of water on a high heat to pre-boil for the pasta. Once boiled add the spaghetti and a pinch of salt. Stir once and then leave the pasta to boil to the packet’s instructions (about 10 minutes).
  4. To finish off the sauce pour the cream over the bacon and mushrooms. Then add the grated cheese and stir until the cheese has melted. Leave on a low heat to warm the cream through and simmer gently, but do not boil.
  5. Drain the spaghetti once it’s ready and then add it to the sauce. Mix everything together and then serve with fresh basil!

Thanks for reading!

Emma x