Category: Recipes

Easiest Ever Triple Chocolate Cookies

Easiest Ever Triple Chocolate Cookies


Recipe

Makes 12

Time: 20 minutes

Ingredients

  • 125g butter
  • 175g light brown sugar
  • 1 egg
  • 50g cocoa powder
  • 100g plain flour
  • 50g milk chocolate
  • 50g white chocolate

Method

  1. Pre-heat the oven to 180C and line two baking trays with baking paper.
  2. Put the butter and sugar into a bowl and beat together until smooth.
  3. Add the egg and beat until combined.
  4. Add the flour and cocoa powder and beat again to get a soft dough.
  5. Roughly chop the milk and white chocolate and then stir it into the dough so it’s well distributed.
  6. Weigh the dough and divide the weight by 12 so you know how much each ball of cookie dough need to weigh (mine was 56g each). The portion out each blob of cookie dough to this weight and place, well spaced on the lined baking trays (I put 6 cookies on each tray).
  7. Sprinkle each with a little sea salt and then bake for 10-12 minutes until they’ve spread out and are just starting to crisp round the edges. Leave to cool and then enjoy!

Thanks for reading!

Emma x

Chocolate and Raspberry Tartlets

Chocolate and Raspberry Tartlets


Recipe

Makes 6

Time: 2 hours plus chilling and baking time

Ingredients

For the chocolate pastry

  • 125g plain flour
  • 2tbsp icing sugar
  • 2tbsp cocoa powder
  • 135g butter
  • 1 small egg yolk
  • 1tsp lemon juice

For the raspberry chiffon

  • 325g frozen raspberries
  • 75g caster sugar
  • Juice of 1 lemon
  • 2 sheets of gelatine
  • 100ml double cream

For the chocolate drizzle

  • 50g dark chocolate
  • 50ml double cream

To decorate

  • A few fresh raspberries

Method

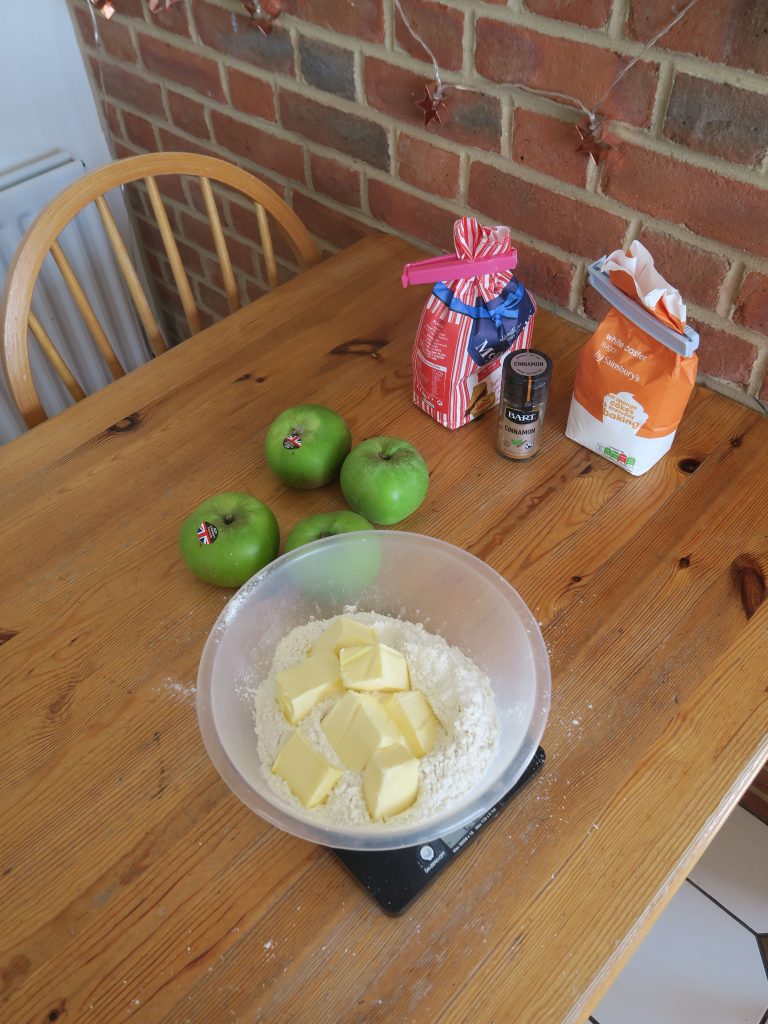
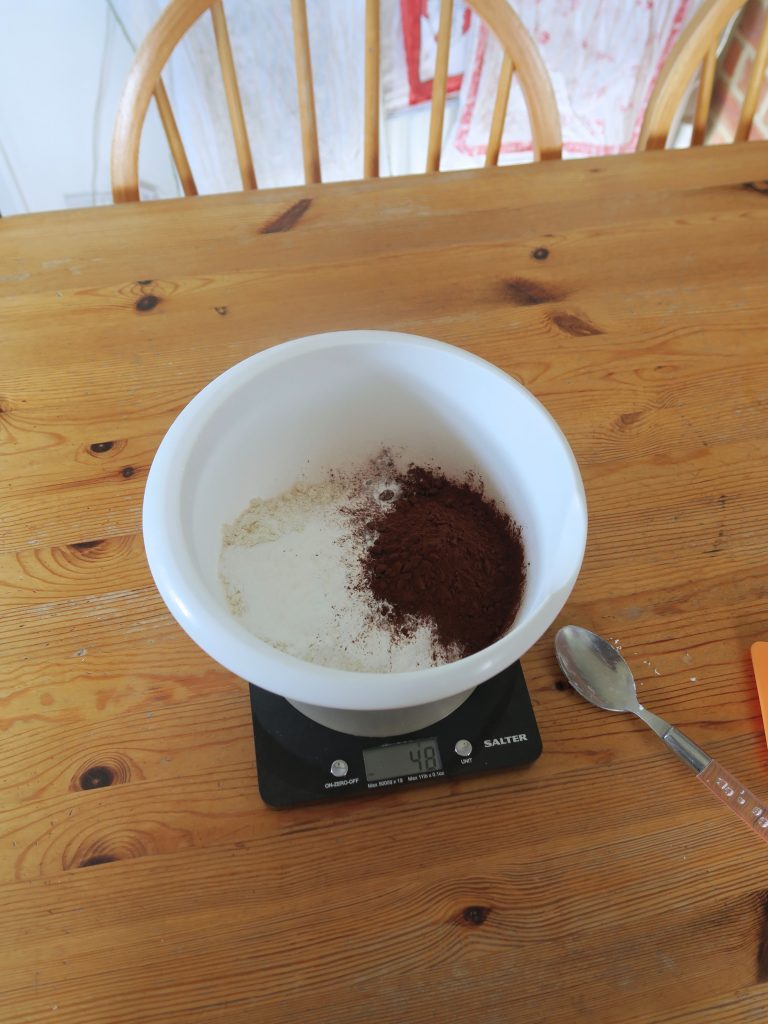
  1. Begin by making the pastry. Put the flour, icing sugar and cocoa powder into a bowl. Add the butter in cubes and rub it into the flour with your finger tips until the mixture resembles fine breadcrumbs.
  2. Add the egg yolk and lemon juice and stir the mixture with a round bladed knife to bring together into a ball of dough. (You can go in with your hands at the end to bring it together if need be).
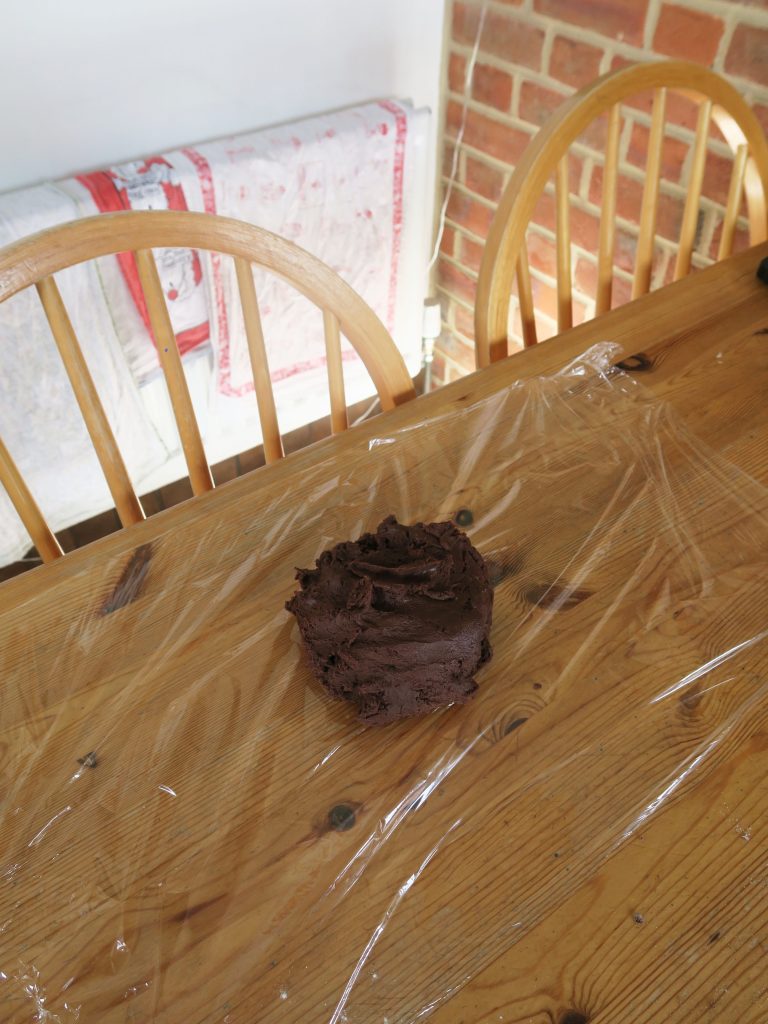
  3. Wrap the dough in cling film and leave to chill in the fridge for at least 1 hour.
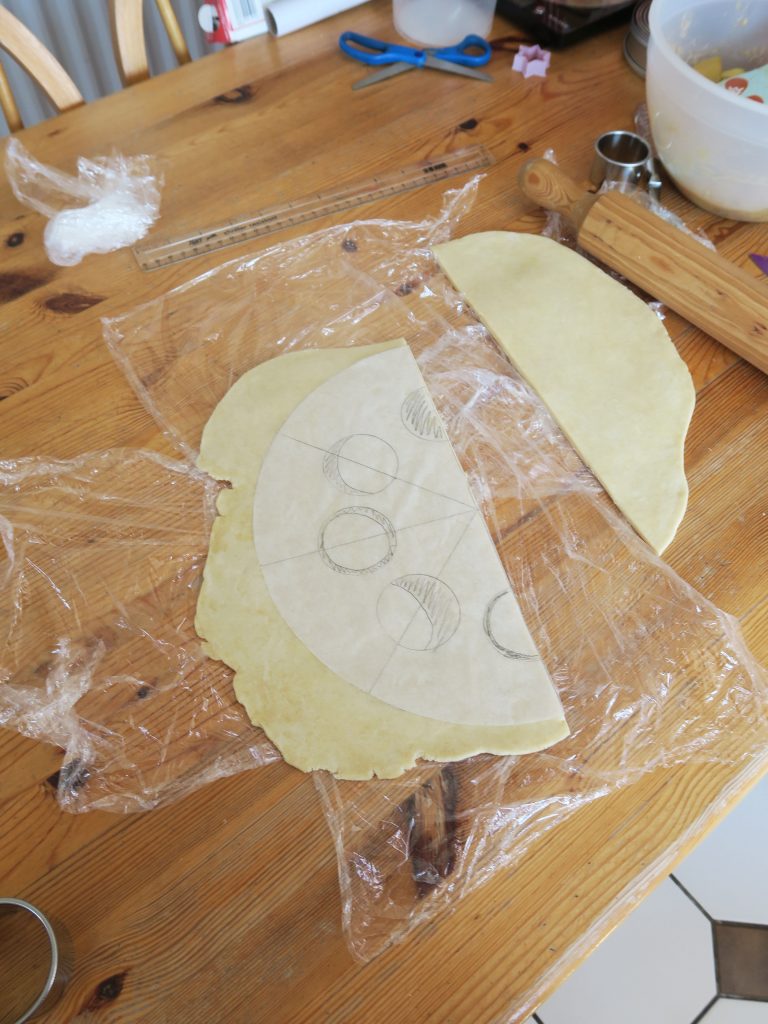
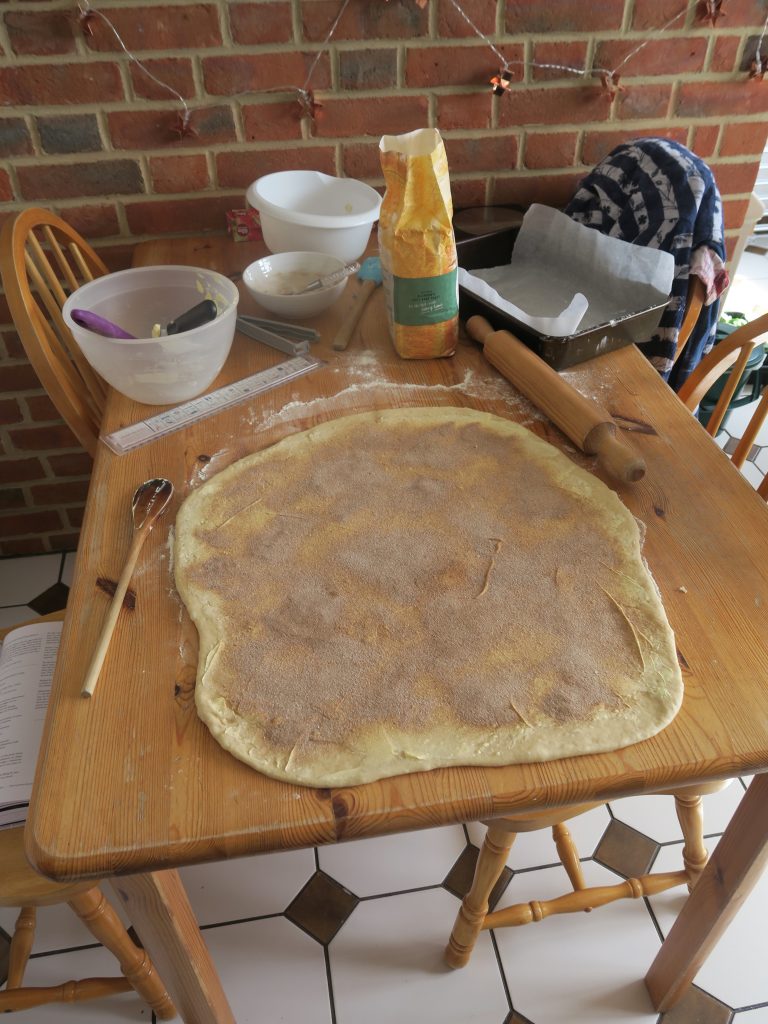
  4. Split the dough into 6, take one and put the others back into the fridge. Roll your first bit of pastry into a circle, about the thickness of a 1p coin, between two sheets of clingfilm. You can use your tartlet tins as a guide as to the shape of the circled you role out by placing them on top of the pastry every now and then. You want the pastry to be about 2cm wider all around than your tin.
  5. Take the top layer of clingfilm off the pastry and then turn the pastry sheet upside down (so the bottom layer of clingfilm is on the top) and gently ease the pastry into the tart case.
  6. Press your fingers gently into the tart (especially around the sides) to make sure the pastry has taken the shape of the tin. Then fold the excess pastry enough so the top edge of the tin is covered all the way around. Take a rolling pin and role it across the top of the tin to cut off the excess pastry. (Don’t worry about removing this excess pastry yet as it’ll be easier once frozen).
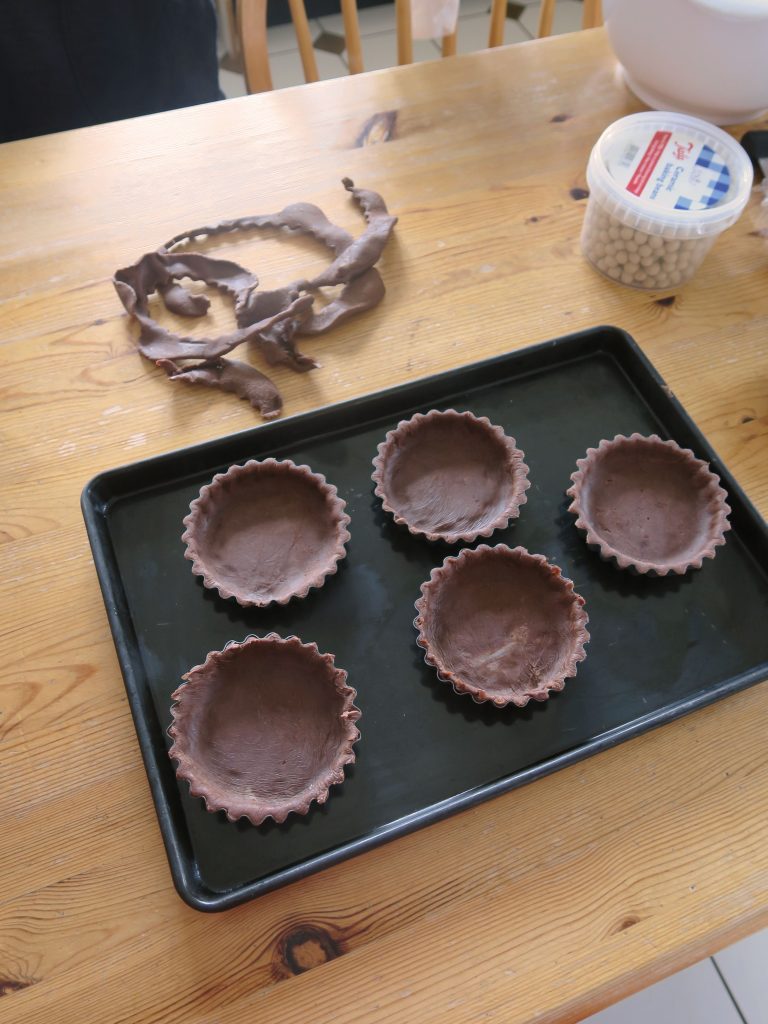
  7. Repeat the lining of the tins, taking one piece of dough out of the fridge at a time until you have 6 lines pastry cases, with the top layer of clingfilm still on. Place these in the freezer for 20 minutes.
  8. Pre-heat an oven to 180C. Peel the clingfilm off the tart cases and then break off the excess pastry around the top (this should be much easier now the pastry has frozen).
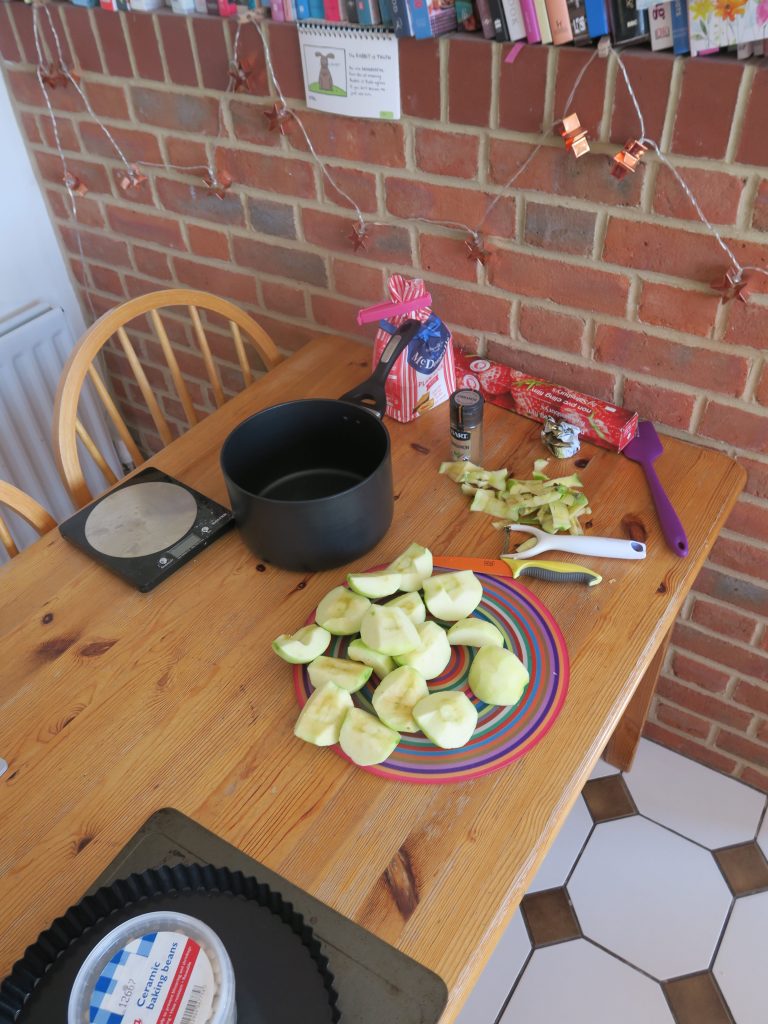
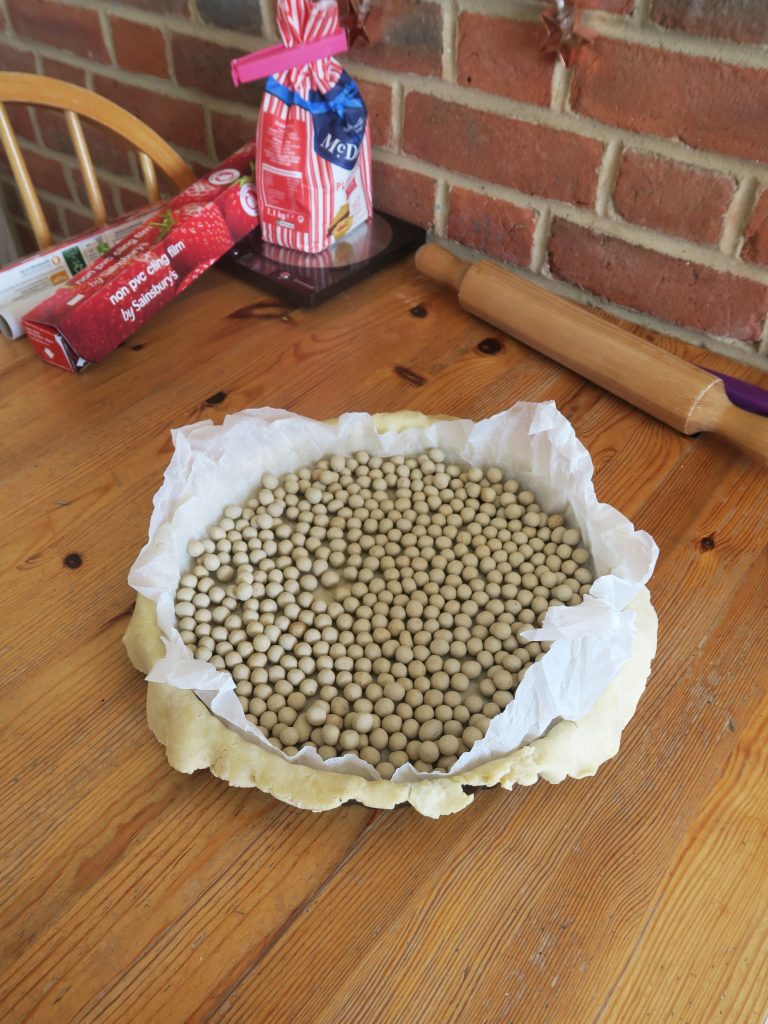
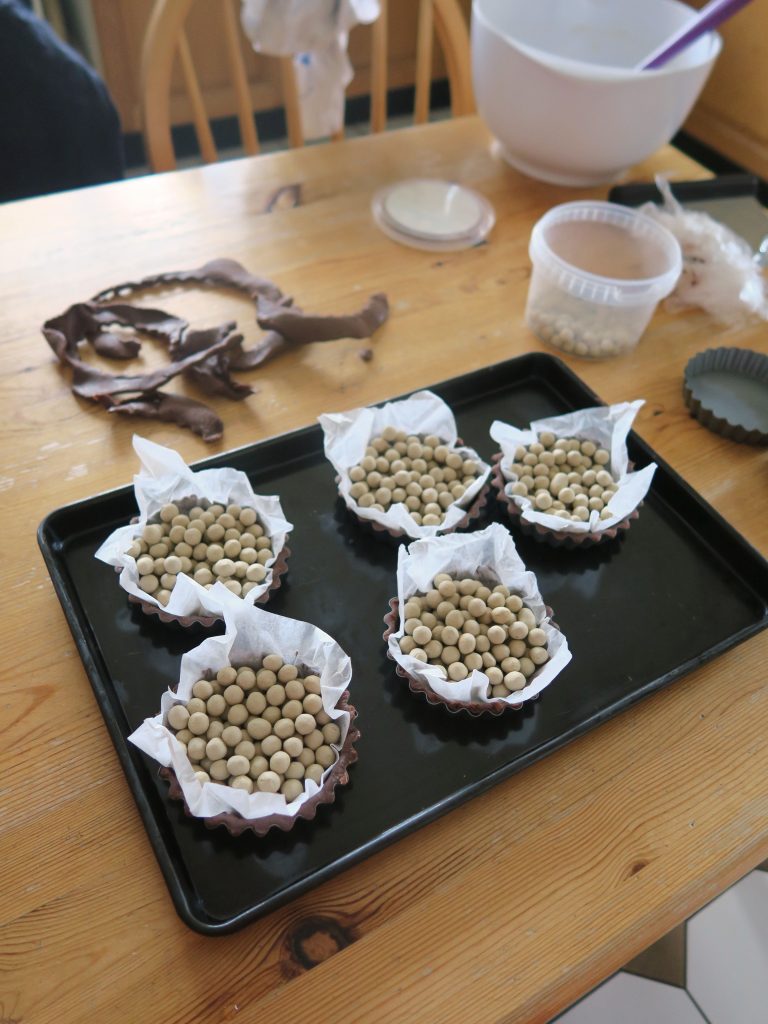
  9. Cut 6 squares of greaseproof paper, around the same size as the tartlets, and crumple them up in your hands. Carefully un-crumble each one and then fit it inside the tart case. Then fill the tartlets with baking beans (or rice).
  10. Bake the pastry cases in the oven for about 15 minutes. Then take out the baking paper and beans and bake for another 5-10 minutes to crisp up completely. (The pastry wont be going in the oven again so make sure it’s perfectly cooked through before taking it out). Leave the pastry to cool completely.
  11. Now move onto the raspberry chiffon filling. Put the raspberries, sugar and lemon juice into a pan and simmer for 3-4 minutes, until the raspberries have defrosted and the sugar has dissolved.
  12. Meanwhile fill a small bowl with cold water and place the gelatine sheets in it to soften.
  13. When the raspberries have done simmering, take the gelatine, squeeze it to release the excess water and then stir it into the raspberries to dissolve.
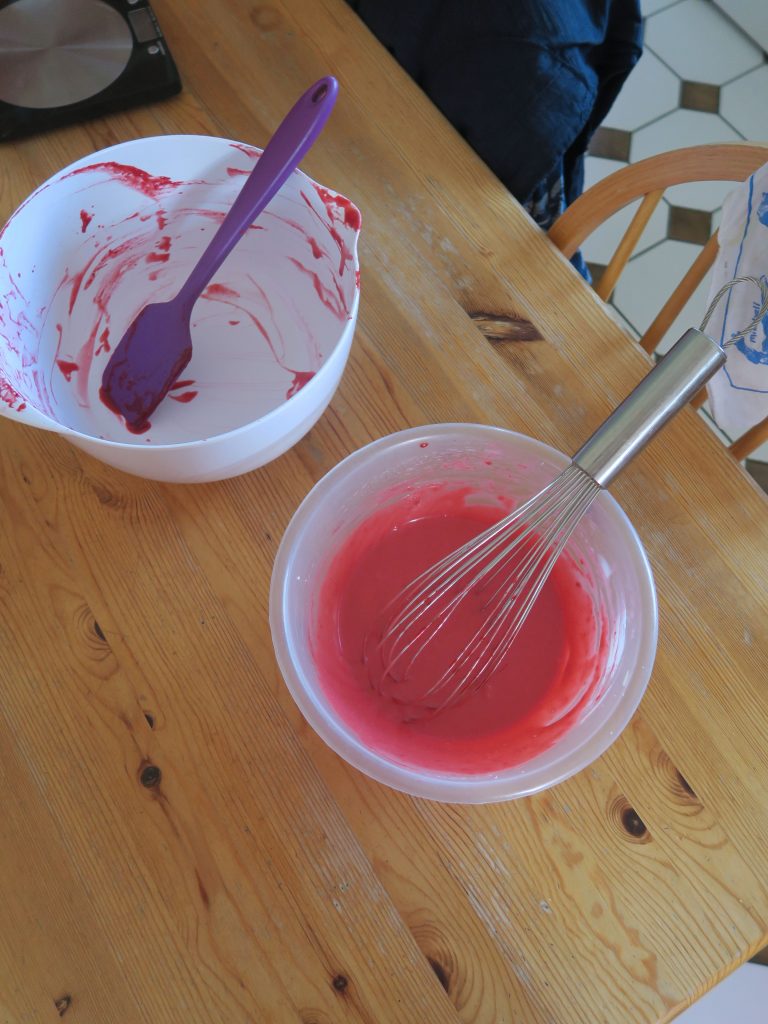
  14. Sieve the raspberries into a large bowl. Make sure to work the raspberries through the sieve with a spatula, and to scrape off the pulp on the bottom of the sieve as that’s where all the good stuff is. Leave to cool completely.
  15. Whisk the cream up to soft peaks. Then whisk the cooled raspberry puree into the cream, a little bit at a time.
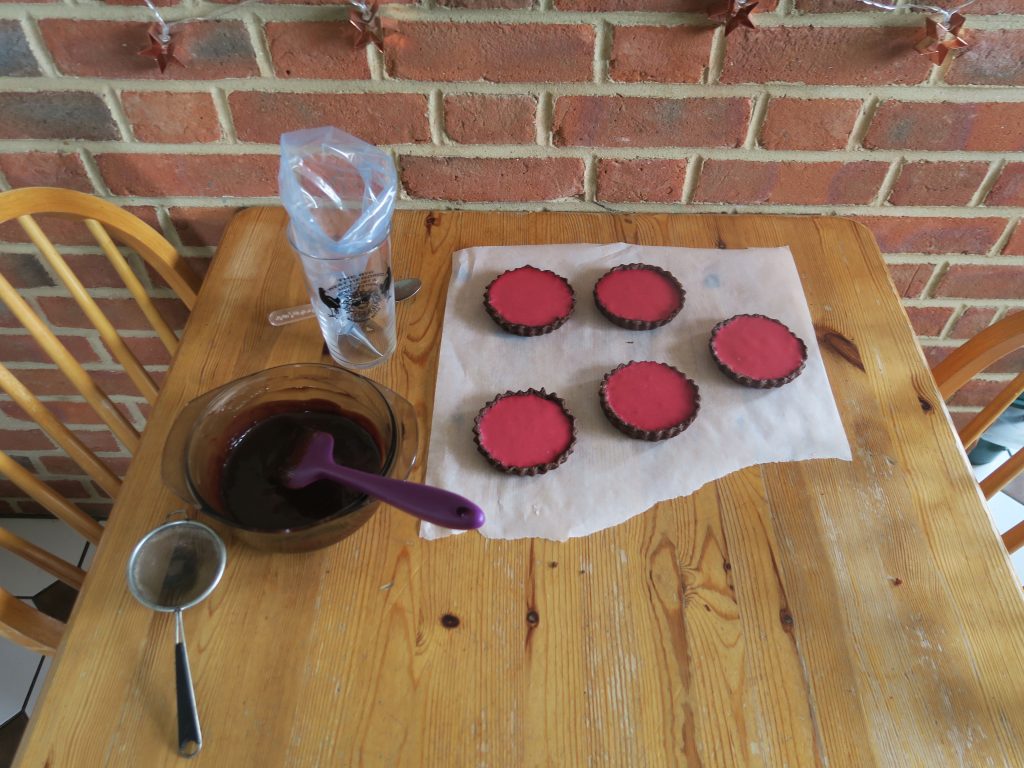
  16. Leave the raspberry mixture to thicken up a little bit, stirring every 15 minutes to check the consistency. You want it to be at the point where it’s just about to form a trail when a spoon is lifted out of the mixture and left to drip. At this point pour it into the cooled pastry cases until full and then leave them in the fridge to set completely.
  17. Once set move onto the chocolate drizzle. Chop the chocolate finely and put it into a metal or glass bowl. Heat the cream in a small pan until just below boiling and then pour it over the chocolate, whisking constantly, until melted.
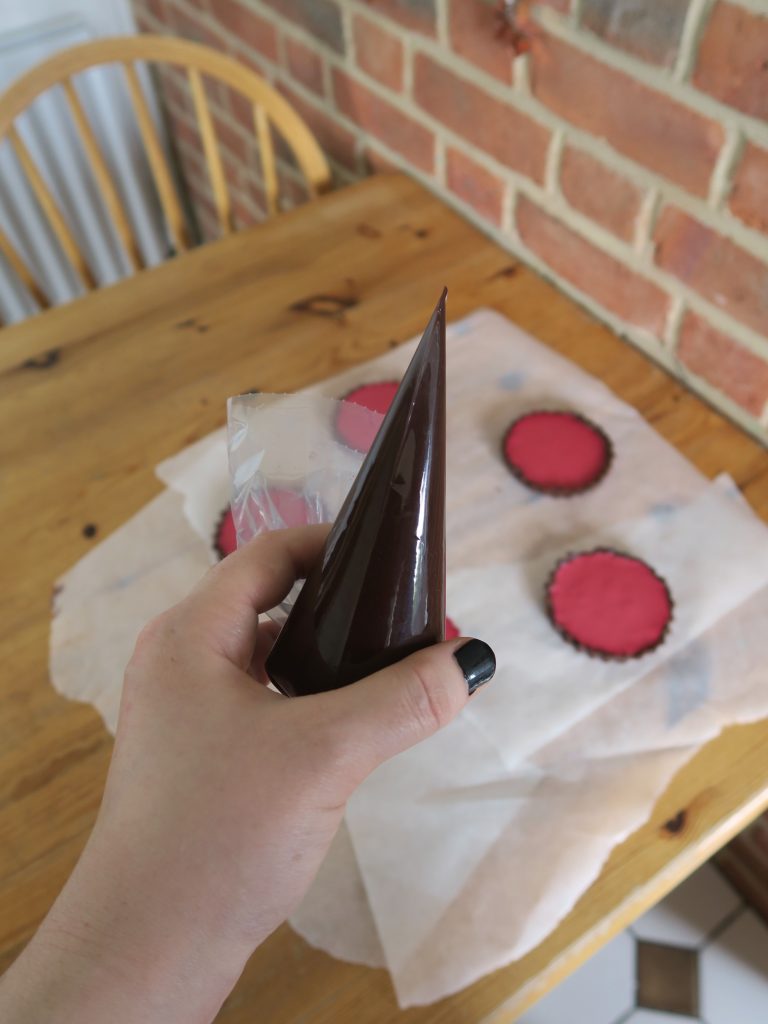
  18. Pour the ganache into a pipping bag (either with a very small, round nozzle or a disposable one you can cut a small hole in the end of). You then need to wait for the ganache to reach the consistency where it pipes in a smooth line but hasn’t set too much (the only way to find this out is to try pipping every 15 minutes or so and see what it looks like).
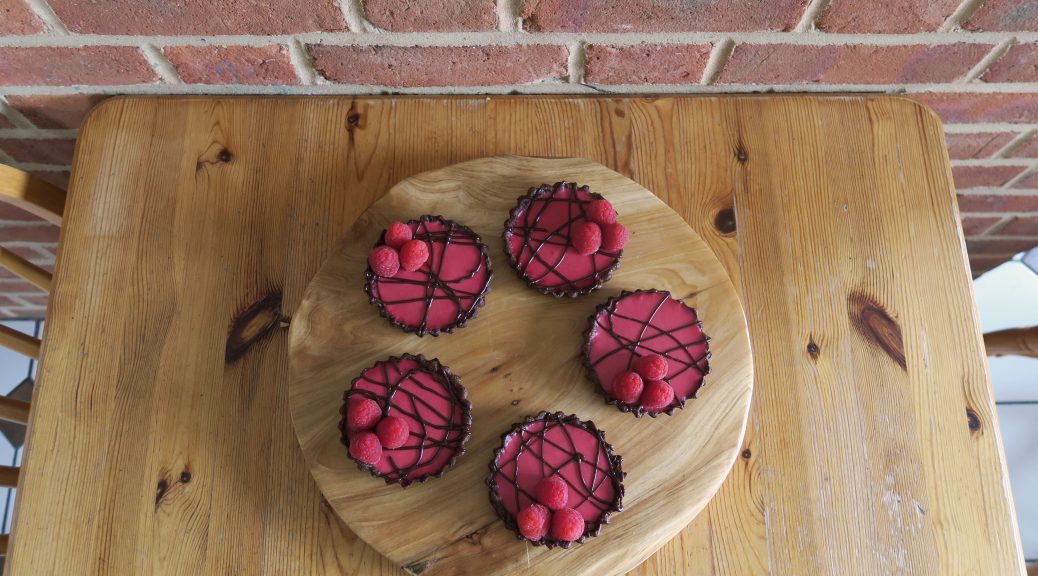
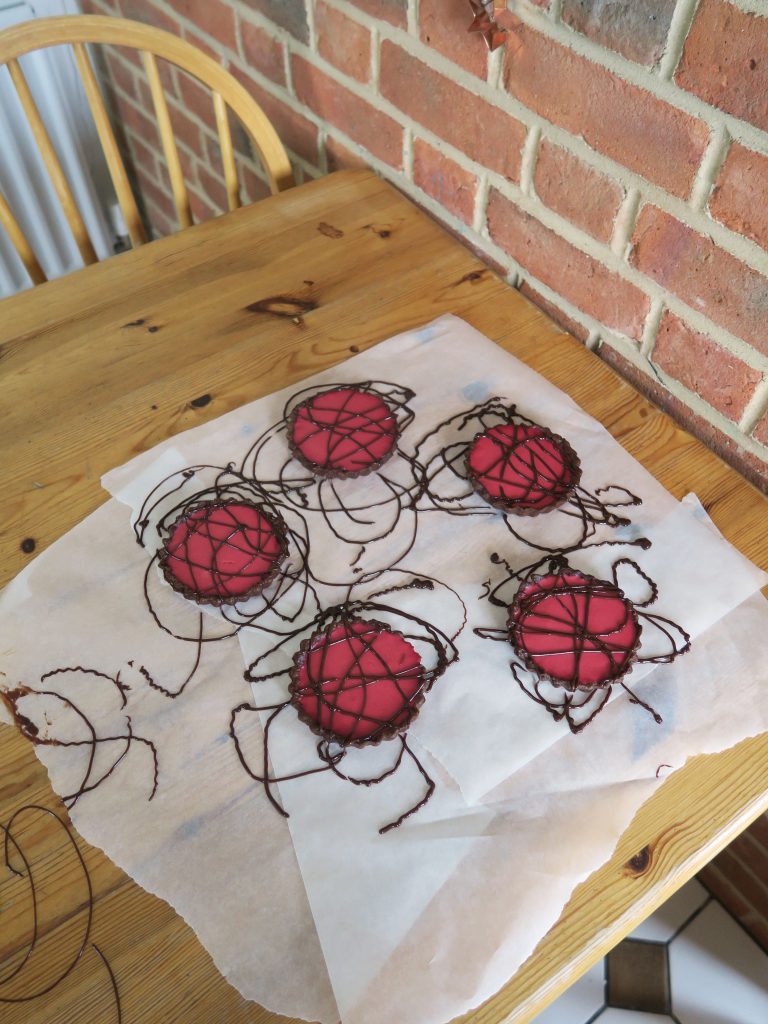
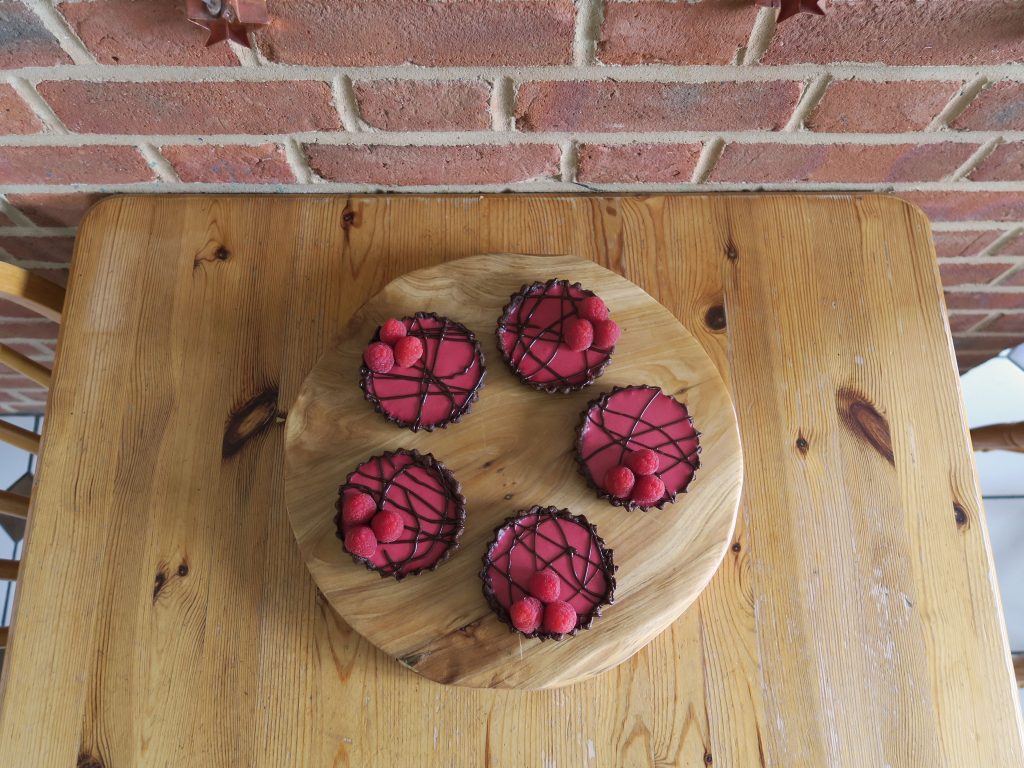
  19. When ready to pipe take your tartlets and spread them out on a worktop. Then pipe loose swirls, loops and circles over the tops. Leave for 20 minutes to set.
  20. To finish off take the tarts out of their tins and then top with some fresh raspberries.

Thanks for reading!

Emma x

Picture Focaccia

Picture Focaccia


Recipe

Makes 1 loaf

Time: 1 hour, plus proving and baking time

Ingredients

  • 500g strong white bread flour
  • 7g fast action dried yeast
  • 2 tsp table salt
  • 5 tbsp olive oil
  • 1 tsp flaky sea salt

To decorate

  • 1 yellow bell pepper
  • A handful of cherry tomatoes
  • Fresh basil leaves
  • Fresh chives
  • A handful of peas
  • 3 tsp black sesame seeds
  • A few leaves of flat leaf parsley
  • 50g feta cheese

Method

  1. Put the flour, yeast and salt into a large mixing bowl (make sure not to put the yeast directly on top of the salt or it could deactivate). Mix everything together.
  2. Add 2tbsp of the oil and 350-400ml water. Mix everything together until you have a sticky dough.
  3. Turn the dough out onto a worktop and knead for 5-10 minutes until smooth and stretchy.
  4. Lightly oil a bowl and tip the dough into it. Cover with clingfilm and leave to rise for 1 hour, or until doubled in size.
  5. Oil a shallow 25x35cm tin. Tip the dough into the tin and press it out to fill it in an even sheet. Cover with cling film and leave to prove for another 30 minutes.
  6. Now prepare the fillings. You can have fun with this so let your imagination run wild, however this is what I did…
  7. De-seed and then slice the yellow peppers into batons. Halve the cherry tomatoes and then pop all your other toppings into bowls or on plates so you can access them easily.
  8. Arrange your yellow peppers over the bread in little flowers, leaving a small circle in the middle to be filled with black sesame seeds.
  9. Place your long herbs (e.g chives) to look like the stems of the flowers. Arrange the tomatoes, peas and basil leaves to look like leaves and seeds climbing up the stems. Then fill in the gaps with parsley leaves and some crumbled feta. (Make sure whatever topping you put on you press into the dough enough that it wont fall off once baked)
  10. Pre-heat the oven to 180C. Mix together 1tbsp of the olive oil with 1tbsp of the water and drizzle it oven the risen and decorated bread. Sprinkle over the sea salt and then bake for 15-20 minutes, until golden brown. Enjoy!

Thanks for reading!

Emma x

Apple and Cherry Midnight Pie

Apple and Cherry Midnight Pie


Recipe

Serves 12

Time: 1 hour, plus chilling and baking time

Ingredients

For the pastry

  • 470g plain flour
  • 225g unsalted butter
  • 1 ½ tbsp caster sugar
  • A pinch of salt
  • 4 ½ tbsp water

For the filling

  • 4 Large cooking apples (I used 1kg of Bramley)
  • 3 tbsp brown sugar (around 90g)
  • ½ tsp ground cinnamon
  • ½ tsp ground ginger
  • 1 tbsp plain flour
  • 300g frozen cherries
  • 200g frozen blueberries

Method

  1. Begin by making the pastry. Put the flour and butter into a large bowl. Rub the butter into the flour with your finger tips until the mixture resembles breadcrumbs.
  2. Stir the sugar and the salt into the flour with a round bladed knife and then keep mixing as you add the water until a smooth dough forms. Bring the dough together with your hands to make a ball and then wrap the dough in cling film and leave in the fridge to chill for at least 1 hour.
  3. Meanwhile prepare the filling. Peel, core and dice the apple. Put the apple chunks into a large pan with the sugar, cinnamon, and ginger. Place over a medium heat and bring to a gentle simmer, stirring occasionally until the fruit is starting to soften and let out its juices. Add the flour to the pan, stir to combine and then set aside to cool.
  4. Take the frozen blueberries and cherries and tip them onto a baking tray lined with kitchen roll. Leave to defrost, changing the kitchen roll if it becomes too wet.
  5. Pre-heat the oven to 180˚C. When the pastry is ready take it out of the fridge, cut it in two and put one of the halves back into the fridge.
  6. Shape the pastry half you’re working with into a circle and then roll it out on a lightly floured worktop into a circle about 33cm wide (or about 3cm wider all around than your tin. You can use your tin as a guide for rolling by placing it over your pastry every now and then to check the size!)
  7. Transfer the pastry disc into the pie tin, making sure it fits into any flutes or creases. Allow any excess pastry to hang over the edge for now.
  8. Take a square of baking paper around the same dimensions as the pastry disc you just rolled out. Scrunch it up into a ball in your hands and then unfold it back out into a crumpled square. Use this to line the inside of the tart, then weigh down the pastry with baking beans or rice.
  9. Bake the pastry like this for 10 minutes, until the pastry looks like it’s starting to cook through. Take out the weight (beans or rice) and the baking paper and return the base to the oven for about 10 minutes until just starting to brown. Leave to one side to cool completely.
  10. Meanwhile prepare/shape the pastry for the topping. Take the second half of pastry, shape it into a circle and then roll it out into a disc, roughly the same size as before, between two sheets of clingfilm. (I find at this point it’s useful to have a guide on baking paper to transfer your design onto, but you could also work freehand. If you want to do a pattern you can follow my instructions on how to make your own below this recipe.)
  11. Cut the pastry in half, down the centre of the circle you’ve rolled out. Place one semi circle to one side for later.
  12. Take a 5cm round cookie cutter and cut two semi-circles out of the pastry , equal distance from the centre point and place the hemispheres you’ve cut out to one side.
  13. Next cut 3 full circles out of the centre of the pastry in an arc, moving around from the top semi-circle to the bottom semi-circle. Keep all the circles you cut out.
  14. Take the first circle and, using the same 5cm cutter, cut out a moon shape by slightly off-setting where you cut into the circle. Do this again with another one of the circles, this time cutting a moon from the other half of the circle.
  15. Take the final full circle and a 4cm cookie cutter and cut a smaller circle out of the main circle. Finally, take one of the hemispheres and, using the 4cm cutter, cut a smaller hemisphere out of the large one.
  16. Place all of the pieces you’ve cut out onto clingfilm and leave in the fridge until the pastry base and apples have cooled completely.
  17. Pre-heat the oven to 180C.
  18. When ready to start assembling the pie begin by spreading an even layer of the apple filling over the pastry base. Then scatter over the de-frosted cherries and blueberries, starting with the cherries and then filling in the gaps with the blueberries.
  19. Take the egg for the topping and whisk it in a small bowl with a fork until runny. Brush this on half of the exposed pastry crust.
  20. Take the semi-circle of pastry out of the fridge and place it on top of the filling, where you brushed the egg, so the centre line cuts across the middle half of the pie. Take a fork and press gently around the top edge of the crust to help it bind with the baked pastry. Then cut off the excess pastry round the edge by cutting it away with a sharp knife, held vertically and then stroked along the edge of the pie dish.
  21. Take the shapes of pastry that you cut out earlier and arrange them on the top of the pie to look like the above photo.
  22. Take the leftover rolled-out pastry and cut out stars. Brush the pastry on the top of the pie with the rest of the beaten egg and then place the pastry stars around the edge of the pie. Brush the stars with more beaten egg.
  23. Bake the pie in the oven for about 15 minutes, until the pastry is golden brown. Leave to cool a little and then serve with ice cream or custard!

How to make a pattern/guide for the top!

  1. Cut a sheet of baking paper about 33cm long (by however wide the roll is).
  2. Take something circular measuring 27.5cm in diameter (or equivalent to whatever diameter your pie tin is) and trace a circle onto your sheet of baking paper.
  3. Take a rule and draw a line down the centre of the circle to dissect it into two. Draw another line perpendicular to the first to transect the circle into quarters. Do this twice more so you have 8 segments.
  4. Take your ruler again and mark 5.5cm along each line from the centre point.
  5. Take a 5cm round cookie cutter and place the bottom edge on one of the 5cm marks you just made. Trace the circle onto this position and then repeat this on the other 5.5cm marks you made. You should now have 8 circles in a perfect ring.
  6. From this point you can choose how much more you do. I like to draw on the shapes you’ll be cutting out of the pastry, then to shade in where the filling will be visible.
  7. Keep the circle whole for now, however later when using it as a guide it might be useful to cut out the half of the circle that will be made up mainly of pastry so you can use it as a template on the pastry itself.
  8. If you choose to do step 7, a good tip is to take a pin or cocktail stick and make a little hole at the top and bottom of each circle (where the circle intersects with the line). This means that when you place the template on the pastry you can prick again with a cocktail stick through these holes and then you can use these marks to line up your cookie cutter so you cut out perfectly in-line circles.

Thanks for reading!

Emma x

Classic Cinnamon Buns

Classic Cinnamon Buns


Recipe

Makes 12

Time: 2 hours

Ingredients

  • 75g soya margarine
  • 250ml soya milk
  • 14g fast action dried yeast
  • 1 tsp salt
  • 45g caster sugar
  • 450g strong white bread flour, plus extra for dusting

For the filling

  • 100g soya margarine
  •  50g caster sugar
  • 2 tbsp ground cinnamon
  • 1 small egg
  • 1 tbsp soya milk

Method

  1. Melt the butter in a small pan. Add the milk and warm through until body temperature (about 38C if you have a thermometer).
  2. Add the yeast to the milk, stir to mix through and then leave for 10 minutes to activate.
  3. Put the salt, sugar and flour into a bowl. Pour over the milk and stir to make a sticky dough.
  4. Turn the dough out onto a worktop and knead for 5-10 minutes, until the dough is stretchy, smooth and not quite as sticky.
  5. Lightly oil a bowl (I find pouring a little oil onto a piece of kitchen roll and rubbing that inside a bowl works well). Then tip the dough into the bowl, cover with cling film and leave for 1 hour to rise.
  6. When the dough has doubled in size turn it out onto a lightly floured worktop and knead it for 5 seconds to knock out the extra air.
  7. Shape the dough into a rectangle and roll it out so it’s roughly 60x40cm.
  8. Use a palette knife of spatula to spread the soft margarine (for the filling) over the dough in an even layer.
  9. Mix the sugar and cinnamon together in a bowl and then sprinkle it over the butter in another even layer.
  10. Roll the dough sheet up, long edge to long edge to get a long sausage. Use a ruler and a sharp knife to mark every 1.5 inches along the roll and then cut at these points.
  11. Line a deep roasting tin with butter and baking paper. Transfer each bun to the tin, in 4 rows of 3. (You might need to gently nudge the buns into more of a circle shape if they got squashed during cutting).
  12. Cover the tin with clingfilm and leave to rise for 30 minutes. Pre-heat the oven to 200C.
  13. Beat the egg in a small bowl until runny and smooth. Add the milk and whisk again to combine. Brush this mixture over the buns to glaze.
  14. Bake the buns in the oven for about 20 minutes, or until golden brown and risen.
  15. Leave to cool for 30 minutes and then enjoy!

Thanks for reading!

Emma x