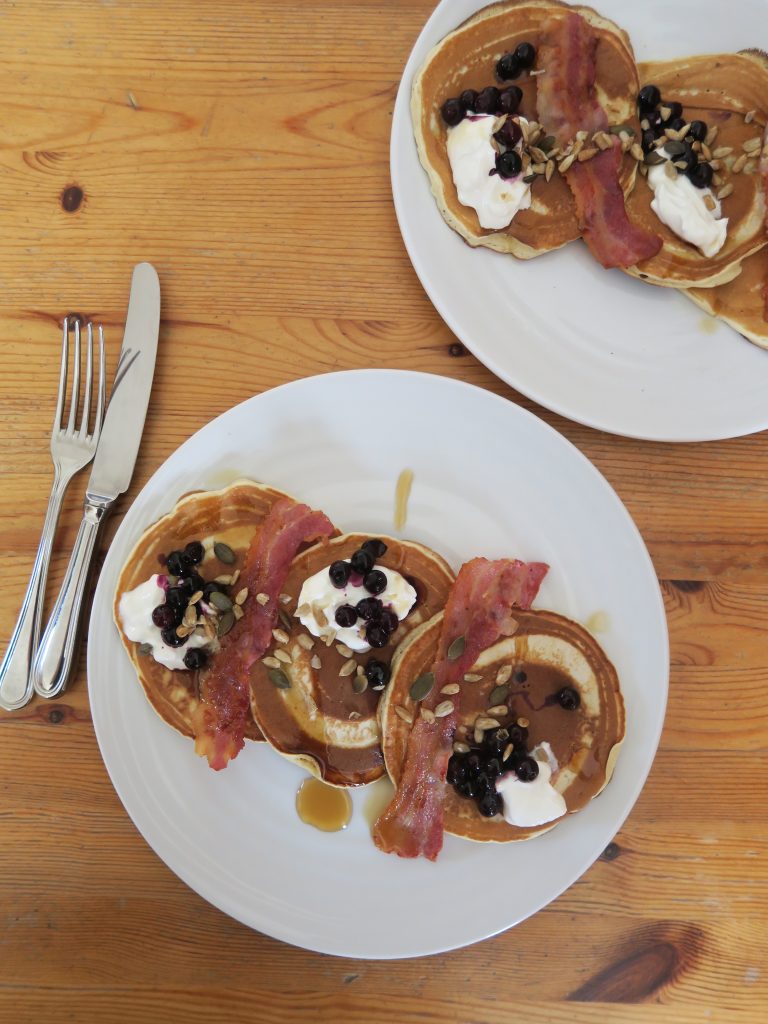
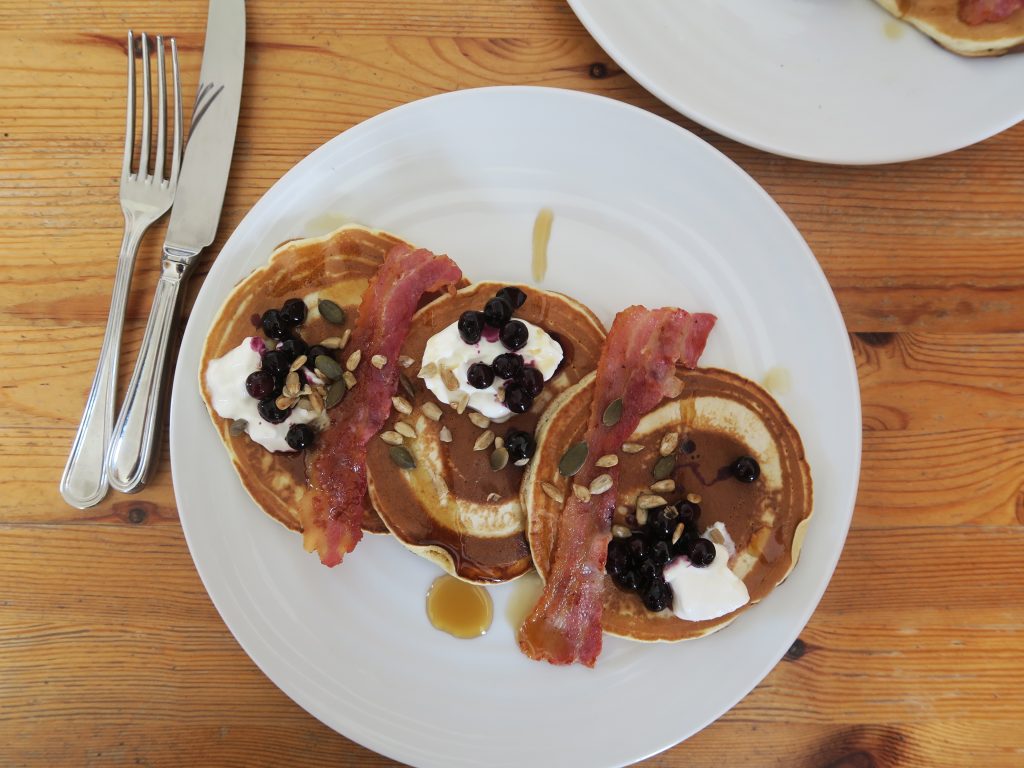
Maple Bacon and Blueberry Pancakes
I honestly don’t know where the time’s going at the moment. I kind of feel like I’m running through a tunnel and as I pop up every now and then for air I find out a months past. I only realised this morning when I looked at my post-plan spreadsheet(yes I plan my posts in a spreadsheet) that it’s pancake day on Tuesday! So, onto the obligatory story about why pancakes have a special place in my heart – if you’re not the sentimental type feel free to skip to the recipe below!
Pancakes are one of those special dishes for me as they’re one of the earliest food memories I have. Whether it was on holiday, pancake day or just the end of a really long day, it was always a treat when my mum would make a batch of these – churning them out as quick as my sister and I could eat them. When I was really young we’d have them with lots of golden syrup that would leave your hands all sticky and sweet. Then when I was about 11 we came across the wonder that is Nutella and banana pancakes, which remains my sister’s fave to this day! These days I’m more of a lemon juice and sugar girl, however I’m just starting to branch out from that and realise how versatile pancakes can be. Way back in the summer when I went to Canada I came across these at the airport where we stopped off for a quick breakfast before boarding the plane. I admit, yogurt and bacon doesn’t come across as the most likely combo for success, but with the maple syrup, sour fruit and crunchy pumpkin seeds it makes a plate that’s so so mouth watering!
Recipe
Serves 3
Time: 30 minutes
Ingredients
For the pancakes
- 140g Plain flour
- 1 tsp Baking powder
- ½ tsp Salt
- 1 tbsp Caster sugar
- 140ml Semi skimmed milk
- 1 Egg
- 1 Knob of butter
For the topping
- 6 Rashers of bacon
- 2 tbsp Maple syrup
- 3 tbsp Greek yoghurt
- A handful of blueberries (about 80g)
- A handful of pumpkin seeds
Method
- Take a medium sized bowl and put in the flour, baking powder, salt and sugar. Stir to combine. Make a well in the centre of the dry ingredients and add the milk and the egg. Whisk everything together to make a smooth batter.
- Put the knob of butter into a large pan over a medium heat and leave to melt. Pour the excess butter into the pancake batter and mix it in.
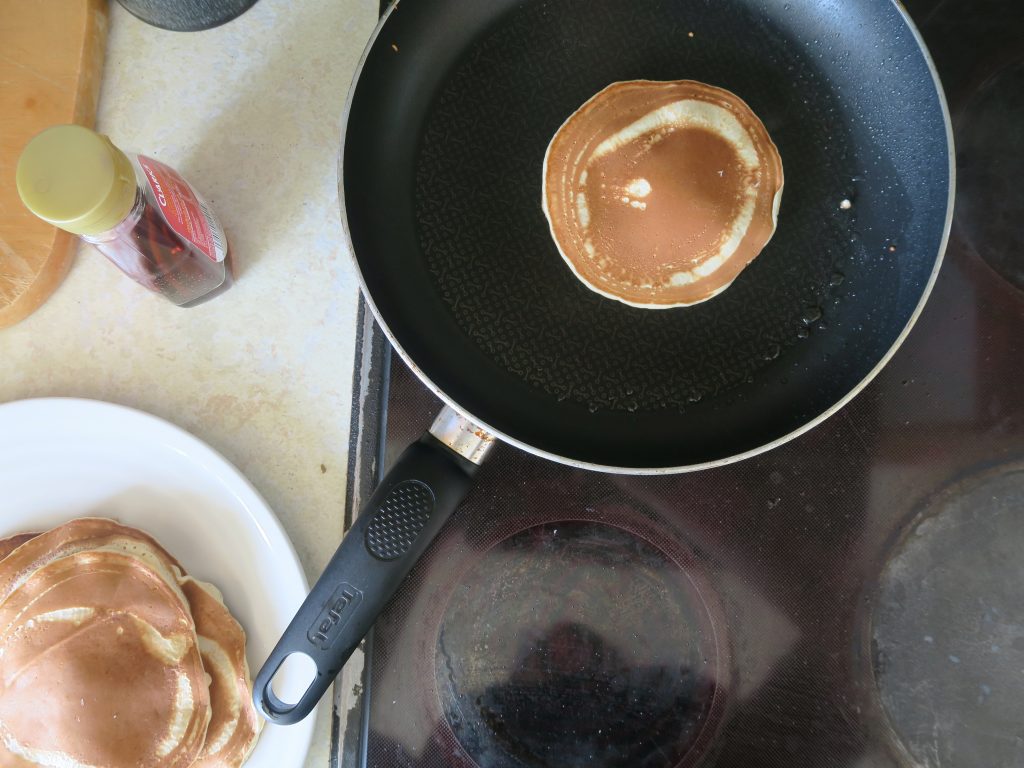
- Carefully pour blobs of the batter into circles in the greased pan and fry for 2-3 minutes on each side until cooked through and golden brown. Transfer to a plate the repeat with the rest of the batter.
- Meanwhile pre-heat a grill on full heat and grill the bacon for 3-4 minutes on each side until crispy. (You could also do this in a pan, but it depends on how much space you have and what equipment you’ve got to hand).
- To serve put 3 pancakes onto each plate and top with a couple of slices of bacon. Drizzle everything with maple, then top with a few dollops of yogurt and a generous scattering of berries and seeds. Serve!
Thanks for reading!
Emma x