Category: Quick

For the times when you need food and you need it fast.

Stuffed Potato Skins

Stuffed Potato Skins

For those of you who don’t know I’ve spent the last year on an art foundation course and somehow I now find myself in the run up to my final exhibition. Installing everything is an equal balance of fun and stress, but essentially it’s also taking up all of my time. So, as a result, my food for the next two weeks is going to be orientated towards the purely quick and tasty. The other day I made some gnocci and had some potato skins leftover, so I started thinking about quick and easy stuffed potato skins recipes. These ones are made with whole, normal potatoes, but you could also make them with sweet potatoes and/or without the potato flesh if you’re using leftovers from gnocchi.

These are the perfect pick-up comfort food and I’ve found that when it comes to comfort food it’s best to go all out. You can try to make these healthy if you want, but in my opinion just stuff them full of cheese, bacon and anything else tasty you can think of and they’ll be great.

Recipe

Serves 2

Time 30 minutes

Ingredients

  • 2 Large baking potatoes
  • 3 Rashers streaky Bacon
  • 50g Frozen peas
  • 25g Butter
  • Salt and pepper to season
  • 75g Cheddar cheese, grated
  • A handful of Parsley or Basil to garnish (optional)

Method

  1. Pre-heat the oven to 180˚C. Put the potatoes onto a plate and microwave for 10 minutes to soften them. Then put them on a baking tray and leave in the oven until cooked all the way through (about 45 minutes).
  2. Meanwhile prep the other elements. Put the bacon onto a grill pan and cook under the grill until crispy, turning over half way through cooking so they cook evenly.
  3. Now boil a pan of water on a high heat. Add the peas and leave to boil for 5 minutes until just cooked. Then drain and leave to one side.
  4. When the potatoes are ready take them out of the oven and halve them. Scoop out the insides and mash it with the back of the fork. Add the butter and continue to mash until smooth. Cut the bacon into pieces and mix it into the mash with the peas.
  5. Season the mix to taste and then spoon it back into the potato skins. Sprinkle with the grated cheese and then put back into the oven to bake until the cheese just melts.
  6. Sprinkle with parsley and serve!

Thanks for reading!

Emma x
Mixed Berry Clafoutis

Mixed Berry Clafoutis

When I was in Canada over the summer we were lucky enough to spend a day with a couple of my Mum’s friends at their lake-side house in depths of British Columbia. It was a stunning place – really hot, gorgeously sunny and beautifully peaceful.

Image may contain: sky, outdoor and nature

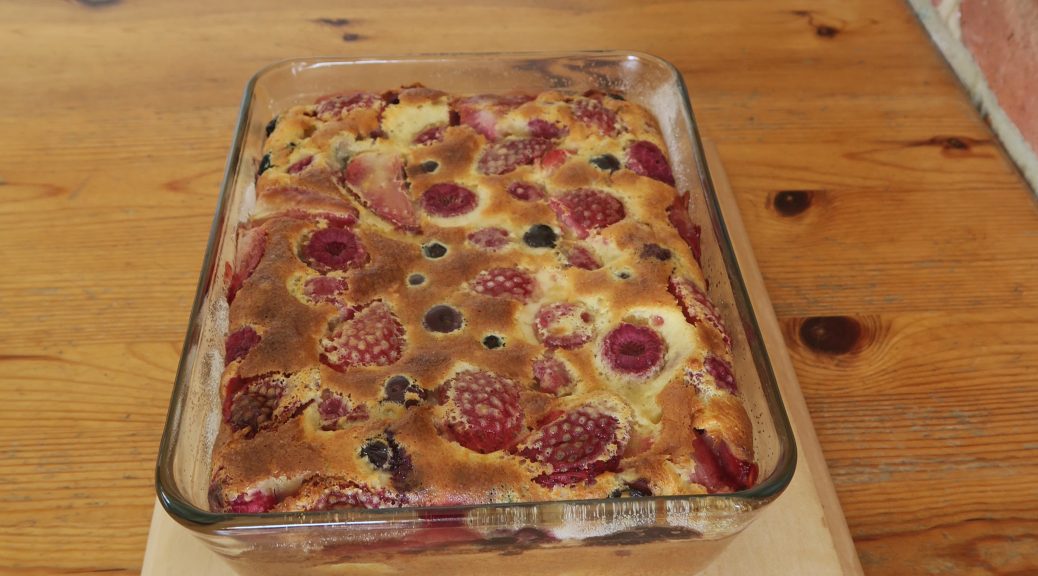
For dinner that evening we had a really good blueberry clafoutis for dessert. The end result was a really interesting texture, kinda unlike anything I’ve eaten before. It’s a cross between a set custard and a light sponge cake, so it’s creamy, sweet and fluffy all at the same time – but it somehow really works! I’d heard of clafoutis as a thing but I’d never eaten one, which is really odd as they’re so easy and quick to make! As the ingredients are very basic and are also really easy to substitute for, even in the depths of Canada, a boat ride away from the nearest town, something as tasty as this could be rustled up.

Here I’ve used fresh summer fruit as it’s that time of year when it tastes really good and is readily available, but you can use pretty much any fruit for this. It’s an especially good thing to whip up if you have any soft fruit that needs eating up (e.g plums, peaches, berries and so on). Just bung them in the dish, pour over the all-in-one batter mix and voila!

Recipe

Serves 6

Time: 10 minutes prep, 25-30 minutes cooking

Ingredients

  • 80g Plain flour
  • ½ tsp Baking powder
  • 100g Golden caster sugar, plus extra for sprinkling
  • 2 Large eggs
  • 2 Large egg yolks
  • 260ml Double cream
  • 1 tbsp Vanilla bean paste
  • Butter for greasing
  • A handful each of strawberries, blueberries and raspberries (or any other soft fruit you like)

Method

  1. Pre-heat the oven to 180˚C.
  2. Put the flour, baking powder, sugar, eggs, egg yolks, cream and vanilla into a bowl and whisk until fully combined.
  3. Take a medium sized oven-proof dish and grease it with a little butter. Then sprinkle over some sugar to line the dish.
  4. Hull and quarter the strawberries. Then scatter these strawberries, along with the blueberries and raspberries into the greased dish.
  5. Pour over the batter mix and then bake in the oven for 25-30 minutes, until golden brown and slightly puffed up.
  6. Serve slightly warm with icecream!

Thanks for reading!

Emma x

Tomato, Basil and Puy Lentil Salad

Tomato, Basil and Puy Lentil Salad

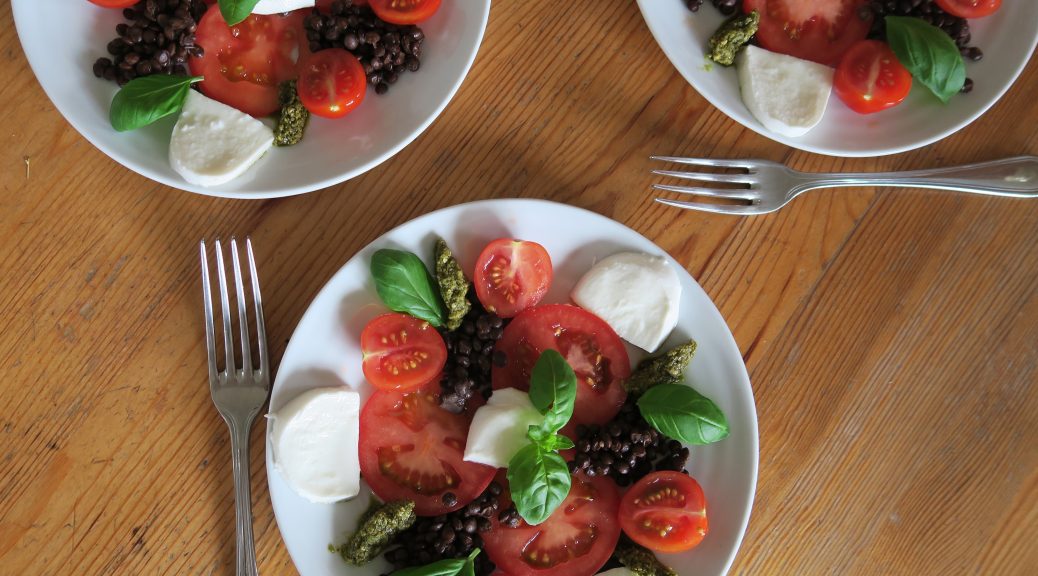
As promised here’s the starter dish I made for my friend Emma’s 18th Dinner Party the other day. Basil, tomato and mozerella is a match made in heaven, so it’s no wonder that when put on a plate all together it tastes insanely good! It’s also surprisingly simple and healthy for one of my dishes. With the puy lentils and mozerella there’s plenty of protein and all the tomatoes load up the plate with vitamins and fruity/vegetably goodness. These portions are fairly small as I was making them as a starter, but if you want to make this into a hearty meal you can just double all the quantities.

Recipe

Serves 4

Time: 10 minutes

Ingredients

  • 200g Puy Lentils
  • 8 Golden Cherry Tomatoes
  • 8 Cherry tomatoes
  • 2 Beef Tomatoes
  • 1 Ball of Mozzarella
  • 3 tsp Pesto
  • A few Basil leaves

Method

  1. Cook the puy lentils according to the packet instructions. Then spoon the puy lentils onto your plates.
  2. Slice the beef tomatoes into thin slices and then half the others and arrange them around the puy lentils.
  3. Tear the mozzarella into pieces and place on the plates.
  4. Spoon the pesto over the salad and finish with a drizzle of the pesto oil and garnish with the basil.

Thanks for reading!

Emma x

Baked Egg Pots

Baked Egg Pots

Now that it’s 2018 we’re into the new year and new years resolutions are flying all over the place. One that I’ve taken on along with thousands of others over the country is to eat more healthily. Whilst I can’t see this lasting long for the main reason that I write a bi-weekly food blog and I love patisserie, I thought a detox January would be a good way of exploring healthy food. So you can expect a month full of healthy (or healthy attempts) of recipes.

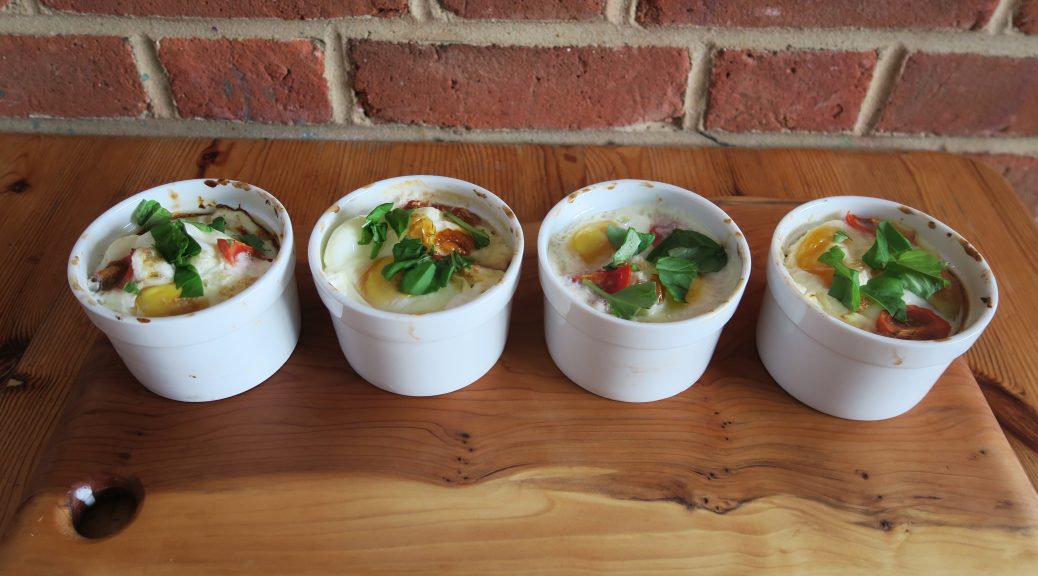
I first heard of baked eggs when I was on French exchange and loads of my friends were being served them by their host families. Since then I’ve wanted to give it a go and so now here we are! I instantly liked making these as I could just delve into my fridge and pull out the first things I could see which I thought would work well together. Whether you have some leftover roast chicken, or some about-to-go-off tomatoes, this is a great way of using it up. I’ve included three variations at the bottom of the post to get your imagination running as to how you could personalise your own baked egg pot.

As well as being really versatile in terms of ingredients, they also have loads of uses. As they’re so quick to make they’re a great little warm snack for a cold day, or you could serve them as simple starters at a dinner party. This is especially useful as they take very little preparation and can be easily altered to suit different dietary requirements! Alternatively you could do what I do and make one for lunch and serve it with a side salad to get a healthy, high-protein meal.

Recipe

Serves 4

Time: 10 minutes prep, 15 minutes to cook

Ingredients

  • 3 Plum tomatoes
  • 1 Small pepper (I went for yellow)
  • 12 tsp Light Cream cheese
  • 8 Large eggs
  • 2 Cherry tomatoes
  • Pinch of salt and pepper
  • Basil to garnish

Method

  1. Pre-heat the oven to 180C.
  2. Chop the plum tomatoes into chunks and put them into the bottoms of 4 ramekins.
  3. Chop the pepper up into chunks and again distribute them between the ramekins.
  4. Take a teaspoon and put three little blobs of cream cheese into each pot.
  5. Crack two eggs into each pot – you don’t need to whisk them up or anything, just pop them straight in.
  6. Chop the cherry tomatoes into quarters and put two quarters into each pot.
  7. Season with salt and pepper (a very important step so do not miss!)
  8. Bake in the oven for 15-20 minutes, the time will vary depending on how you like your eggs cooked.
  9.  Take out of the oven and garnish with fresh basil. Eat with bread and/or a side salad!

Variations-

Smoked salmon – Take out the plum tomatoes and instead add 1 handful of wilted spinach to each pot. Then put some smoked salmon in with the cream cheese before you put on the eggs. Serve with sour cream and chives!

Bacon and Cheese – If you’re not bothered about the whole healthy eating thing you can use full fat cream cheese, or even go two steps further and add bacon and cheddar cheese to make them really indulgent.

Chicken and Sweetcorn – Take some leftover roast chicken, or chopped up cooked chicken breast, and 4 tbsp cooked sweetcorn and divvy it up between the pots with the cream cheese, eggs and seasoning.

Thanks for reading!

Emma x

Kladdkaka (Sticky Chocolate Cake)

Kladdkaka (Sticky Chocolate Cake)

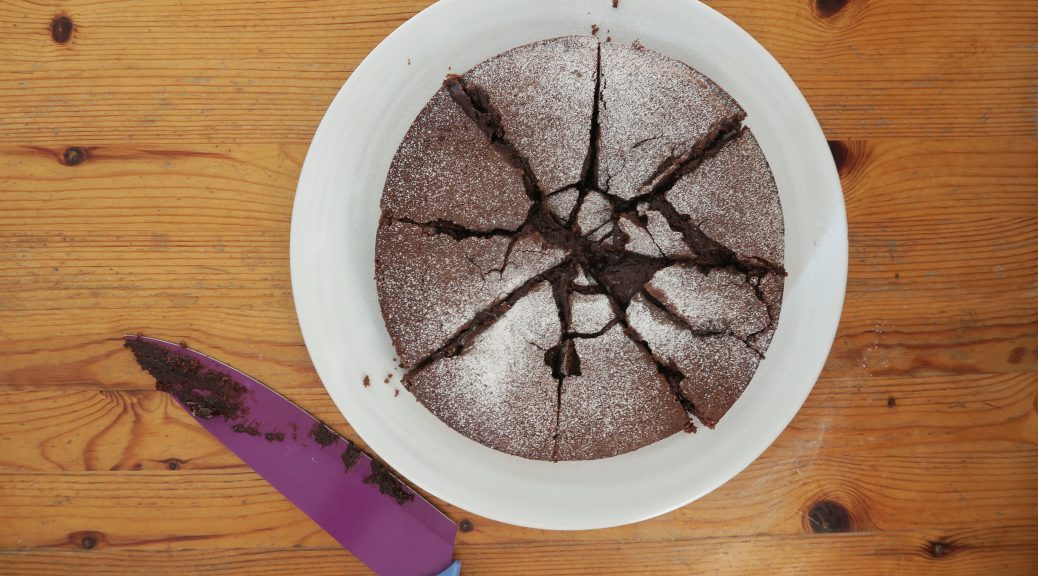
This is a Swedish cake which, from what I’ve read, is probably the most popular cake in the country. It looks like a normal chocolate cake, but somehow it turns out really gooey and light – almost like a softer, but just as sticky version of a brownie. I’m not sure how it works out like this, but it does. It’s also insanely easy and quick to make. Just put all the ingredients together, whop it in a tin, bake and boom!

This cake is in cafes all over Sweden, but as it’s pretty plain in appearance and as it’s deliberately underbaked it can make it come out pretty fragile, so I’d  recommend serving it as a dessert, rather than as an afternoon tea cake. When I first made this I hadn’t planned to make it, I’d just had the recipe for a while, realised I had all the ingredients and decided to give it a go.  As it’s so quick to make, and doesn’t require any unusual ingredients you could make this as a last minute dessert to finish a dinner party – and it’ll probably be quicker to make than a trip to the shops to buy a dessert (it’s really that quick). I’ve found that it tastes best when it’s warm from the oven and served with vanilla icecream.

Recipe

Serves 8

Time 30 minutes

Ingredients

  • 100g Unsalted butter, plus extra for greasing
  • 2 Medium eggs
  • 210g Light brown sugar
  • 1 tsp Vanilla bean paste
  • 150g Plain flour
  • 3 tbsp Cocoa powder

Method

  1. Preheat the oven to 180˚C. Grease and line a 20cm loose-bottomed cake tin with butter and baking paper.
  2. Put the butter into a small pan and melt gently. Leave to one side to cool.
  3. Put the eggs, sugar and vanilla into a bowl and whisk with electric beaters until light and fluffy (about 3 minutes).
  4. Sift the flour and cocoa into the mix and fold together with a large spatula or metal spoon. Pour in the butter and then fold together until smooth.
  5. Pour the mixture into the lined tin and bake for about 15 minutes. It’s ready to come out when a light crust has formed on the top, and there it’s still slightly undercooked in the middle (you want it to be underbaked so take it out about 5 minutes before you would a normal cake).
  6. If eating later, leave the cake to cool in the tin and then turn out onto a plate. If eating immediately, turn out and serve with berries and icecream!

Thanks for reading!

Emma x