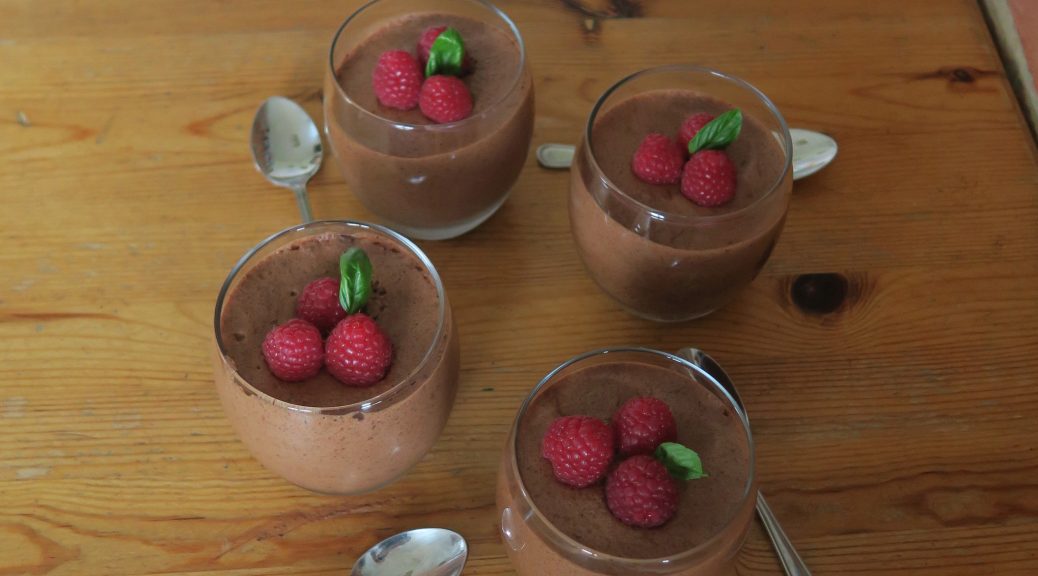
Vegan Chocolate Mousse
Is there anything you can’t do with chickpeas? I mean honestly. They make hummus, they’re perfect in currys, and it just so turns out that the juice they come in is also a godsend for vegan baking. Aquafaba, the cloudy water you find in a can of chickpeas, somehow has the ability to be whipped up into a meringue-like substance and therefore can be used to make meringues, macaroons and gorgeous mousses like this.
In complete honesty this doesn’t taste exactly like a normal chocolate mousse. Generally the texture of a normal chocolate mousse is thick and creamy, almost heavy, where as this is as light as a cloud and has the slight watery texture that I guess a cloud would also have. That said, they taste super rich and indulgent, and considering they are made from chickpea water they have an incredible soft, airiness to them! If you haven’t discovered aquafaba for yourself yet then next time you open up a can of chickpeas I beg you to save the water and not pour it down the sink – instead use it to make some of these!
Recipe
Serves 4
Time: 30 minutes
Ingredients
- 140g Dark chocolate
- 2 tbsp Soya milk
- 240ml Aquafaba (from a 400g can of chickpeas)
- 1 tsp Lemon juice
- 20g Caster sugar
- Berries to garnish
Method
- Put the chocolate and milk into a bowl over a pan of gently simmering water. Mix and then leave to cool a little.
- Open your 400g can of chickpeas and drain the liquid into a super clean large bowl.
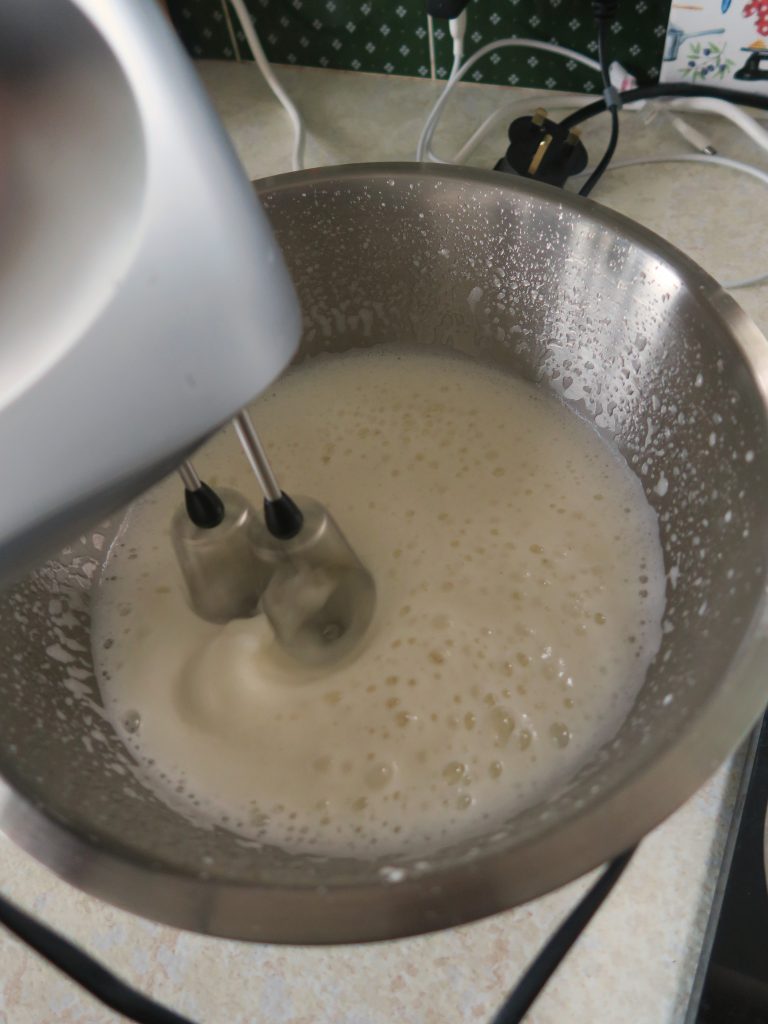
- Add the lemon juice to the aquafaba and whisk until stiff peaks form. It can’t be overwhipped so persevere and whisk until the mixture doesn’t slide around the bowl at all.
- Slowly add the sugar and whisk in until incorporated.
- Check the chocolate has cooled down a little and then fold it into the aquafaba.
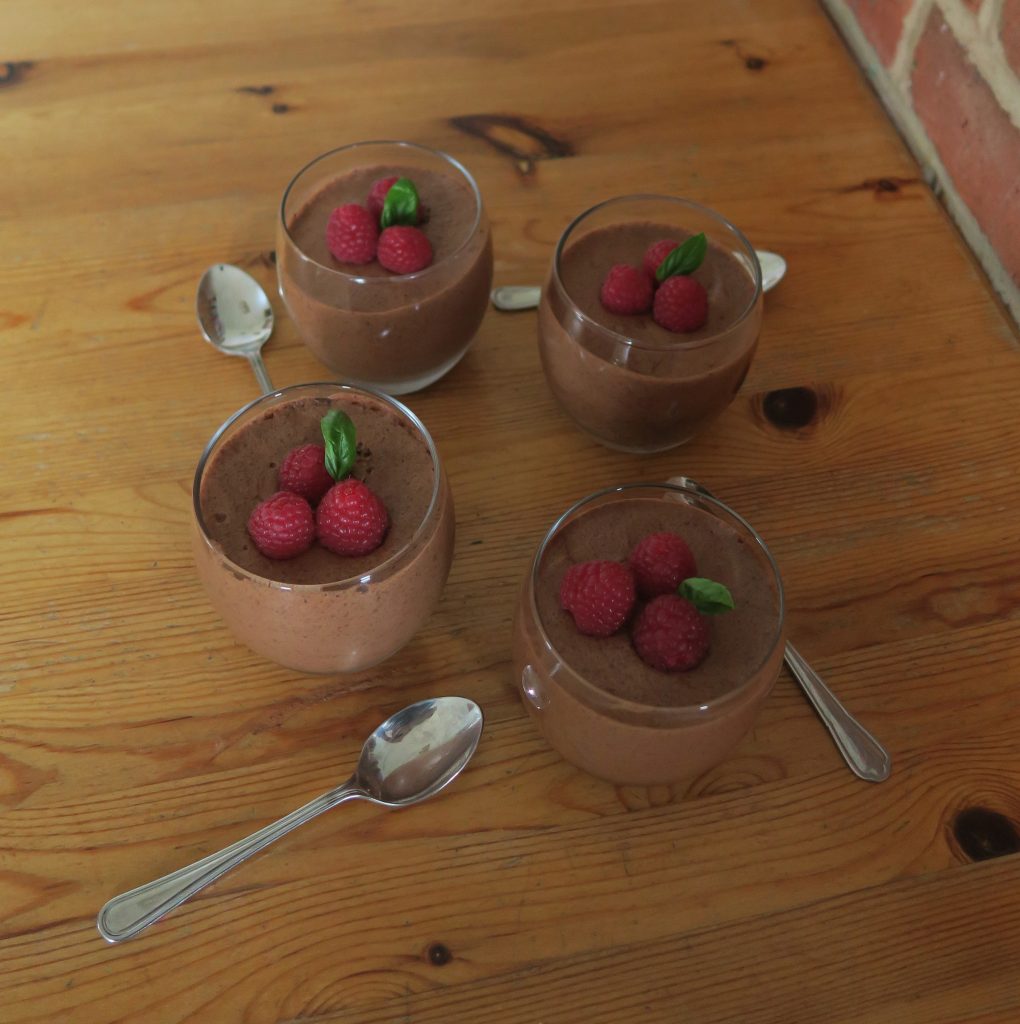
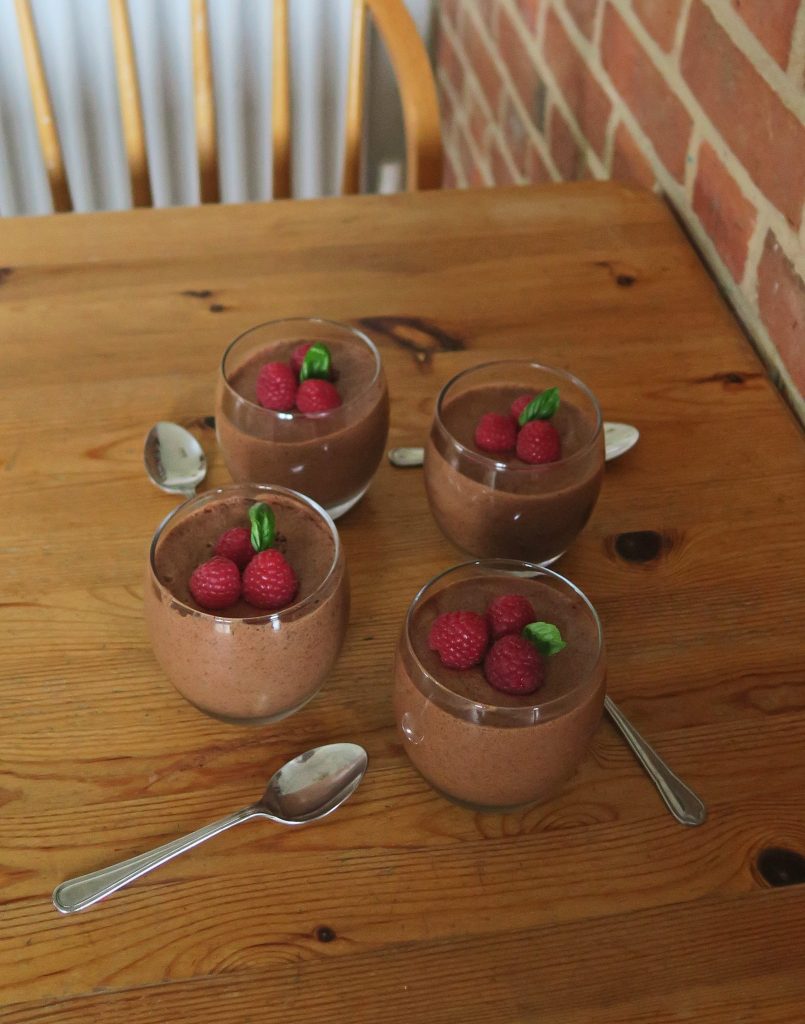
- Divide the mousse between 4 glasses and then put in the fridge to chill for about 3 hours. Enjoy!
Thanks for reading!
Emma x