Category: Easy

For the times when you want something super simple to make.

Roast Pumpkin Soup

Roast Pumpkin Soup

Halloween’s coming up and that means it’s pumpkin time! In the world of carved pumpkins, the inner flesh is useless, but there’s no reason to discard all this delicious vegetable. So here’s something you can do with the leftover pumpkin sitting on your kitchen counter. Warming, smooth and healthy – this is a really quick and tasty lunch. Soup is also really good for freezing – so if you have more pumpkin soup than you can deal with in one go, pop it into a pot and bung it in the freezer until you fancy some more.

Here I’ve suggested roasting the pumpkin first as this will make it soft enough to get out of the skins, but if you’re using flesh from a carved pumpkin – meaning that it’s already out of the skin, you can use it just like that. This also works really well with butternut squash, so if you’re not a pumpkin family you can give that a go instead. My Mum’s really into gardening, and at the moment we have several squash plants taking over the garden, so soup is a great way of turning all this luscious veg into a meal that can be stored away and saved for a later day.

Recipe

Serves 4

Time: 45 minutes

Ingredients

  • 1 tbsp Vegetable oil
  • 1 Small red onion, roughly chopped
  • 1 Small white onion, roughly chopped
  • 2 Small pumpkins (about 1.5kg)
  • 1 Large carrot, peeled
  • 2 Medium baking potatoes, peeled
  • 2 Chicken stock cubes dissolved in 4 cups of boiling water
  • Salt and pepper to season
  • 125ml Single cream
  • 4 Rashers streaky bacon
  • 1/2 tsp dried chilli flakes
  • Fresh basil to serve

Method

  1. Pre-heat the oven to 180˚C. Halve the pumpkins and remove the seeds from the middle with a spoon. Drizzle with oil and then wrap each half in tin foil. Put them into roasting tins and then roast in the oven for 15-20 minutes, until softened. Set aside to cool.
  2. Meanwhile, put the oil into a large saucepan and add the chopped onion. Cook over a medium heat until the onions have begun to caramelise.
  3. Chop carrot and potatoes into chunks. Scoop the flesh out of the cooled, roasted pumpkins and add this, the chopped potatoes, and the chopped carrot to the onion. Pour in the chicken stock and bring to the boil. Leave to simmer for 15-20 minutes until the vegetables are tender.
  4. Meanwhile heat a grill. Put the bacon on a grill pan and heat under the grill for 5-10 minutes, turning over a few times, until crispy all over. Take out from under the grill and set aside for later.
  5. Puree the vegetables once ready with a hand blender, add the chilli flakes and season to taste with the salt and pepper.
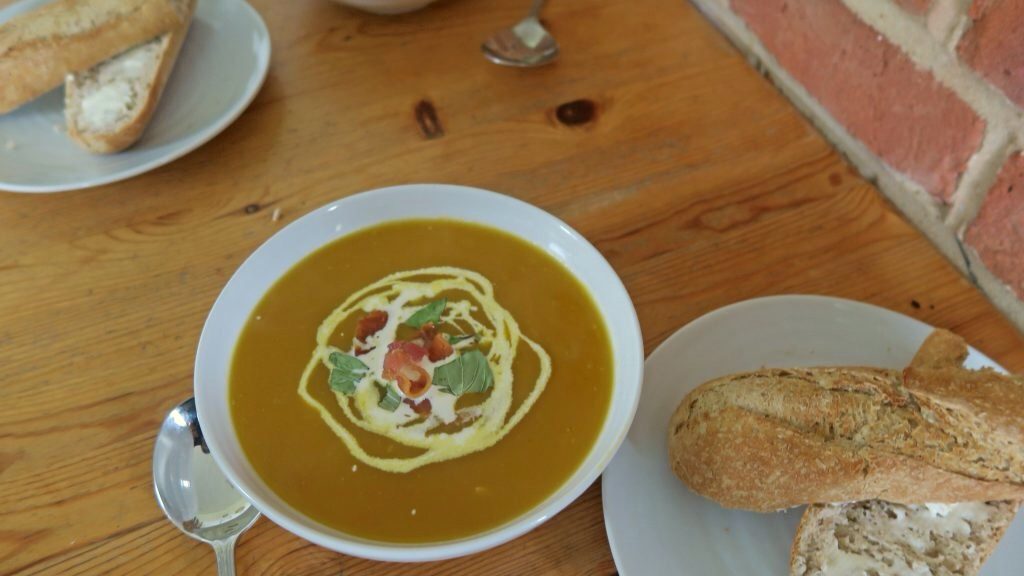
  6. Pour in half the cream and stir to mix. Pour the soup into bowls and drizzle with the rest of the cream. Chop the bacon into strips with scissors and sprinkle over the soup. Garnish with fresh basil and serve with buttered bread.

Thanks for reading!

Emma x
Easy Sausage and Mushroom Pasta

Easy Sausage and Mushroom Pasta

I’m waiting another year before heading off to Uni, but with most of my friends flying the nest I thought it was about time that I made a comforting, easy main course for all the first years out there. This one is simple to make, won’t break the bank and is really tasty, which I think is the basic criteria for most student cooking. Plus it’s relatively healthy, so you can be confident that this one will override weeks of Pizza and beer, and pump some nutrients into your body.

It may not be the most pretty dish in the world, but it’s a really good one to make when you’re tired, busy,  hungover or all three at once. If you want make it even healthier you can add fresh tomatoes, peppers or any other veg that takes your fancy, but I’ve stuck with what we’ve got here to keep it simple. The quantities for this serves two, so it’s kind of obvious, but if you’re only cooking for one you can either half the quantities, or put the rest in the fridge for a later date.

I’m going to leave the writing there for this one, as a simple recipe only needs a simple intro!

Recipe

Serves 2

Time: 20 minutes

Ingredients

  • 4 Sausages
  • 100g Pasta
  • 1 White onion
  • 1 Garlic clove
  • 1 tbsp Sunflower oil
  • 75g Mushrooms
  • 200g Chopped tomatoes (can or carton)
  • 100g Cheddar cheese (optional)
  • Fresh basil to serve (optional)

Method

  1. Pre-heat a grill on full heat. Put the sausages onto a grill pan and pierce slightly with a knife so that the skin is punctured. Put under the grill and leave to cook. Once they’ve browned on one side turn them over so that they cook evenly. This should take 5-10 minutes. (If you don’t have a grill, put 1tsp vegetable oil into a pan and gently fry the sausages until cooked).
  2. Fill a pan with water and bring to the boil. When boiling add the pasta, stir once to break the pasta up and then leave to boil according to packet instructions.
  3. Meanwhile, take the onion and garlic, remove the skins and then finely chop.
  4. Put the oil into a large pan and heat gently. Add the chopped onion and garlic and cook until just beginning to caramelise.
  5. Add the mushrooms and continue to fry until they begin to soften and the onions are caramelised. Pour in the chopped tomatoes and leave on a gentle simmer.
  6. Once the sausages are done (they won’t be pink in the middle anymore), remove them from the grill pan (or frying pan) and slice each one into four.
  7. Once the pasta is done, sieve to remove the water and then add the drained pasta to the tomato mixture.
  8. Add the chopped sausages and stir to combine. Season with salt and pepper to taste.
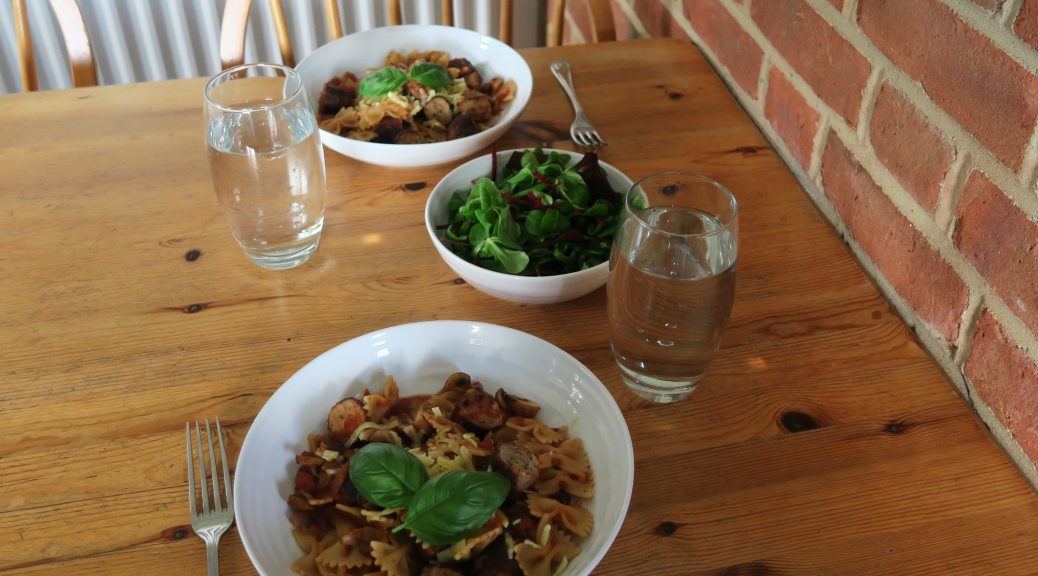
  9. Spoon into bowls, grate some cheese over and serve with fresh basil. Enjoy!

Thanks for reading! Look out for my next post on Wednesday – it’s going to be some good old comfort food.

Emma x

Chocolate Tiffin

Chocolate Tiffin

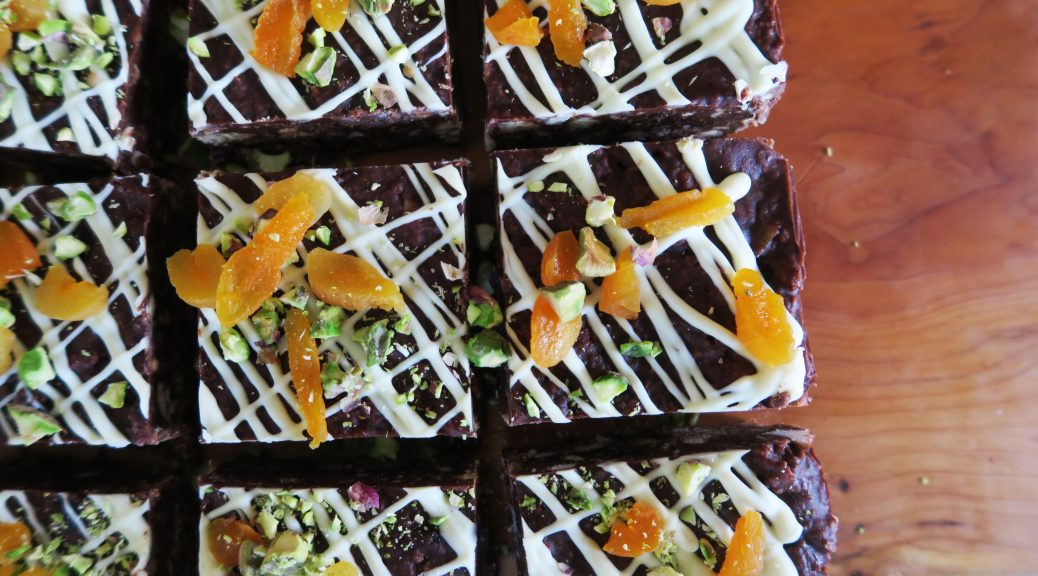
It’s tiffin time! This little treat is a favourite in my family and is also my Dad’s speciality. Whenever we see piles of chocolate and digestive biscuits in the kitchen, we know a tray of this is on the way. What essentially amounts to a collection of digestives, nuts, dried fruit all encased in a chocolate block is surprisingly tasty, and whilst it’s not great for anyone on a diet, it’s perfect as an any-time treat.

As this is fundamentally a tray bake, it also works really well for cake sales and sharing, as it’s easily transportable and can be cut into as many pieces as you want. This is also really easy and quick to make, so even if you’re not a whizz in the kitchen you can give this one a go. It’s also a great one to make with kids as it’s hands on but not too complicated.

Whilst I’d recommend sticking to the quantities of chocolate, syrup and butter in the main mixture (as this gives the ideal soft set mixture you want in tiffin), you can from there customise these however you want. I’ve included a list of variations you can try at the end of this post, but you can go as crazy with additions as you want.

Recipe

Makes 12 squares

Time: 30 minutes, with extra time for chilling

Ingredients

  • 250g Digestive biscuits
  • 150g Milk chocolate
  • 150g Dark chocolate
  • 100g Unsalted butter
  • 150g Golden syrup
  • 50g Pistachios, chopped roughly
  • 100g Dried apricots
  • 75g Dates, chopped
  • 50g Raisins
  • 50g Pecans, chopped roughly
  • 50g White chocolate to decorate

Method

  1. Put the biscuits into a large bowl and crush by smashing them with the end of a rolling pin.
  2. Put the two chocolates, butter and golden syrup into a large heatproof bowl and melt slowly over a pan of simmering water. Stir to combine.
  3. Whilst waiting for the chocolate mixture to melt, line a square tin with cling film. If you’re having trouble with this, lightly greasing the tin with butter can help as the cling film will stick to it.
  4. Remove the chocolate mixture from the heat and stir in the biscuits, dried fruit and nuts until it’s all coated in the chocolate.
  5. Spoon the mixture into the lined tin and smooth out with the back of a spoon until all the same thickness.
  6. Put the tin into the fridge to set for at least 1 hour, until hard enough to slice.
  7. Melt the white chocolate in a heatproof bowl over a pan of simmering water. Drizzle the chocolate over the tiffin, top with any more fruit and nuts you want, and then leave to set.
  8. Take the tiffin out of the tin, remove the cling film and slice into 12 pieces.

Variations

As I said above, this recipe is really yours to change and make your own. I’ve given 5 other variations which are also great to try. All these run on the basis that you use the same amount of chocolate, butter and syrup as above and then add to the melted mixture the following ingredients…

  1. Cranberry and Pistachio – 250g crushed digestive biscuits, 75g dried cranberries, 100g raisins, 100g chopped pistachios, 150g white chocolate Maltesers.
  2. Black Forest – 250g crushed dark chocolate digestives, 100g dried cherries, 50g glace cherries, 75g quartered mini chocolate brownies.
  3. Cookies and Cream – 250g crushed Oreos instead of digestives.
  4. Chocolate Heaven – 250g crushed chocolate digestives, any chocolates or sweets you like chopped into bite size pieces (e.g Twirls, Maltesers, Crunchies, Double Deckers, KitKats, Popping candy, Jelly babies, Smarties…).
  5. Rocky Road – 250g digestive biscuits, 100g mini marshmallows, 75g raisins.

Thanks for reading! If you haven’t already, check out my Instagram and Facebook to stay updated (links on the side bar). New post coming out on Wednesday…

Emma x