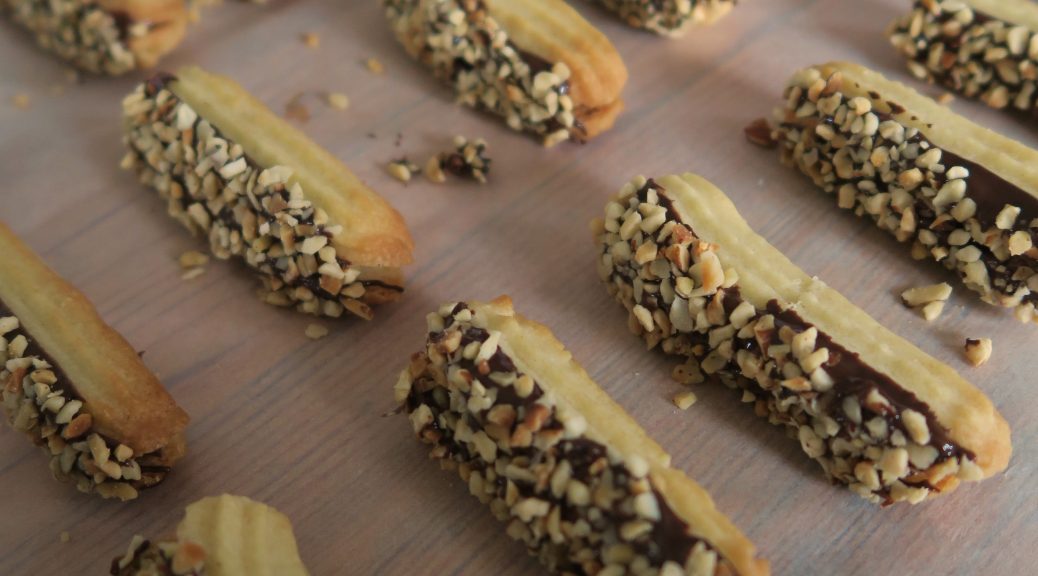
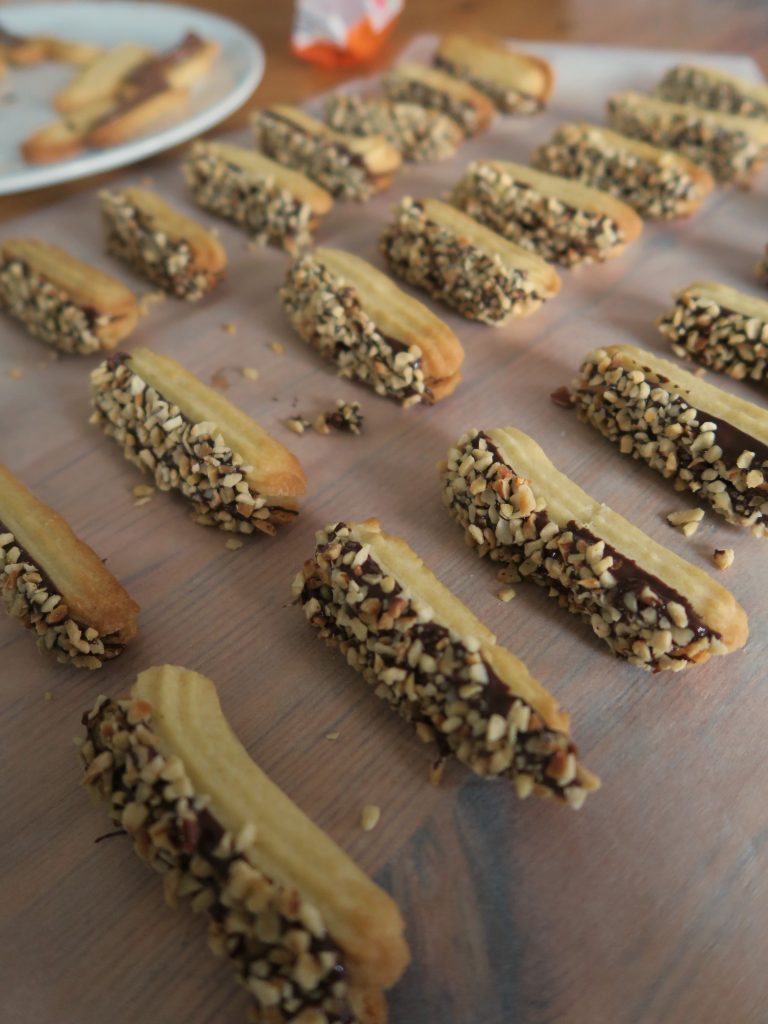
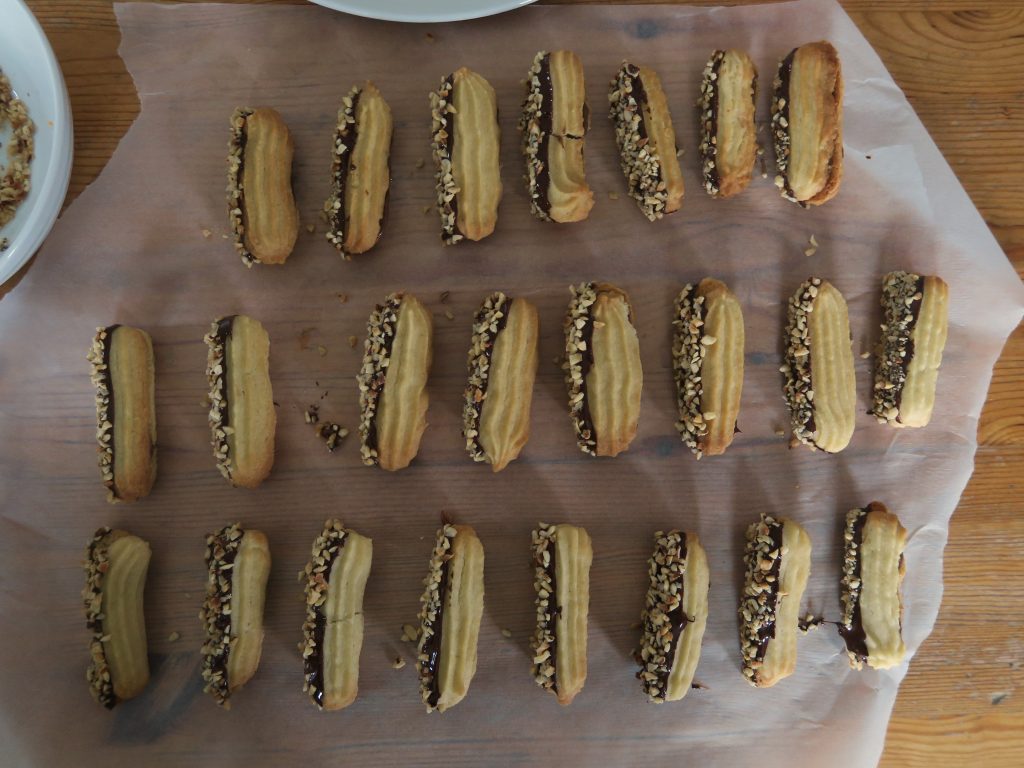
Hazelnut Biscotti with a Chocolate Ganache and an Orange Curd
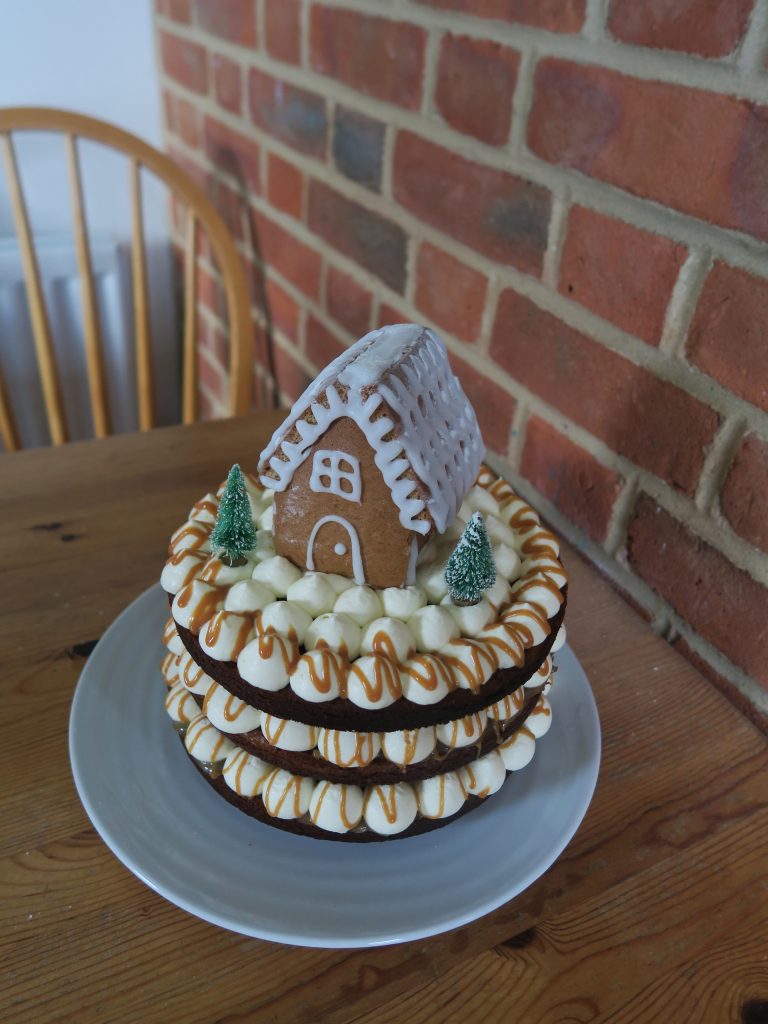
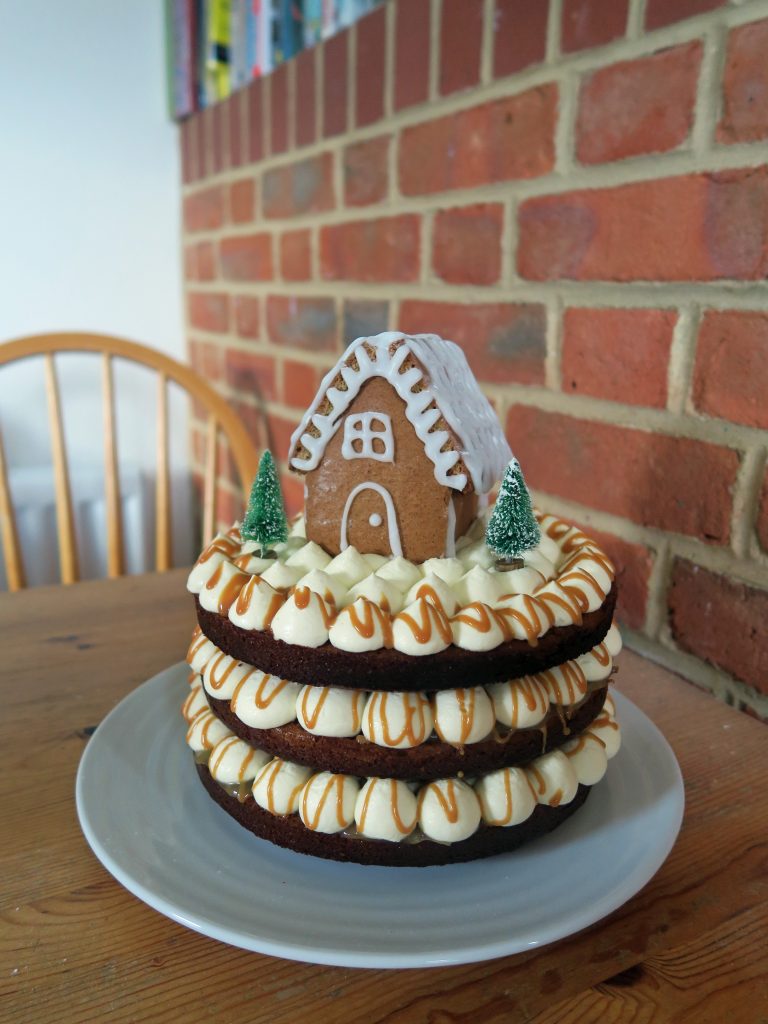
Happy Christmas for yesterday folks! I hope that where ever you are you had a lovely day and that you found some Christmas cheer. With all the festivities going on we can sometimes forget that this can be a very hard time of year for some people, especially those coping those with the loss of a loved one or a mental illness, so if you’re finding the season a little emotional warms hugs and best wishes are being sent your way – it will get better with time! x
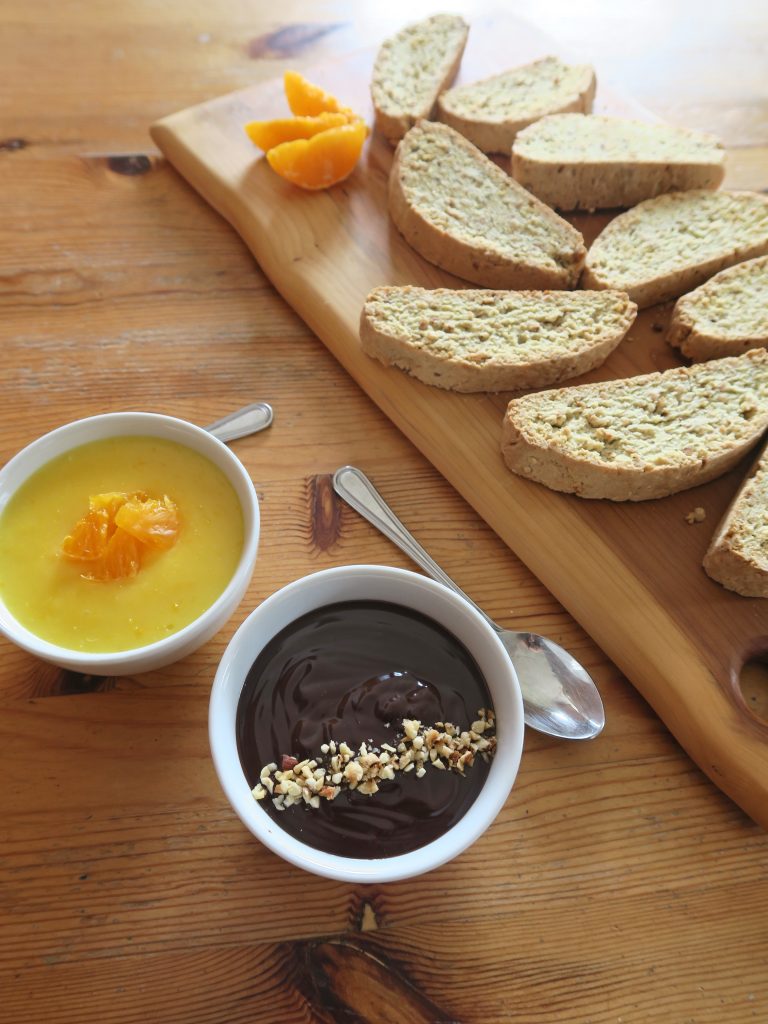
From one celebration to another – New Years Eve! At the moment I have this little obsession with buying foreign food magazines when I’m abroad. The different cuisines are so interesting and although most of the time they’re in a different language, meaning I can’t read the writing, I love looking at the pictures and tying to work backwards to what the recipe might be. A few years ago I came across a page in an Italian magazine with two turquoise bowls, one filled with a thick brown ganache and another filled with a glossy orange curd looking substance. I immediately thought of these as being dipping accompaniments to some nutty biscuits, so a few years later here we are!
With the festive season drawing to a close all eyes now look forward to New Years eve, and these are perfect canape type thing for a party or gathering on the night! The biscotti can easily be picked up, dipped and eaten like sweet nachos in guacamole. Whilst it might seem like extra effort to make dipping sauces for biscuits, with these ones I’d seriously recommend you make the effort. Biscotti are crisp Italian biscuits which are twice baked and therefore without the sauces they can be a little too dry to be really enjoyable. However if the thought of new years mahem sends you into a spin you could serve these with some nutella, thinned out with a little double cream and some shop bought preserve or curd instead!

Recipe
Makes 20 biscuits
Time: 90 minutes
Ingredients
For the Biscotti
- 2 Medium eggs
- 100g Caster sugar
- 250g Plain flour
- ½ tsp Bicarbonate of soda
- 100g Chopped hazelnuts, plus extra to serve
For the Orange curd
- 40g Cornflour
- 3 Large Oranges
- 1 Lemon
- 300ml Water
- 3 Medium egg yolks
- 85g Caster sugar
- 50g Butter
For the Ganache
- 150g Double cream
- 130g Dark chocolate
Method
- Pre-heat the oven to 180˚C and line two baking trays with baking paper.
- Put the eggs into a bowl with some sugar and whisk together until pale a fluffy. Add the flour, bicarb, orange zest and hazelnuts and mix these into the egg mixture until a soft dough forms.
- Tip the dough out onto a lightly floured surface and shape it into 20cm long sausage (and as wide as you want the length your biscuits to be, I went for about 5 cm). Place the block onto a baking tray and then flatten it slightly. Bake the biscotti block in the oven for 25-30 minutes until starting to brown and go slightly crisp on the outside.
- Take the block out of the oven and lower the oven temperature to 160˚C. Leave the biscuit to cool completely.
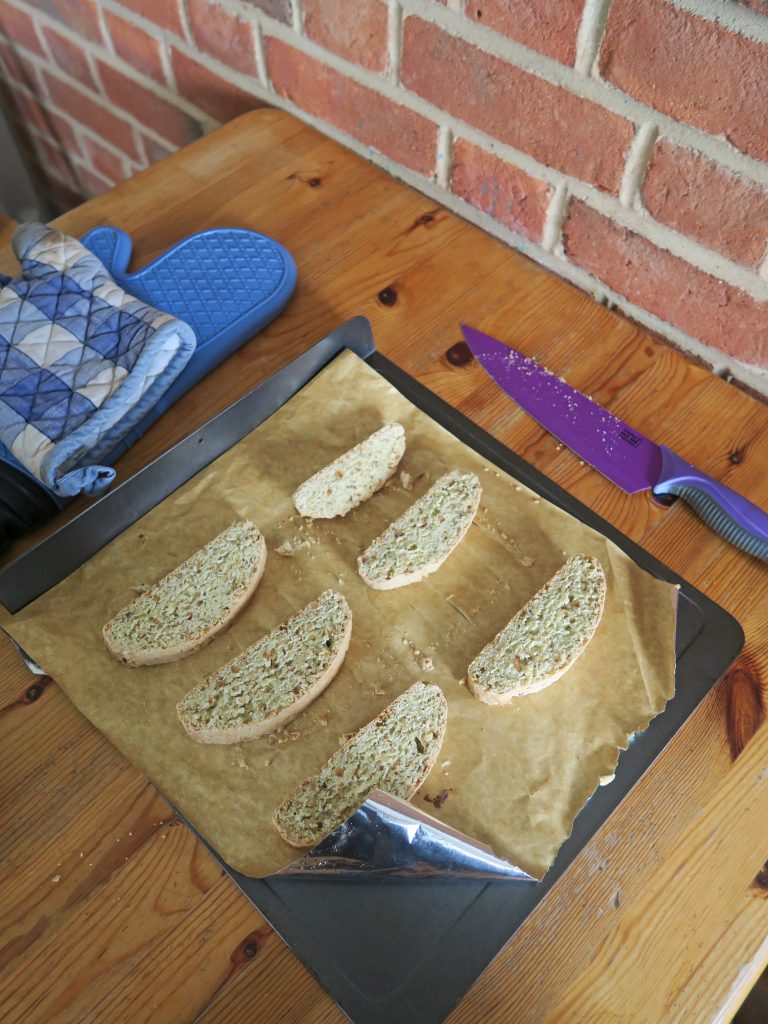
- Place the biscuit block on a chopping board and slice it into 1cm wide biscuits.
- Lay these biscuits flat on a baking tray and then bake for a further 10-15 minutes to crisp up. Leave to cool on a wire rack and then move onto the orange curd.
- Put the cornflour, orange juice and zest, and the lemon juice and zest into a bowl and whisk to combine.
- Next pour the water into a large pan and bring to the boil. Pour the hot water onto the citrus mix, whisking constantly, until combined.
- Pour the orange mixture back into the pan and heat gently whilst stirring until the curd has thickened up. Take the pan off the heat and add the egg yolks, sugar and butter. Mix together with a whisk until the butter and sugar have dissolved. Then pour the curd into a jug and set aside for later.
- Now make the ganache. Chop the chocolate up finely and put it into a bowl. Then pour the cream into a pan and bring to the boil. Take the cream off the heat and pour over the chocolate, stirring continuously until the chocolate has melted and a thick ganache has started to form. Transfer the ganache to a bowl for later.
- When everything is ready serve the biscotti with the curd and ganache in little pots to dip into, and lots of coffee! Any leftover curd or ganache will keep in an airtight container for 2-3 days.

Thanks for reading!
Emma x