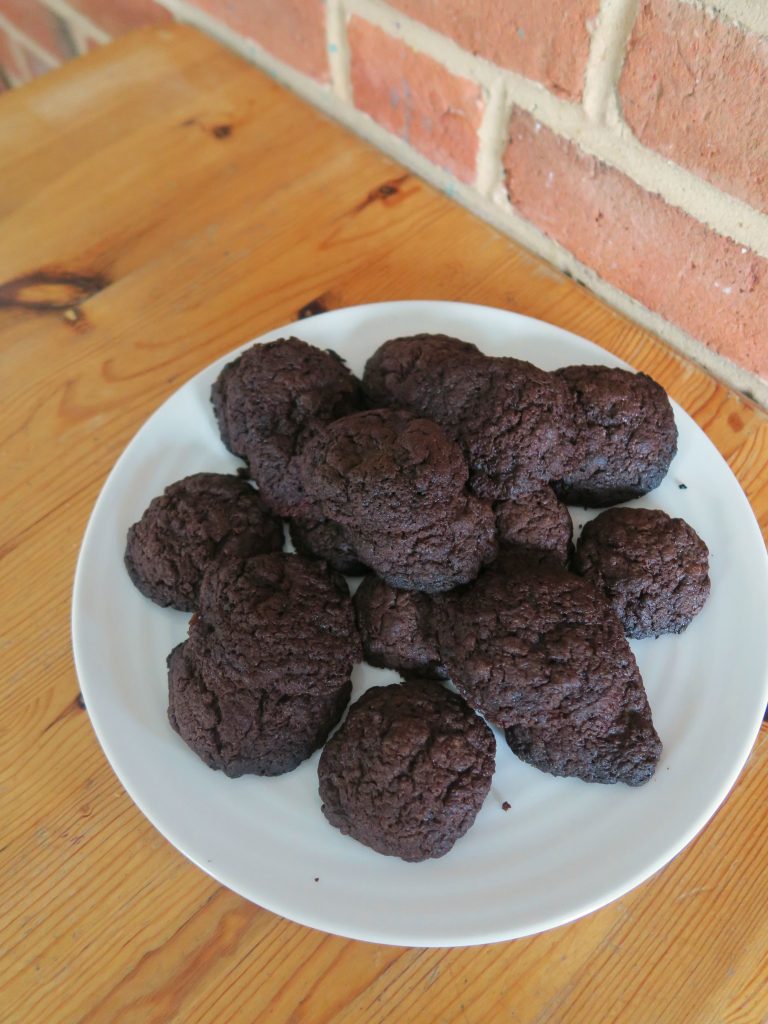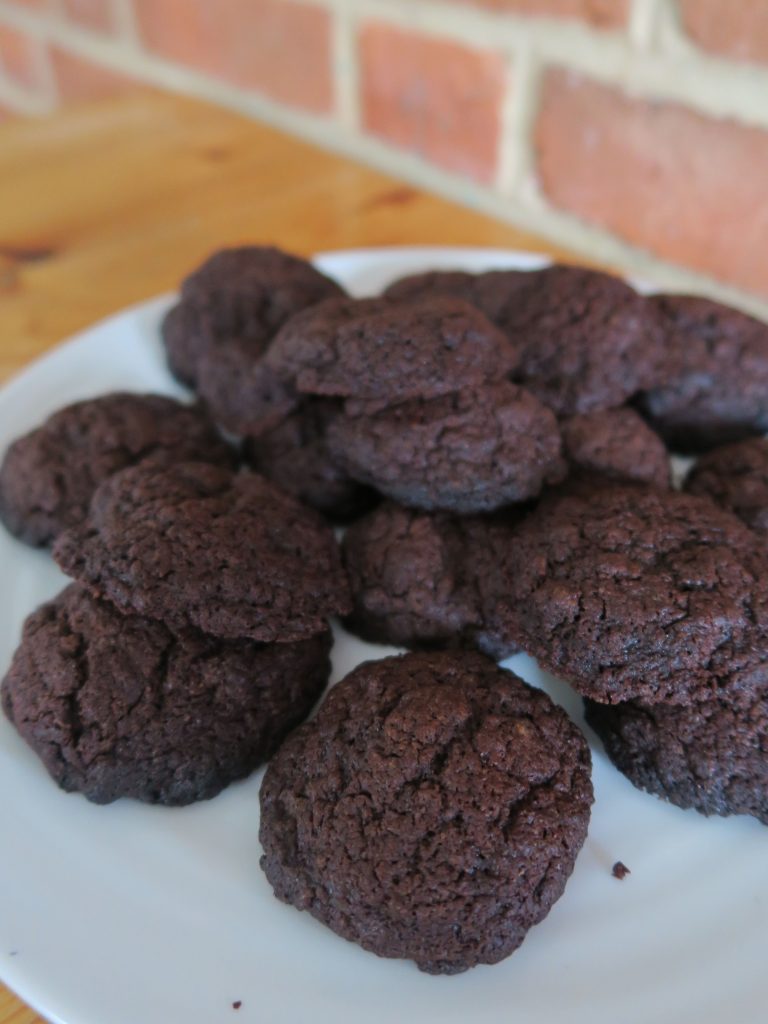
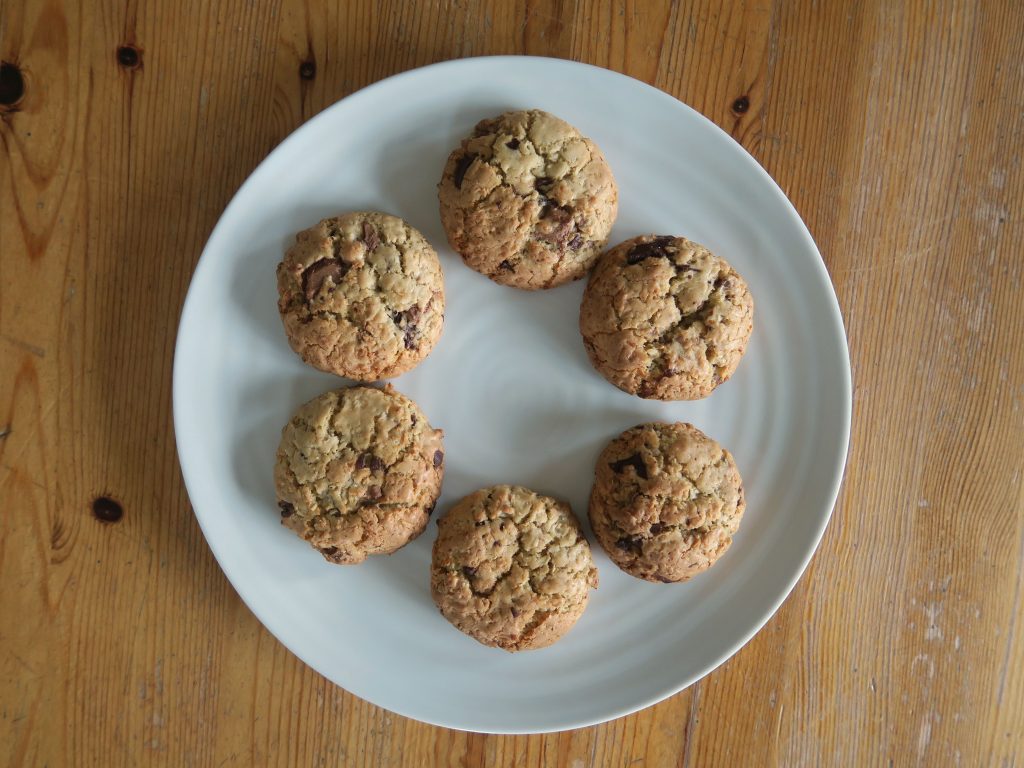
Dark Chocolate and Coconut Cookies
I’ve been thinking a lot about mental health support recently. It’s always there in my mind but over the past week or so it’s been playing on my mind a bit more. Primarily how do we make support for those with mental illness better? We are lucky enough to have great support in the UK through charity groups and in my case university counselling systems, but it’s still no where near enough for the growing numbers of people needing these services. I’m trying to write an article at the moment for an Oxford newspaper about mental health support in the university and during my research I found that around 12% of the university’s undergraduates tend to use the counselling service every year – and that’s just the people who have the courage to seek help. If that’s the number of people in the system how many are suffering across the entire community?
Unfortunately there’s little large-scale difference a single person can make on ground level. We can do our best to help by starting conversations, breaking down taboos, and raising money for the great organisations that are trying to help. But we can’t reduce NHS waiting times or the way in which help is given by these systems. I grant you that this isn’t much of a positive conclusion. I’d prefer to leave you on a grand call to arms ‘this is how we will go forward’ moment, but alas I think the most I can say for now is look after each other. Talk to each other, have real conversations about real things, not just flippant ones about food or reality tv (although they’re great to!). Bake with friends, eat with friends, take some time for yourself. Find what you enjoy and do that. You don’t have time to be doing anything else.
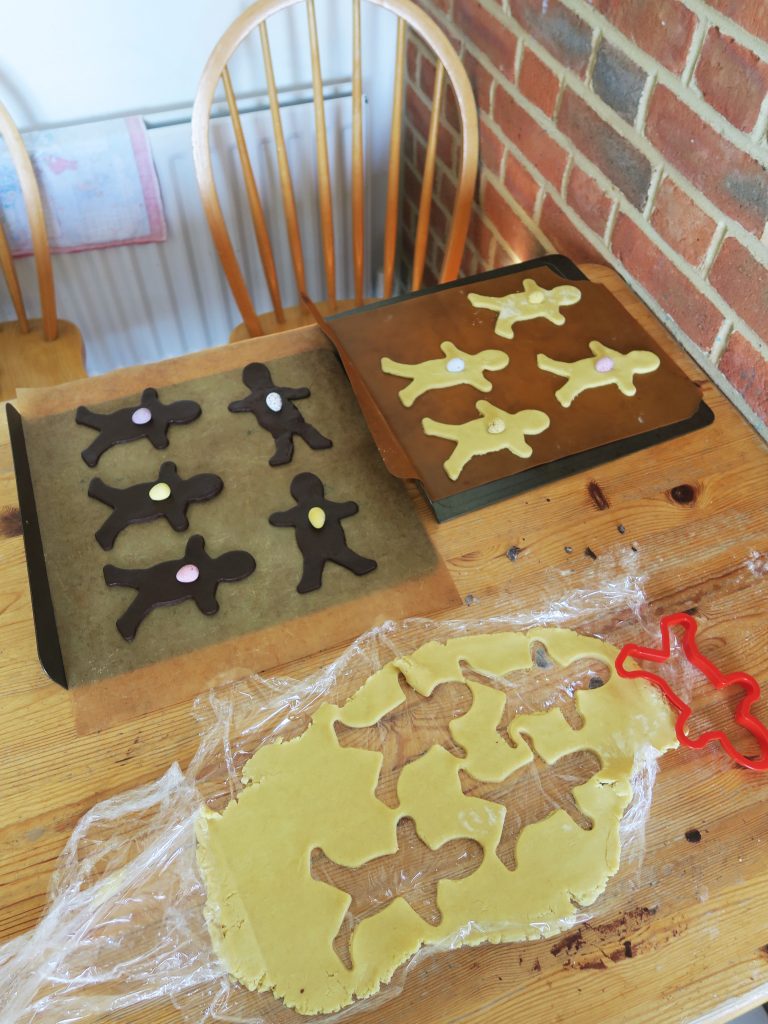
(On a side note, today I felt like writing about something more poignant than cookies, but nonetheless these are super super moreish and really easy to make so I’d really recommend them for group baking and sharing!)
Recipe
Makes 18
Time: 30 minutes
Ingredients
- 250g Plain flour
- 1 tsp Baking powder
- ½ tsp Baking soda
- 2 tsp Cornflour
- ¼ tsp Salt
- 115g Melted butter
- 150g Brown sugar
- 50g Caster sugar
- 1 Large egg
- 2 tsp Vanilla extract
- 120g Desiccated coconut
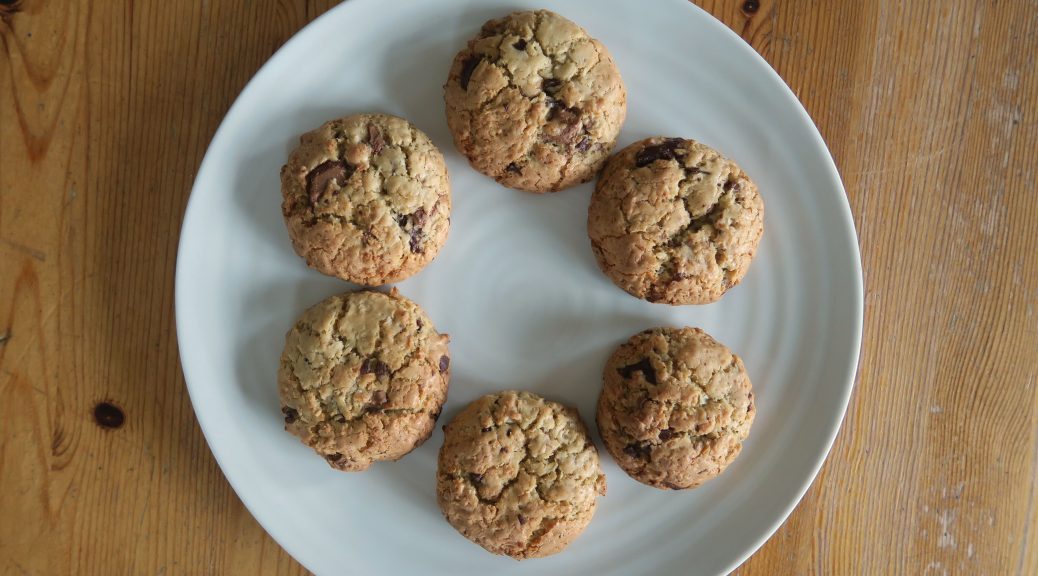
- 130g Chocolate chips
Method
- Pre-heat the oven to 180˚C. Line a couple of baking trays with baking paper.
- Put the flour, baking powder, baking soda, cornflour and salt into a large bowl and whisk together to combine.
- In another bowl whisk together the melted butter and the two sugars until fully combined. Then whisk in the egg and vanilla.
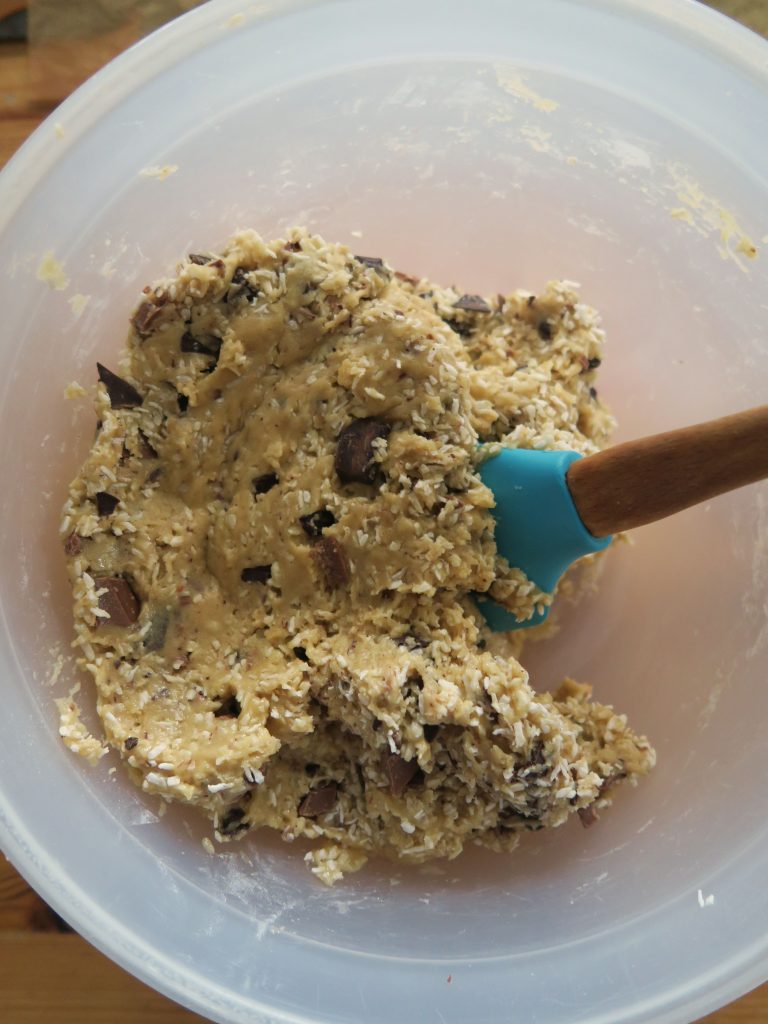
- Add the dry ingredients to the wet and then mix with a wooden spoon until a smooth dough forms. Add the desiccated coconut and the chocolate chips and mix again to incorporate them.
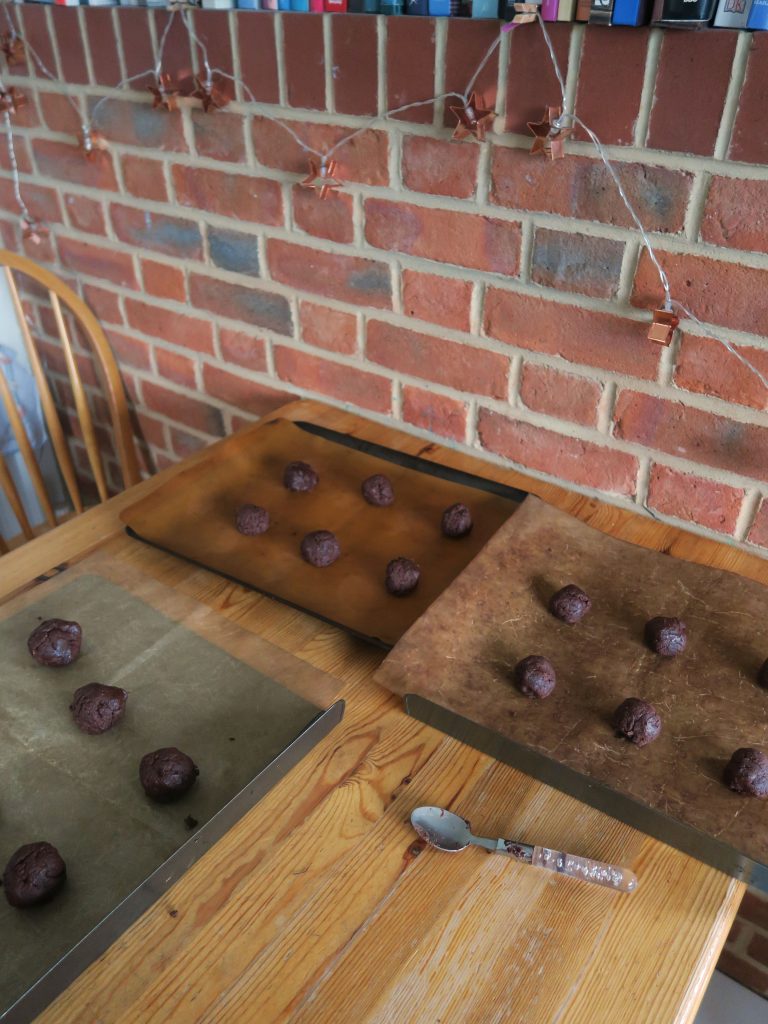
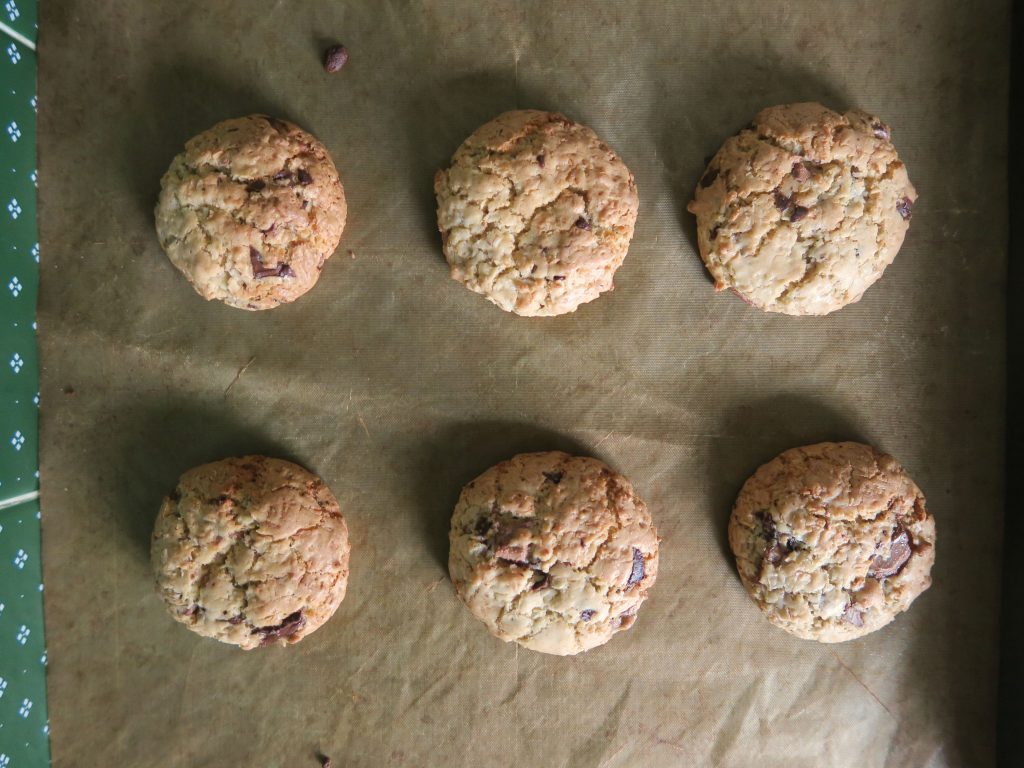
- Separate and then roll the dough into small balls (about 1 tbsp of mixture each) and then place them on the lined baking trays with some space between them.
- Bake the biscuits for 10-12 minutes until spread and starting to turn golden. Leave to cool and then eat!
Thanks for reading!
Emma x