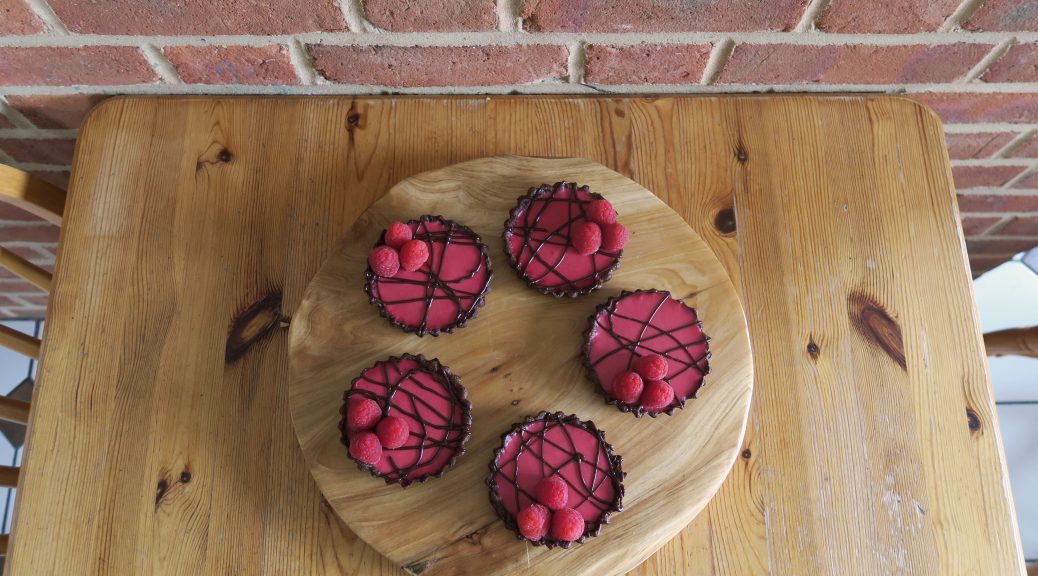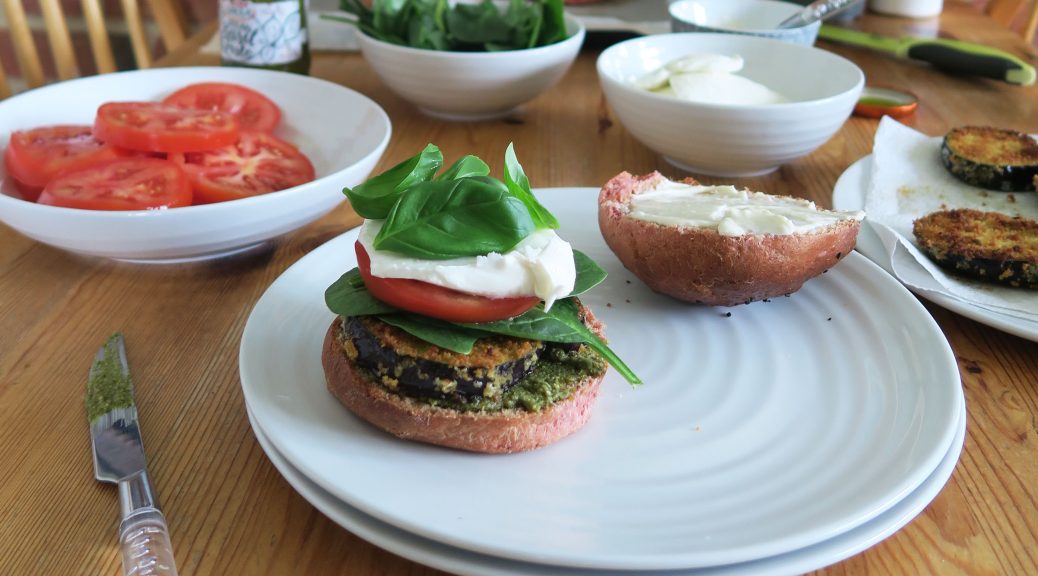
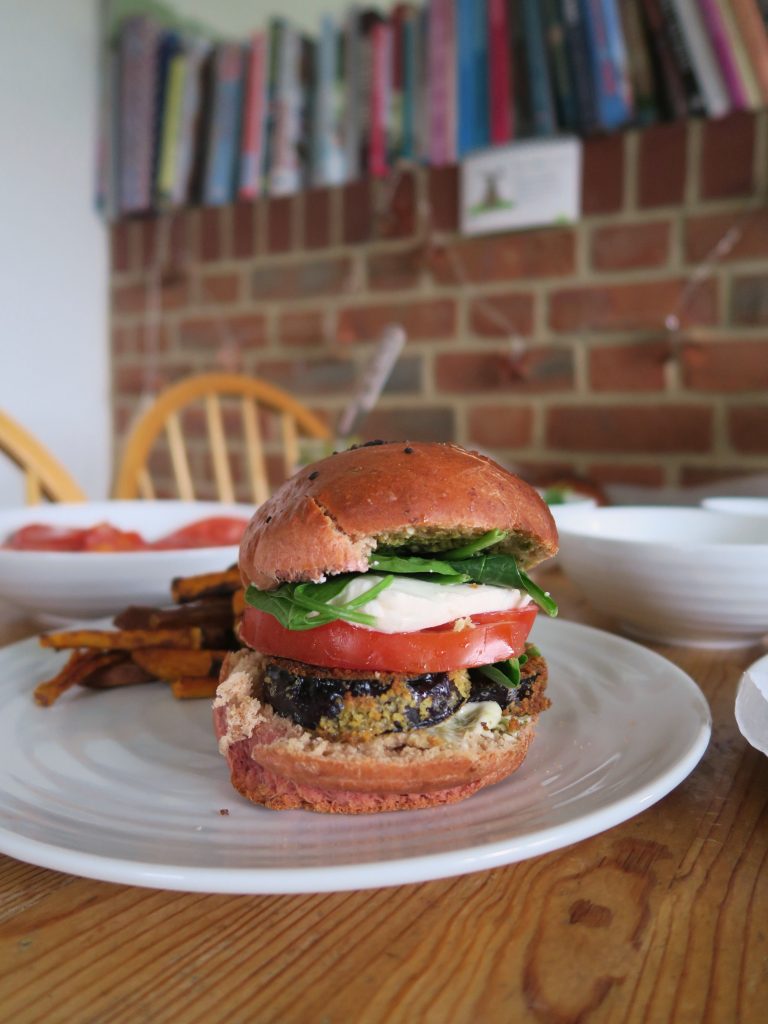
Veggie Stack Burgers with Sweet Potato Fries
Summer has hit and what screams summer more than a good BBQ? Normally I’d reach straight for the beef burgers when at a BBQ, but after these I don’t think I’d look for the meat again!

Recipe
Makes 4 burgers
Time:
Ingredients
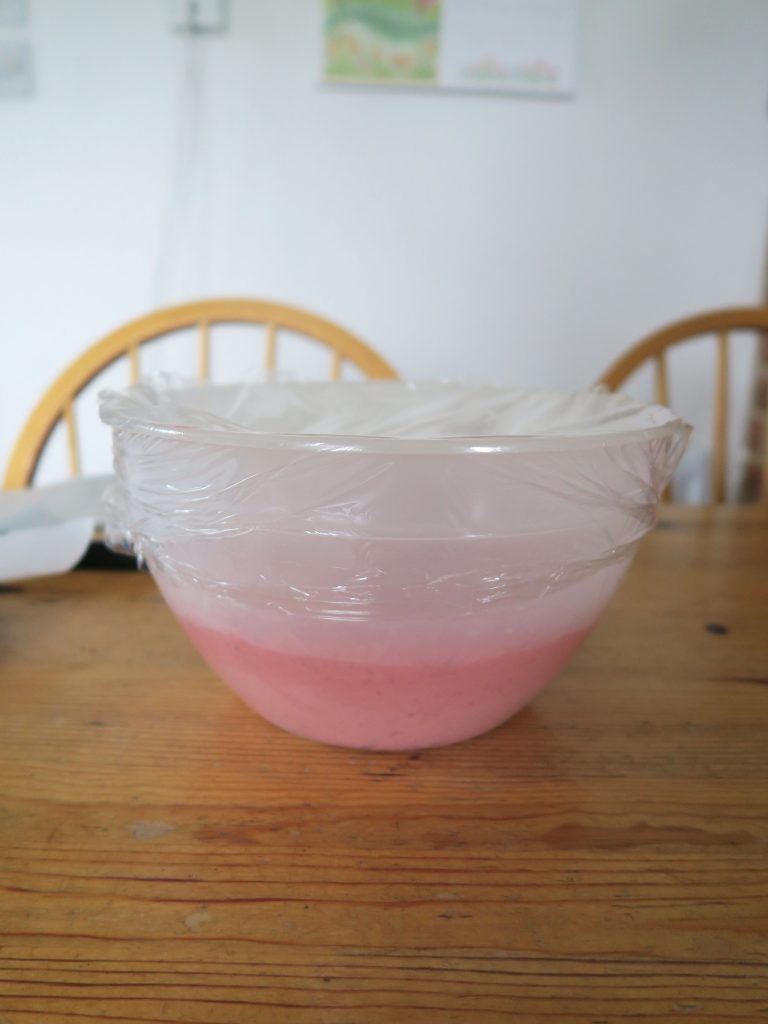
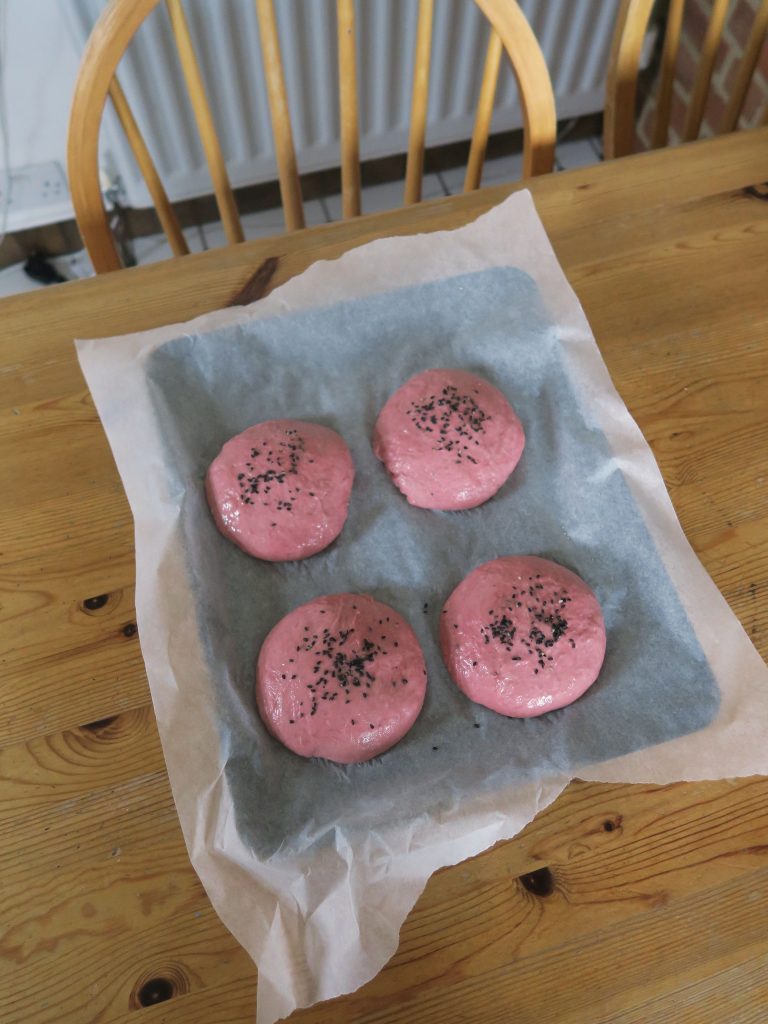
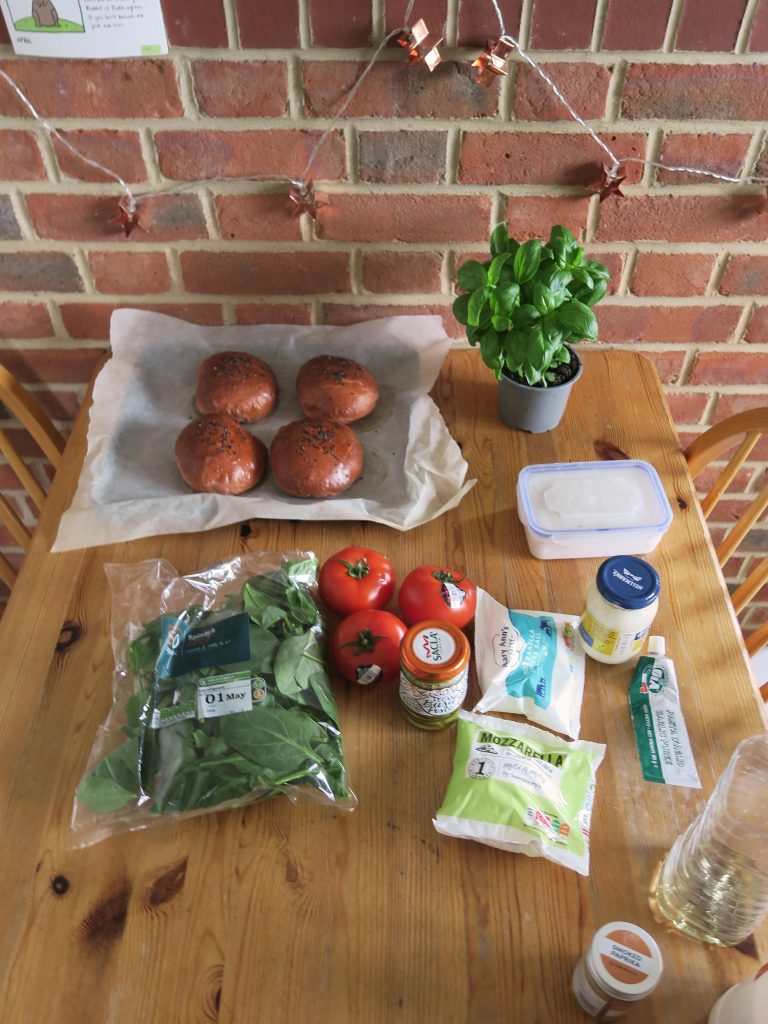
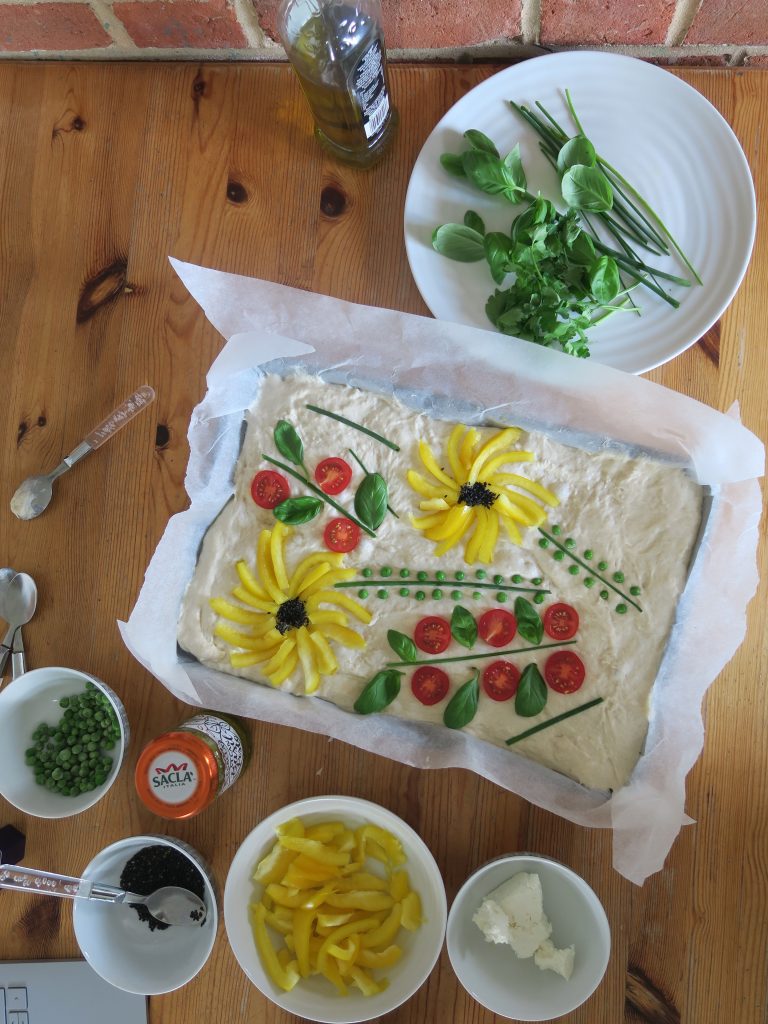
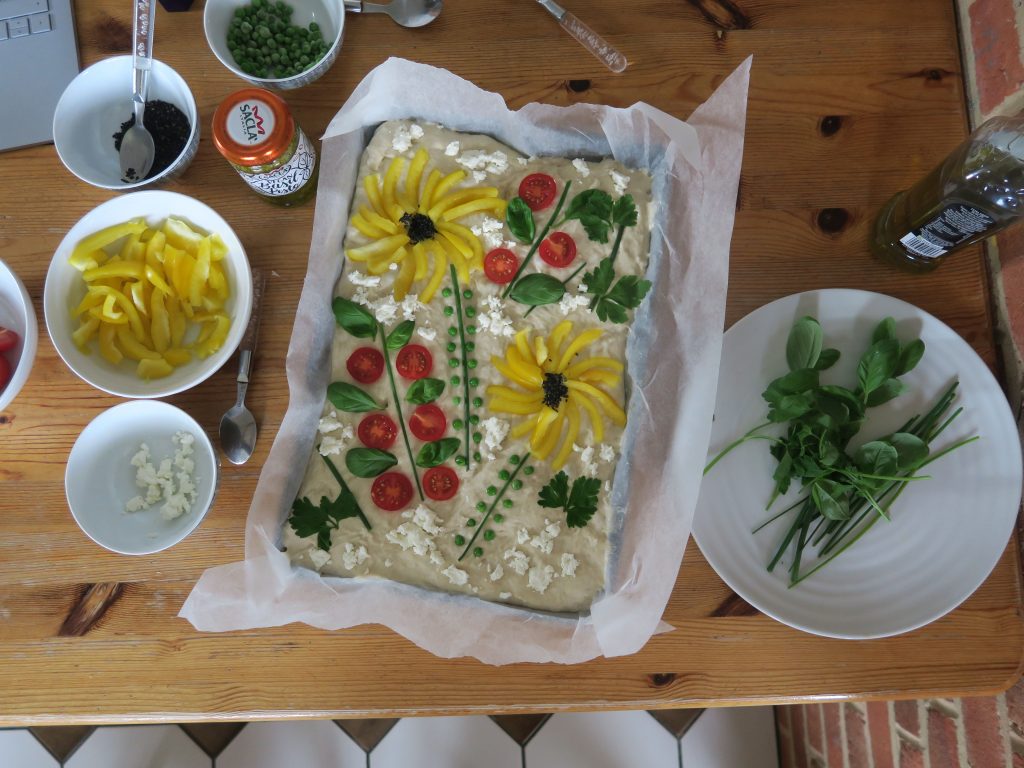
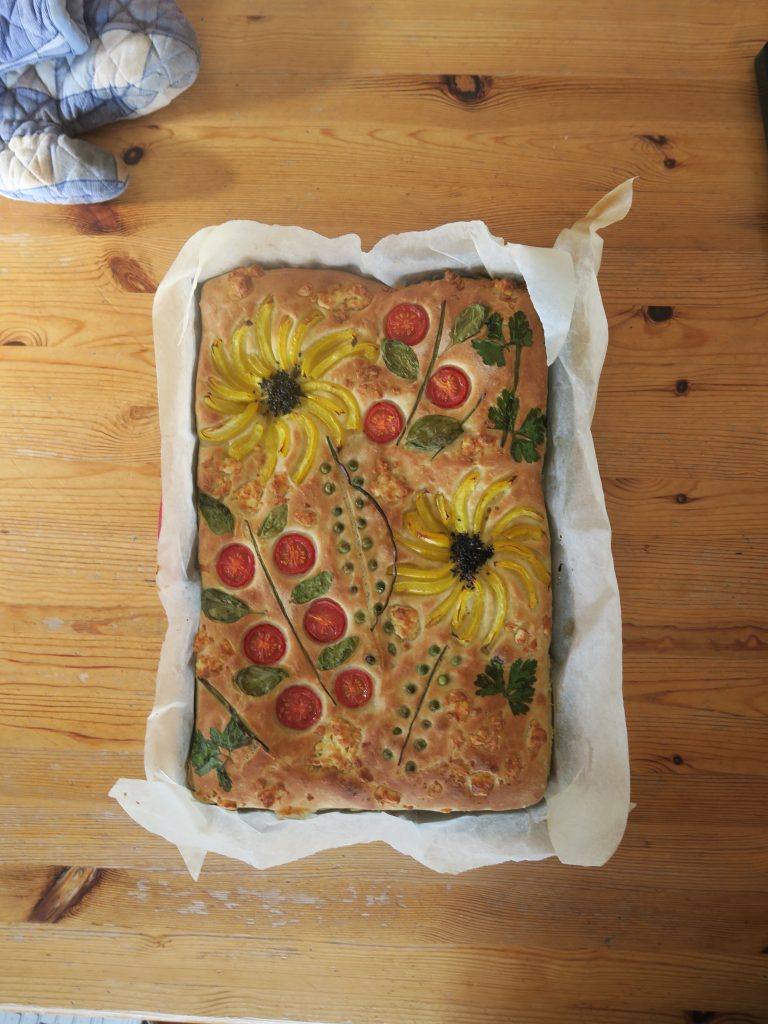
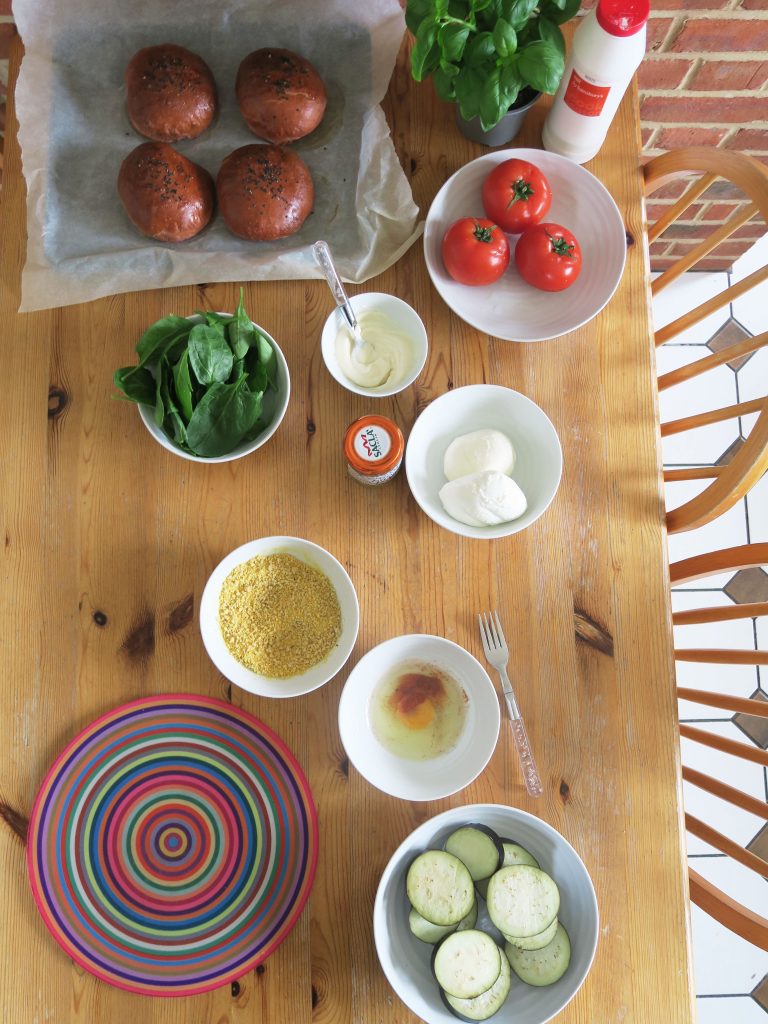
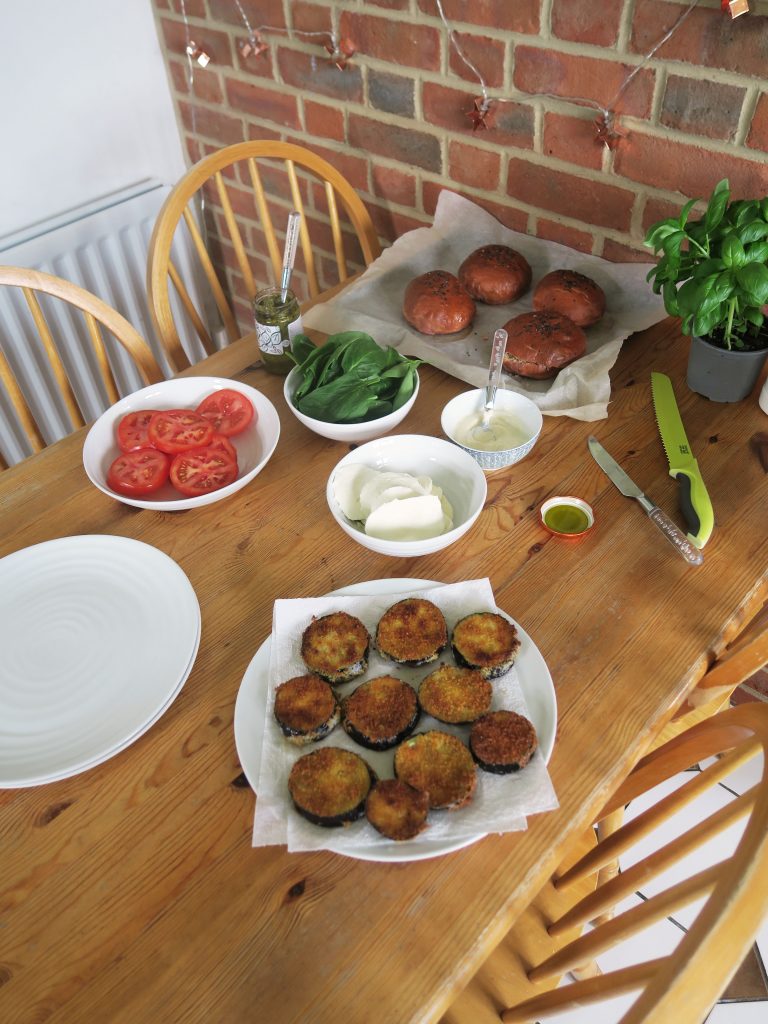
- 4 beetroot burger buns (see recipe below) or regular burger buns
For the Crispy Aubergine Steak
- 1 aubergine
- 100g breadcrumbs
- 50g sesame seeds
- 2 eggs
- ¼ tsp salt
- ¼ tsp pepper
- ¼ tsp smoked paprika
For the Sweet Potato Fries
- 1 large sweet potato (or 2 medium)
- 2 tbsp sunflower or vegetable oil
- ¼ tsp salt
- ¼ tsp black pepper
- ½ tsp smoked paprika
For the Filling
- 1 garlic clove
- 50ml mayonnaise
- 2 balls of mozzarella
- 2 beef tomatoes
- A few handfuls of fresh basil
- 4 tsp pesto
Method
- Begin by making the crispy aubergine steaks. Cut the aubergine into 1cm wide discs.
- Place the discs into a bowl, sprinkle with a little salt and leave for 30 minutes to rest.
- Wash and then dry the aubergine.
- In a wide bowl mix together the breadcrumbs and salt.
- In another bowl beat together the eggs, salt, pepper, and paprika with a fork.
- Take one of the aubergine discs, dip it into the egg mixture so it’s coated all over and then dip it into the crumb mixture so it’s covered all over with crumbs. Repeat with the rest of the aubergine.
- Fill a deep, wide frying pan with about ½ cm deep of oil and place over a medium high heat. (A good way to check the temperature it to take a leaf of a fresh herb or something equivalent and throw it into the oil, it should bubble and simmer like crazy. Remove the herb and then you’re ready to go!).
- Carefully place the aubergine steaks into the oil and deep-fry for about 2-3 minutes on each side, until golden brown.
- Take the aubergine out of the oil and place on a plate lined with kitchen roll to soak up the excess oil.
- Now make the sweet potato fries. Pre-heat the oven to 200C.
- Wash and then slice the sweet potato into batons. Place them into a bowl and add the oil, salt, pepper and paprika. Stir until evenly coated and then tip out into a large roasting tin.
- Spread the fries out so they are as spread out as possible and then roast in the oven for about 40 minutes, stirring them halfway through cooking so they crisp up evenly.
- Whilst waiting for the fries to cook move on to the rest of the fillings. Take the garlic and crush it into a bowl. Add the mayo and mix to combine. Set to one side until needed.
- Take the mozzarella and slice it into discs about ½ cm wide. Do the same for the beef tomato.
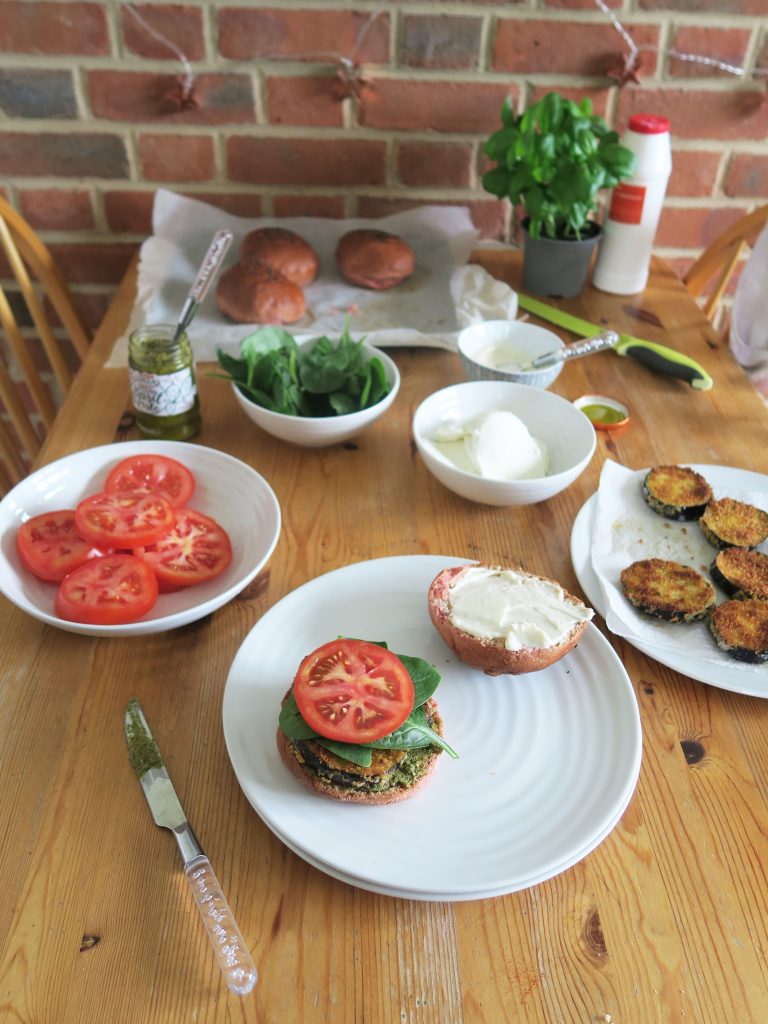
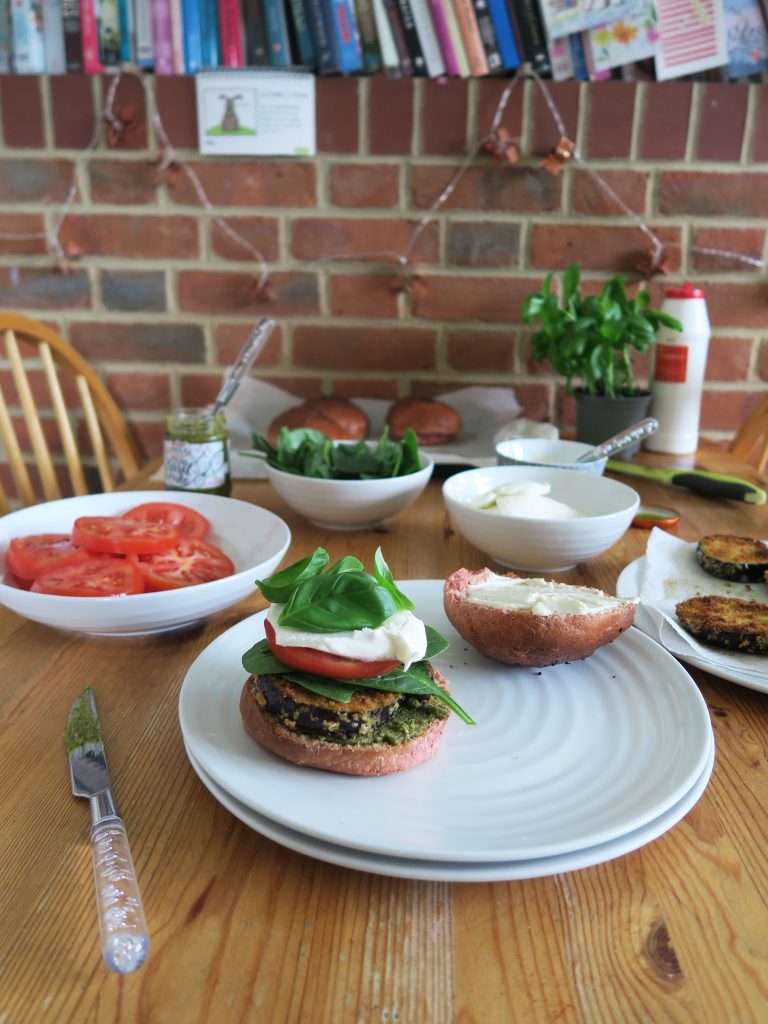
- Now assemble the burgers! Slice your burger buns in half. Spread 1 tsp of the pesto over the base bun and 1tsp of the garlic mayo over the top bun.
- Place one of the aubergine steaks on top of the pesto. The layer up some of the spinach leaves, tomato, mozzarella and basil. Place the top bun on top and enjoy!
Thanks for reading!
Emma x