Author: Emma Hawkins

Yogurt Granola Bowl

Yogurt Granola Bowl

Whoever said ‘breakfast is the most important meal of the day’ is probably one of the most annoying people on this earth… and yet since getting to uni I do kinda see their point. I never used to eat breakfast, not sure if it’s because I didn’t have the time or I just didn’t feel hungry but I just wasn’t that kinda person. However one of the side effects of being catered in college is that we have to pay for breakfasts even if we don’t eat them so wahey I’ve become a breakfast person!

So now I’m back home and get super hungry at about 8:15 every morning I thought I’d branch out and explore some things to make for breakfast. I’ve also just recently discovered the wonder that is Greek yogurt and honey (check me out coming across all this really normal stuff for the first time!) and so hey presto – Add a couple of oaty bites and a fruit compote to a bowl of honey and yogurt and Bob’s your uncle!

Recipe

Serves 1

Time: 15 minutes

Ingredients

  • 3 tbsp Greek Yogurt
  • 1 Small banana
  • 100g Frozen berries
  • 1 tbsp Honey
  • ¼ tsp Cinnamon

For the Granola Chunks

  • 5 ml Vegetable oil
  • 5g Honey
  • 5g Brown sugar
  • Pinch of salt
  • 50g Porridge oats
  • 1 tbsp Extra flavourings if wanted (chopped nuts, dried fruit, chocolate chunks etc)

Method

  1. Begin by making the oat clusters. Pre-heat the oven to 180˚C and line a baking tray with baking paper.
  2. Add the oil, honey, sugar and salt to a bowl. Whisk to combine and then add the oats and any added flavourings. Stir again to combine.
  3. Spoon the granola onto the lined baking tray in clumps. Bake for 15-20 minutes until crisp. Leave to cool to one side until needed.
  4. Now make the compote. Put the frozen berries, honey and cinnamon into a small pan over a medium heat. Gently heat the mixture through until the berries are soft and juicy, then set aside to cool.
  5. When ready start assembling the bowl. Put a few tbsp of yogurt into one side of the bowl. Put a couple of granola clusters into another ¼ of the bowl and fill in the final section with the berry compote.
  6. Slice the banana and arrange the slices on top. Drizzle the bowl with a little honey and then sprinkle with any extra nuts and dried fruit you want!

Thanks for reading!

Emma x

Zoodles with Ricotta, Spinach and Pesto

Zoodles with Ricotta, Spinach and Pesto

These past few weeks I’ve been comfort eating like crazy. It’s been one of those times where everything feels up in the air, I have no idea what I’m doing and every now and then I crash into a pile of Cadbury’s and cookies. I’ve never cared too much about my body image; I’m not the weight I’d like to be but in compete honesty I’ve got more to worry about than that! At the same time though I know that I’m getting to the point where I’m eating so much rubbish that it’s making me feel even more sluggish than usual. Therefore this holiday I’m going to do my best to go on a cleanse. More veg, less sugar. More salads, less cakes! Something I’ve found hard in the past when dieting is the conflict with running a food blog: I love making patisserie and I want to keep on baking, but it doesn’t do wonders for my waist line. Therefore I’m gonna start alternating between bakes and healthy things like this salad…

I’ve always wanted to try making zoodles – aka noodles made out of zucchini (or courgette if you’re English like me!) and so I thought this would be the perfect time to try them out. Traditionally they’re made with a spiralizer, but I don’t have one of those so I’ve experimented with a peeler and a knife and it’s worked fine! These are so much lighter than normal noodles and have they same kind of effect in a dish, so when put with some pesto and ricotta it makes a really light, fresh spring salad!

Recipe

Serves 2

Time: 20 minutes

Ingredients

  • 2 Courgette/zucchini
  • A squeeze of Lemon juice
  • ½ tbsp Olive oil
  • A Handful of Baby spinach
  • 4 tsp Ricotta
  • 4 tsp Green pesto
  • ¼ tsp Paprika (optional)

Method

  1. Take a medium pan, fill it with water and place it over a medium heat. Leave covered with a lid to bring to the boil.
  2. Meanwhile take a peeler and peel even strips out of the courgette. Layer these strips up in piles about 1cm tall and cut thin strips out of them using a sharp knife.
  3. Place the zoodles into the boiling water and take the pan off the heat. Leave them to sit for 1 minute (more if you want them to be softer). Then drain the zoodles and leave them to dry on some kitchen towels.
  4. Put the zoodles into a bowl and add the lemon juice and oil. Then tear up the spinach into small pieces and add them to the mix. Carefully toss everything together.
  5. Portion out the zoodle mix between the plates, then scatter the ricotta over the top. Finish with a few spoonfuls of pesto and a sprinkle of paprika. Enjoy!

Thanks for reading!

Emma x

Neapolitan Cake

Neapolitan Cake

After 8 weeks of crazy term-time mania we’ve finally hit the vac once more. As our tutors never cease to remind us we’re on vacation, not holiday, and therefore we;re merely vacating our rooms and are expected to continue working just as much back home, but even so there’s going to be a lot more time for baking now!

Some of my friends are hanging around in college a little longer as they have exams, so yesterday we did some group procrastination and got back into the kitchen. Of course we could have made something simple like pasta or cupcakes, but alas no. After such a long time out of the kitchen I wanted to make a dramatic entrance back into the world of baking, so I drew up a recipe for this Neapolitan cake: 3 layers of chocolate and vanilla marble cake, sandwiched with a strawberry cream-cheese frosting and wafers on top!

It might be a little preemptive to make an ice-cream inspired cake in early March, but hey. Summer is well and truly on the way so what’s the harm in looking forwards a bit? It may be wet, windy and dark outside, but we’ve got enough Neapolitan cake to go around so everything’s OK!

Recipe

Serves 12

Time: Around 2 hours

Ingredients

For the chocolate cake

  • 175g Unsalted butter
  • 175g Caster sugar
  • 3 Large eggs
  • 50g Cocoa powder
  • 100g Self raising flour

For the vanilla cake

  • 100g Butter
  • 100g Caster sugar
  • 2 Eggs
  • 100g Self raising flour
  • 1 tsp Vanilla bean paste

For the strawberry icing

  • 400g Cream cheese
  • 4 tbsp Strawberry jam
  • Zest of 1 Lemon

To decorate

  • A handful of fresh strawberries
  • A few Ice cream wafers
  • Chocolate sprinkles

Method

  1. Pre-heat the oven to 180˚C. Then grease and line 3x 20cm loose bottomed round cake tins with butter and baking paper.
  2. Now start make the chocolate cake mixture. Put the butter and sugar into a large bowl and beat together until pale and creamy. Add the eggs and whisk in until the mixture is smooth. Next add the flour and cocoa powder and whisk again to make a smooth batter.
  3. Using a tablespoon dollop the mixture equally between the 3 tins, leaving gaps to be filled in with vanilla mixture later.
  4. Now make the vanilla cake. Put the butter and sugar into another large bowl and beat with a wooden spoon until pale and creamy. Add the eggs and whisk until smooth. Then add the flour and vanilla and whisk again to make a smooth batter.
  5. Again dollop the mixture between the 3 tins. Then gently smooth the mixture over so it evenly fills the cake tins, but try not to mix the two cake batters too much.
  6. Bake the cakes in the oven for 25-30 minutes until risen and golden brown. A skewer inserted into the middle should come out clean. Turn out onto a wire rack and leave to cool completely.
  7. Meanwhile make the icing. Put the cream cheese into a large bowl and beat with a wooden spoon to soften it a little.
  8. Add strawberry jam and lemon zest to this and then mix again to make a smooth icing. Spoon the icing into a piping bag with a round or star shaped nozzle.
  9. Take your strawberries and take off the green tops. Then cut them into 1/8s and put them to one side until needed.
  10. Once cooled place one of the cakes onto a plate. Arrange some strawberry pieces around the edge of the cake, making sure they’re all facing the same direction. Then spread 1/3 of the icing over the middle of cake. (The strawberry barrier will help keep the icing neat if it’s a little runny!)
  11. Place the 2nd cake on top and repeat with the strawberries, icing, and final layer of cake. Pipe the rest of the icing in rings of blobs over the top of the cake.
  12. Pile the remaining strawberries in the centre of the cake. Halve and then place wafers evenly around the edge and then finish with a sprinkle of chocolate sprinkles!

Thanks for reading!

Emma x

How to Survive (and make the most of) Cooking at Uni

How to Survive (and make the most of) Cooking at Uni

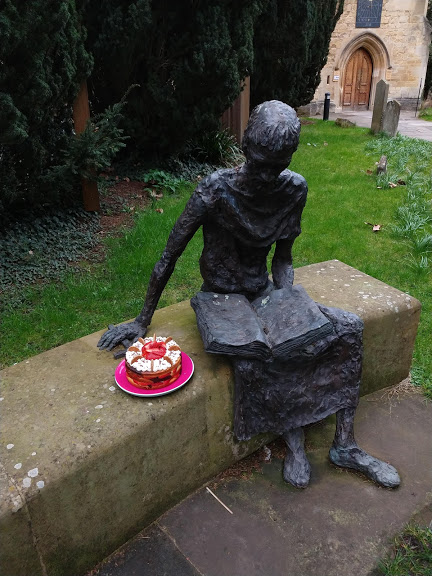
Today is national uni mental health day – this year themed ‘use your voice’, so I thought I’d use mine to talk about mental health and cooking at uni. Whoever you are, where ever you are, you have a voice and story, and the best way to start making changes is to start speaking. I’m not the best writer out there, I wouldn’t even really consider myself a ‘writer’, just a person with something to say to the wide ether in the hope someone might find it interesting and/or useful, which I think is enough in this case.

In complete honesty the reason why I’m doing a how-to and not a recipe this week is because we’re hitting the end of term and the only recipes I have left from when I was cooking over the holidays are really bad. I also wasn’t sure how to link a recipe to mental health at uni, and therefore I’ve decided that a post on cooking at uni would be more insightful and useful than a plate of damp looking veg! That said, over the process of writing this I’ve realised how much cooking has helped me during my time at uni, and so I want to share some tips and thoughts on it for this mental health day.

Uni is never easy. It’s hard work for a reason and whilst it has great perks and can be really fun there will always be hard times to go with it. You can never get away from the essays and the deadlines, the late nights and the early mornings – but hey that’s part of the charm right? What we can do is find ways to get through the tough points. Work out what really matters and use that to power on through.

For me this term has been a bumpy ride. I’ve had higher highs and lower lows than ever before, so I’m coming out the other side feeling a little shaken and wide eyed. My mental health is not as stable as I’d like, but I’m starting to find ways to work with it, to not let it stop me from making the most of some of the best years of my life. For me cooking (or I guess more generally food) has been a really good stabiliser for me. I know it’s not always easy to cook when at uni, whether it be because of cost, time or facilities, but here’s some top tips and hacks from me on how to tackle cooking and how to use it to make your time at uni a little sunnier.

Top 10 ways to make the most out of cooking at Uni…

No.1 – Essential Ingredients

With a limited budget there’s no way you can make long elaborate recipes at uni without breaking the bank and wasting ingredients in some shape or form. This term though I’ve managed to get by with just the following staple ingredients….

  • 1 tub of butter (or dairy-free margarine) – maybe more if you spread it on toast every day, but one of these is perfect for general everyday baking.
  • 1 Bag white sugar
  • 1 Bag plain flour
  • Paprika (a little pretentious I know, but it adds a great kick to anything and everything)
  • 1 Pack of Rice/Pasta
  • 2 Packs of Tomato sauce/passata

It’s worth noting that I’m catered in college Monday-Friday, so those of you living out might need more than that, but I’ve found that those let me make everything I want to make in a term. I just buy perishables like yoghurt, eggs, fruit and veg as and when I needed them and voila. Of course there’s so much more you can add to that, but just having those staples in your cupboard lets you make pretty much anything you could want. I also find having the staples there to be used makes it so much easier to find the motivation to get in the kitchen and start baking!

No.2 – Essential equipment

On a similar note, you also probably don’t have the space for mountains of equipment at uni so here’s my essentials of what to take with you:

  • Chopping board
  • Kitchen knife
  • Mixing bowl
  • Small roasting tin
  • Rubber spatula
  • Range of crockery (spoons, plates etc for eating)
  • Tupperware pots
  • A tea towel
  • Medium-sized pan with a lid

Again, there’s so much more you can add to that, but I’ve found that’s all you need to get by in a term. Personally, I also use piping bags, cake tins, can openers etc, but those are just add ons you could take if you’re the kinda person who’d use them. If I were to highlight two essential essential things on that list they would be Tupperware and a tea towel as they’re really easy to forget when packing up for uni but they’re so so useful! Being able to pack up any leftovers is really important as when you’re tight for time and on a budget the last thing you want to be doing is throwing food away and then re-making it the next day!

No. 3 – Make it sociable

It’s the end of a long day. You’re tired. Stressed. You just want to go to bed. But I can say that having been forced to eat with people in college every day it’s actually one of the things I love most about being fed in college. Before arriving at uni I shuddered at the thought of forced socialising, but eating with people gives you a chance to relax, touch in with friends, and get out of your head for a few minutes. You can get into your own bubble so easy working day in and day out, but taking some time out of that with other people over a plate of food is a great way to realise there’s a bigger world out there than uni.

No. 4 – Get hands on

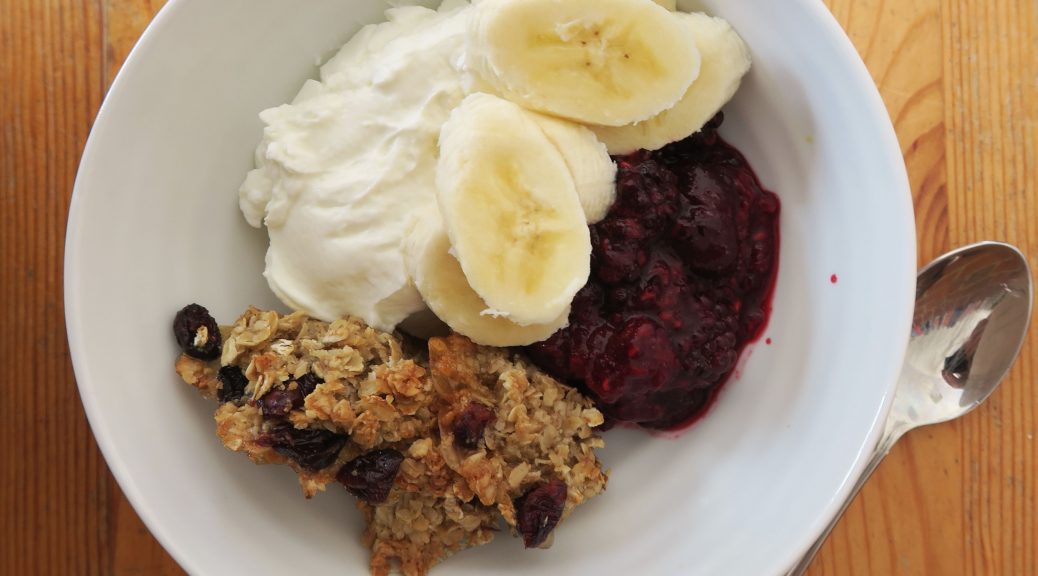
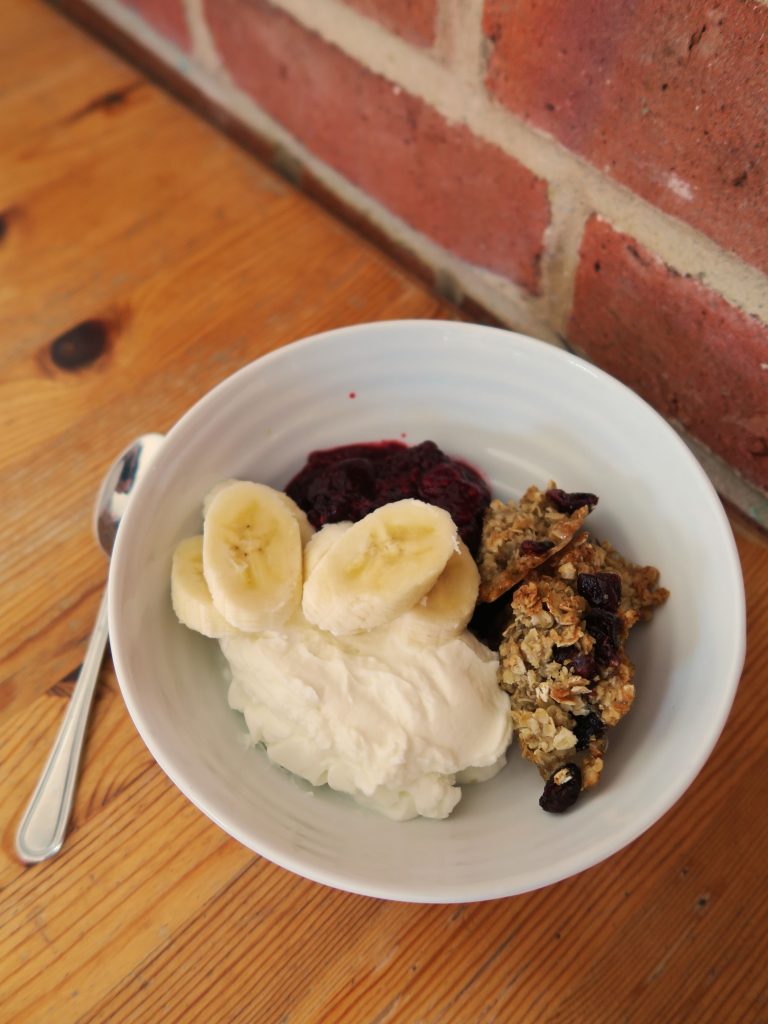
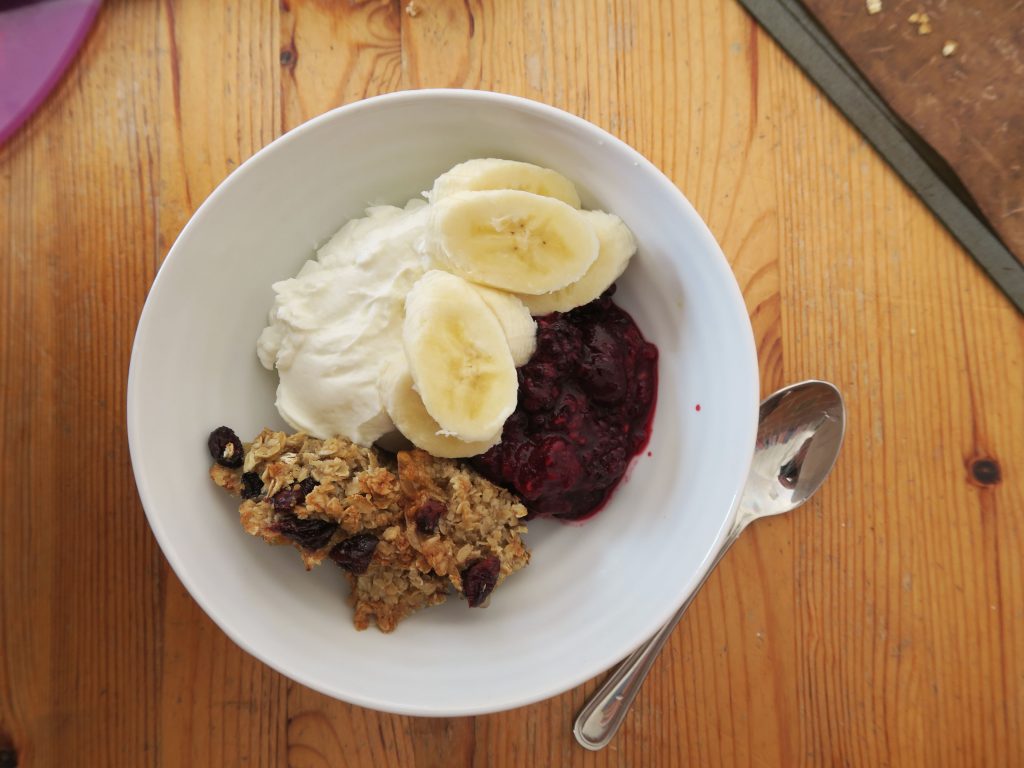
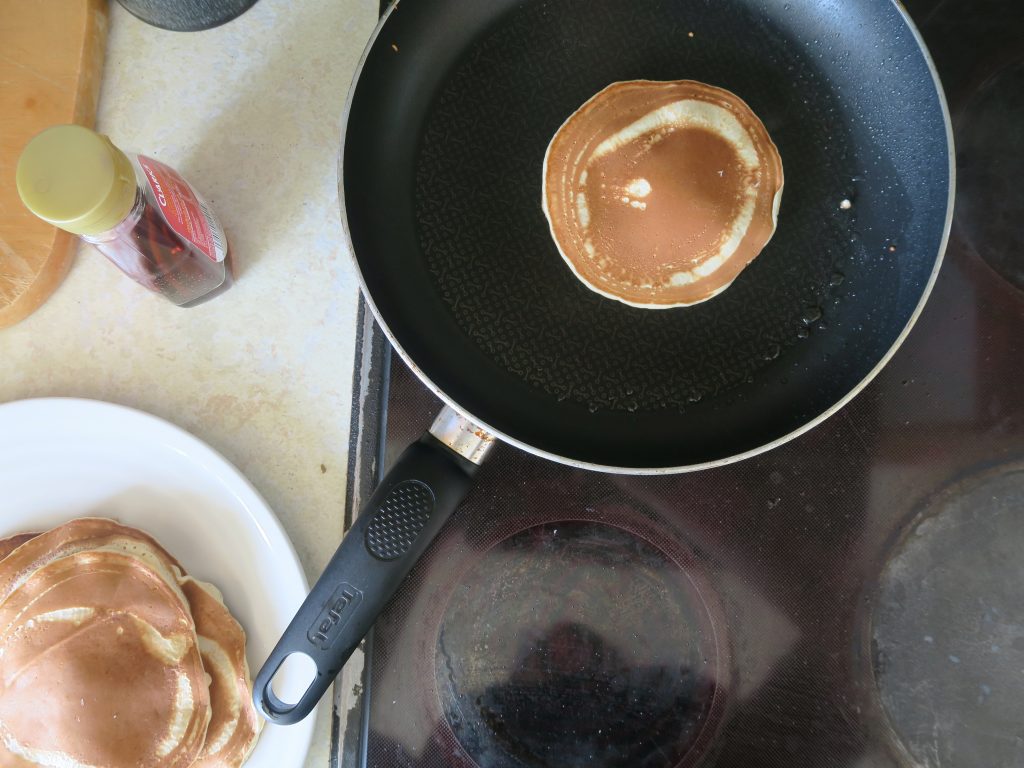
One of the things I love most about cooking is the practical side of it. Get your hands in. Get messy. Get playful. I’ve found myself making crumbles so much recently. Not only are they tasty and easy to put together, but they’re also really therapeutic to make as you have to get your hands into the mixture. Bread is another great one for this as you can get out your anger in the dough. If you don’t have time to do a full enriched dough that takes hours to rise try looking into sourdoughs or quick-breads you can make!

No. 5 – Explore no-scale recipes

Last term I forgot to take a pair of kitchen scales with me to uni so I did most of my baking scales-free. After the initial panic of having to measure things by eye I found that you can get away with not using scales in a surprising number of things – and it makes life so much easier! Once you get used to working without them you can literally just whack everything together in minutes, making cooking so stress-free. Mug-cakes, stir frys, and crumbles are 100% the way to go!

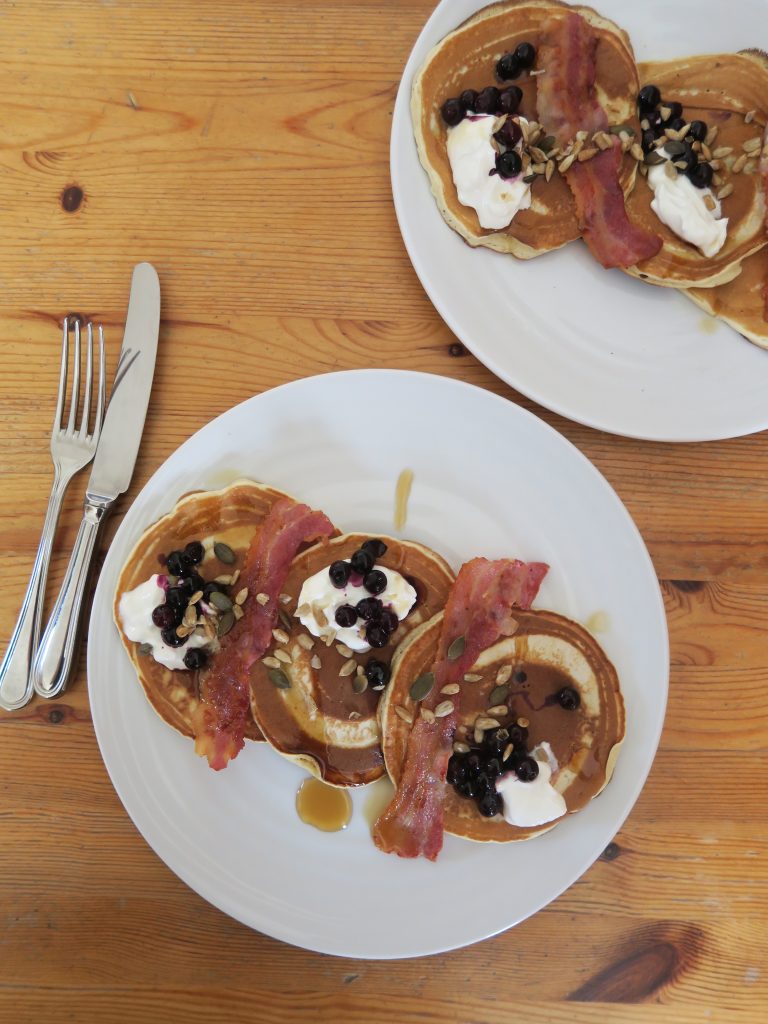
No.6 – Share what you make

On a similar note to no.3, sharing what you make can be a really good way of re-connecting with people and can give you that nice warm fuzzy feeling. I speak from experience when I say that it can feel just as nice to leave food out for people as it does to find some up for grabs on the table. Walking into a kitchen with something tasty on the counter and an invitation to eat it can be enough to put a smile on your face for the rest of the day, which can positively affect other people around you and so on. Just saying – have you ever seen a bunch of teens looking sad with a plate full or free brownies?

No.7 – Find some good ready-made meals for the long nights

When I first arrived at uni I was very pro-fresh food, anti-ready-made, yada yada yada – but lets be honest who has the time? I’m not saying abandon fresh fruit and veg, just that sometimes ready-mades can be the ticket you need. I’ve found that spicy rice pouches have saved my soul this term. They’re about 85p each, take 2 minutes to heat up, and can be bought ages in advance so you know you’ve always got a back up meal in your cupboard!

No. 8 – Get creative

Cooking is not only a great social and stomach-filling wonder, but also a great creative outlet. Maybe it’s just Oxford, but I found when I was studying psychology I really missed my chance to be creative, and I think a lot of academic degrees are like that. They’re so prescriptive and precise that we forget how creative we all are. Maybe I’m exaggerating, but I strongly believe that our education system is sucking the creativity out of us until we’re just little robots who can regurgitate information – and I don’t know about you but that doesn’t sound exactly healthy. So when you’re next in the kitchen let your creative juices flow. Whether it’s piping on a cake, experimenting with flavour combos, or even just trying a new recipe, see it as an opportunity to be a little less exact and more experimental. Cooking’s an art not a science after all.

No. 9 – Shopping late at night

I’m constantly aware of how much I’m spending on food as it’s something I have to do every day.  One thing that’s helped me out a bit though is shopping about an hour before the shops close. I’m not sure if everyone knows this or not, but in case you don’t know, note that most shops do massive price cuts towards the end of the day. I’m talking buying £3 sandwiches for 80p and the like. Where I live they often pile all these discounts in a certain place in the shop, so if you can work out where it is you can pop over there and bag some deals for the next day.

No. 10 – Don’t forget – food is comforting

And finally – don’t forget that food is a great comfort! I mean obviously be aware of comfort-eating and etc, but the odd comfort dish can be enough to perk up a day. I’ve found that whilst the food at my college is amazing it lacks the love of a homemade dish – as mamma used to make it so to say. So getting into the kitchen and rustling up a family favourite can be a great pick-me-up. Perhaps before you go ask for recipes of your family favourites, then when you hit a low point you’ve got a lil support there. I’m not saying food can solve all problems – but it’s done a good job of keeping me going through the roller-coaster of an Oxford term!

Of course there’s so much more I could have added to that list but I hope that’s vaguely useful and/or interesting. If you want some recipes relating to any of the specific points look at the ‘something that’s’ tab at the top of this page and you’ll find recipes under certain tags like ‘comforting’ or ‘quick’. So if you’re looking for a comfort-food fave, or a quick eat, or a therapeutic fun thing to make have a look there for something that could suit!

For more info on uni mental health day visit https://www.unimentalhealthday.co.uk/

Stay safe, stay strong and remember there’s always people wanting to listen. Have a great day!

Emma x


Maple Bacon and Blueberry Pancakes

Maple Bacon and Blueberry Pancakes

I honestly don’t know where the time’s going at the moment. I kind of feel like I’m running through a tunnel and as I pop up every now and then for air I find out a months past. I only realised this morning when I looked at my post-plan spreadsheet(yes I plan my posts in a spreadsheet) that it’s pancake day on Tuesday! So, onto the obligatory story about why pancakes have a special place in my heart – if you’re not the sentimental type feel free to skip to the recipe below!

Pancakes are one of those special dishes for me as they’re one of the earliest food memories I have. Whether it was on holiday, pancake day or just the end of a really long day, it was always a treat when my mum would make a batch of these – churning them out as quick as my sister and I could eat them. When I was really young we’d have them with lots of golden syrup that would leave your hands all sticky and sweet. Then when I was about 11 we came across the wonder that is Nutella and banana pancakes, which remains my sister’s fave to this day! These days I’m more of a lemon juice and sugar girl, however I’m just starting to branch out from that and realise how versatile pancakes can be. Way back in the summer when I went to Canada I came across these at the airport where we stopped off for a quick breakfast before boarding the plane. I admit, yogurt and bacon doesn’t come across as the most likely combo for success, but with the maple syrup, sour fruit and crunchy pumpkin seeds it makes a plate that’s so so mouth watering!

Recipe

Serves 3

Time: 30 minutes

Ingredients

For the pancakes

  • 140g Plain flour
  • 1 tsp Baking powder
  • ½ tsp Salt
  • 1 tbsp Caster sugar
  • 140ml Semi skimmed milk
  • 1 Egg
  • 1 Knob of butter

For the topping

  • 6 Rashers of bacon
  • 2 tbsp Maple syrup
  • 3 tbsp Greek yoghurt
  • A handful of blueberries (about 80g)
  • A handful of pumpkin seeds

Method

  1. Take a medium sized bowl and put in the flour, baking powder, salt and sugar. Stir to combine. Make a well in the centre of the dry ingredients and add the milk and the egg. Whisk everything together to make a smooth batter.
  2. Put the knob of butter into a large pan over a medium heat and leave to melt. Pour the excess butter into the pancake batter and mix it in.
  3. Carefully pour blobs of the batter into circles in the greased pan and fry for 2-3 minutes on each side until cooked through and golden brown. Transfer to a plate the repeat with the rest of the batter.
  4. Meanwhile pre-heat a grill on full heat and grill the bacon for 3-4 minutes on each side until crispy. (You could also do this in a pan, but it depends on how much space you have and what equipment you’ve got to hand).
  5. To serve put 3 pancakes onto each plate and top with a couple of slices of bacon. Drizzle everything with maple, then top with a few dollops of yogurt and a generous scattering of berries and seeds. Serve!

Thanks for reading!

Emma x