I’ve just got back from an incredible weekend at Greenbelt Festival and will no doubt be posting lots of thoughts, ideas and recipes inspired from all that. For today though I’ve got this fun lil’ recipe for you!
It’s been a while since I’ve tried anything wacky and elegant in the kitchen so I thought it was about time I got experimental again. I always have around 3-4 ideas for dishes in my head at a time, but it’s the effort needed to work out the recipe and make the dish that slows me down in actually getting them tried and tested. As for this dessert, the flavour ideas and components have been in my mind for a long time, so it’s really satisfying to finally see it all on a plate and tasting delicious!
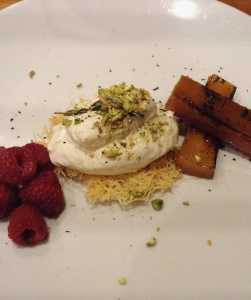
I first came across the idea of feta cheesecake in a little Mediterranean restaurant in a remote village in north Devon (as you do). It easily caught my attention on the menu as it’s something I’d never even heard of before, let alone eaten, and I just had to know if it worked. Needless to say it was a revelation! The salty tang of the feta works really well in a simple cheesecake, and even more so in a dessert like the one I tried in Lynton and this one I developed at home.
(This is the feta dessert I tried at the Vanilla Pod in Lynton – if you’re ever nearby I’d really recommend eating there!)
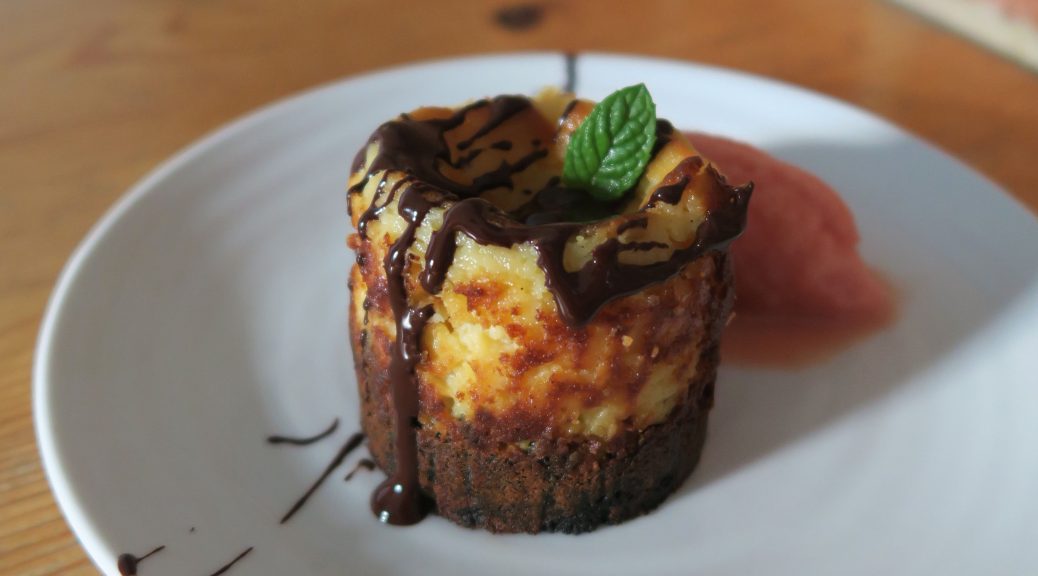
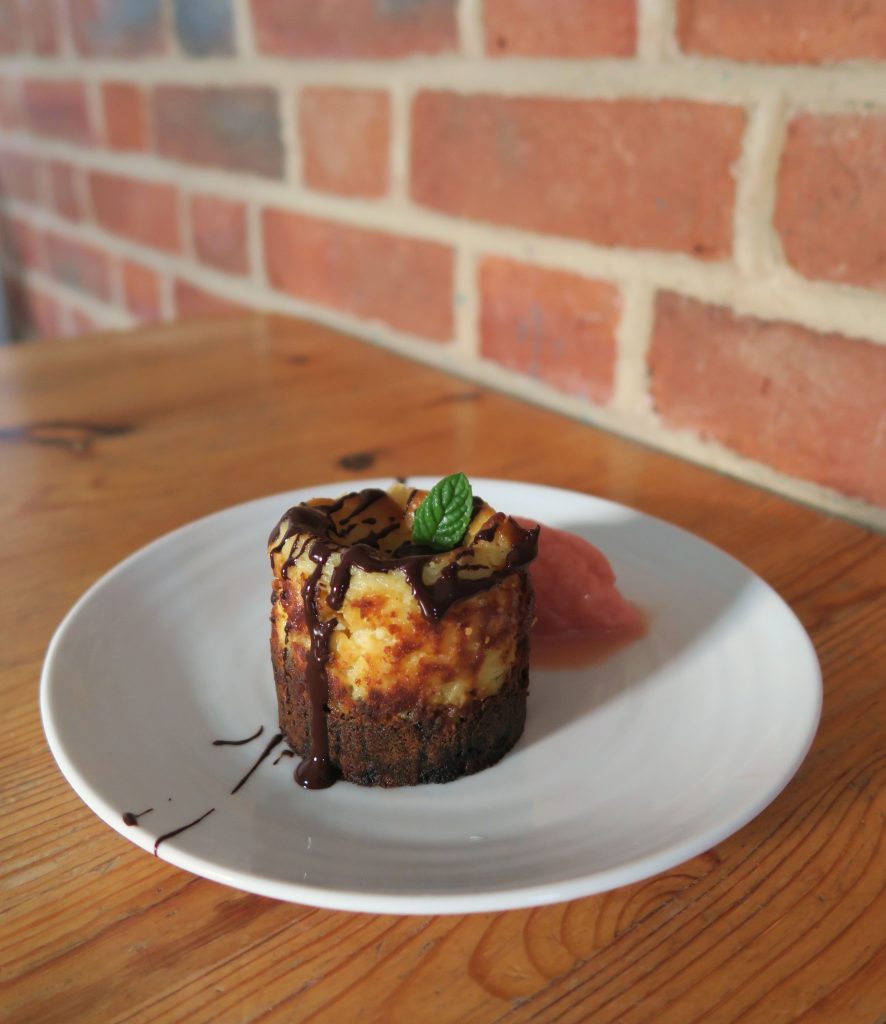
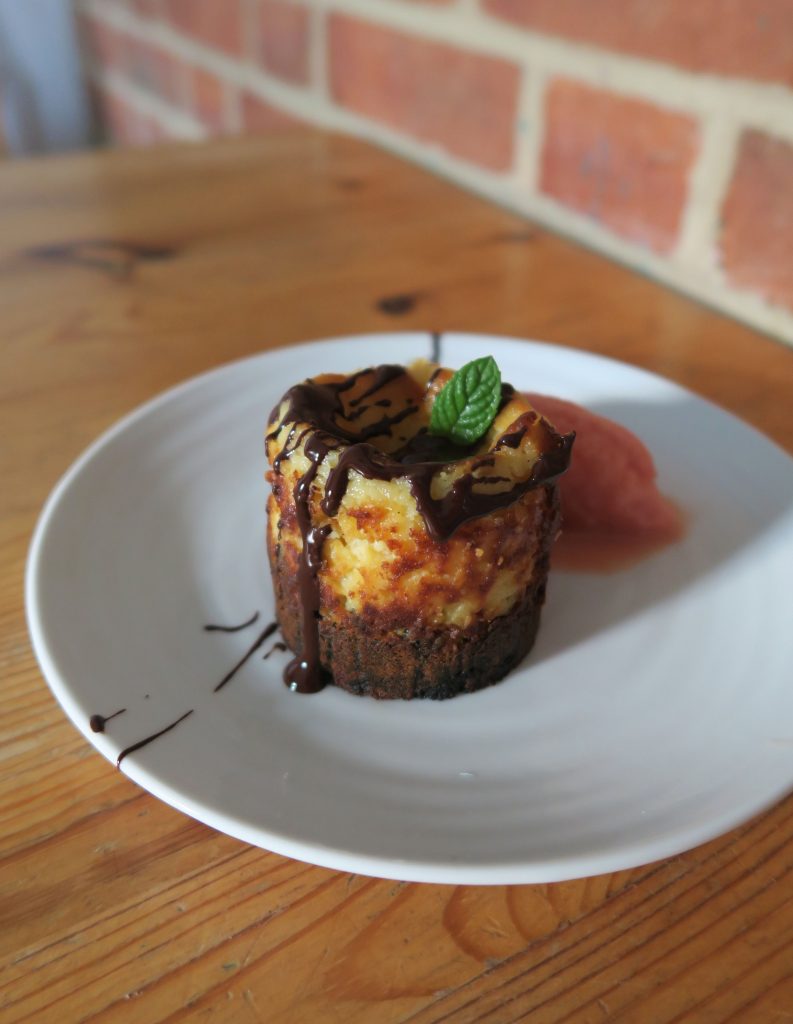
The ideas for the other flavour components in this came from my current obsession with super bitter dark chocolate and that delicious watermelon ice cream I first tasted in Rome (recipe went up last week!). What resulted from these ideas and flavour inspirations that I’ve been wanting to couple up for ages is a rich, warm feta cheesecake with a bitter cocoa base, served with a refreshing watermelon gelato! Sounds fancy, looks fancy, tastes amazing, and is not too complicated to put together – so it’s pretty much a win all round!
Recipe
Serves 3
Time: 2 hours
Ingredients
For the base
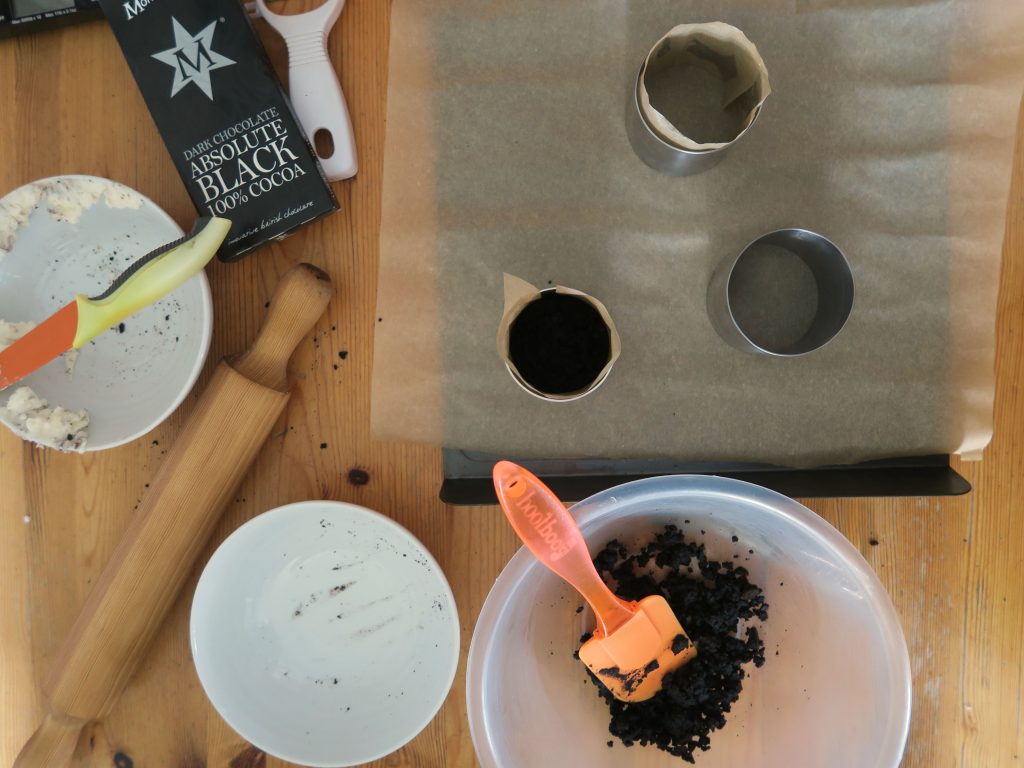
50g Dark chocolate biscuits (I used oreos with the creamy centre scraped out)
55g Unsalted butter
50g 100% cocoa chocolate
For the filling
50g Feta Cheese
30g Heavy cream
60g Cream cheese
1 Small egg
¼ tsp Lemon zest
2 tbsp Lemon juice
½ tbsp Vanilla bean paste
½ tbsp Plain flour
55g Caster sugar
To serve
50g Dark chocolate
50 ml Double cream
Watermelon ice cream (see last week’s recipe – a fruit sorbet could also work here, but I really recommend the watermelon!)
Fresh mint to garnish (optional)
Note: This recipe uses metal dessert rings which gives the cheesecakes their beautiful cylindrical shape. However, if you don’t have these to hand you could use a greased muffin tin, metal ramekins or even make one big one in a lined cake tin!
Method
Pre-heat the oven to 180˚C and line a baking tray with baking paper.
Begin by making the base. But the biscuits into a bowl and crush with the base of a rolling pin to make a fine crumb. Grate the chocolate into the biscuits and stir to combine.
Meanwhile melt the butter in a small pan and then pour this over the crushed biscuits. Stir to make a mixture with the texture of damp sand.
Take 3 metal dessert rings (about 7.5cm in diameter and 6cm tall) and place them on your lined baking tray. Press the biscuit mixture into the base of your moulds with the back of a spoon (or your fingers) and then bake in the oven for around 10 minutes until starting to crisp.
Meanwhile make the filling. Put the feta and cream into a bowl and beat with a wooden spoon until smooth. Then add the cream cheese and mix again. Next add the egg, lemon zest, lemon juice and vanilla and mix together, before adding the flour and sugar and stirring again to make a smooth mixture.
Pour the mixture over the cooked bases and shake the trays a little from side to side to knock out any air bubbles. Bake the cheesecakes in the oven for 15-20 minutes until they start to brown a little on top. Then leave them in their moulds whilst you prepare the topping.
Finely chop the chocolate for the topping and place into a heatproof bowl. Then heat the cream in a small saucepan until it just reaches the boil. Quickly pour the warm cream over the chocolate and stir until the chocolate is melted and the ganache is smooth.
To plate up begin by putting the cheesecakes onto separate plates. Take a sharp prep knife and run it under some warm water to warm it up. Then dry it and run it around the edge of the cheesecakes to loosen them from their moulds. Carefully lift the moulds up and off of the cheesecakes and set to one side. Drizzle the cheesecakes with a little of the chocolate ganache and then finish a scoop of watermelon ice cream and a garnish of fresh mint!
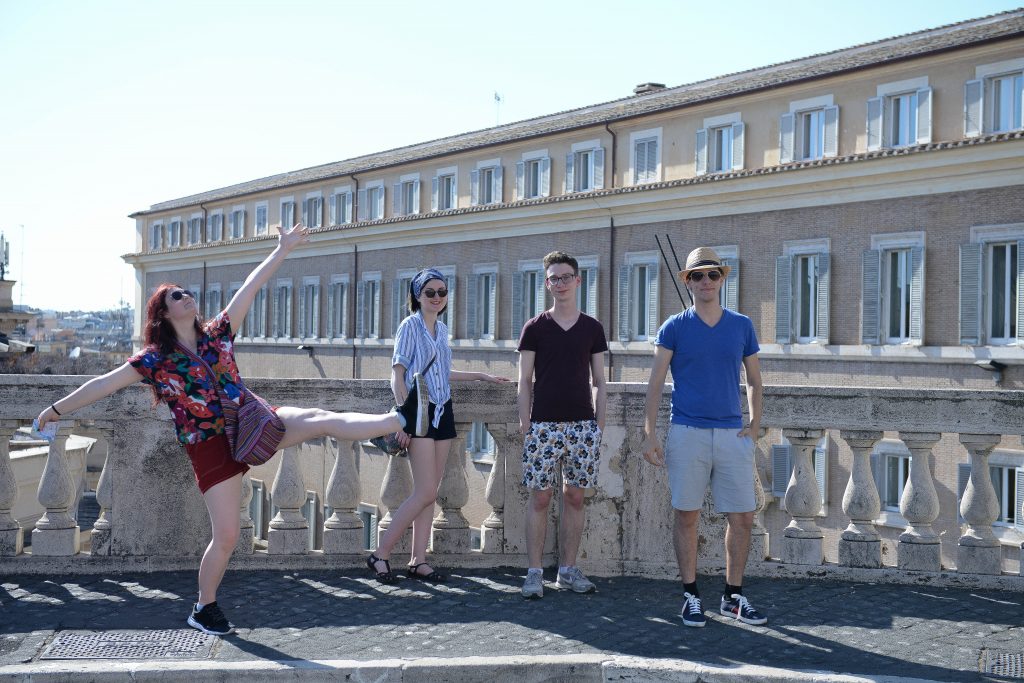
The sky might be getting greyer, the days shorter and the wind windier, but it’s never too late in the season for some ice cream! A little while ago my friends and I went on a trip to Rome and needless to say the art, culture and architecture it had to offer were incredible, but the food was out of this world! From the little cafes on street corners where we’d grab breakfast in the morning, to the on-street restaurants and bistros where we’d have our long meals in the evening, it was a real treat for the taste buds! One downside of going mid July was the heat. I’m 100% a jumpers and duvet kinda girl so being thrown into a world of shorts and siestas was an interesting experience, but it did give the chance for lots of guilt-free geltao!
Without a doubt I’m a mint choc-chip person when in the UK. I’ve heard all the arguments against, but no, to me it does not taste like toothpaste! Even so, when I was in Rome I didn’t try any of the stuff because there were so many other flavours I’d never tried before, and being me I wanted to try them all! One of these was the incredible watermelon ice cream. I was craving watermelon the whole time I was out there as I needed something juicy and fruity, however all the fresh watermelon was massively overpriced, so when I saw it as a gelato flavour I knew I had to try it! The other thing that drew me to it was the sheer idea of a watermelon flavoured ice cream. The inner chef inside me was saying how can you make watermelon into a thick, creamy gelato?! Watermelon is full of water, ice cream is full of cream. But if anyone knew how to do it it’d be the Italians, and it was so so good – (I have no idea why this isn’t more popular in the UK – it’s AMAZING!).
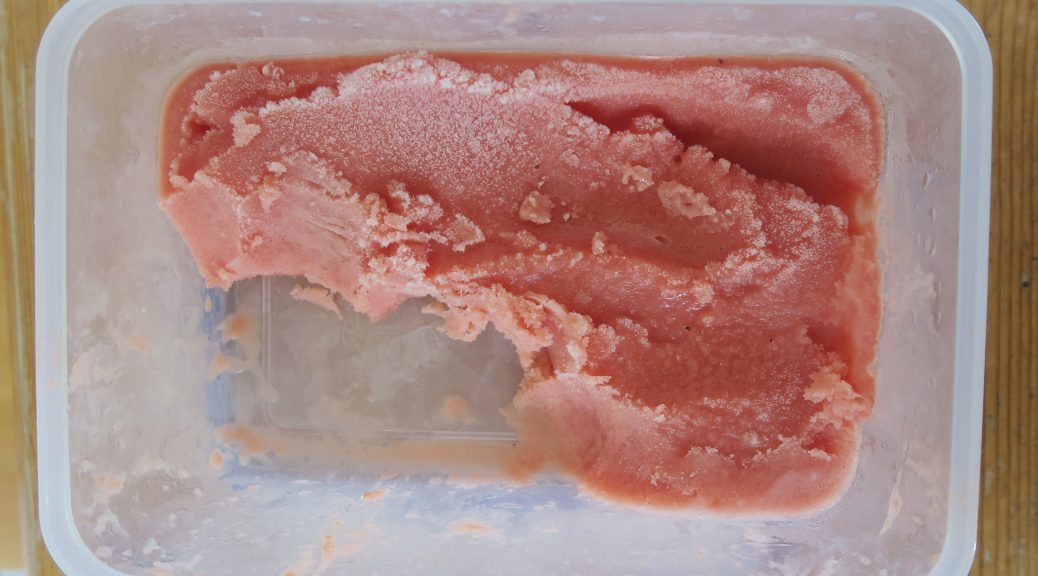
Naturally I began to get very excited (as I always do when I come across a new foodie-find) and I knew that when I got home I’d have to make my own. Unfortunately this was so good and it was so warm when I made it that my family and I tucked into it before I remembered to snap a photo (hence the half devoured tub in the header image) – but if anything that just shows how mouth wateringly-good it was! Oh… and did I mention it’s vegan? I’ve used a coconut and almond milk base for this so even though it’s super creamy and rich it’s 100% plant based and vegan friendly. If you want to make it really special try adding some 100% cocoa chocolate to the mixture before putting it into the ice cream machine. It’ll give some dark flecks like watermelon seeds to the pink base as well as some delicious cocoa flavour!
Recipe
Makes 1 tub
Time: 1 hour, plus freezing time
Ingredients
160g Caster sugar
130ml Almond milk
160g Coconut milk
1 tbsp Cornflour
1 tsp Vanilla extract
615ml Watermelon juice or 1 Watermelon
Method
Place the sugar, almond milk, coconut milk, and cornflour into a medium sized saucepan and place over a medium heat.
Bring the pan to the boil and then leave to boil, stirring occasionally until thickened. Stir in the vanilla and then leave to cool to room temperature. Then leave in the fridge until completely cool.
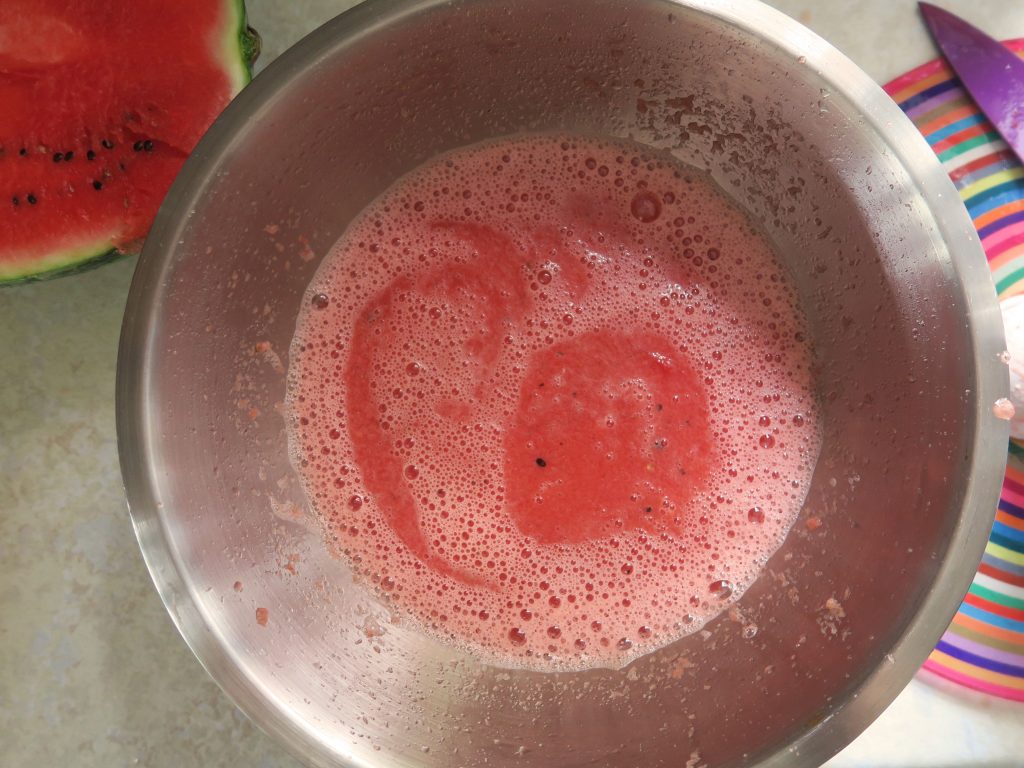
Meanwhile slice the watermelon into 4 and scoop out the flesh. I find the easiest way to do this is to make vertical slices along the watermelon, almost all the way to the peel, and then run the blade parallel to the peel to make lots of little pieces. Chill the watermelon pieces for 30 minutes and then puree them with a hand blender. Sieve the pulp into another bowl and then take out 615ml of the juice. This is what you’ll use, you can freeze the rest to use at a later date or to eat as a watermelon ice!
Mix the watermelon puree with the cooled milk mixture and then pour it into an ice cream maker. Churn until thick and semi-frozen. Pour the mixture into a freezeable container and leave in the freezer until completely frozen. Enjoy!
It’s coming to the end of term, the end of an era and a bit of a change in mind on my part. I started this blog mainly as a project for myself – I wanted to create recipes and have a place to put them, a catalogue if you will. Then, last summer I decided to also use this as a platform to explore the topic of mental health and mental health awareness. These are areas I’m still interested in exploring and writing about, however I’ve now decided to let it come more naturally. I’m one of those people who when they set their mind to something will do whatever it takes to make it happen, even if it isn’t the best thing for themselves. In this case I was determined to turn out two recipes a week, every week. However, as I’m restricted to cooking in my holidays, because I don’t have the space or time here at uni, I essentially binge-cook in my vac and then post later on. I also eat ALL the cakes, pastries and general sweet things I make during those times, (roughly 2 recipes a day), leading to me having a really bad diet and so on. Needless to say that isn’t a healthy way of living.
Therefore I’ve decided to keep on going, but to just be more relaxed and varied with my posts. Rather than sticking to a strict twice a week schedule I’ll post as and when I feel inspired to do so. I’ll keep blogging my own recipes, but will also write about mental health, my culinary travels and whatever else feels particularly inspiring. In essence this will continue to be The Mindfulness Kitchen, I’ll just be looking after myself a little more which at this point in my life is something I need to be doing. It’s slightly worrying that it’s taken me this long to realise this – but just because you can doesn’t mean you should. Just because you want to do something, feel like you should do something or feel like you can do something it doesn’t mean you should. Take a second to really think about what you’re doing. Take a minute to think about your life choices and ask yourself is this what’s best for me? Of course, beyond that you should think about others and what’s best for them, but you can’t help anyone if you’re in an emotional pothole, so you should first make sure you don’t end up in one!
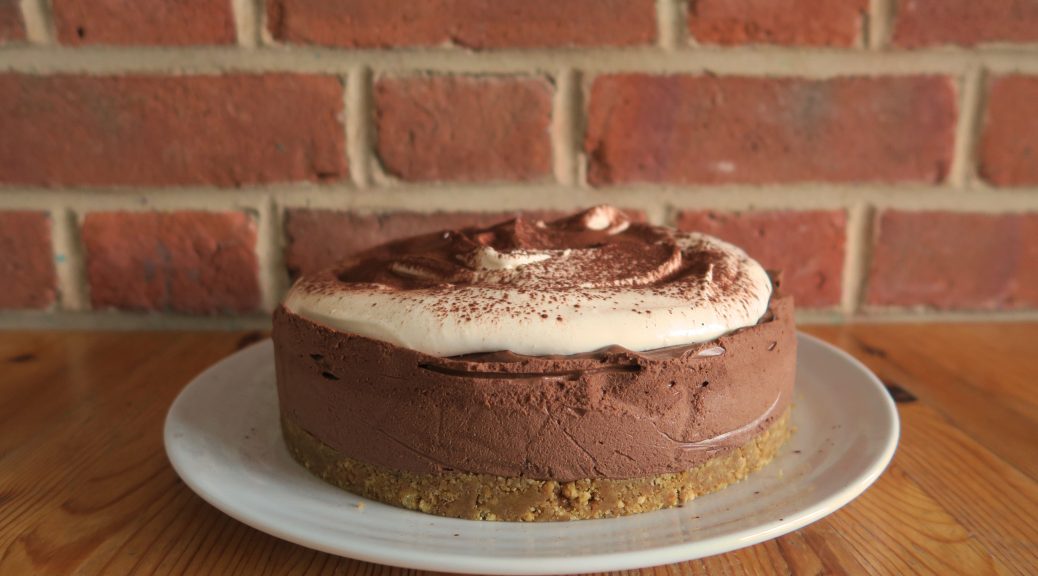
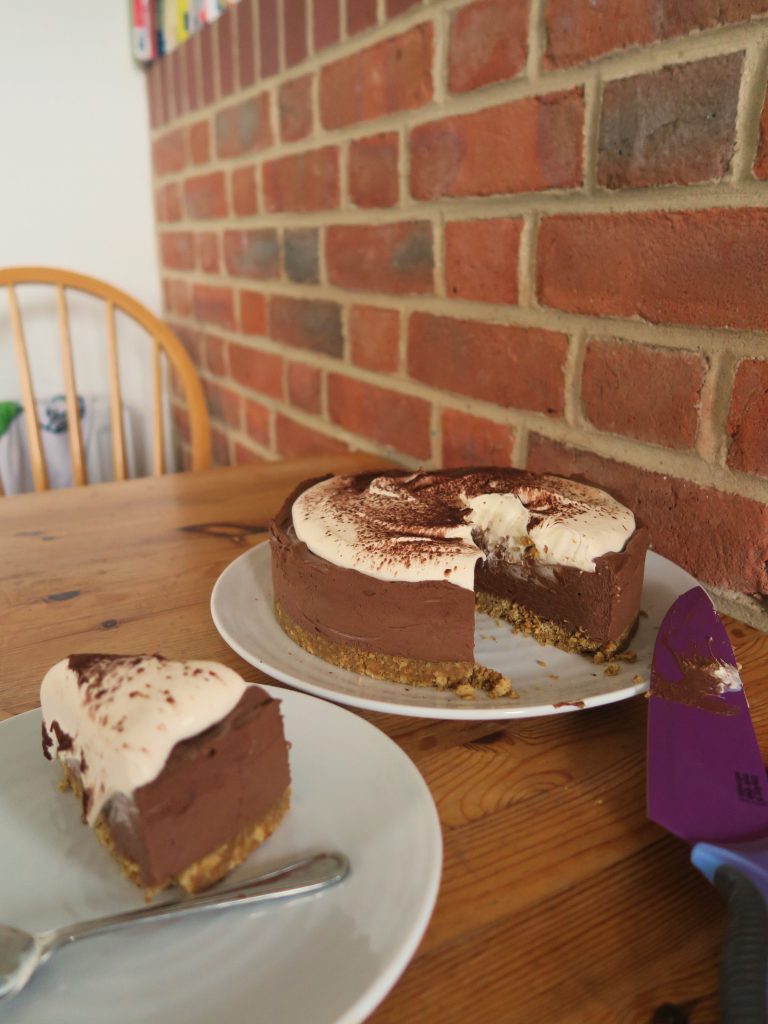
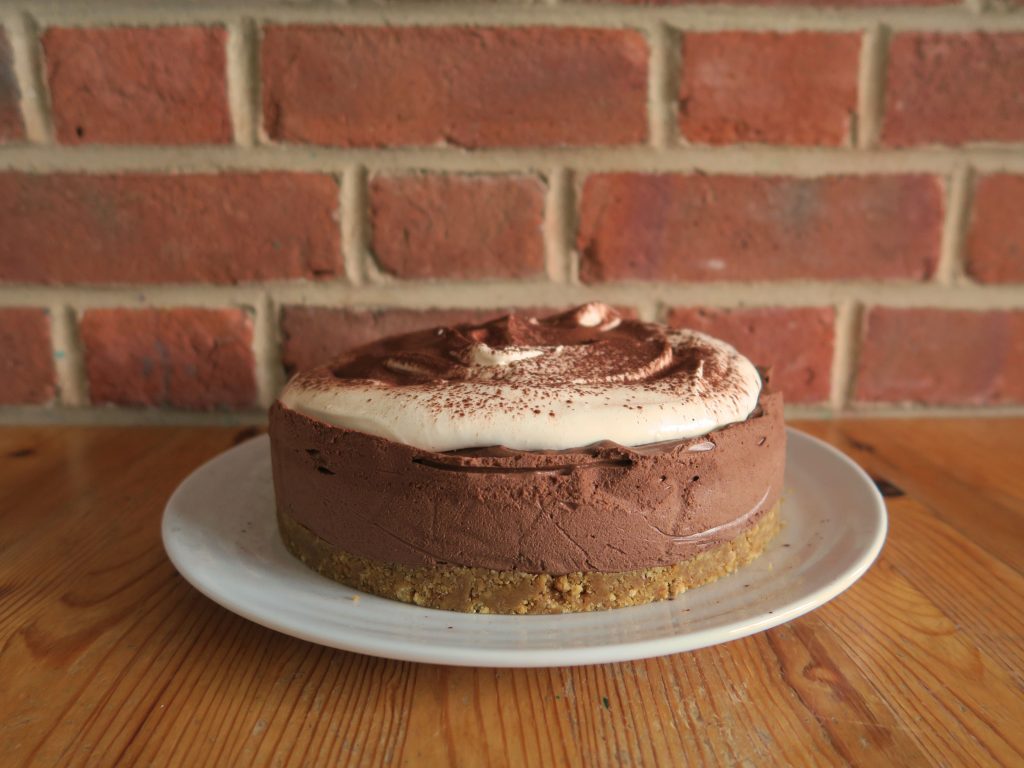
(On a side note, anyone else made massively peckish by this wonder of a mocha torte?)
Recipe
Serves 16
Time: 1 hour, plus chilling time
Ingredients
For the base
150g Digestive biscuits
75g Unsalted butter, melted
For the filling
260g Dark chocolate
2 tbsp Golden syrup
600ml Double cream
4 tsp Instant coffee granules
To decorate
300ml Double cream
1 tsp Vanilla bean paste
A sprinkling of cocoa powder
Method
Grease and line a 20cm round cake tin with butter and baking paper. Now make the base. Crush the biscuits with the back of a rolling pin to make a rough crumb. Then add the melted butter and stir to make a mixture that resembles damp sand.
Spoon the mixture into the lined tin and level it out with the back of a spoon. Leave in the fridge until needed.
Put the chocolate, syrup and ¼ of the cream into a heatproof bowl and place over a pan of gently simmering water. Leave for 15-20 minutes to allow the chocolate to melt. Stir to make the mixture smooth, remove from the heat and leave to cool until just warm.
Pour the rest of the cream into a bowl and add the coffee. Leave to dissolve and then whisk until just starting to thicken but not yet holding peaks.
Fold the cream into the cooled chocolate with a stiff spatula or large metal spoon until the mixture is smooth and completely combined.
Pour the mixture over the biscuit base and leave to set in the fridge for 1-2 hours.
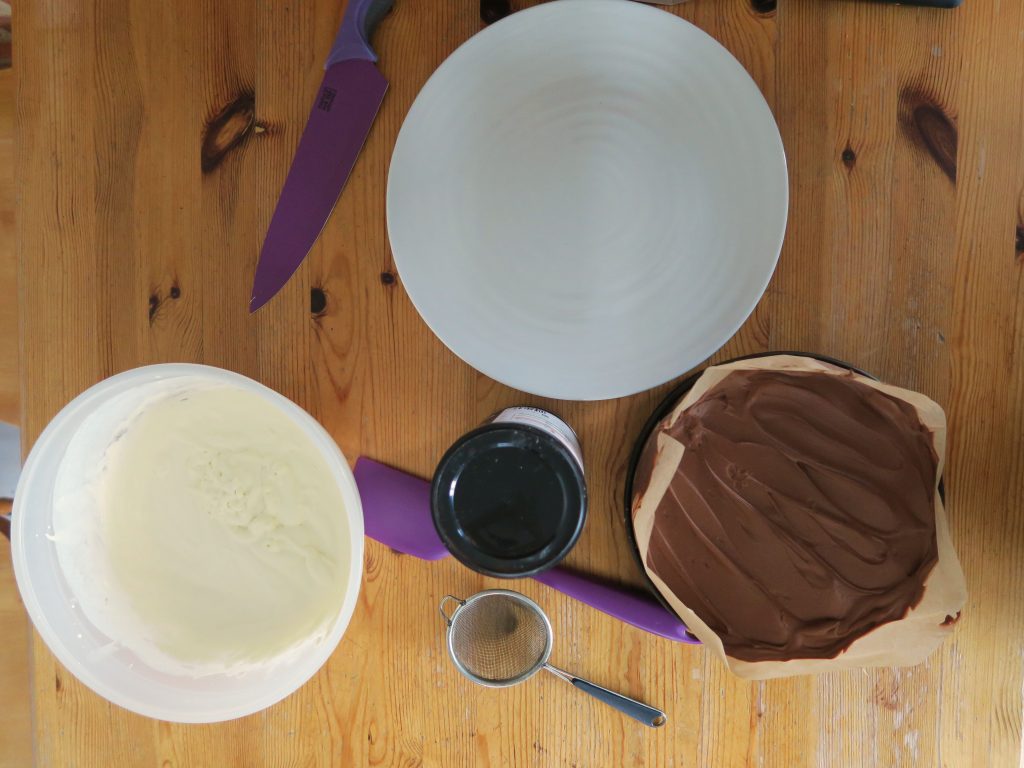
Pour the cream and vanilla for the topping into a large bowl and whisk until soft peaks form. When the base is set dollop this cream on top. Un-mould the dessert and place it on a plate. Then finish with a sprinkling of cocoa powder and serve!
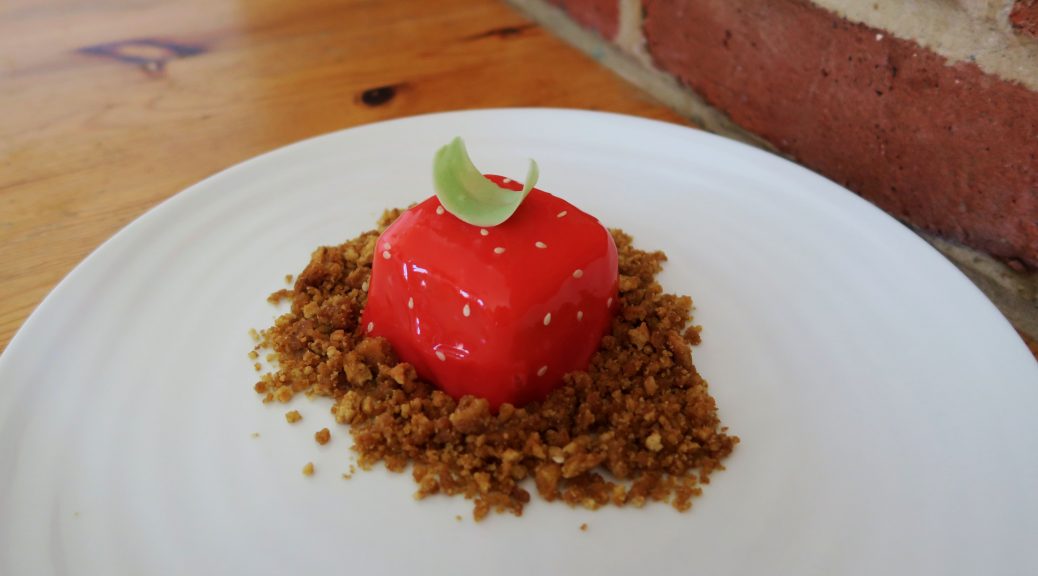
I was planning on doing a series of strawberry recipes for Wimbledon season as who doesnt love a lil’ month of themed recipes, however as the strawbs are so delish right now I thought why not bring these out early and enjoy strawberry season for longer? First one up is this cute strawberry cube: strawberry bavarois filled with a cream cheese mixture and coated in a red mirror glaze. These look a little fancy, but they’re not that hard to put together, worst comes to worst they might look a little rough around the edges but they’ll still taste great!
When I was little my mum, sister and I would go to this local farm in the summer and do the ‘pick your own’ where you pick up a punnet and fill it with as many strawberries as possible. We’d then live off strawberries for the week, trying to get through them all before they went mouldy. One of my fave treats from back then was my mum’s strawberry ice cream which she’d make from the abundance of fresh strawberries we’d pick. It was always so fresh, zingy and bursting with a really authentic strawberry taste – completely different to the stuff you get in supermarkets. We stopped picking strawberries a few years ago and I haven’t tasted anything like that ice cream until I made these delish cubes. The bavarois is made with real strawberries, so whether you use fresh of frozen ones you end up with a really pure strawberry flavour!
Recipe
Serves 8
Time: 3 hours, plus chilling time
Ingredients
For the Bavarois
250g Frozen strawberries (or fresh if available)
50g Caster sugar
10ml Lemon juice
4 Leaves of gelatin (around 8g)
2 Egg whites
160ml Double cream
For the Cheesecake filling
65g Cream cheese
1 tbsp Smooth strawberry jam (around 15g)
For the Crumble
100g Digestive biscuits
50g Butter
To Decorate
100g White chocolate
Green food colouring
A few Sesame seeds
For the Mirror glaze
150ml Water
150g Caster sugar
200g Condensed milk
6 Leaves of gelatin
370g White chocolate
A few drops of red food colouring
Method
Begin by making the bavarois. Put the strawberries and sugar into a food processor and pulse until smooth.
Fill a small bowl with cold water and soak the gelatin in it for around 5 minutes until soft. Warm the lemon juice in a small pan until just below the boil. Then squeeze the gelatin to remove excess water and put it into the lemon juice to dissolve.
Take a whisk a gently whisk the egg whites and then the cream into soft peaks.
Fold the lemon juice mixture into the strawberry puree. Then fold in the cream, followed by the egg whites until the mixture is smooth.
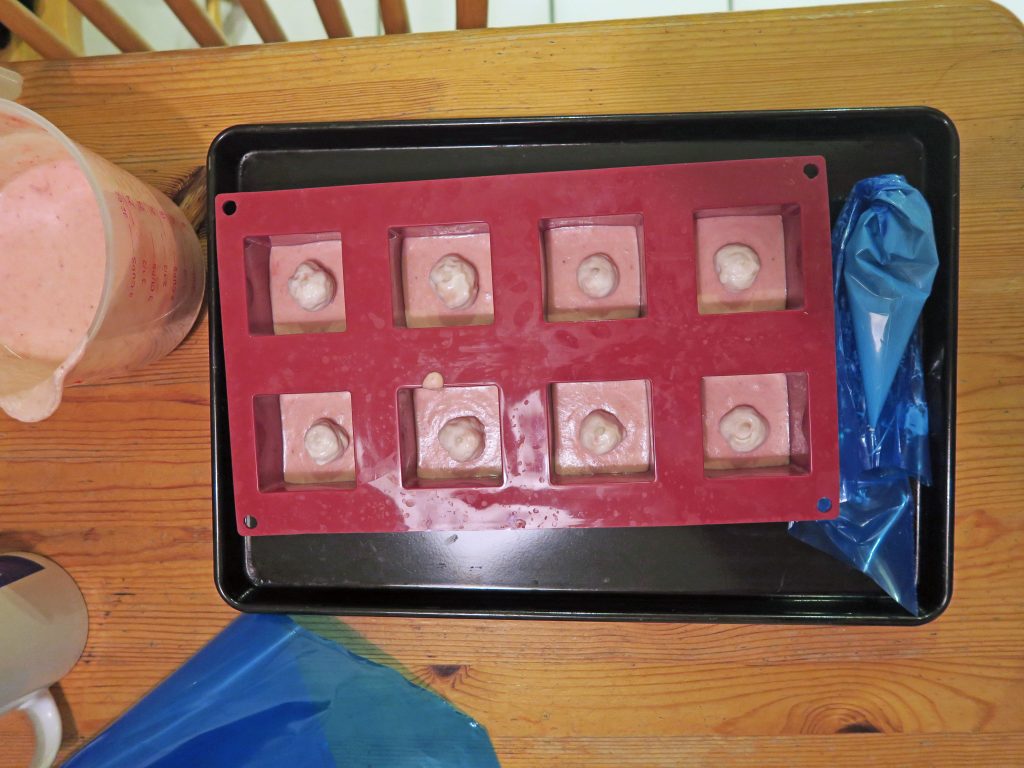
Pour the mixture into some silicon cube-shaped moulds to fill it up half way. Leave these to set in the fridge for 2 hours.
Now make the cream cheese filling. Mix the cream cheese and jam in a bowl until smooth. Then pipe the mixture into the centre of the set bavarois in a little blob.
Pour the rest of the bavarois over the top of the filling and leave to set for at least 3 hours, or better overnight.
Meanwhile make the crumble. Crush the biscuits in a large bowl with the end of a rolling pin to make a fine crumb. Then melt the butter in a small pan and pour it onto the biscuits. Mix to combine, then set aside until needed.
Now make the chocolate leaves. Gently melt the white chocolate in a glass bowl over a pan of simmering water. Add the green food colouring. Then dip a knife in the chocolate and press it onto a sheet of baking paper to make a leaf shape.
Repeat to make a line of leaves across the sheet of baking paper. Then place the baking paper between two props on either side to make the paper sag in the middle. Leave to set until needed.
When everything is ready make the mirror glaze. Put the water, sugar and condensed milk into a small pan and heat for around 1 minute, until the sugar has dissolved.
Soak the gelatin in a bowl of cold water for around 5 minutes until soft. Then squeeze out the excess water and add the gelatin to the condensed milk mixture and stir to dissolve.
Finely chop the white chocolate and put it into a glass bowl. Then pour the condensed milk mixture over this chocolate. Stir to help the chocolate melt for 3-4 minutes.
Take a hand blender and carefully blend the chocolate into the liquid until smooth. Try to not take the blender too high in the mixture or it will create air bubbles.
Sieve the glaze into a large jug to remove as many bubbles as possible. If there are still bubbles continue to sieve until the mixture is completely smooth.
Add the red colouring to the glaze and then pulse again with the hand blender until smooth and uniform in colour. Set aside, covered in clingfilm, until needed.
When ready turn the bavarois out onto a wire rack with a large tray or baking tin underneath to catch any excess glaze. Make sure the glaze is around 30-35˚C in temperature and then pour it over the bavarois to coat them evenly. Leave to set for 10-15 minutes.
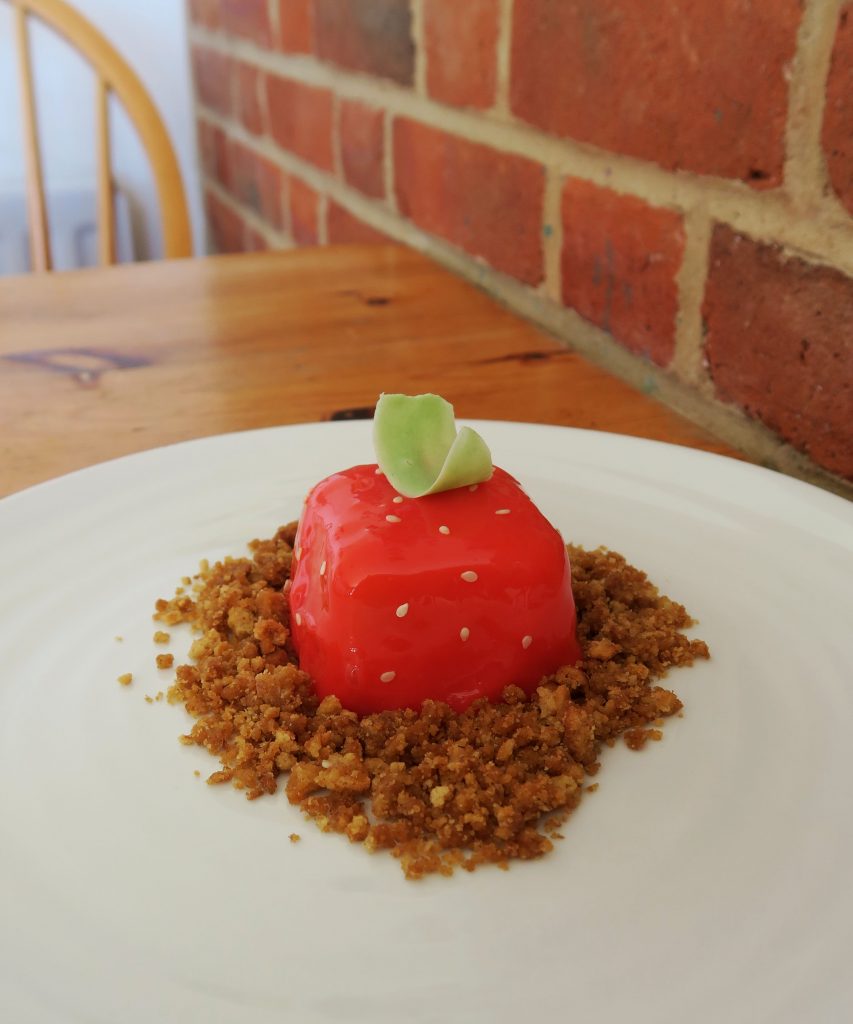
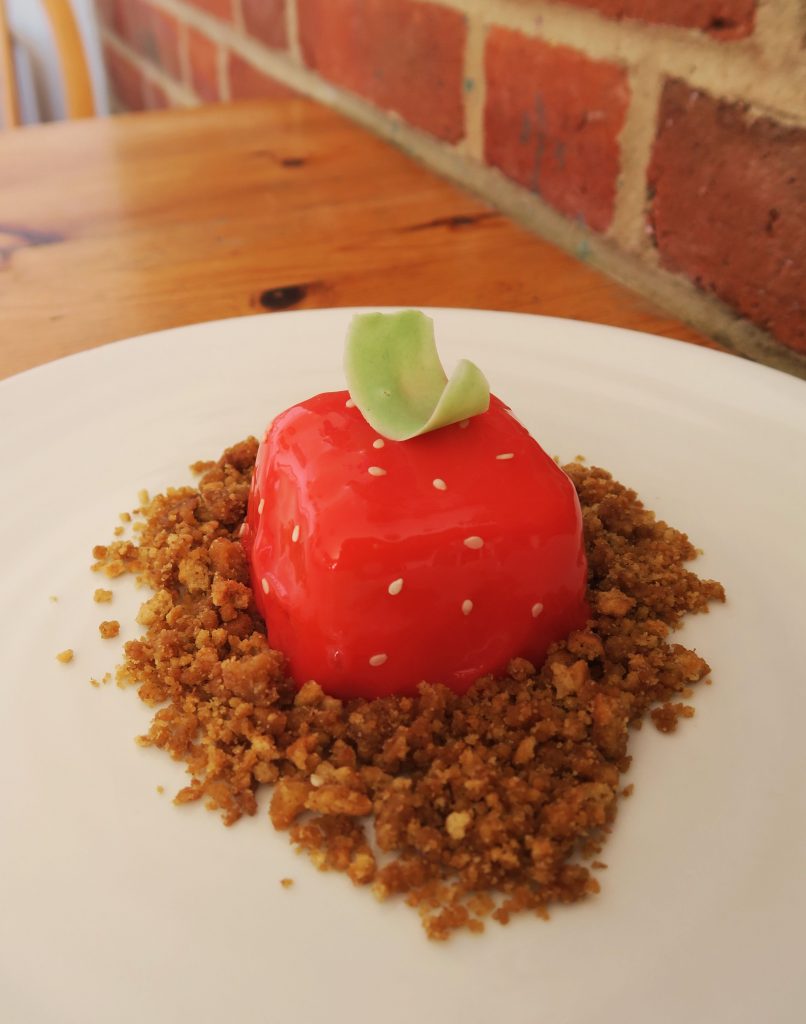
Carefully transfer the bavarois onto your plates. Then sprinkle a little of the biscuit crumb around the base of the bavarois. Carefully place some of the sesame seeds around the edge of the cubes to look like strawberry seeds.
Finally, carefully peel the chocolate leaves off the baking sheet and then place them on the top of the cubes to look like leaves. Enjoy!
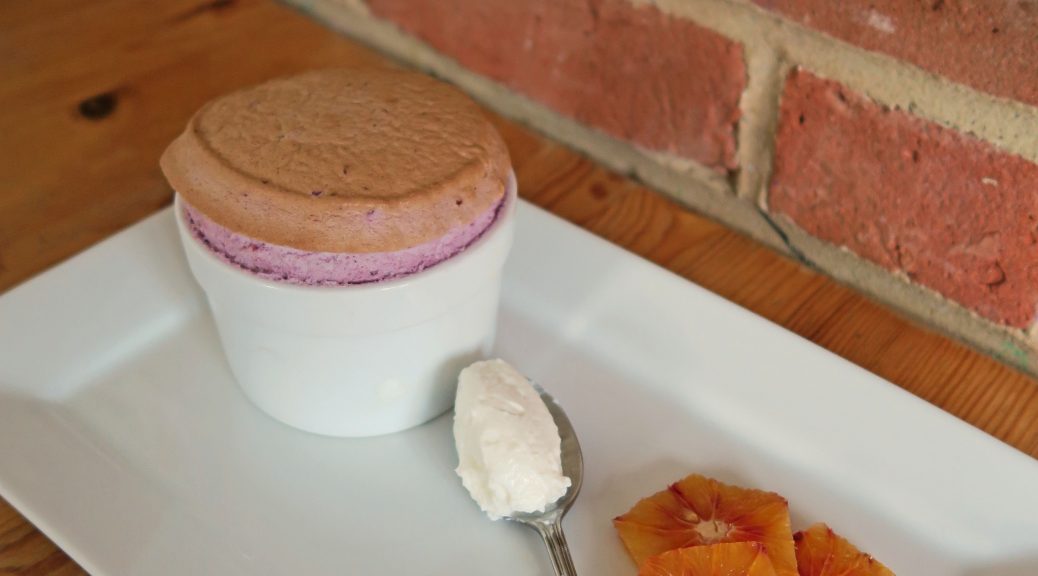
Ok, so for a second I’d like you to cast from your mind any previous things you’ve ever known or thought about souffles. Forget the stereotype that they’re hard, posh and chefy – listen to this. I’m a strong believer that if you have the right recipe you can make just about anything. In the past I’ve struggled with souffles but I think that’s down to the individual recipes rather than the technique. The other day I decided to whip up a quick souffle in the same way I normally would, but this time following a different ratio of ingredients, and it somehow resulted in some of the best souffles I’ve ever made.
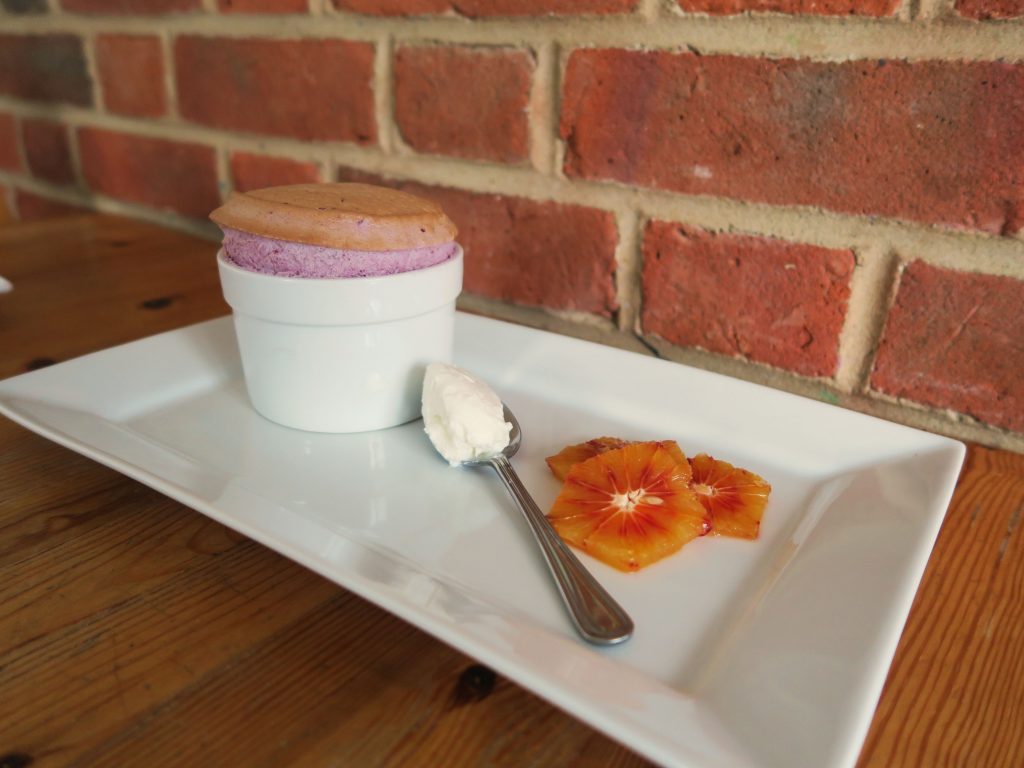
Souffles have to be served straight from the oven otherwise they sink, but I’ve always heard that a good souffle should still have some marshmallowy bounce to it even after it’s sunk from it’s original glory – and hey presto that’s what happened here! Photographs taken, uploaded and tweaked and even after all that these beauties were like little pillows of fruity air. It’s traditional to serve these at fancy dinner parties, but personally I think why not eat them whenever? They take relatively little time to make as far as desserts go and are super light, making them perfect for summer days!
Recipe
Serves 2
Time: 30 minutes
Ingredients
Butter for greasing
100g Caster sugar, plus extra for sprinkling
100g Frozen cherries
50g Frozen raspberries
50g Frozen blackberries
¼ tsp Ground cinnamon
¼ tsp Ground ginger
10g Cornflour
2 Egg whites
To serve
1 Blood orange
2 tsp of Greek yogurt
Method
Pre-heat the oven to 180˚C. Take 2 ramekins and grease them with butter in vertical lines. Chill the ramekins in the freezer for 15 minutes and then sprinkle a little caster sugar to line the mould. Tap out the excess and then leave in the fridge until needed.
Now make the fruit puree. Put the frozen fruit and spices into a small pan and leave covered for 15-20 minutes on a low heat to simmer and soften. Then press the mixture through a sieve to make a puree (make sure to scrape mixture off the bottom of the sieve as lots of puree will collect there).
Put the puree and 50g of the sugar into a pan and bring back up to the boil.
Mix the cornflour and 2 tsp of water in a small bowl and add it to the puree. Stir over a medium heat until the mixture thickens to a jam-like consistency. Pour 50g of the puree into a large, clean mixing bowl and leave to cool completely.
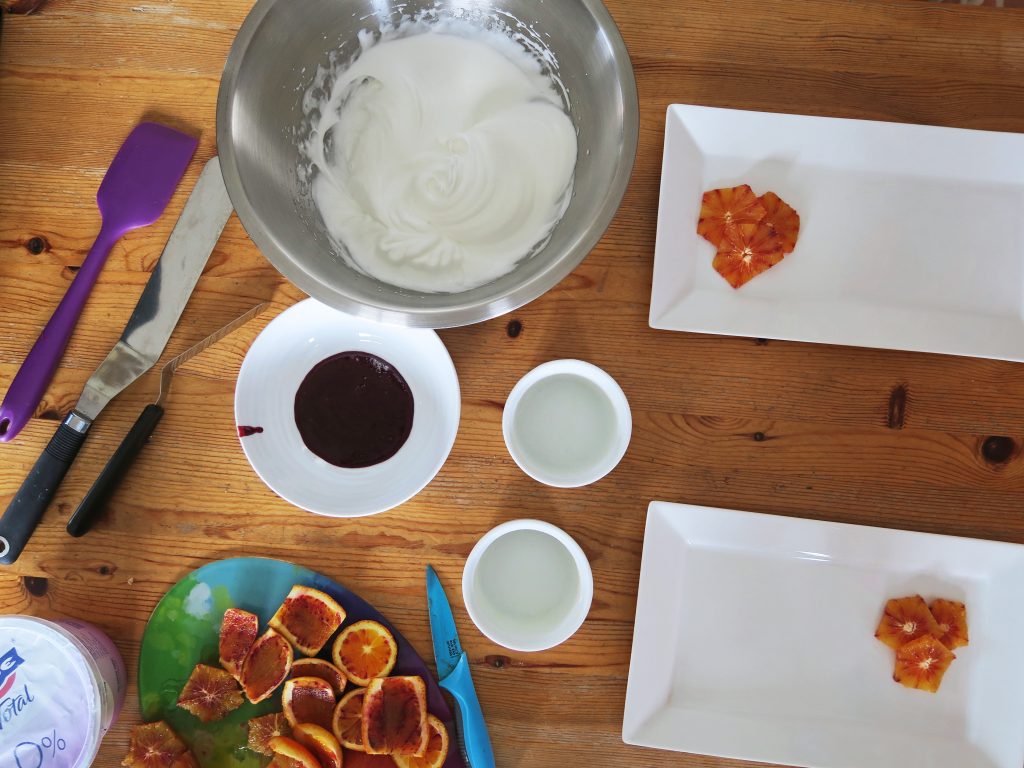
Crack the two egg whites into a super-clean metal or glass bowl and whisk with an electric whisk until soft peaks form. Add the sugar and whisk again until the mixture is stiff and fluffy.
Fold 1/3 of the egg whites into the fruit mixture until uniform in colour. Then fold in the other 2/3 to make a thick, even mixture.
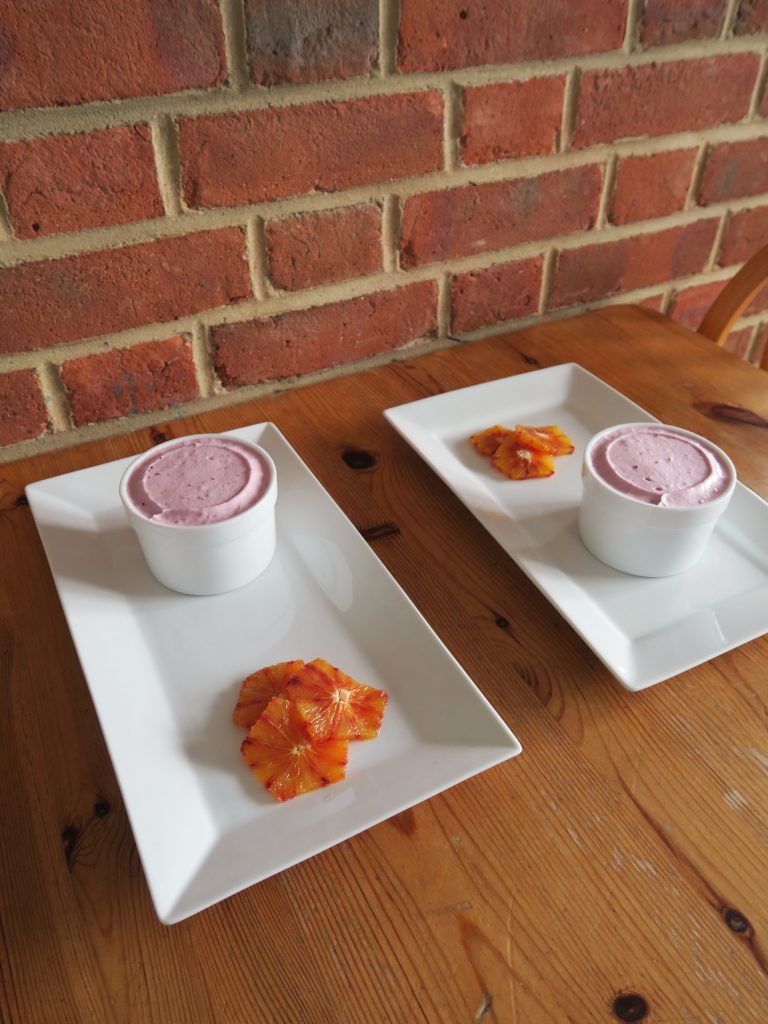
Divide the mixture between the two chilled ramekins and tap them gently on the worktop to make sure the mixture fills the ramekins. Then take a palette knife (or the back of a table knife) and sweep it across the top of the ramekins to make the top a smooth layer.
Take your thumb at an angle and run it around the rim of the ramekin to shape the top. Then bake the souffles in the oven for 5-10 minutes until risen and just golden on top.
Whilst baking chop the top and bottom off the blood orange and then peel the skin off with a knife. Then slice the orange into discs around 1/2 cm wide.
Serve the souffles as soon as they come out of the oven with the orange slices and 1 tsp of yogurt on each plate!