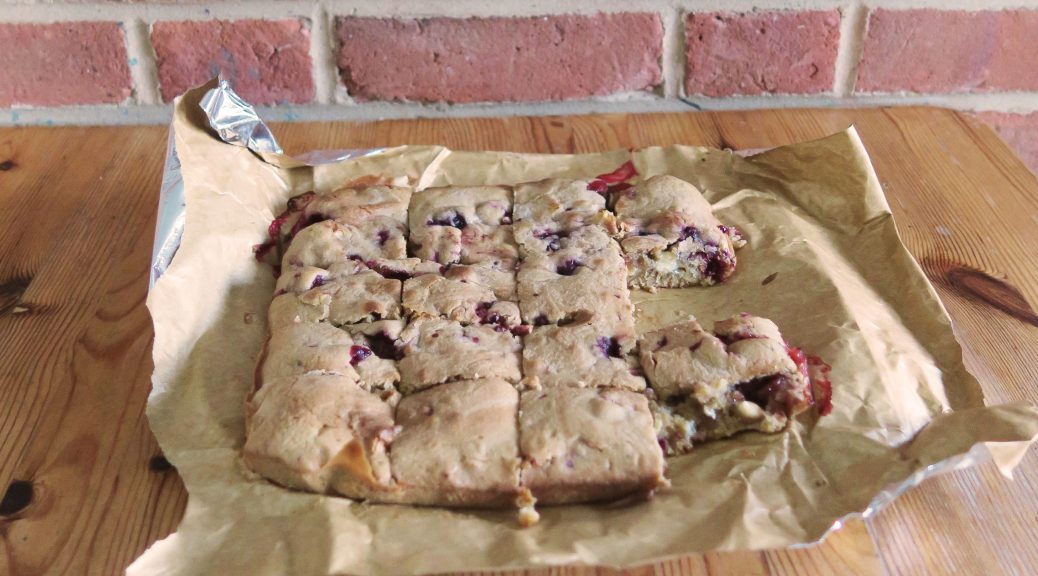
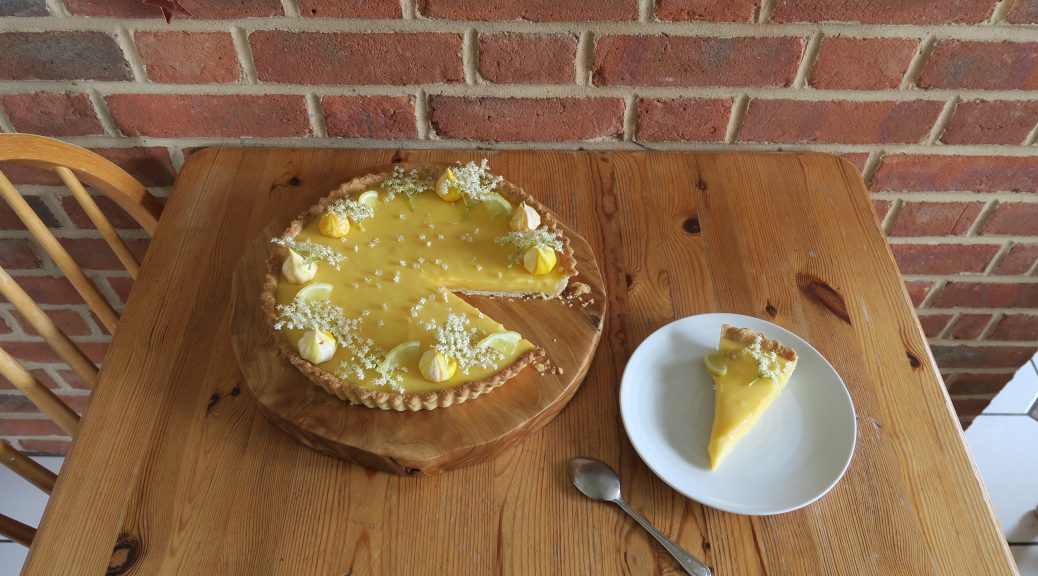
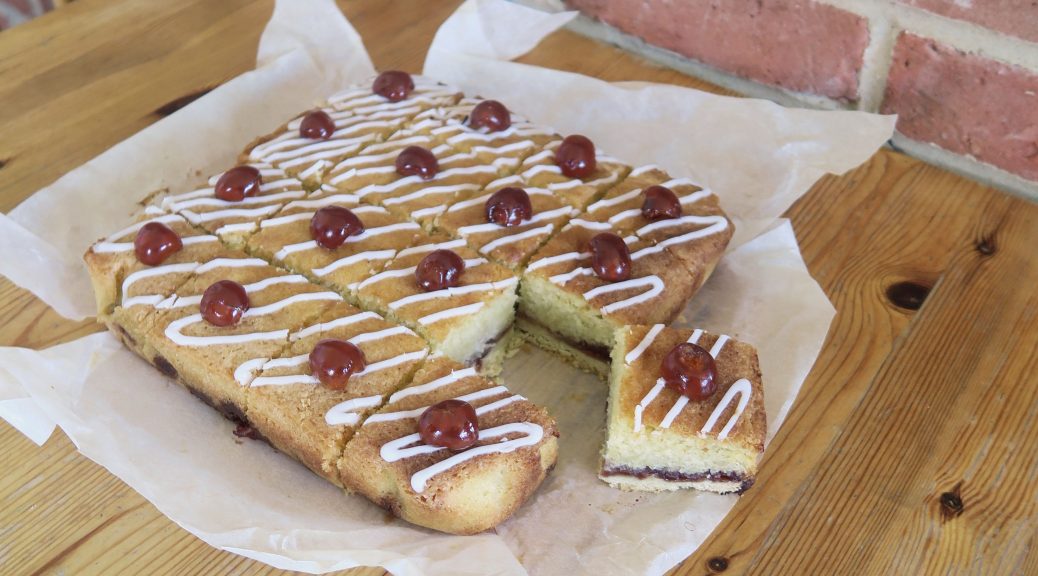
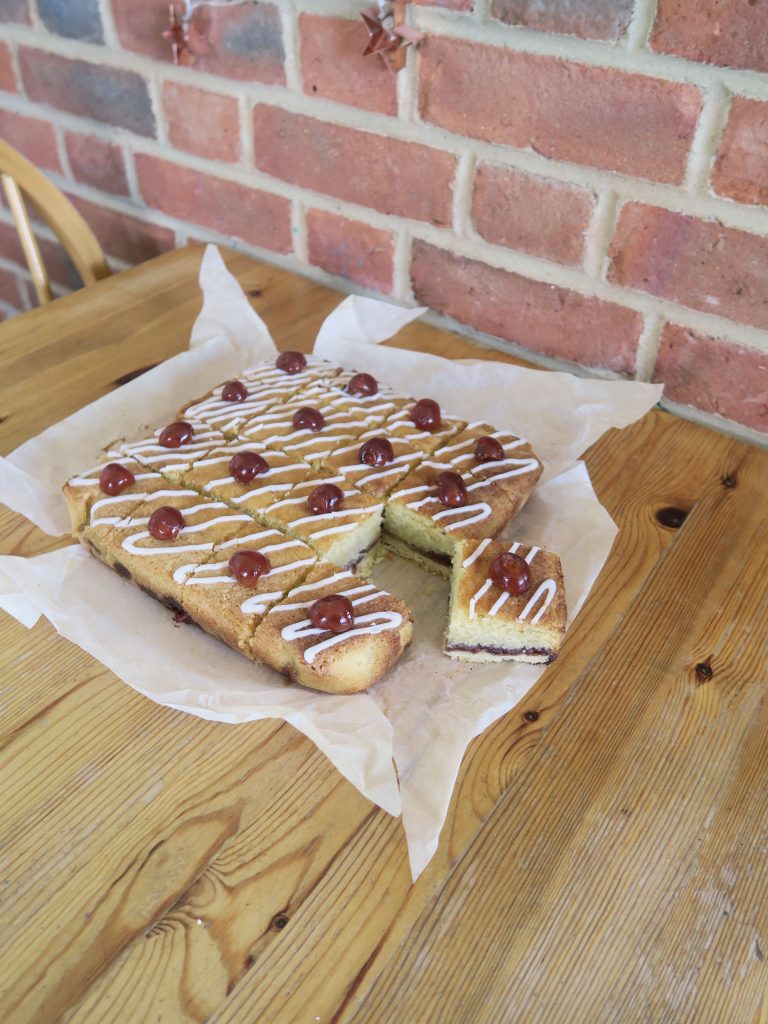
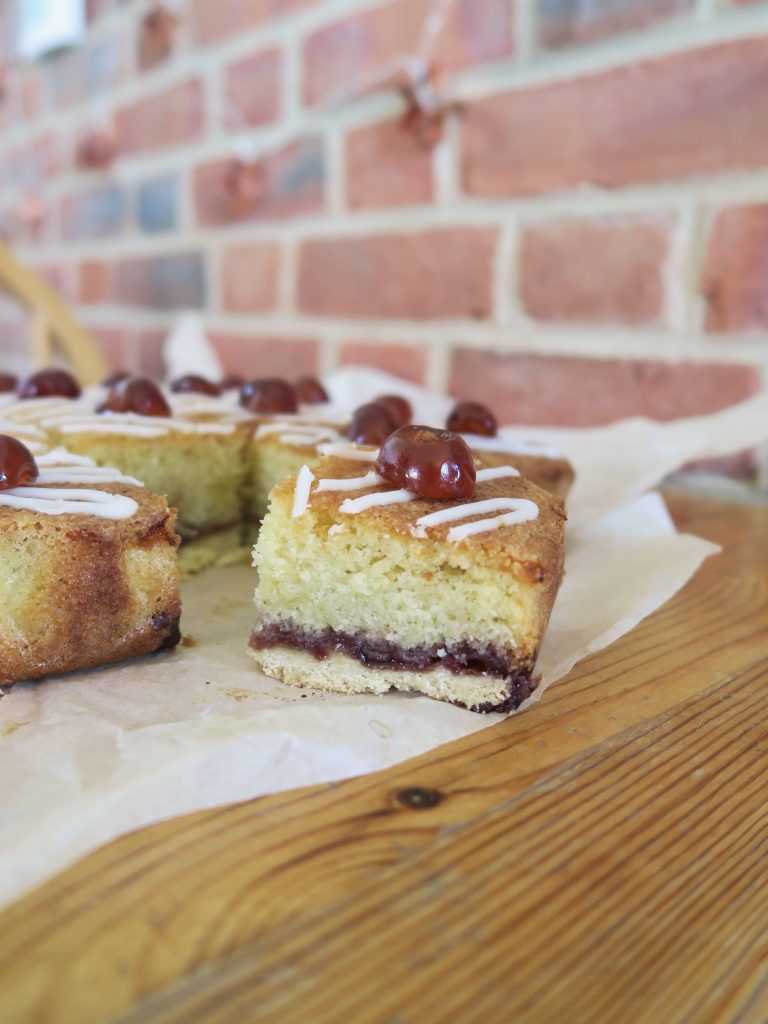
Category: Baking

Bakewell Traybake

Bakewell Traybake

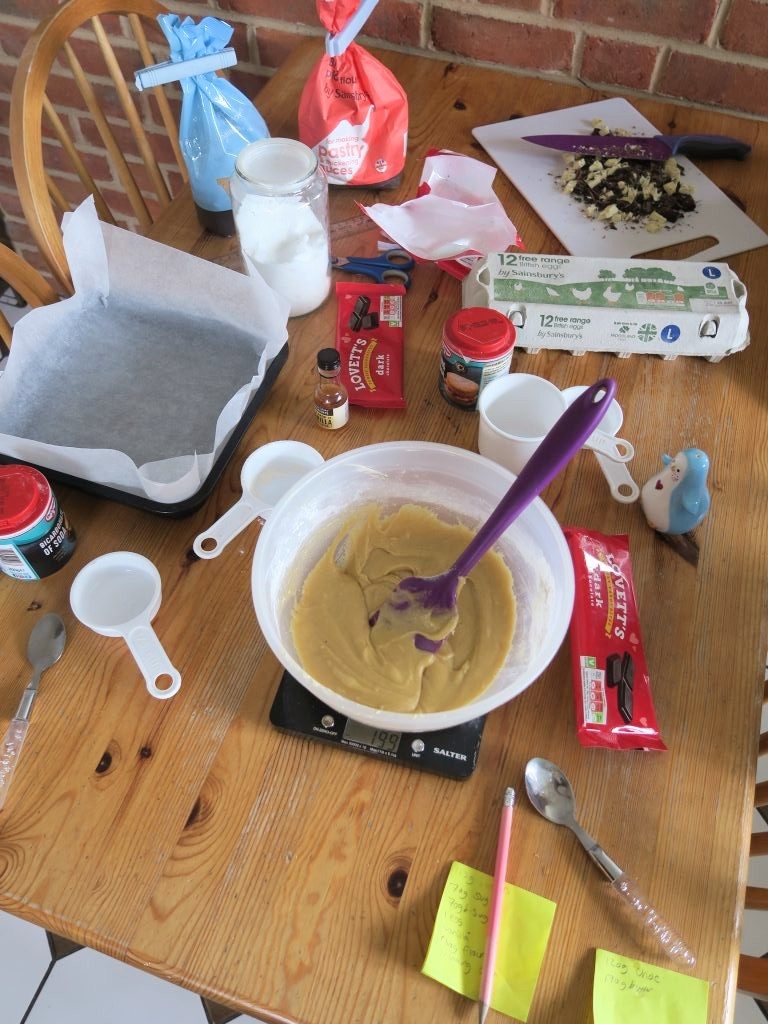
I’m a bit behind with my recipe writing so apologies for the tardiness on this one! I’m getting into the habit of brainstorming, baking, photographing and then posting on social media, but not so much with the follow up blog posts. When I’m baking I tend to jot down on post-it notes what I’m doing and what quantities I’m using etc, but recently these have ended up piling up in a corner waiting for me to re-visit them! But anyhow – we’re here, and this one is a particular fave of mine. I’ve been making bakewell tarts for as long as I’ve been baking, but I decided this time to make it as a tray bake so it can be easily chopped up and shared around! I’ve used raspberry jam here as I think it’s a nice tartness to pair with the sweet pastry and cake, but you could use any kind of jam you like!

Recipe

Makes 16 squares

Time: around 2 hours

Ingredients

For the pastry (or use ready-made)

  • 175g plain flour
  • A pinch of salt
  • 2 tbsp caster sugar
  • 115g unsalted butter
  • 1 medium egg yolks
  • 2 tbsp cold water

For the filling

  • 5tbsp raspberry jam
  • 200g soft butter
  • 200g caster sugar
  • 100g ground almonds
  • 100g self-raising flour
  • 1tsp baking powder
  • ½ tsp almond extract
  • 4 eggs, beaten

To decorate

  • 100g icing sugar
  • 25g flaked almonds

Method

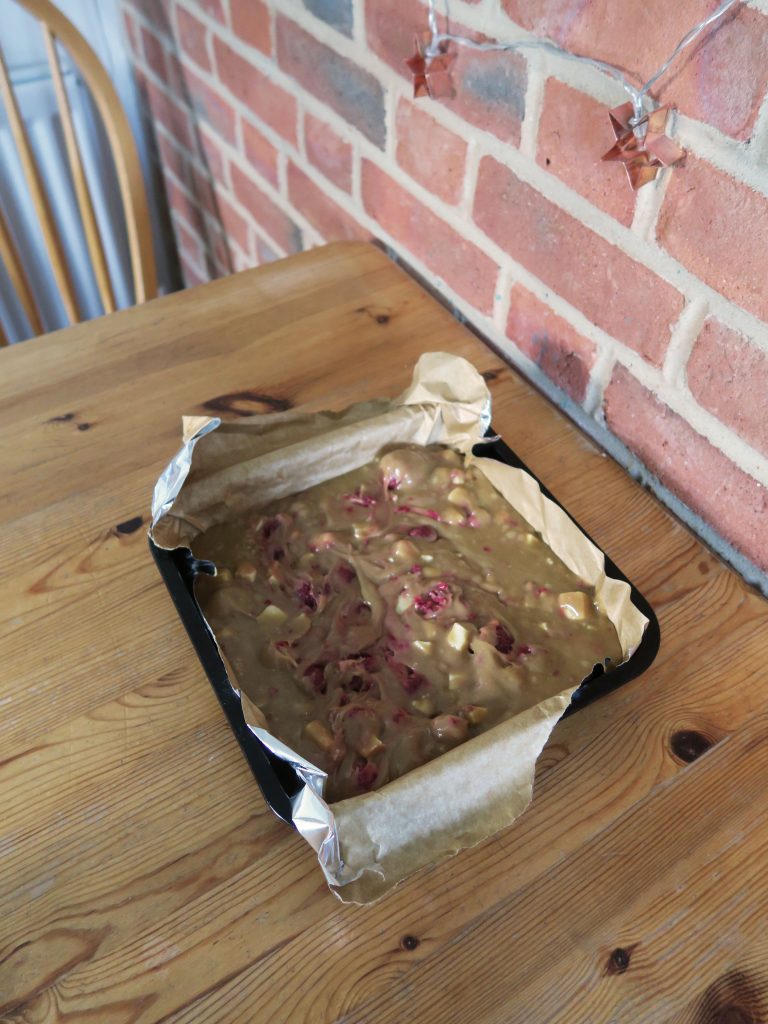
  1. Pre-heat the oven to 180C. Line a 20x30cm tin with butter and baking paper.
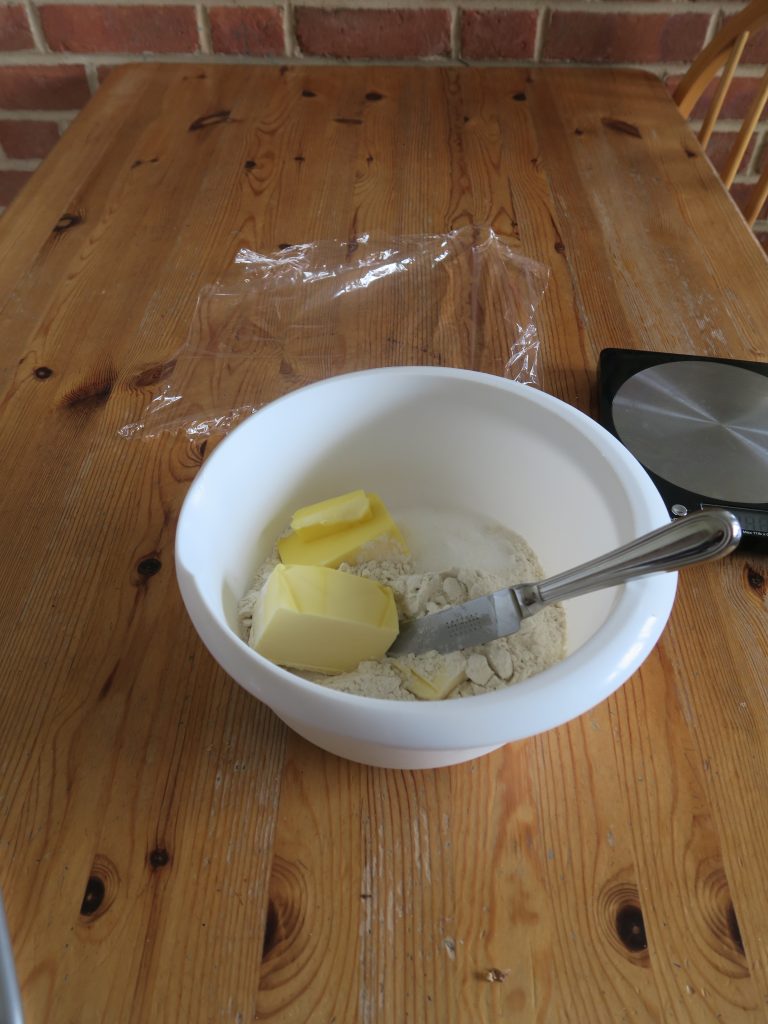
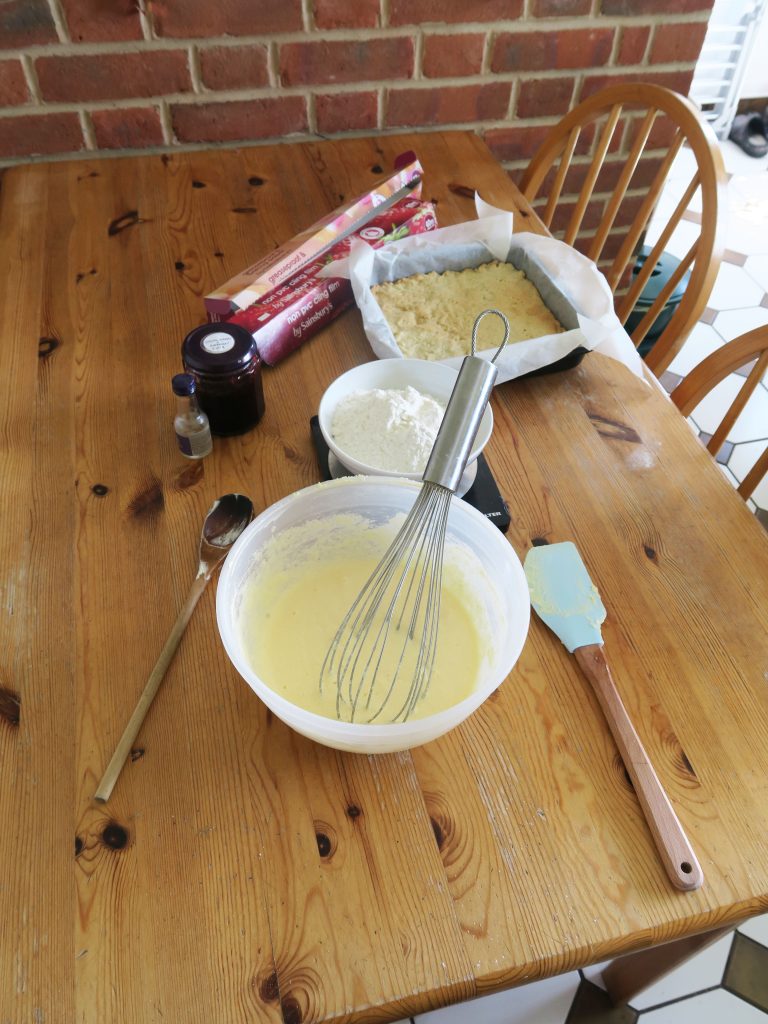
  2. To make the pastry put the flour, salt and sugar into a bowl and mix together. Add the cold butter in chunks and cut it into small lumps with a table knife. Then go in with your hands and rub the butter into the flour with your fingertips until the mixture resembles breadcrumbs. (Shaking the bowl side to side every now and then can help bring the lumps to the top).
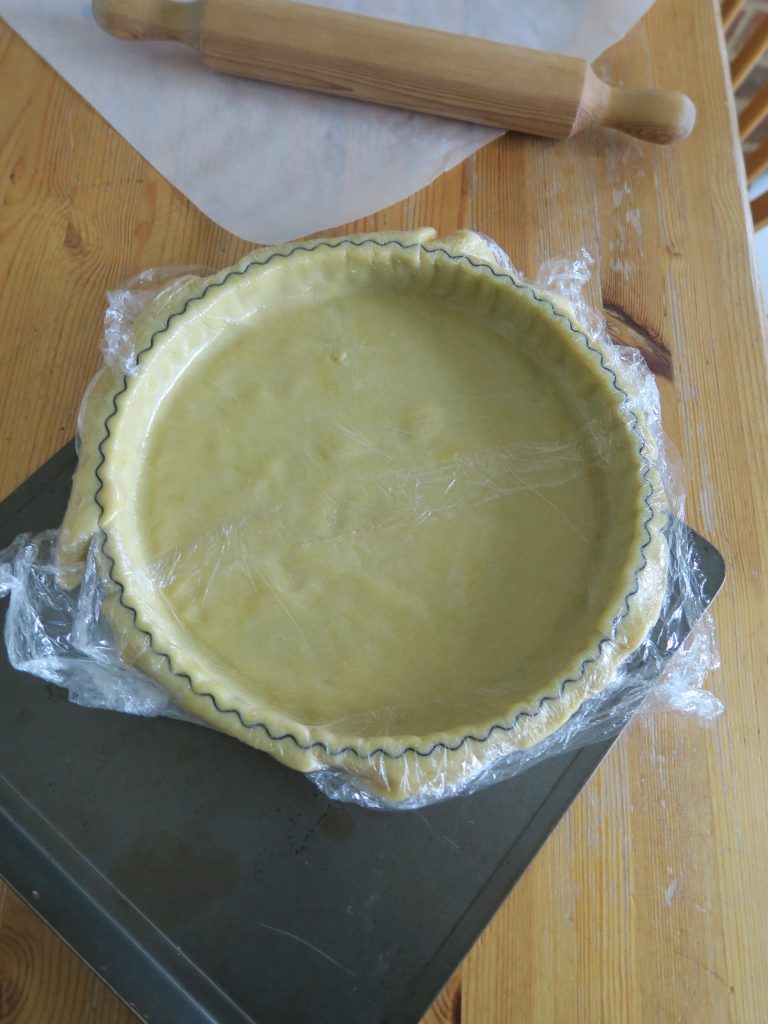
  3. Press the pastry into the lined tin to form an even layer. Prick the base all over with a fork and then bake for 8-10 minutes until cooked through.
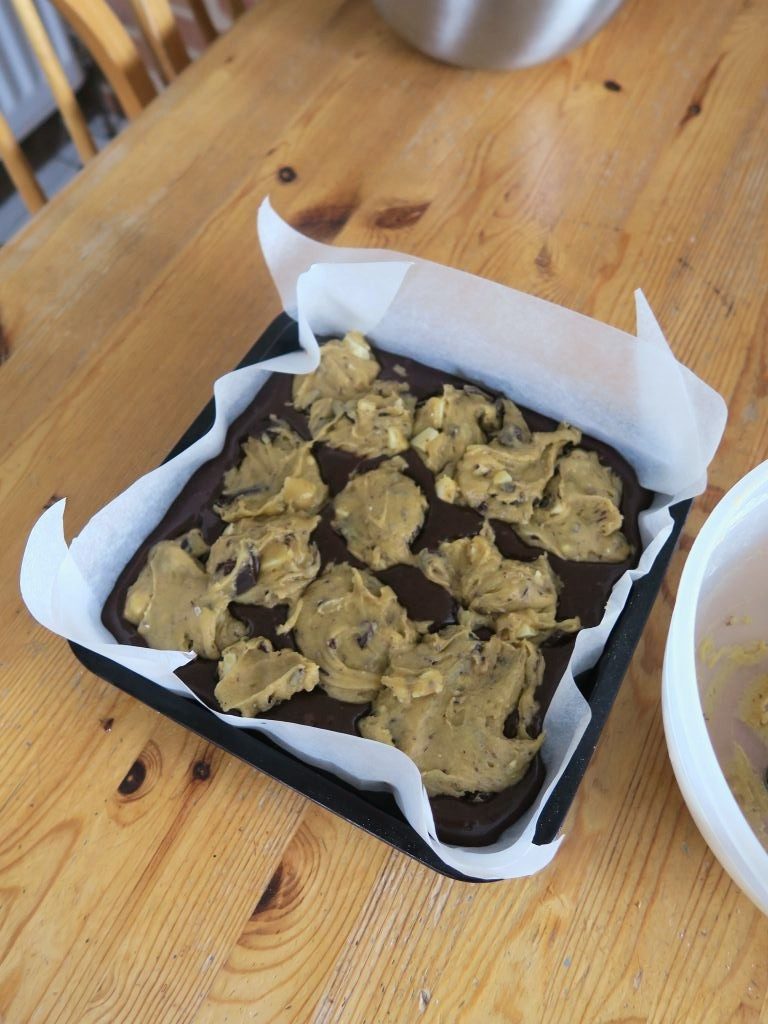
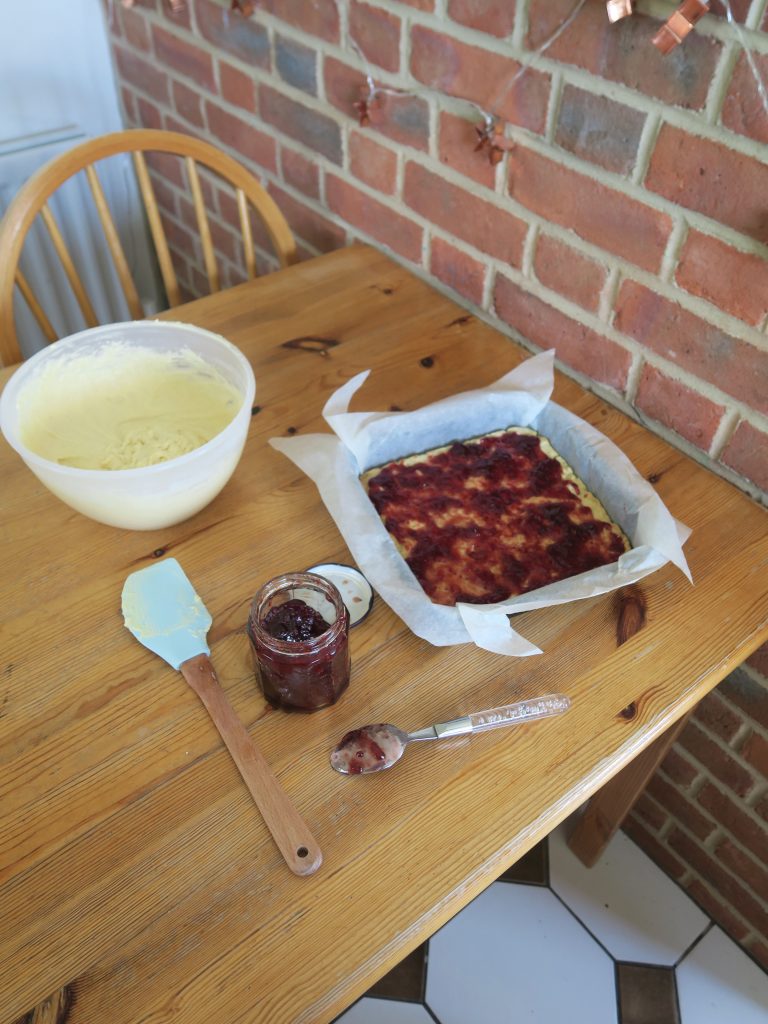
  4. Spread the raspberry jam over the base to make an even layer.
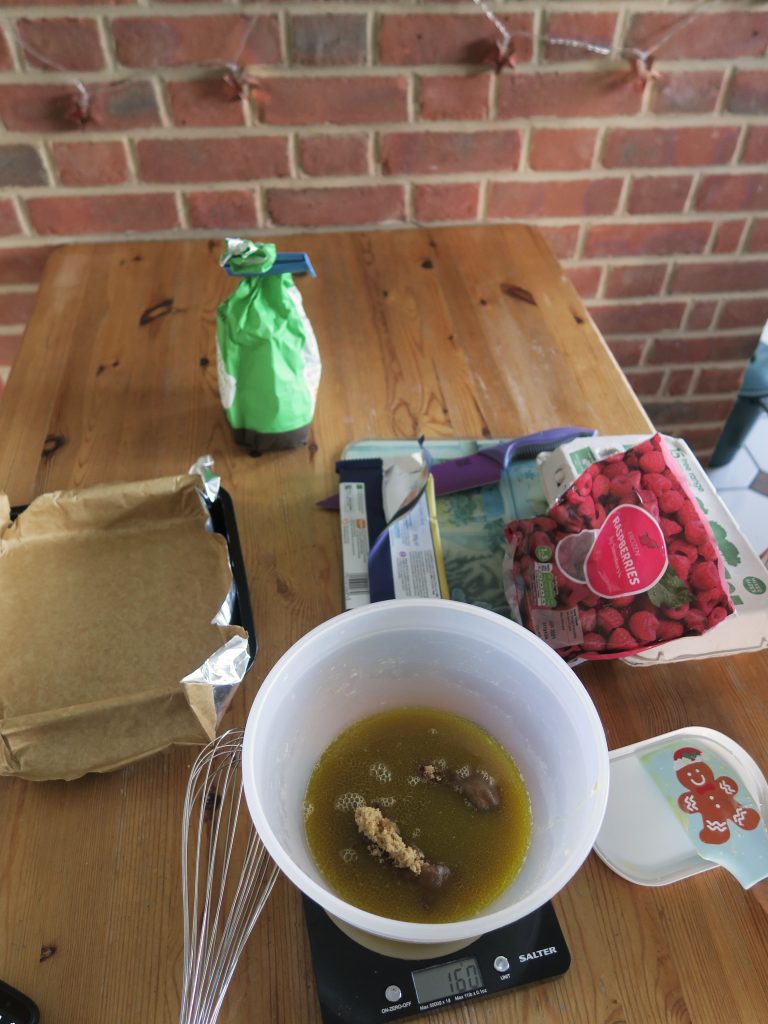
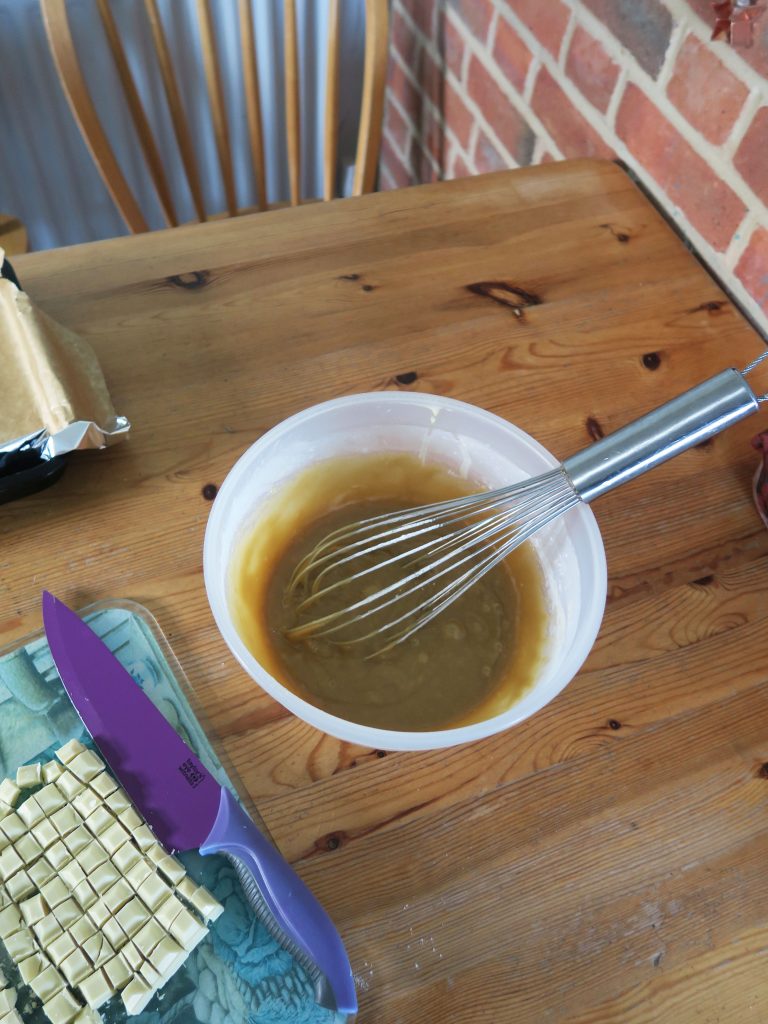
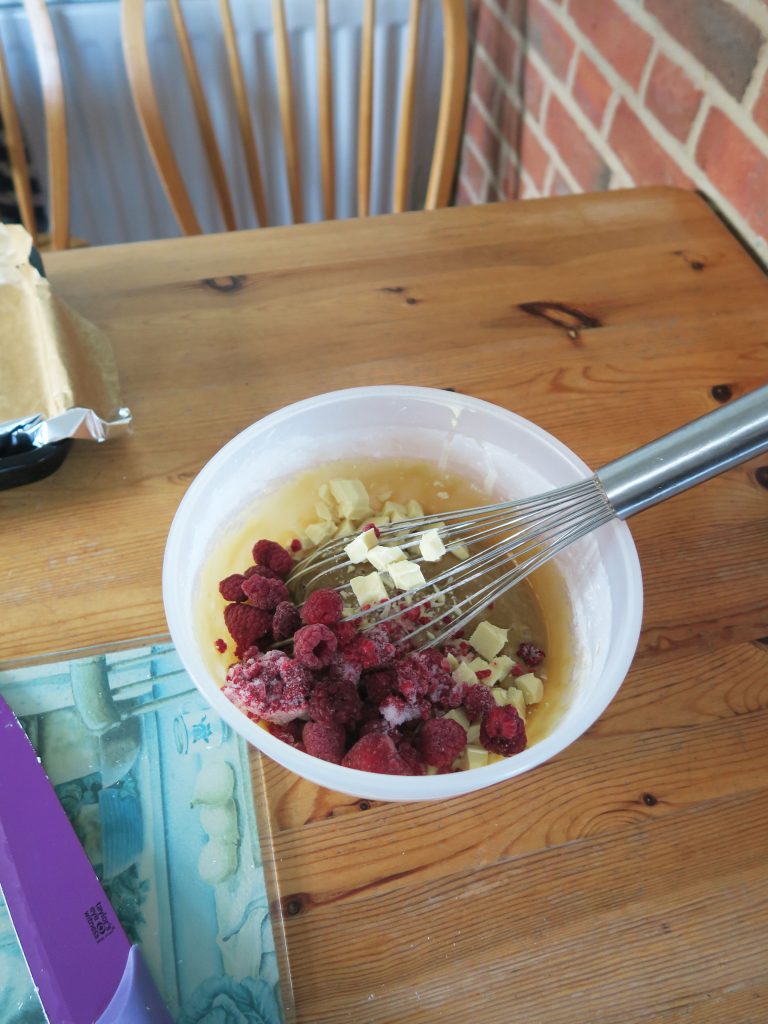
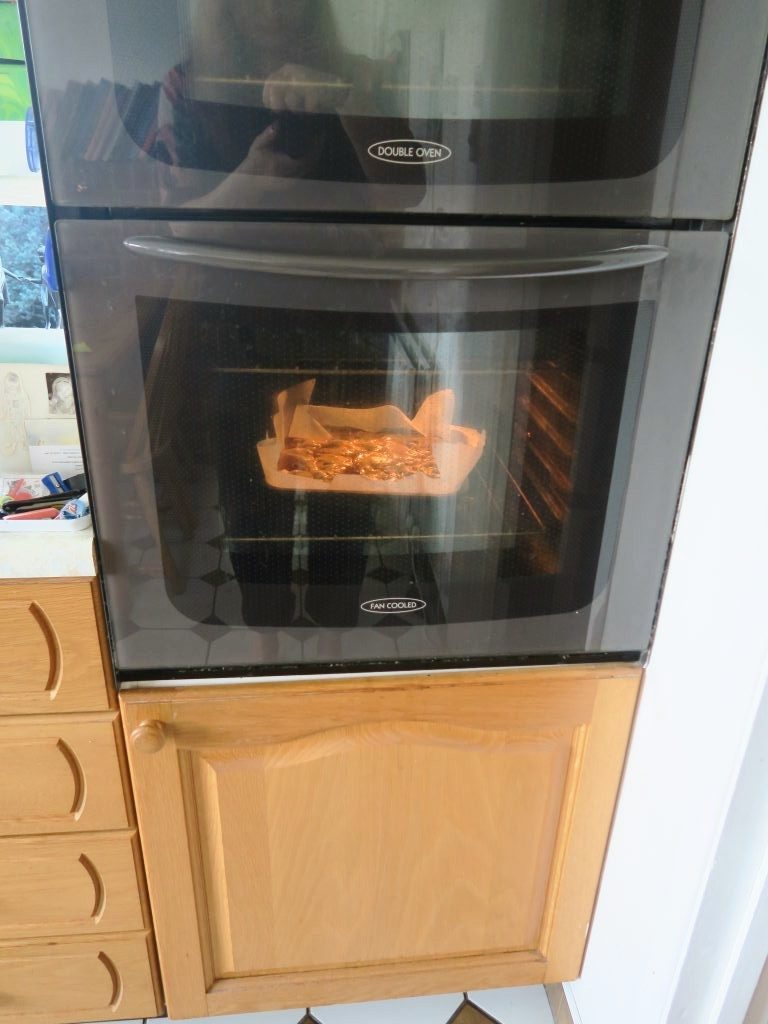
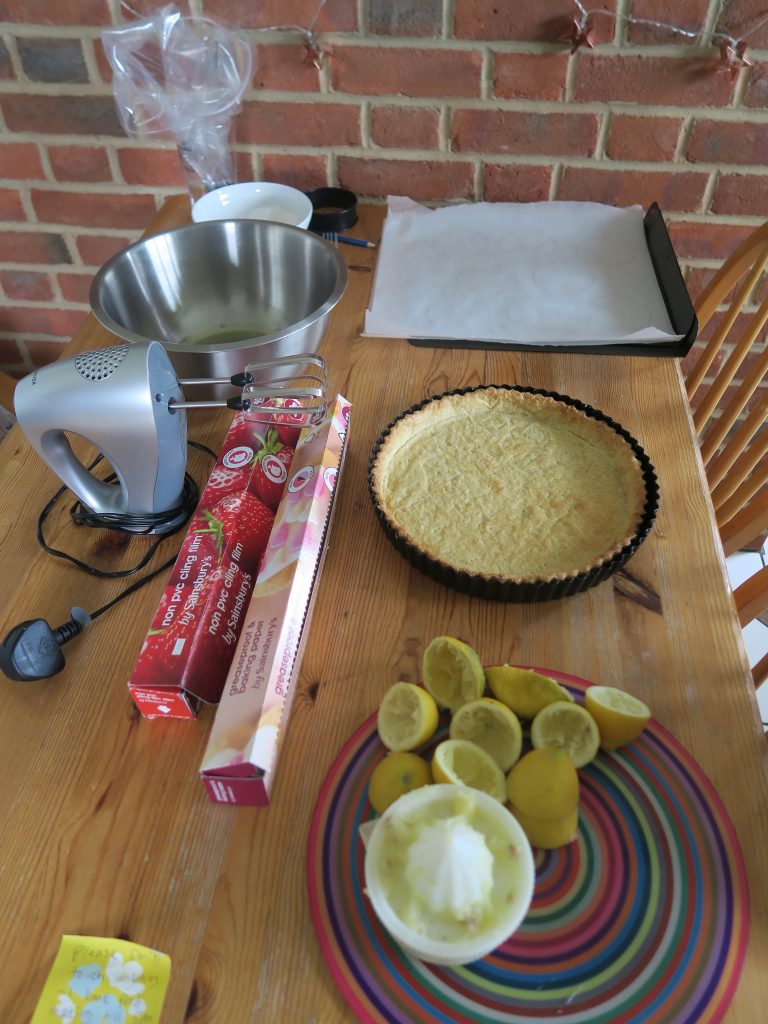
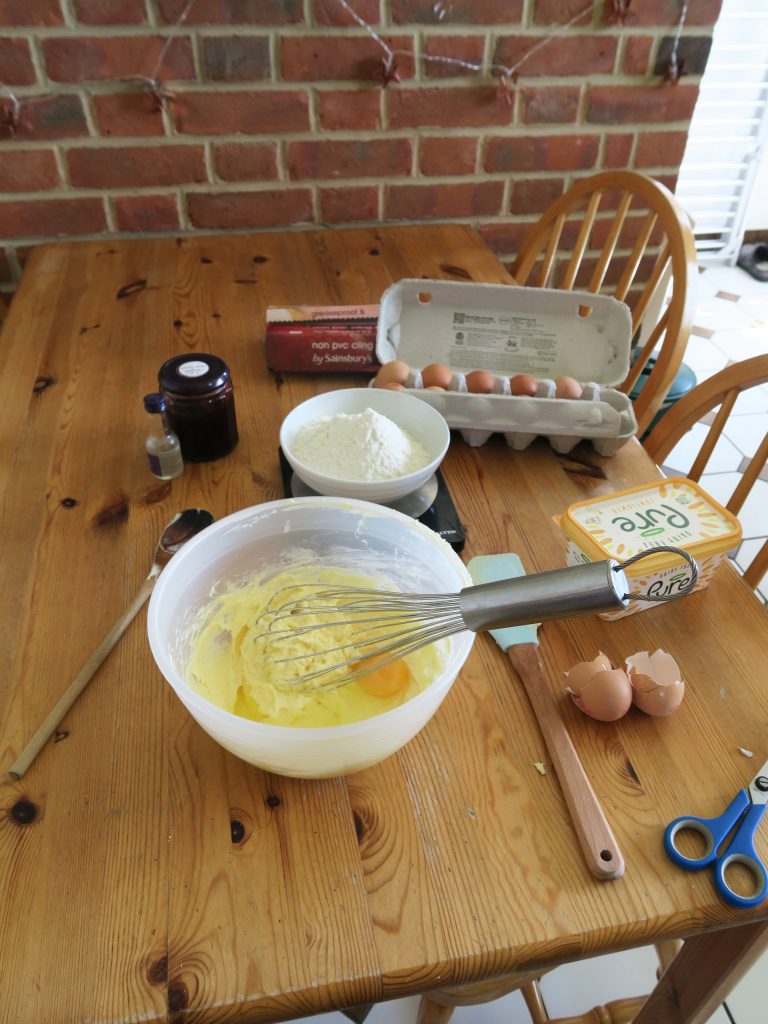
  5. Put the butter, sugar, ground almonds, flour, baking powder, almond extract and eggs into a bowl and beat together until smooth. Pour this over the jam layer, even out to a smooth layer and then bake for 30 minutes until risen and golden brown.
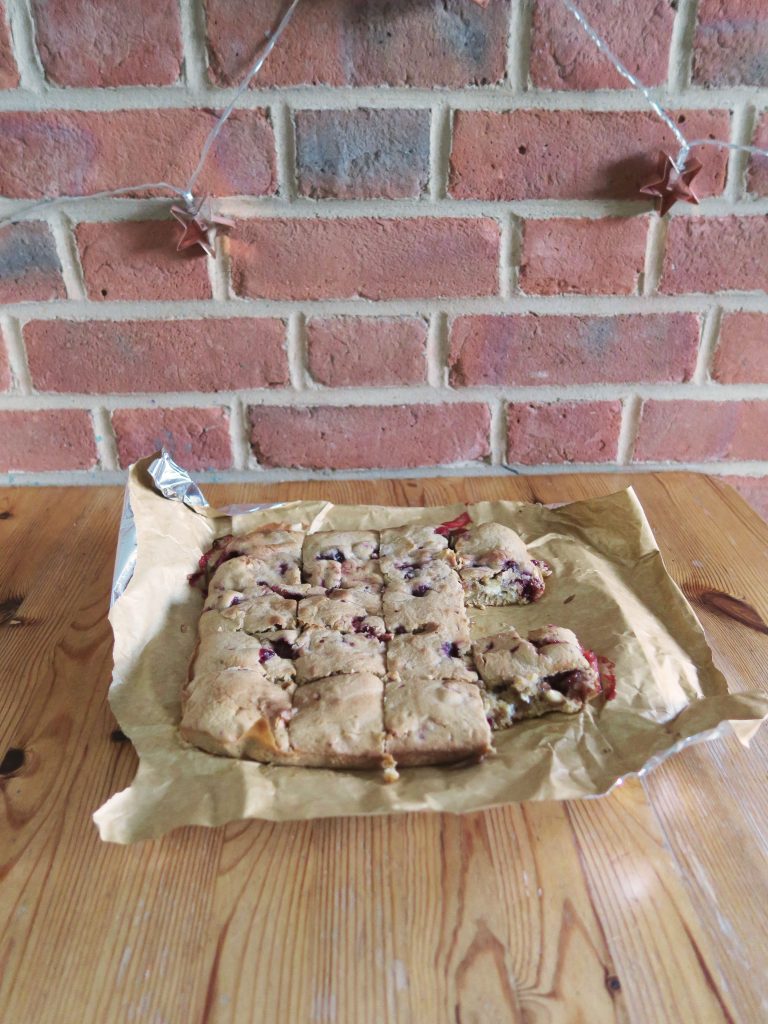
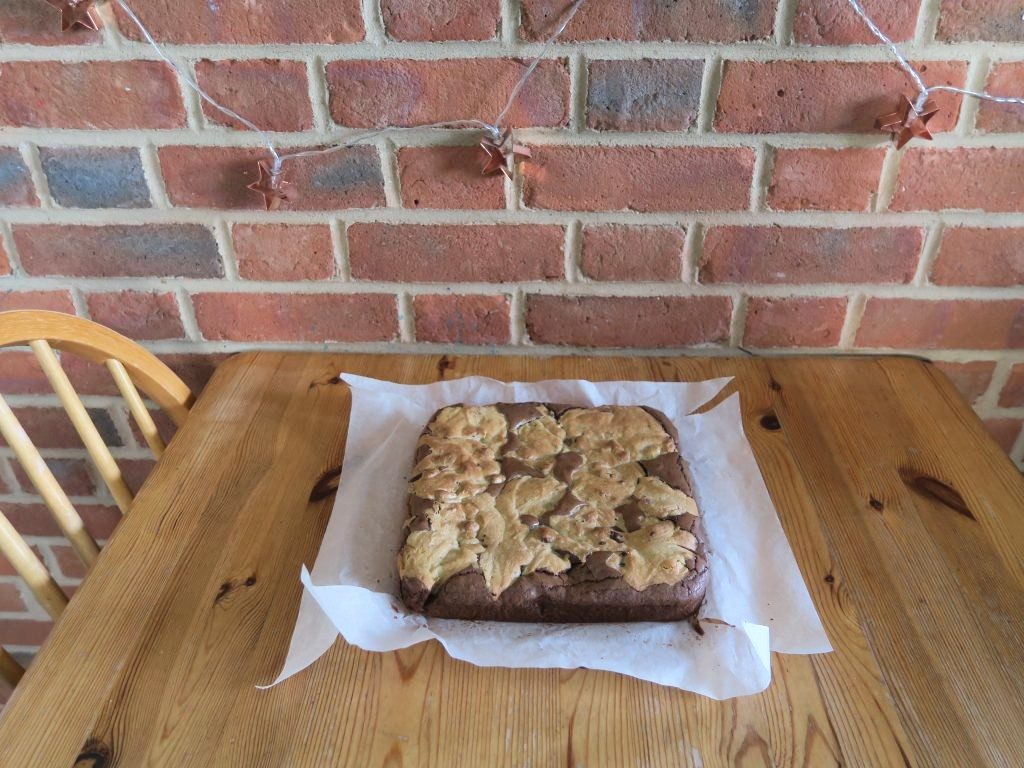
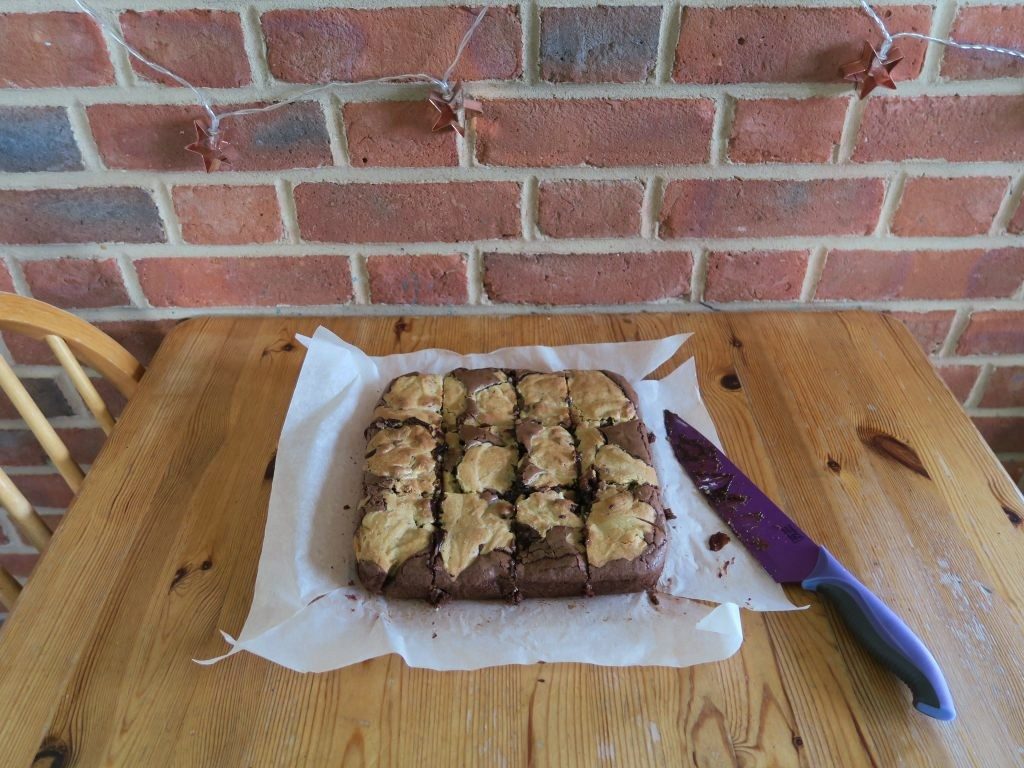
  6. Leave the traybake to cool and then take it out of the tin and place on a chopping board. Mix the icing sugar with 1 tbsp water and drizzle the icing over the traybake. Scatter over the flaked almonds and then cut the traybake into 12 fingers. Enjoy!

Thanks for reading!

Emma x

Raspberry and White Chocolate Blondies

Raspberry and White Chocolate Blondies

Blondies are my go-to comfort bake and I think they’re never better than when you add a handful of raspberries to the mixture to give a gorgeous sharpness to pair with the fudgy white chocolate blondie!

Recipe

Makes 16 squares

Time: 45 minutes (including baking time)

Ingredients

  • 170g butter
  • 220g light brown sugar
  • 1 tsp vanilla bean paste (or extract)
  • 1 large egg
  • 210g plain flour
  • 150g white chocolate
  • 50g raspberries (I use frozen as it’s cheaper but you can use fresh if you prefer)

Method

  1. Pre-heat the oven to 180C. Grease and line a 9” square tin with butter and baking paper.
  2. Melt the butter in a large bowl by putting it in the microwave for 20 second bursts. Add the sugar and vanilla and whisk until combined.
  3. Add the egg and whisk again to combine. Then add the flour and whisk again to make a smooth batter.
  4. Take the white chocolate and chop it into rough chunks. Then add this chopped chocolate and the raspberries to the blondie mixture and stir it in.
  5. Pour the batter into the lined tin. Bake the blondies for 25-30 minutes, until golden brown and still a little fudgy in the middle. Leave to cool and then cut into 12 slices and enjoy!

Thanks for reading!

Emma x

Brookies

Brookies

Recipe

Makes 12

Time: 1 hour

Ingredients

For the brownie layer

  • 120g dark chocolate
  • 170g butter
  • 300g caster sugar
  • 3 eggs
  • A large pinch of salt
  • 2 tbsp cocoa powder
  • 135g plain flour

For the cookie layer

  • 113g butter
  • 70g caster sugar
  • 70g light brown sugar
  • 1 egg
  • 1 tsp vanilla bean paste (or extract)
  • A large pinch of salt
  • 200g plain flour
  • ½ tsp bicarbonate of soda
  • 50g white chocolate, roughly chopped
  • 50g dark chocolate, roughly chopped

Method

  1. Pre-heat the oven to 180C. Grease and line a 9” square tin with butter and baking paper.
  2. Begin by making the brownie layer. Put the chocolate and butter into a glass or metal bowl and place over a pan of gently simmering water.
  3. Once melted take the bowl off the heat and stir to combine the melted butter and chocolate. Add the caster sugar and eggs and whisk to combine.
  4. Add the salt, cocoa and flour to the mixture and whisk again until smooth. Pour the mixture into the lined tin, making sure it’s in an even layer, and set to one side while you make the cookie layer.
  5. Put the butter into a plastic bowl and microwave in 20 bursts until melted. Add the sugars, egg, vanilla and salt and whisk together until smooth.
  6. Add the flour and bicarb to the mixture and stir again to make a soft dough. Then add the roughly chopped chocolates and stir until they’re evenly mixed through the dough.
  7. Take spoonfuls of the cookie dough and dot it over the brownie mixture (it’ll be tricky to get a full even coating as the cookie is firmer than the brownie mix, so just do the best you can at putting enough cookie dough to cover the majority of the brownie mixture).
  8. Bake the brookies in the oven for about 25-30 minutes until the cookie mixture has spread and is golden brown. Leave to cool, cut into 12 slices and enjoy!

Thanks for reading!

Emma x

Strawberry and Elderflower Cake

Strawberry and Elderflower Cake

This summer I’ve been having fun creating recipes using elderflower and there’s still time for one more! I made this cake for a college baking competition in lockdown where we were challenged to make a classic cake with a summer twist and decorate it with a range of soft fruit and fresh herbs. For me nothing is more classic than a jam sponge, and nothing’s more summer-y than elderflower and strawberries so along came an elderflower and strawberry jam sponge!

You can make this look really pretty by piping the butter cream and decorating the top with fresh flowers and fruit. I’ve gotten really into foraging recently so I found some fresh mint, wild strawberries, strawberry flowers and elderflowers to decorate this one. However, if you don’t have access to these you could use shop-bought mint and a selection of soft fruit (e.g strawberries, raspberries and blueberries) and if you’re not a fan of piping you could spoon the butter cream onto the cakes for an equally beautiful result!

Recipe

Serves 12

Time: 2-3 hours

Ingredients

For the cake

  • 200g butter, plus extra for greasing
  • 200g caster sugar
  • 4 eggs
  • 200g self-raising flour
  • 1 tsp baking powder
  • 2 tbsp elderflower cordial

For the strawberry buttercream

  • 400g icing sugar
  • 100g butter
  • 25ml strawberry puree (you can make this by boiling up 50g of frozen strawberries until they’re soft and then hand blending the mixture to make a puree)

For the decoration (optional)

  • 4 elderflower heads
  • A few fresh wild strawberries
  • Fresh mint
  • Fresh edible flowers (e.g strawberry flowers)

Method

  1. Pre-heat the oven to 180C and grease and line 3, 19cm round cake tins with butter and baking paper.
  2. To make the cakes put the butter and sugar into a bowl and beat with a wooden spoon until smooth and creamy. Add the eggs, one by one, whisking well after each addition.
  3. Add the flour and baking powder to the mixture and whisk again to combine.
  4. Add the elderflower cordial to the cake mixture and whisk again until smooth. Pour the mixture into the 3 tins (I like to weigh how much I’m putting into each to make it equal) and use a spoon to level out the tops if need be so the batter is in an even layer in each tin.
  5. Bake the cakes in the oven for about 20 minutes until golden brown and so that a skewer inserted into the middle comes out clean.
  6. Leave the cakes to cool in the tins for 5 minutes, then turn them out onto wire racks and leave them to cool completely.
  7. Meanwhile make the butter cream. Put the icing sugar and butter into a bowl and beat until smooth. Slowly add the strawberry puree (about 1tbsp at a time) until the mixture is an even colour and just holds its shape.
  8. Spoon the icing into a piping bag with a round nozzle and leave in the fridge until needed.
  9. Once the cakes are completely cool place one on a cake stand or plate and pipe a layer of the icing on top. (I like to pipe blobs in concentric circles working from the outside to the middle).
  10. Place another one of the cakes ontop and repeat the icing, another layer of cake and then a final layer of the icing.
  11. To decorate take your chosen flowers, garnishes and so on and arrange them across the top. (If you’re using elderflower heads or any other self-picked topping a) make sure you’ve picked something that’s edible and b) make sure you give it a good shake, wash and dry before using it to get out any little bugs!). Enjoy!

Thanks for reading!

Emma x

Lemon and Elderflower Tart

Lemon and Elderflower Tart

Summer has arrived and I don’t think much says summer more than a slice of this lemon and elderflower tart! Since lockdown began I’ve become really interested in foraging in my local area, and this year I noticed how much elderflower there is where I go for walks! I now can’t step outside my front door without getting a whiff of some gorgeous elderflower on the wind. I’ve used the flowers to decorate the top of this tart, but the flavour of elderflower in the filling comes from elderflower cordial so you could make this all year round!

Recipe

Serves 12

Time: 2 hours, plus lots of chilling and baking time

Ingredients

For the pastry

  • 265g plain flour
  • A pinch of salt
  • 3 tbsp caster sugar
  • 170g unsalted butter
  • 1 egg yolk
  • 3 tbsp cold water

For the filling

  • 4tbsp elderflower cordial
  • 160ml lemon juice
  • 2 large eggs
  • 2 large egg yolks
  • 225g caster sugar
  • 338g unsalted butter

To decorate (optional)

  • 2-3 elderflower heads
  • A few meringue kisses
  • 1 fresh lemon
  • Fresh cream to serve

Method

  1. Begin by making the pastry. Put the flour, salt and sugar into a bowl and mix together with a table knife. Add the butter and use the knife to cut it into small lumps. Then go in with your fingers and rub the butter into the flour until the mixture resembles fine breadcrumbs. (Shaking the bowl side to side every now and then can help bring the bigger lumps to the top).
  2. In a small bowl mix together the egg yolk and the water. Pour this into the breadcrumb mixture and stir until the mixture forms a smooth dough ball. Wrap the dough in clingfilm and leave in the fridge for at least 1 hour to chill.
  3. Take the pastry out of the fridge and roll it out on a lightly floured work top so it’s about 2 cm wider than your tin all around.
  4. Carefully lift the pastry sheet up and fit it into the tin, making sure it fits snug into all the flutes. Leave the pastry in the fridge for at least 30 minutes to chill.
  5. Pre-heat the oven to 180C. Take the lined tart out of the fridge. Take a rolling pin and roll over the top edge of the tart to trim off the excess pastry.
  6. Take a sheet of baking paper around the same size as your tart case and scrunch it up into a ball. Carefully un-crumple it and then fit it into the tart case, making sure there’s enough excess sticking out the top. Fill the pastry case with baking beans (or rice) and then bake it in the oven for 10 minutes until starting to look baked.
  7. Take the baking beans and the baking paper out of the tart case and put the tart back into the oven to bake until golden brown all over and crisp. Leave the tart case to cool completely in the tin.
  8. Now make the filling. Put the elderflower cordial, lemon juice, eggs, egg yolks, and sugar into a large pan and whisk over a medium heat until the mixture reaches 75C on a thermometer. (This will get the mixture up to the temperature to set, but any higher and the mixture will curdle).
  9. Sieve the mixture into a bowl and leave to cool for 5 minutes. Then, when the mixture is about lukewarm, add the butter into chunks and whisk until it’s melted and incorporated into the mixture.
  10. Cover the filling with clingfilm and leave in the fridge for at least 2 hours to chill.
  11. Whisk the filling mixture to break it up a little and then pour it into the cooled tart case. Smooth it out so it forms an even layer and then put it into the fridge to set completely overnight.
  12. The next day take the tart out of the fridge and take it out of the tart tin. Then, if you’d like, top the tart with elderflowers, meringue kisses and wedges of fresh lemon and serve with fresh cream!

Thanks for reading!

Emma x