Category: Main Course

Potato and Leek Soup

Potato and Leek Soup

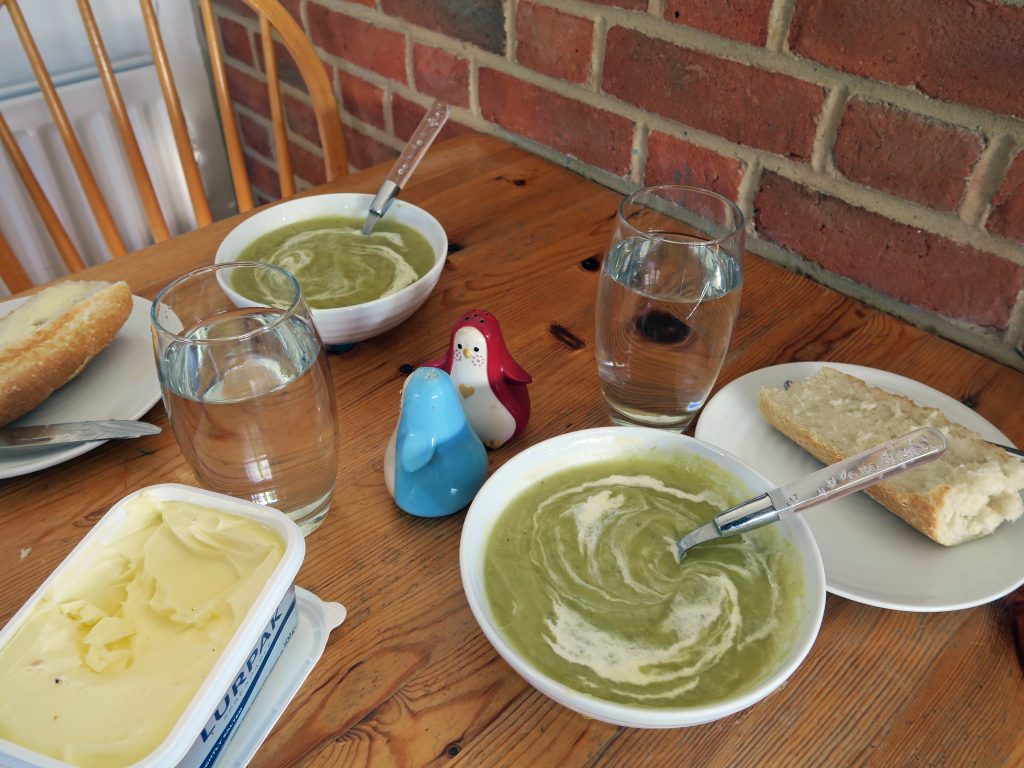
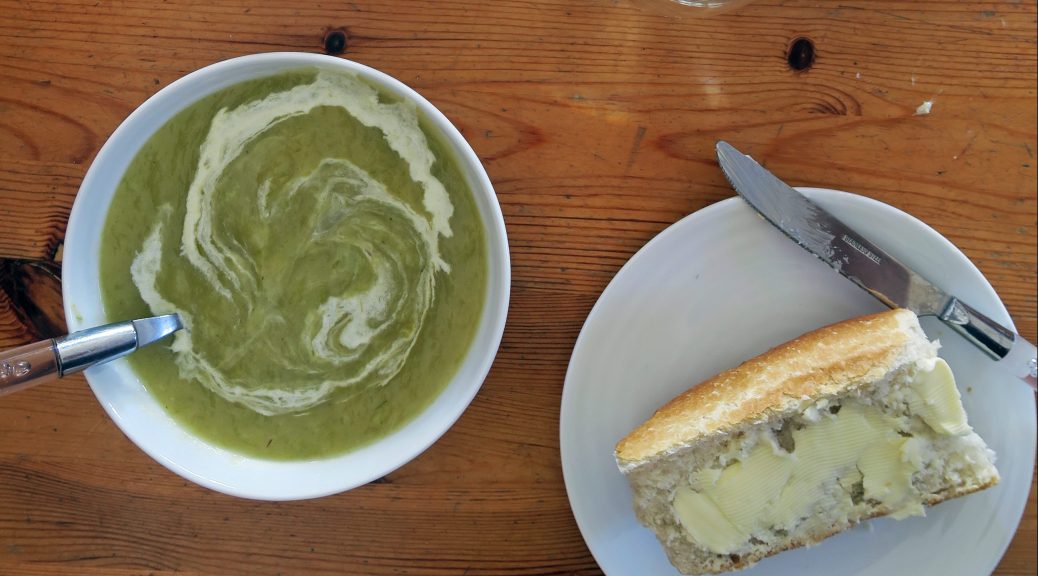
It’s the second bake of detox January and I’ve gone for the classic diet staple of soup. I know it doesn’t look like much – trust me, it’s very hard to make potato soup look sexy – but it tastes really good, which when you’re dieting is a big plus. As you can see from the recipe it’s very simple and quick to make as you only really need to chop up some veg. You can also alter the quantities depending on how you like the consistency of your soup; essentially the more potatoes you add the thicker it will be. If you’re not in detox land at the moment and you want a deluxe version I’d recommend adding a couple of rashers of grilled bacon and 50ml double cream to the mix before blending!

Recipe

Serves 5

Time: 20 minutes

Ingredients

  • 1 Knob of butter
  • 1 White onion, chopped roughly
  • 3 Medium leeks, sliced into discs
  • 3 Medium potatoes, peeled and chopped into chunks
  • 1 Vegetable stock cube
  • 100ml Single cream to serve (optional)
  • Salt and pepper to season

Method

  1. Put the butter into a large saucepan and melt gently over a medium heat.
  2. Add the onions and fry, stirring occasionally, until they begin to caramelise and brown.
  3. Add the leeks, potatoes and stock cube. Then pour over enough boiling water to cover all the vegetables. Stir to dissolve the stock cube and then leave to boil until the veg are soft.
  4. Puree with a hand blender until smooth. Season to taste and then serve with a drizzle of cream and fresh bread!

Thanks for reading!

Emma x

Baked Egg Pots

Baked Egg Pots

Now that it’s 2018 we’re into the new year and new years resolutions are flying all over the place. One that I’ve taken on along with thousands of others over the country is to eat more healthily. Whilst I can’t see this lasting long for the main reason that I write a bi-weekly food blog and I love patisserie, I thought a detox January would be a good way of exploring healthy food. So you can expect a month full of healthy (or healthy attempts) of recipes.

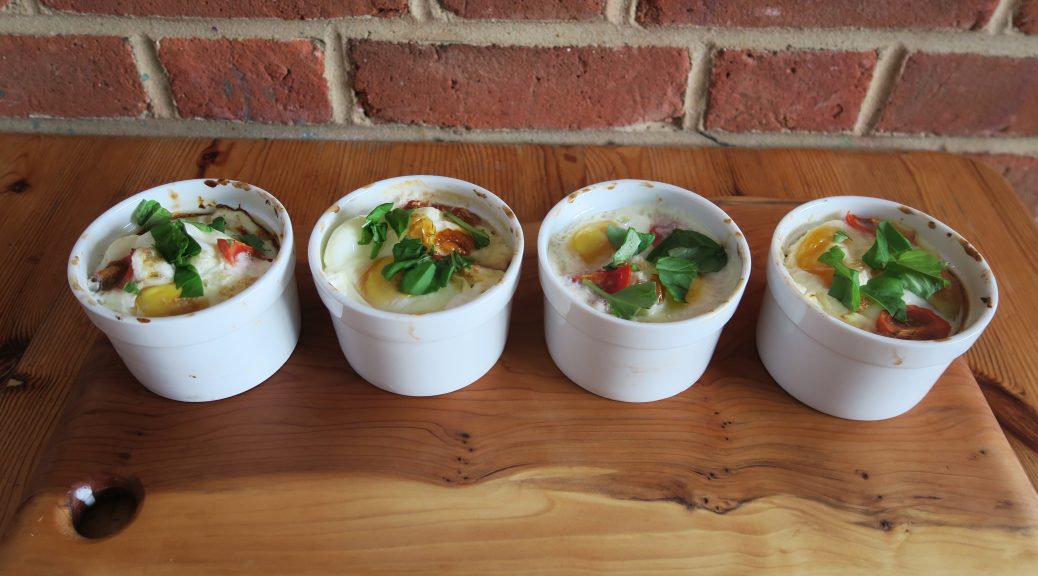
I first heard of baked eggs when I was on French exchange and loads of my friends were being served them by their host families. Since then I’ve wanted to give it a go and so now here we are! I instantly liked making these as I could just delve into my fridge and pull out the first things I could see which I thought would work well together. Whether you have some leftover roast chicken, or some about-to-go-off tomatoes, this is a great way of using it up. I’ve included three variations at the bottom of the post to get your imagination running as to how you could personalise your own baked egg pot.

As well as being really versatile in terms of ingredients, they also have loads of uses. As they’re so quick to make they’re a great little warm snack for a cold day, or you could serve them as simple starters at a dinner party. This is especially useful as they take very little preparation and can be easily altered to suit different dietary requirements! Alternatively you could do what I do and make one for lunch and serve it with a side salad to get a healthy, high-protein meal.

Recipe

Serves 4

Time: 10 minutes prep, 15 minutes to cook

Ingredients

  • 3 Plum tomatoes
  • 1 Small pepper (I went for yellow)
  • 12 tsp Light Cream cheese
  • 8 Large eggs
  • 2 Cherry tomatoes
  • Pinch of salt and pepper
  • Basil to garnish

Method

  1. Pre-heat the oven to 180C.
  2. Chop the plum tomatoes into chunks and put them into the bottoms of 4 ramekins.
  3. Chop the pepper up into chunks and again distribute them between the ramekins.
  4. Take a teaspoon and put three little blobs of cream cheese into each pot.
  5. Crack two eggs into each pot – you don’t need to whisk them up or anything, just pop them straight in.
  6. Chop the cherry tomatoes into quarters and put two quarters into each pot.
  7. Season with salt and pepper (a very important step so do not miss!)
  8. Bake in the oven for 15-20 minutes, the time will vary depending on how you like your eggs cooked.
  9.  Take out of the oven and garnish with fresh basil. Eat with bread and/or a side salad!

Variations-

Smoked salmon – Take out the plum tomatoes and instead add 1 handful of wilted spinach to each pot. Then put some smoked salmon in with the cream cheese before you put on the eggs. Serve with sour cream and chives!

Bacon and Cheese – If you’re not bothered about the whole healthy eating thing you can use full fat cream cheese, or even go two steps further and add bacon and cheddar cheese to make them really indulgent.

Chicken and Sweetcorn – Take some leftover roast chicken, or chopped up cooked chicken breast, and 4 tbsp cooked sweetcorn and divvy it up between the pots with the cream cheese, eggs and seasoning.

Thanks for reading!

Emma x
Vegan Woodland Pie

Vegan Woodland Pie

A couple of years ago I was a vegetarian, and although I liked it most of the time, when it came to Christmas, with all the turkey and trimmings on the table, I started to miss meat. Whilst at the time I had a great vegetarian substitute, it didn’t quite match up, and I just wanted something as good as the meat I couldn’t eat.  I’m no longer a veggie, but when I was I developed this pie recipe which is so insanely good you don’t even realise it’s vegan, let alone vegetarian.

Full of beans and veg, this is surprisingly healthy for a pie – especially if you eat it without the crust. It’s stuffed with cranberries and chestnuts, so it’s prefect for a veggie main course at Christmas – you could even make individual pies instead of one large one, so you can cook up the exact number you need. The filling is also so good I’d recommend using it as stuffing, or as an accompaniment to your Christmas meat.  Just make it up as instructed, but rather than putting it into a pie crust, roll it into balls and bake in the oven for 5-10 minutes to firm up and heat through.

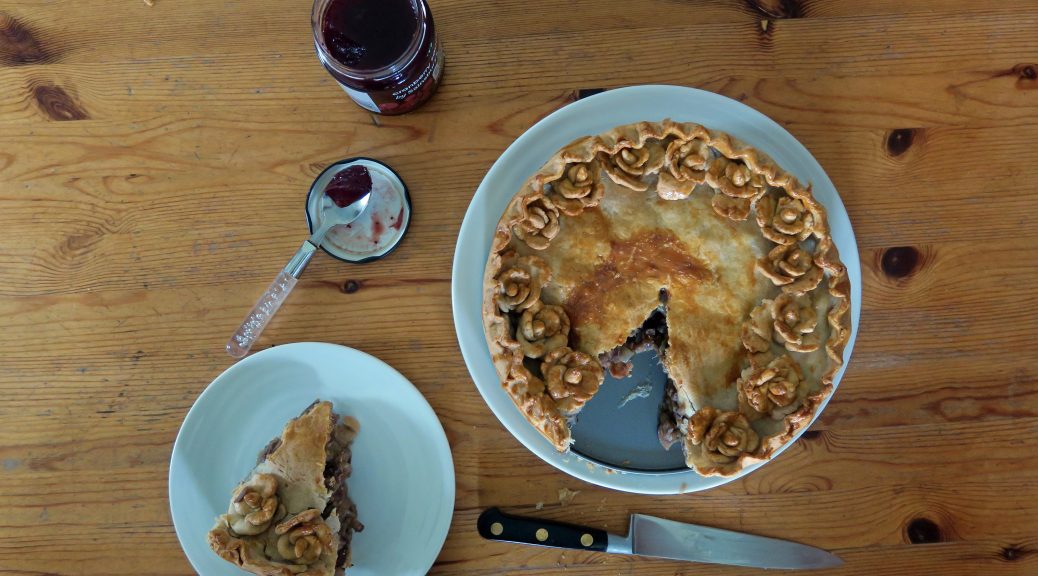
You also don’t have to decorate it how I have. In all honesty I wasn’t going to decorate it at all apart from crimping the edge, but I was experimenting with a new pastry for this one and it dried out quicker than expected and cracked when I put the top on. As I wanted it to look nice for the blog I used the leftover pastry to make roses to cover up the cracks, and then I wanted to make enough to make a ring so that it looked uniform. But if you do want to jazz it up a bit you can use the rest of the pastry to make roses or leaves for the top.

Recipe

Serves 6

Time 1 hour (plus cooking time)

Ingredients

For the filling

  • 1 tbsp Sunflower oil
  • 1 White onion, finely chopped
  • 1 Red onion, finely chopped
  • 2 Medium leeks, finely chopped
  • 2 Cloves garlic, crushed
  • 225g Chestnut mushrooms, sliced
  • 25g Dried cranberries
  • 340g Tin of butter beans, roughly chopped
  • 225g Ready-to-eat chestnuts, roughly chopped
  • 50g Hazelnuts, chopped
  • 5 Sprigs fresh thyme, chopped finely
  • Salt and pepper to taste
  • 3 tbsp Cranberry Sauce

For the pastry

  • 280ml Water
  • 115g Vegetable suet
  • 500g Plain flour
  • 1 tsp Salt to season
  • 20ml Soya milk to glaze

Method

  1. Put the oil into a large sauce pan over a medium-high heat. Add the onions, leeks, and garlic and gently fry for 5 minutes until soft and starting to caramelise.
  2. Add the mushrooms, cranberries, beans, chestnuts and hazelnuts and cook on a medium heat until soft and dry – this will take about 10 minutes.
  3. Add the thyme to the mix, season with salt and pepper and then set to one side whilst you make the pastry.
  4. Pre-heat the oven to 180˚C. Take a deep loose-bottomed 23cm pie tin and grease with butter (you can also use individual moulds if you want to make individual pies).
  5. Put the water in a medium saucepan and bring to the boil over a medium-high heat.
  6. Once boiling add the suet and stir to melt and combine.
  7. Put the flour and salt into a bowl and pour over the melted water-suet mix. Using a round bladed knife mix everything into a dough and then turn out onto a work surface and knead for 3 minutes until smooth.
  8. Take ¼ of the pastry and set aside for now. Roll out the other ¾ of the pastry into a large circle, about the thickness of a pound coin. Unlike shortcrust you want this pastry relatively thick to that it doesn’t break.
  9. Gently fold the circle of pastry in half and in half again so you have a quarter of a circle in front of you. Put the point of the quarter into the centre of the lined tin and then unfold the circle and push the dough into the corners and up the sides of the mould. You want a little bit of overhang.
  10. Spoon 1 ½ tbsp of the cranberry sauce into the base of the pie. Spoon ½ of the filling on top, then spoon the rest of the cranberry sauce over the filling. Top with the rest of the filling. Don’t worry if the mixture goes over the top of the tin, as this will make a nice dome when covered in pastry.
  11. Roll out the other ¼ of pastry into a circle of the same thickness as before. Put the circle on top of the pie and trim the excess by slicing with a knife at a 45˚ angle to the tin.
  12. Using your thumbs and index finger crimp around the edge of the pie to seal everything together. Take the milk and brush lightly over the top of the pie to glaze.
  13. Put the pie in the oven for 45-55 minutes until the pastry is golden brown. Take out of the oven and serve immediately with gravy and vegetables.

Thanks for reading!

Emma x
Stuffed and wrapped mozzarella chicken with sweet potato chips

Stuffed and wrapped mozzarella chicken with sweet potato chips

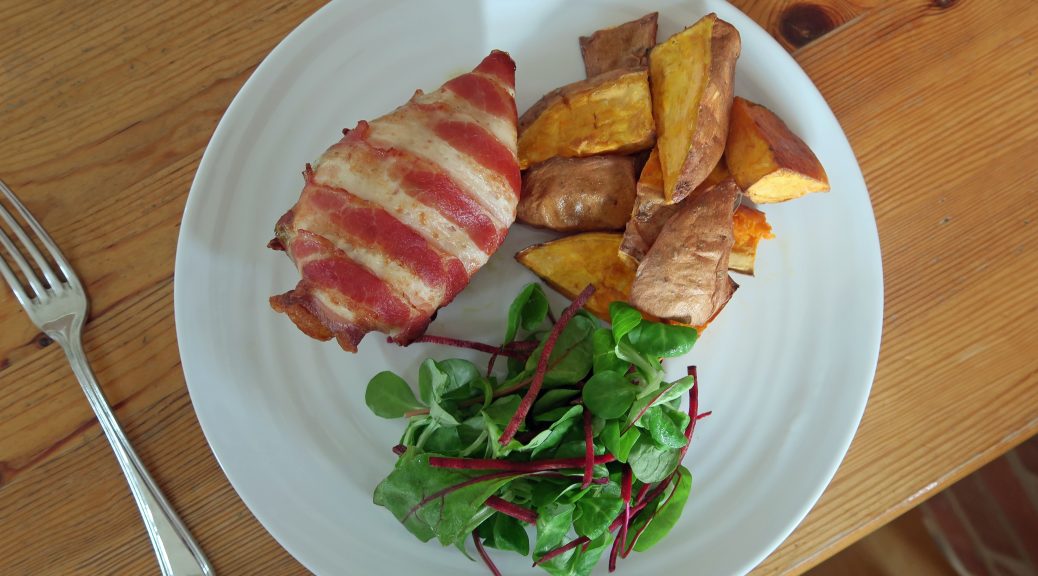
Gone are the days of dry chicken when you wrap it in pancetta. Not only does it make it look fancy, but it locks in all the moisture, giving a deliciously succulent meat. This one also has the surprise of a tricolour stuffing in the middle, made up of mozerella, sundried tomatoes, and basil which flavours the relatively bland meat really well.

Just like a bistro style meal, this dish can easily do both the casual lunch or the dressed up dinner party, so it’s a good one to have up your sleeve. If you’re not a fan of sweet potato you can use normal potatoes to make the chips, but the sweet works really well with the salty pancetta so I’d recommend it.


Recipe

Serves 4

Time: 45 minutes

Ingredients

  • 20 Strips of Parma ham (this may vary depending on the size of your chicken breasts)
  • 4 Chicken breasts (as large as possible)
  • 1 Ball mozzarella, torn into chunks
  • 6 Sundried tomatoes, drained and finely chopped
  • 1 handful of basil, roughly chopped
  • 2 tbsp olive oil
  • 3 sweet potatoes

Method

  1. Pre-heat the oven to 180˚C.
  2. Take 5 parma ham strips and lay them so they’re slightly overlapping on a board.
  3. The take a chicken breast and turn it over so it’s smooth side down. Then make a slice, horizontally, into the thickest part of the breast, being careful not to cut all the way through.
  4. Take a chunk of mozzarella and stuff it into the chicken. Then take some of the chopped sundried tomatoes and chopped basil and stuff that into the chicken as well.
  5. Put the chicken breast, cut side up, onto the strips of parma ham, so that the thin end of the breast is nearest the last strip.
  6. Working tail to top wrap the parma ham around the chicken in diagonal strips – ie take the right side of the first strip and wrap it diagonally over the chicken, then do the same with the left strip, and so on with the rest of the parma ham.
  7. Once all the strips have been wrapped around the chicken turn the breast over and put onto a lined baking tray. Repeat with all the other chicken breasts.
  8. Once all stuffed and wrapped, bake in the over for 20-25 minutes until the parma ham is crisp and the flesh is no longer pink.
  9. Now time to make the sweet potato chips. Chop the sweet potatoes into wedges and then put into a roasting tin. Pour over the oil and sprinkle over some salt to season. Then roast these in the oven (at the same temperature as the chicken is fine) for 15-20 minutes until crispy. Turn them over half way through cooking to crisp up all over.
  10. Once everything is cooked you can serve it immediately with a nice side salad!

Thanks for reading! Any questions, queries or requests just let me know.

Emma x

Sausages, Mash and Sticky Balsamic Onions

Sausages, Mash and Sticky Balsamic Onions

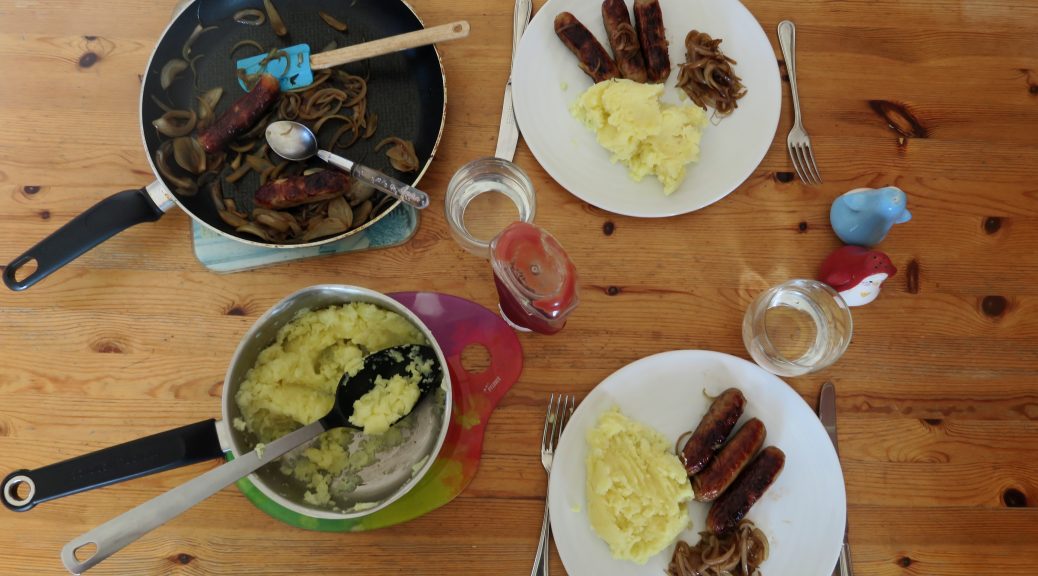
Whilst I love complicated French patisserie, when it’s the middle of the week and I’m tired, stressed and short of time, all I want is a quick dinner that tastes good. In times like these there’s nothing more comforting than some good homemade mash, and there’s nothing better to put that mash with than some pork sausages and sticky balsamic onions. These onions also work really well on burgers and with steak, so if you’re making either of those any time soon you can give that a go. I’m gonna leave the writing there this time, as I’m all three of the above, and if you’re the same you’re going to be wanting to get onto the recipe, so here it is…

Recipe

Serves 2

Time: 45 minutes

Ingredients

  • 6 Cumberland sausages (or any variety you prefer)
  • 2 Large baking potatoes, peeled and cut into chunks
  • 150g Butter
  • 2 Red or white onions, finely sliced
  • 2tsp Caster sugar
  • 2tsp Balsamic vinegar
  • Salt and pepper to season

Method

  1. Heat a grill to full heat. Put the sausages onto a grill pan, pierce them slightly with a knife, and then put them under the grill to cook. Turn them over once they’ve browned on one side, so that they colour evenly. If you don’t have a grill you can oil a pan and fry the sausages in there until no longer pink in the middle.
  2. Now start the mash. Fill a large pan with water and bring to the boil. Add the potatoes and leave until a knife goes into them easily – 8-10 minutes should do it.
  3. Meanwhile make the sticky balsamic onions. Take a large pan, preferably one with a lid, and put in 50g of the butter. Put over a medium heat to melt it, and then add the sliced onions. Cook for 2 minutes whilst stirring, and then leave to cook for around 7 minutes with the lid on to let them soften.
  4. Once soft, take the lid off and fry for another 2-3 minutes, stirring occasionally,  until they begin to caramelise and brown slightly. Then add the sugar and vinegar and stir to combine. Fry for another 2-3 minutes until all sticky and delicious, and then cover and put to one side.
  5. Once the potatoes are tender, drain them and put them back into the pan. Using a fork or potato masher, break up the potatoes until they’re smooth and lump-free. Add the other 100g butter and add it to the potatoes. Continue mashing to mix it in and make it even more lump free – it should melt if the potatoes are still warm.
  6. Season the mash with salt and pepper, and then serve the sausages, onions and mash with some tomato ketchup!

Thanks for reading!
Emma x