Category: Fun

For the times when you just want to get in the kitchen and get hands on.

Cookie Dough Cake

Cookie Dough Cake

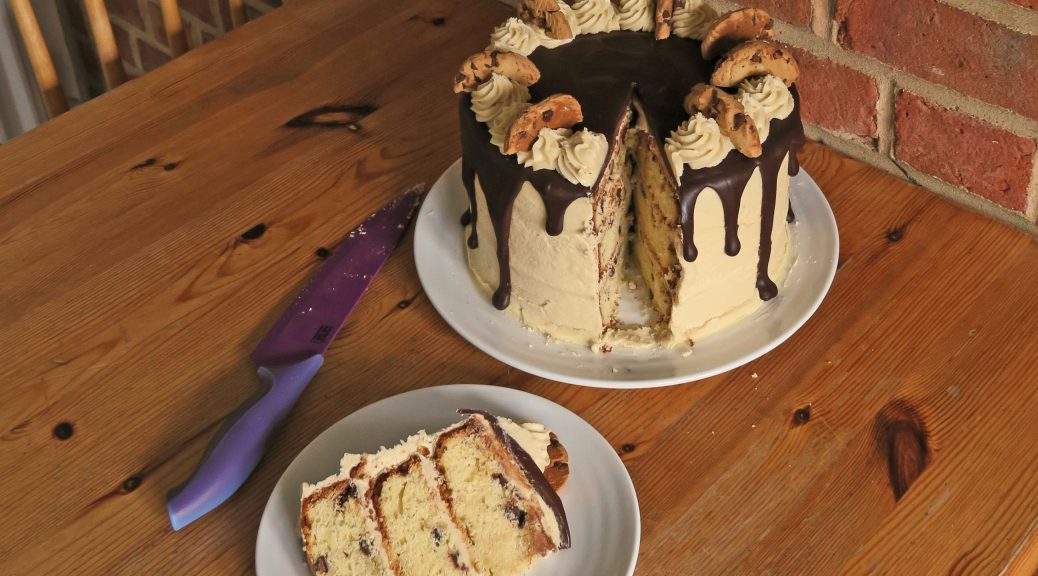
So I’m officially in my 20s and the wide road of young adulthood lies before me yada yada yada. I’m starting to realise that no matter how old you get you still have no idea what’s going on – you just learn to ride the sinking boat a little better than before. But at least we’re all on that boat together and there are life savers like cookie dough and cake to keep us going. I’m talking cookie dough, in a cake, in cookie dough with cookies on it!!
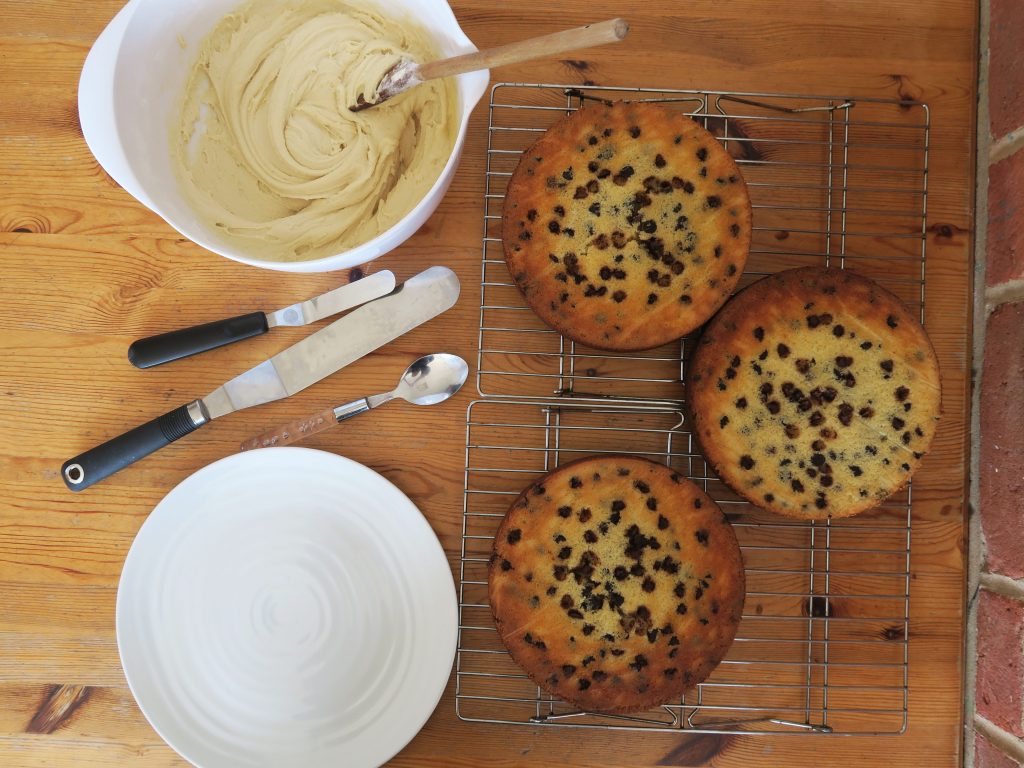
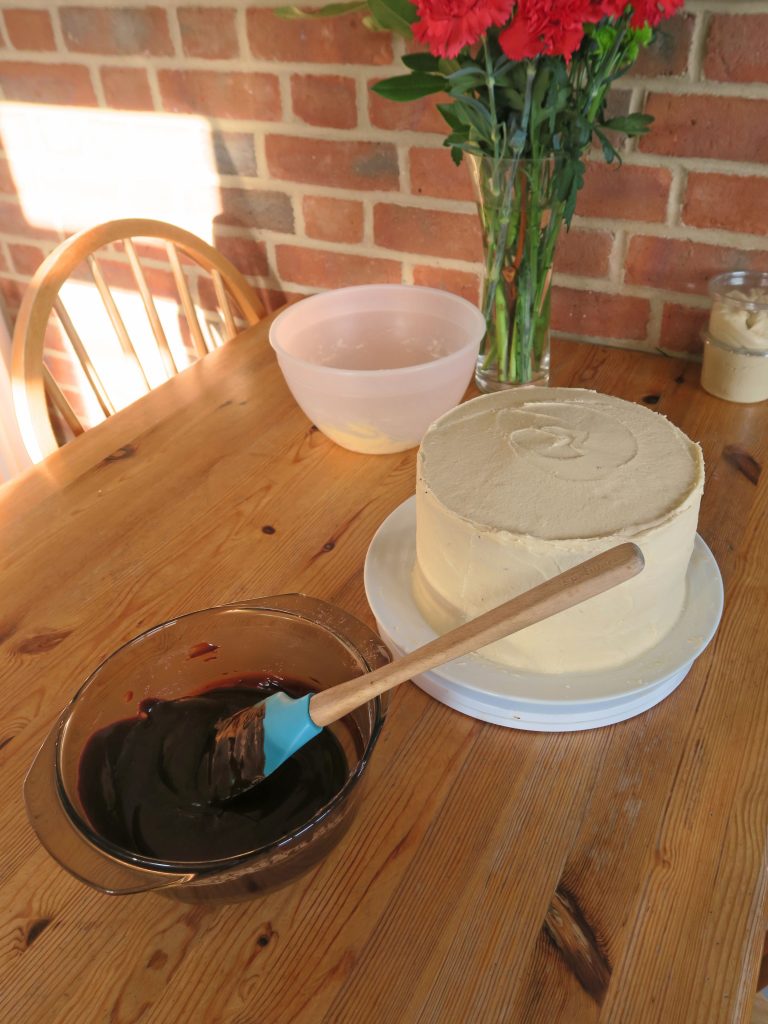
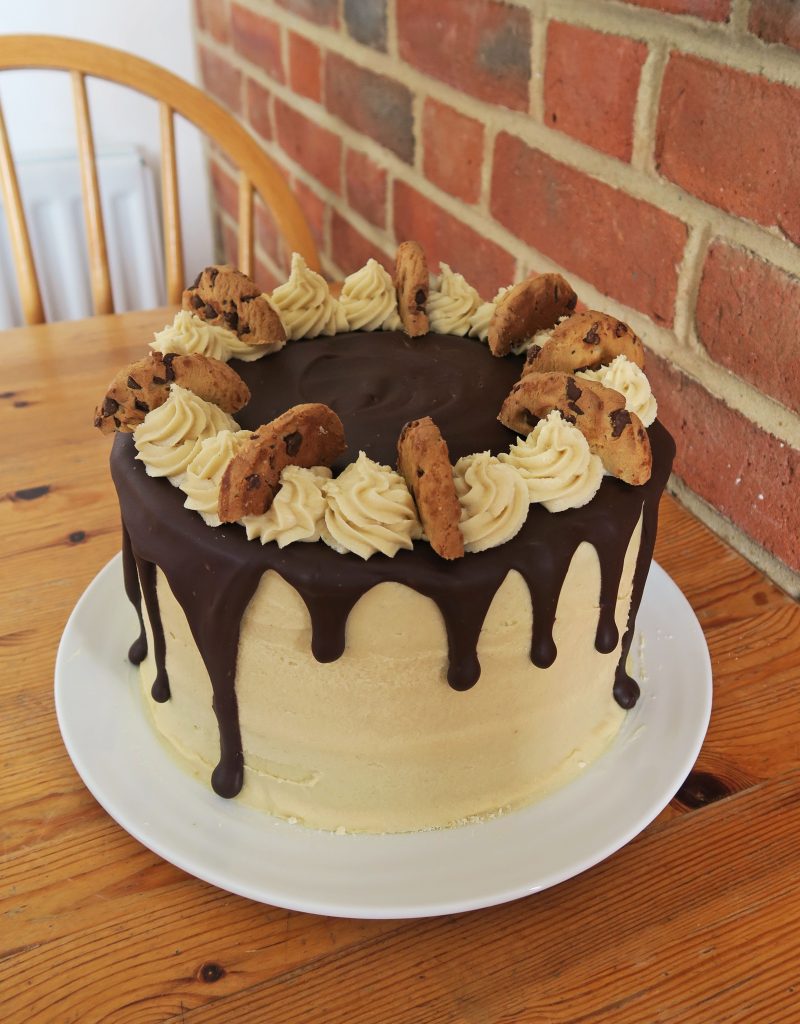
So here I am, a slightly confused 20 year old with a big pile of cookie dough cake in m’ kitchen and another year of comfort cookery to come. In the meantime I still have 3/4 of this whopping cake so if anyone local wants some hmu!
 Recipe

Serves 12-16

Time: 3 hours

Ingredients

For the cookie dough

  • 75g Butter
  • 20g Brown sugar
  • 25g Caster sugar
  • 1.5 tbsp Milk
  • 65g Plain flour
  • ¼ tsp Salt
  • 1 tsp Vanilla bean paste
  • 20g Milk chocolate chips
  • 20g Dark chocolate chips

For the cake

  • 200g Butter
  • 430g Caster sugar
  • 3 Large eggs
  • 120g Greek yogurt
  • 220ml Whole milk
  • 1 tsp Vanilla bean paste
  • 420g Plain flour
  • 2 tsp Baking powder
  • 1 tsp Salt
  • 175g Milk chocolate chips

For the buttercream

  • 300g Butter
  • 105g Brown sugar
  • 975g Icing sugar
  • 200g Plain flour
  • 8 tbsp Milk
  • 2 tsp Vanilla bean paste

To decorate

  • 100g Dark chocolate
  • 100g Double cream
  • Small cookies to decorate

Method

  1. Begin by making the cookie dough. Put the butter and sugars into a bowl and cream together until pale and creamy. Add the milk and vanilla and mix until combined. Then add the flour, salt and chocolate chips. Stir to make a smooth dough.
  2. Take the dough and split it into 12 balls. Then chill the balls in the fridge for 2 hours (or in the freezer for 1 hour).
  3. Now start the cake. Pre-heat the oven to 180˚C and grease and line 3x 7.5inch cake tins with butter and baking paper.
  4. In a large bowl mix together the butter and sugar with a wooden spoon until pale and creamy. Whisk in one egg at a time, then whisk in the yogurt. Next whisk in the milk and vanilla, followed by the flour, baking powder and salt. Finally fold in the chocolate chips to make a smooth batter.
  5. Evenly divide the mixture between the lined tins and spread them out to make an even layer. Take the cookie dough balls out of the fridge and squash them to make ‘patties’. Then put 4 bits of cookie dough in each tin, pressing them down slightly so they’re covered in cake mix.
  6. Bake the cakes in the oven for 25-30 minutes until a skewer inserted into the middle comes out clean. Let the cakes cool down for 30 minutes and then turn them out onto a wire rack to cool completely.
  7. Meanwhile make the buttercream. Put the butter and brown sugar into a bowl and beat together with a wooden spoon until smooth. Add the icing sugar and flour and mix again until smooth.
  8. Slowly add the milk and vanilla to the mixture, beating constantly with a spoon to make a smooth icing.
  9. When the cakes are completely cool you’re ready to start assembling. Put one of the cakes onto a board or plate and then spread 1-2 tbsp on top. Layer another cake on top and repeat with icing and cake layers.
  10. Once stacked blob half the remaining icing on top of the cake and use a palette knife to work it around the sides of the cake. This is your crumb coat so you want it to be smooth but don’t worry if you can still see the cake as you’ll put another layer on it later. Leave in the fridge for at least 1 hour to set.
  11. Take the cake out of the fridge and blob the rest of the icing on the top. Again, gently smooth the icing round the side of the cake to make a smooth finish. Leave in the fridge until needed.
  12. Now make the chocolate drips for the decoration. Finely chop the chocolate and put it into a heat-proof bowl. Then heat the cream in a small saucepan until just about to boil.
  13. Pour the hot cream onto chopped chocolate and stir to make a smooth ganache. Leave to cool until pourable but not hot.
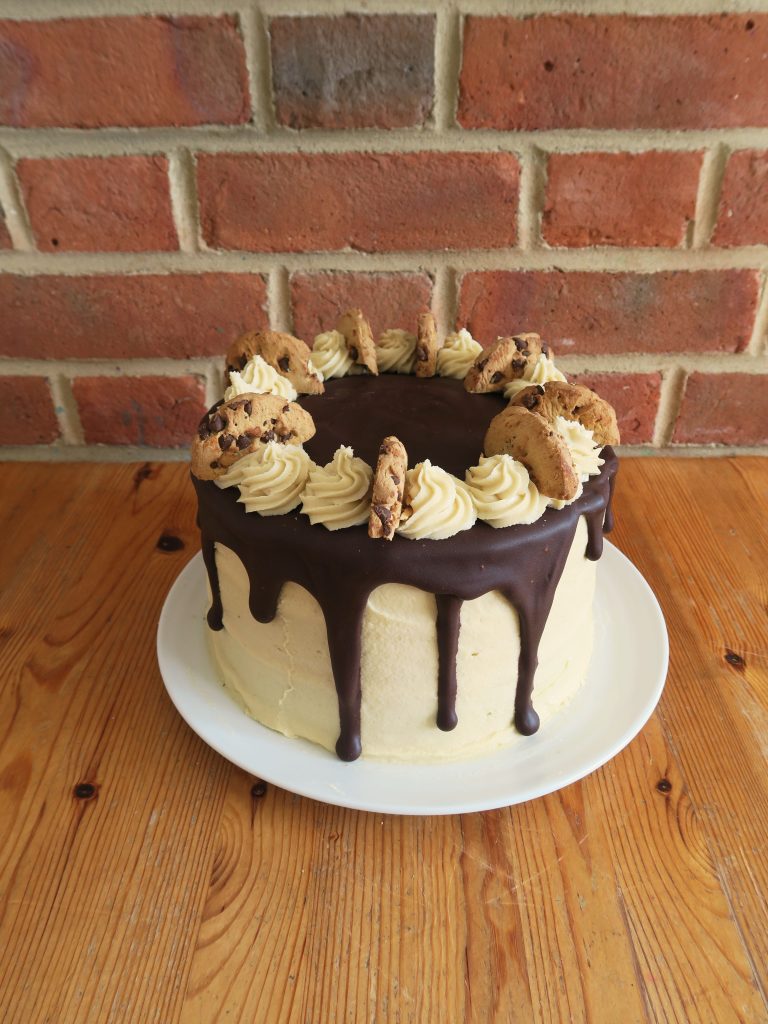
  14. Pour the ganache over the top of the cake and use a spatula to gently push it over the side of the cake to make drips. Pipe extra icing in rosettes on the top of the cake. Then cut the cookies in half and place them around the edge of the cake and serve!
Thanks for reading!

Emma x
 

Hazelnut Mocha Bread

Hazelnut Mocha Bread

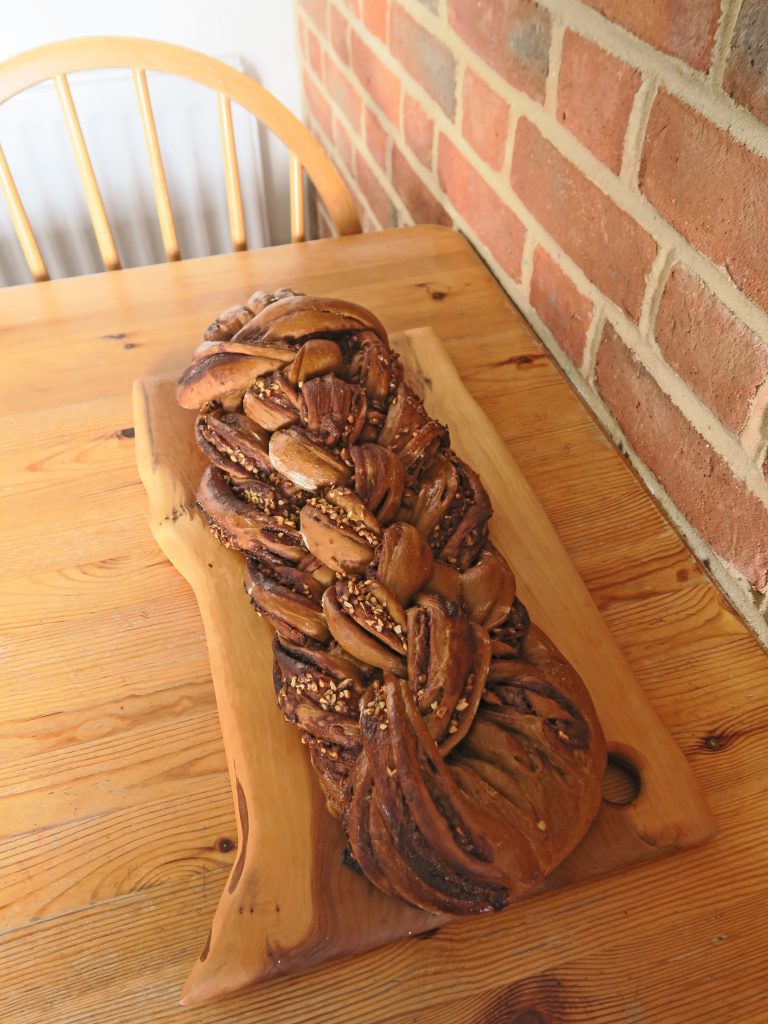
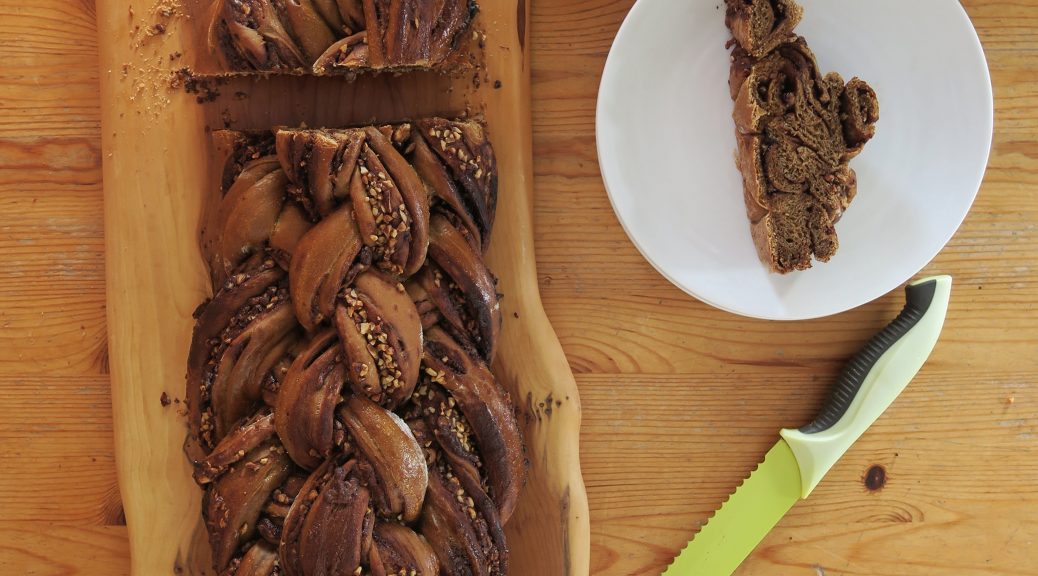
I’m just going to pause for a moment and soak up the beauty that is this eight-strand plaited hazelnut mocha bread (yes it’s a mouthful of a name but it’s worth it!)….. OK…. onto where we are this week. In the words of The Beatles ‘when I find myself in times of trouble’ bread is there to comfort me. Everything’s a little crazy at the moment, I’m not entirely sure which way is up and I’m just diving head first into I don’t quite know what. But hey. Get some bread dough in between your fingers, smell it baking in the oven, taste the freshness on your tongue and it’s just about bearable.

One thing great about bread is that it’s a very forgiving medium. Unlike pastry it’s hard to over work bread dough and so as long as the bake is right it’s (relatively) easy to get a warm fresh loaf on the table with ease. The first few times I made bread it was generally more effective as a garden rock than as an edible delicacy, but once I got the hang of kneading and proving everything fell into place. Not to mention how satisfying it is when the loaf comes out of the oven warm, a gorgeous shade of brown and 100% homemade. Call me dramatic but there’s a level of love and comfort poured into a homemade loaf of bread that you just don’t get from shop bought ones.

So if you’re ever bored, angry, frustrated or restless bread is the thing you need to be making. Pummel all your feelings onto the dough, stuff it with luscious flavours and it’ll rise into a beautiful cradle of comfort!

Recipe

Makes 1 loaf

Time: 2 hours, plus proving and baking time

Ingredients

For the dough

  • 650g Strong white bread flour
  • 12g Salt
  • 14g Dried yeast
  • 35g Unsalted butter
  • 400ml Water
  • 3 tbsp Coffee granules
  • 1 Small egg

For the filling

  • 4 tbsp Nutella
  • A Few handfuls of chopped hazelnuts

Method

  1. Put the flour, salt, yeast and butter into a large bowl. Make sure to put the yeast and salt on different sides of the bowl as the salt could de-activate the yeast.
  2. Bring 1/4 of the water to the boil in a pan or kettle and then add and leave the coffee to dissolve in it. Top the coffee solution with the rest of the cold water, then add 2/3 of it to the dry ingredients and stir to make a loose dough. Add the rest of the coffee mix and then bring together with your hands into a ball.
  3. Turn the dough out onto a table and knead for 5-10 minutes until smooth and stretchy. Put the dough back into a clean bowl, cover with cling film and leave to rise for 1-2 hours until doubled in size.
  4. Once risen take the dough out of the bowl and knead for a couple of seconds to knock the air out. Then split the dough into 4. Roll each piece of dough out into a rectangle 40cm x 30cm.
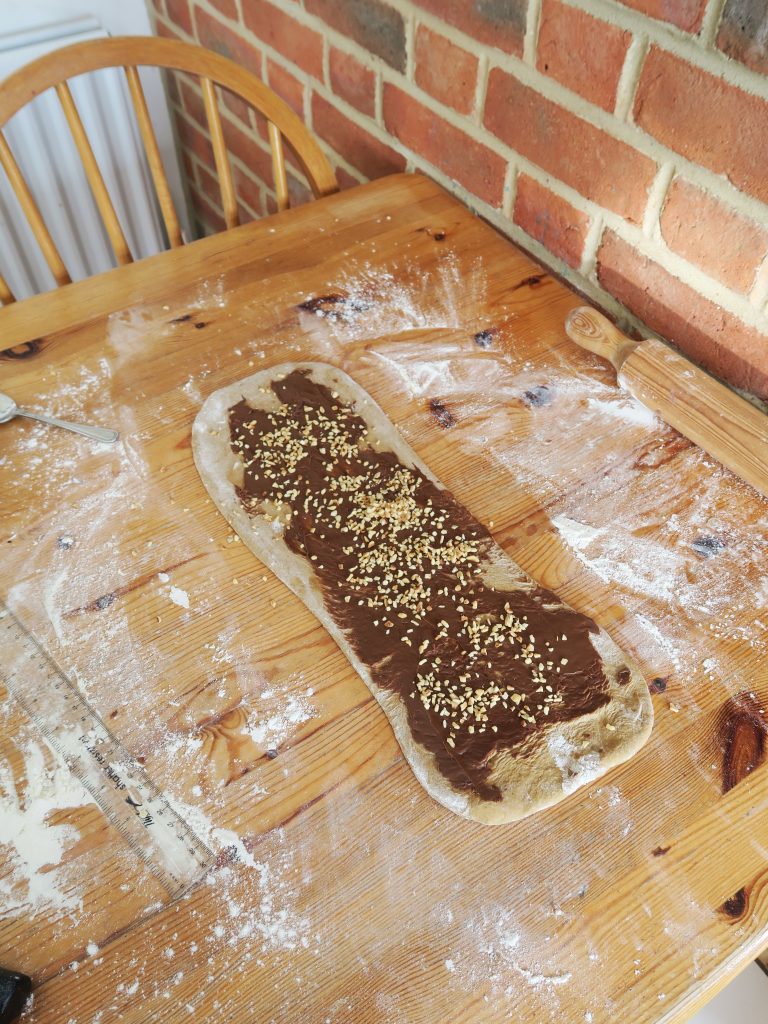
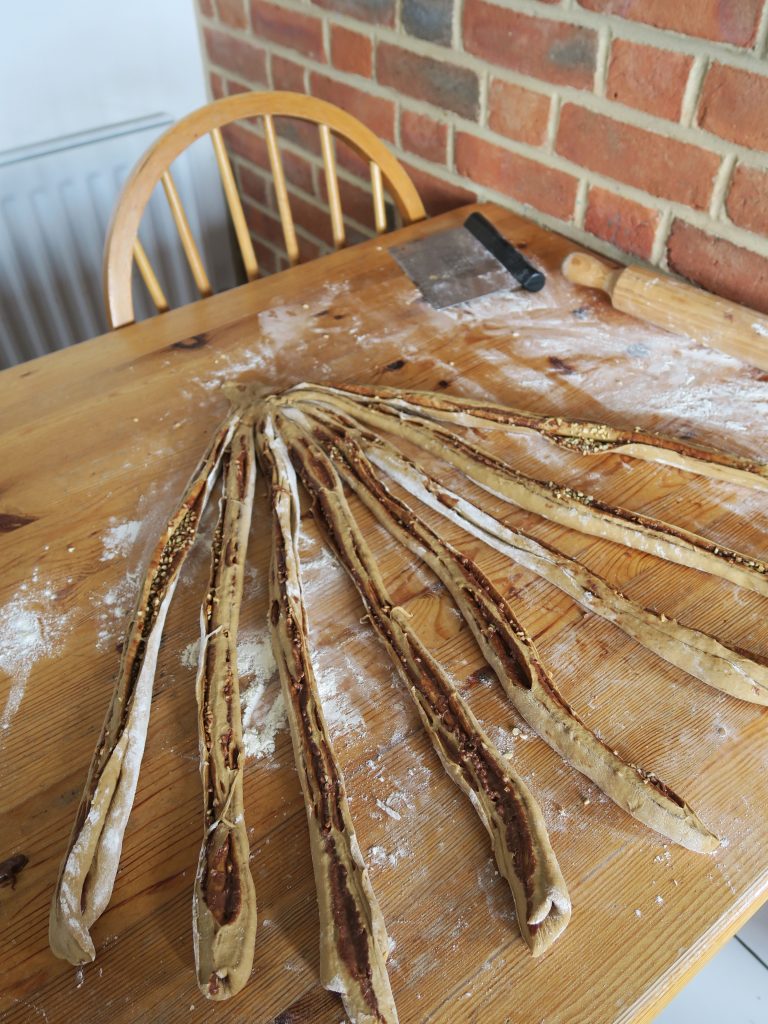
  5. Spread the ¼ of the Nutella over each bread sheet. Then sprinkle over the chopped hazelnuts. Roll up each bit of dough long edge to long edge to make tight rolls. Then halve each roll to make 8 strands.
  6. Now comes the plaiting. Lay the strands out on a large surface and group the ends together at the side furthest away from you on the table. Now number the strands in your head 1-8, working left to right. Every time you plait the numbers will re-jig so that it’s still 1-8 left to right.
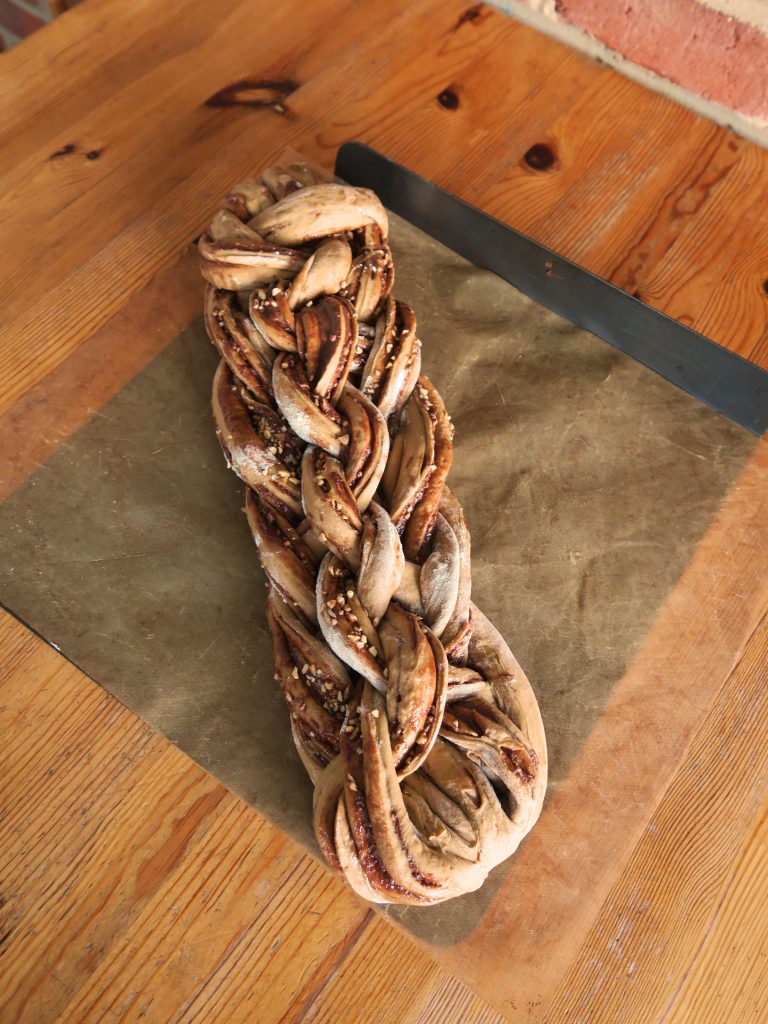
  7. Now start plaiting through the sequence. First take 8 under 7 and then over 1. Then repeat the following steps until the plait is finished:
    • Take 8 over 5.
    • Take 2 under 3 and over 8
    • Take 1 over 4
    • Take 7 under 6 and over 1.
  1. It’s going to be a little complicated, but keep going and it’ll be fine! Once finished tuck the end of the plait under itself to fuse it. Then transfer it to a line baking tray. Cover loosely with cling film and prove for another hour or so to double in size.
  2. Pre-heat the oven to 180˚C. Beat the egg in a small bowl with a fork and then brush over the loaf to glaze. Bake in the oven for  50 minutes – 1 hour until golden brown and cooked through. If it starts to burn on top cover with tin foil and keep it in the oven. Leave to cool a little before serving!

Thanks for reading!

Emma x

Chocolate Tacos

Chocolate Tacos

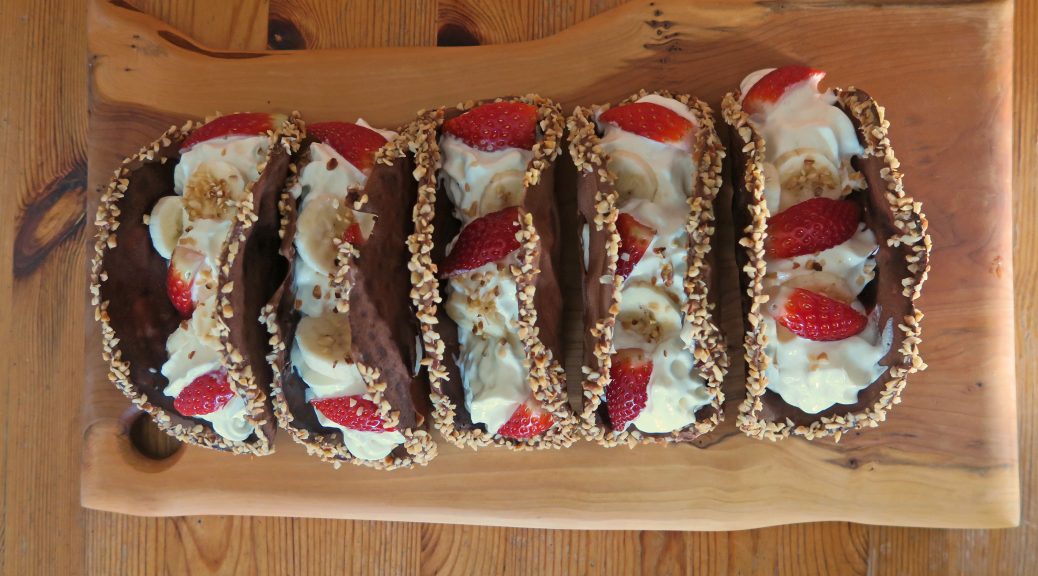
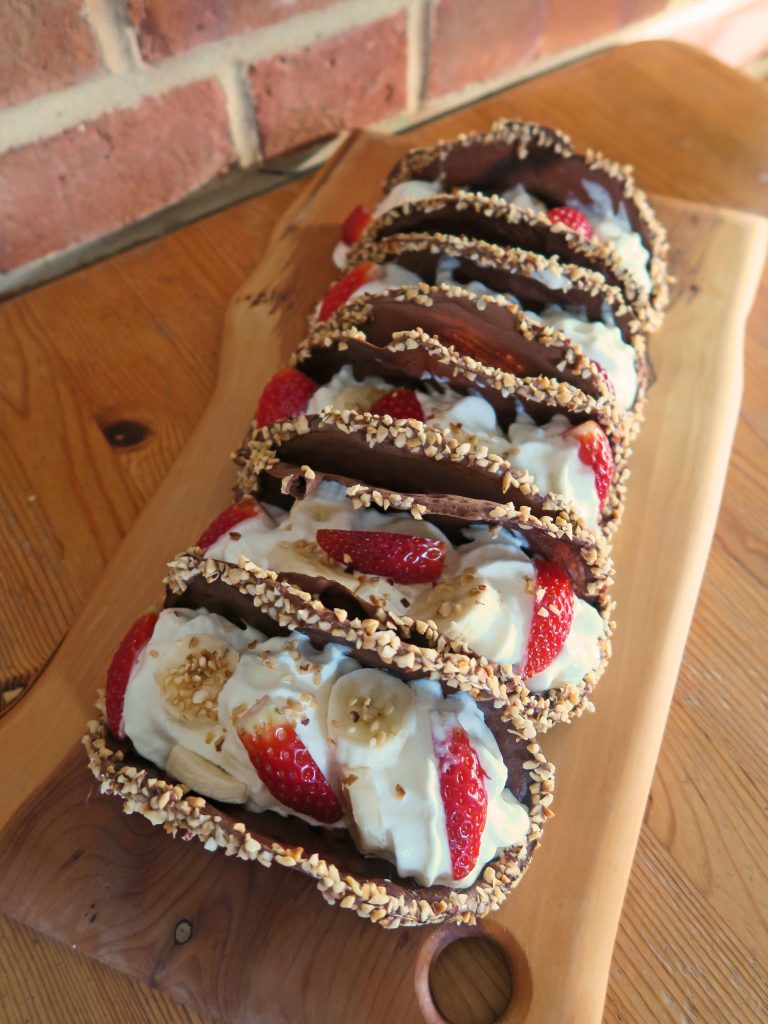
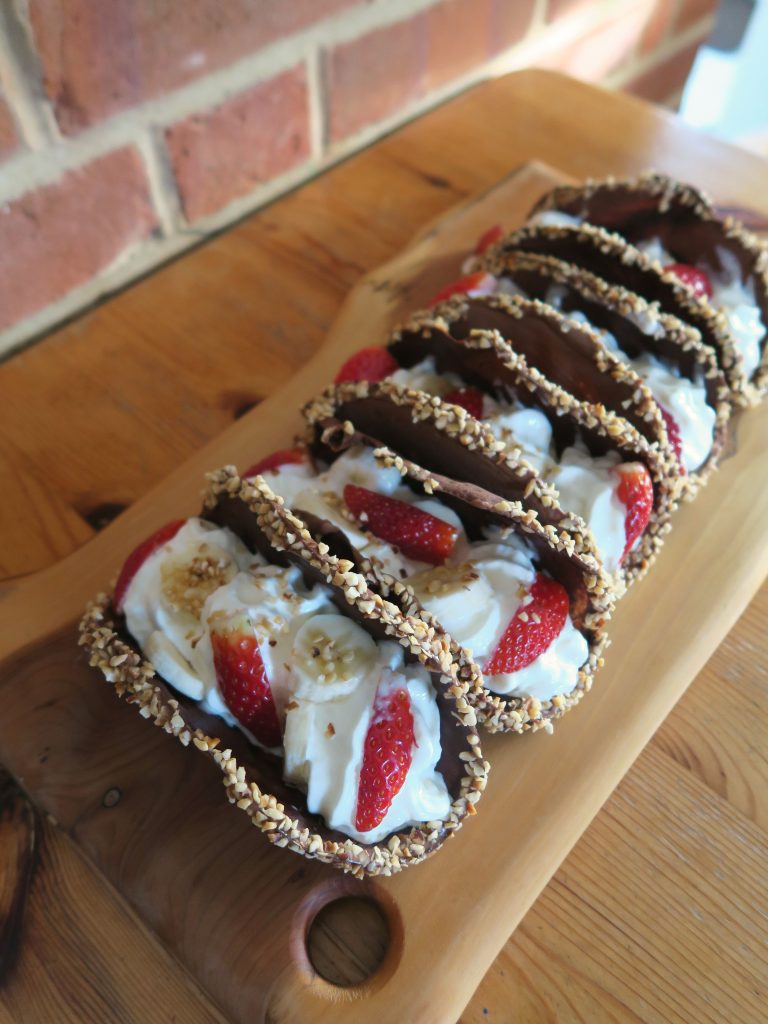
Food should be two things: fun and delicious. I know it’s cheesy but I generally think of these as the two most important factors when planning and designing my bakes. If it gets a smile or a ‘hmmhmmm’ it’s done the job! Of course ending up with something looking good is always great as well, but it’s food not a painting – if it looks bad it won’t be hanging on your wall for years reminding you how bad it looks. That said, these look flipping amazing (if I say so myself) and they’re not that hard to make – if you can make pancakes you can defo make these!

These also have the benefit of being personalise-able to your hearts content which automatically makes them good in my books. Serve them on a tray like this, or serve the shells with a variety of toppings for people to decorate themselves. The plus side of using chocolate as a base is that it’ll go with pretty much anything so get creative, think fruit, nuts, sauces, sweets, ice creams and anything else you could possibly want!

Recipe

Makes 5

Time: 90 minutes

Ingredients

For the shells

  • 50g Plain flour
  • 30g Caster sugar
  • 20g Brown sugar
  • 1 tbsp Cocoa powder
  • Large pinch of salt
  • 1 Large egg white
  • 1 tbsp Melted butter
  • 30ml Whole milk
  • A few drops of vanilla extract

For the filling

  • 50g Milk chocolate, melted
  • 100g Chopped hazelnuts
  • A few scoops of Chocolate ice cream
  • Double cream (or squirty cream)
  • Fresh fruit (I went for bananas and strawberries)

Method

  1. Begin by making the taco shells. Put the flour, sugars, cocoa and salt into a large bowl and whisk together.
  2. In another bowl put the egg white, melted butter, milk and vanilla and whisk together.
  3. Pour the wet mixture into the dry mixture and whisk to make a smooth batter.
  4. Place a small frying pan over a medium heat. Lightly oil and then add about 1 tbsp batter to the pan. Smooth the mixture around the pan to make an even layer.
  5. Cook for a couple of minutes and then flip the taco over and cook for another couple of minutes on the other side.
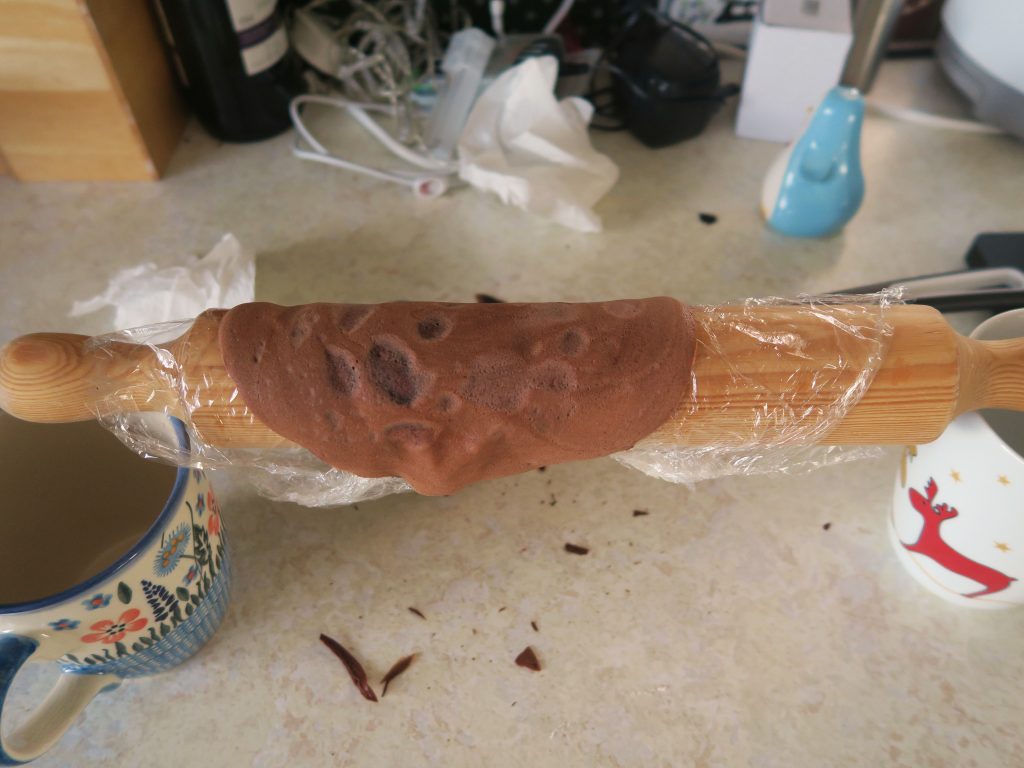
  6. Cover a rolling pin in cling film. Take the taco shell out of the pan and carefully fold it over the rolling pin. Hold it in shape for about 10 seconds and then leave to cool whilst you repeat with the rest of the mixture.
  7. Once all your mixture is used up melt the chocolate in a heatproof bowl over a pan of gently simmering water.
  8. Dip the edge of one of the tacos in the melted chocolate and then dip the edge into a bowl of the chopped hazelnuts. Leave on a plate to set.
  9. When ready to serve put a couple of scoops of ice cream into each taco. Top with some squirty cream, fresh fruit, chopped nuts and any of the left over melted chocolate!

Thanks for reading!

Emma x

Strawberry Croissants

Strawberry Croissants

With veganuary over now I’m in that weird period where I’m still adapting to the fact that I can eat pretty much anything I want! I’m also super looking forward to going back to unrestricted baking and being able to get experimental again. Even though I don’t have the equipment at Uni to be able to make everything I’d like to, or even the time for that matter, making super complex, tasty treats is so so satisfying and a great way to de-stress!

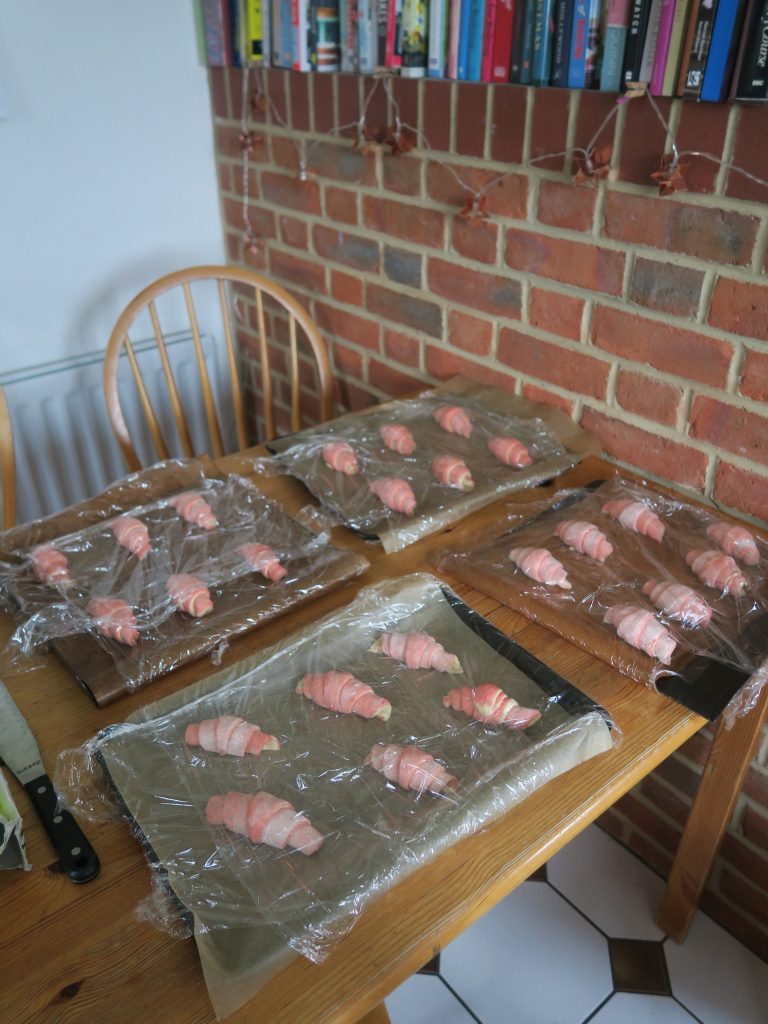
I made these over Christmas break when the only two things I was focusing on was cooking and catching up on my art course.  As holidays are the only time I have access to a sizeable kitchen I go a little crazy whenever I’m home and just cook non-stop, finally able to make all the things I’ve wanted to make over the past term! Recently in the food-sphere coloured croissants have started to become everyday (we even have pinstriped ones like these in college for breakfast now!) and as I’m a complete nut for food crazes I knew this was something I’d have to try myself. It does make the dough a little longer to put together as you have to work with two doughs instead of one, but as it’s a flipping long process anyway it’s worth it just to get the extra jazz hands moment when they’re made.

To get the pink colour in these I used some amazing gel food colourings that I got for Christmas. You can of course get normal ones from supermarkets, but I’d really recommend getting some of these if you want to get good results. They’re way more concentrated than the cheap stuff, meaning you can add less and still get a bright colour without affecting the consistency of your mixture! You can buy them in specialist food shops or on Amazon as I did, and you can get so many colours for a fairly low price (also as you’re only using a little bit at a time they’ll last you a long time!) You can even use the colours to paint on the outside of the dough once it’s rolled up so you could make rainbow croissants (I’m thinking Pride week) or paint them with specific colours (for a match or party etc)!

Recipe

Makes 25

Time: 3 hours plus chilling and baking time

Ingredients

For the white dough

  • 250g Strong white bread flour
  • 100g Plain flour
  • 30g Unsalted butter
  • 25g Caster sugar
  • 5g Salt
  • 8g Fast-action dried yeast
  • 1/2 Egg
  • 55ml Milk
  • 100ml Cold water
  • 200g Unsalted block butter

For the red/pink dough

  • 250g Strong white bread flour
  • 100g Plain flour
  • 30g Unsalted butter
  • 25g Caster sugar
  • 5g Salt
  • 8g Fast-action dried yeast
  • 1/2 Egg
  • 55ml Milk
  • 100ml Cold water
  • A few drops of red gel food colouring
  • 200g Unsalted block butter

To Decorate/Fill

  • 75g Strawberry jam
  • 1 Egg, beaten

Method

  1. Begin by making the white dough. Put the flours and butter into a large bowl. Rub the butter into the flours until crumbly.
  2. Mix in the sugar, salt and yeast and then add the egg, milk and water and stir together until a smooth dough forms.
  3. Turn the dough out onto a worktop and knead for about 10 minutes until smooth and stretchy.  Wrap the dough really loosely in cling film and then leave to rise in the fridge for 24 hours.
  4. Do the same for the red dough, this time adding the food colouring in at the end. Then rest it the same as the white dough.
  5. Now  you’re ready to laminate the dough. Take one of the blocks of butter out of the fridge and place it between two sheets of cling film. Bash it into a 12cm square and then place it back into the fridge to firm up. Do the same for the other block.
  6. Take one of the doughs out of the fridge. Roll it into a 25cm square that’s 1 cm thick. Place the butter in the middle so it’s corners hit the centre of the sides of the dough square (a diamond in a square).
  7. Fold the dough up around the butter like an envelope and then roll the dough out into a 22 x 40cm rectangle.
  8. Fold over one third of the dough, and then the top third down to cover it. Wrap the dough in cling film and then chill in the fridge for 30 minutes. Do the same with the butter and the folding for the other dough.
  9. Once the dough has chilled take it out of the fridge and roll it out again to make a rectangle again. Repeat the folding and chilling process and then repeat this twice more. Do the same for the other dough.
  10. Wrap the two doughs very loosely in clingfilm (so they have room to rise) and then leave in the fridge overnight.
  11. Now shape the dough. On a lightly floured surface roll one of the doughs out to a 31 x 41 cm rectangle. The dough will resist being shaped but just keep going and you’ll get there. Put the dough sheet to one side and then repeat with the other coloured dough.
  12. Place the red dough on a lightly floured work top and brush it lightly with some water. Then put the white dough on top and roll the sheet out into a rectangle 31 x 81 cm.  Trim the rectangle down to make a neat 30 x 80 cm rectangle.
  13. Cut the rectangle in two to make 2 rectangles 15 x 40 cm. Take one of the rectangles and cut a little notch every 10cm along one edge. Then measure the other edge: cut one notch at the first 5cm, and then cut a little notch every 10cm.
  14. Take a knife or a pizza cutter and cut diagonally between the notches to make a series of triangles 10cm at the base and 20cm high. Repeat with the other rectangle of dough.
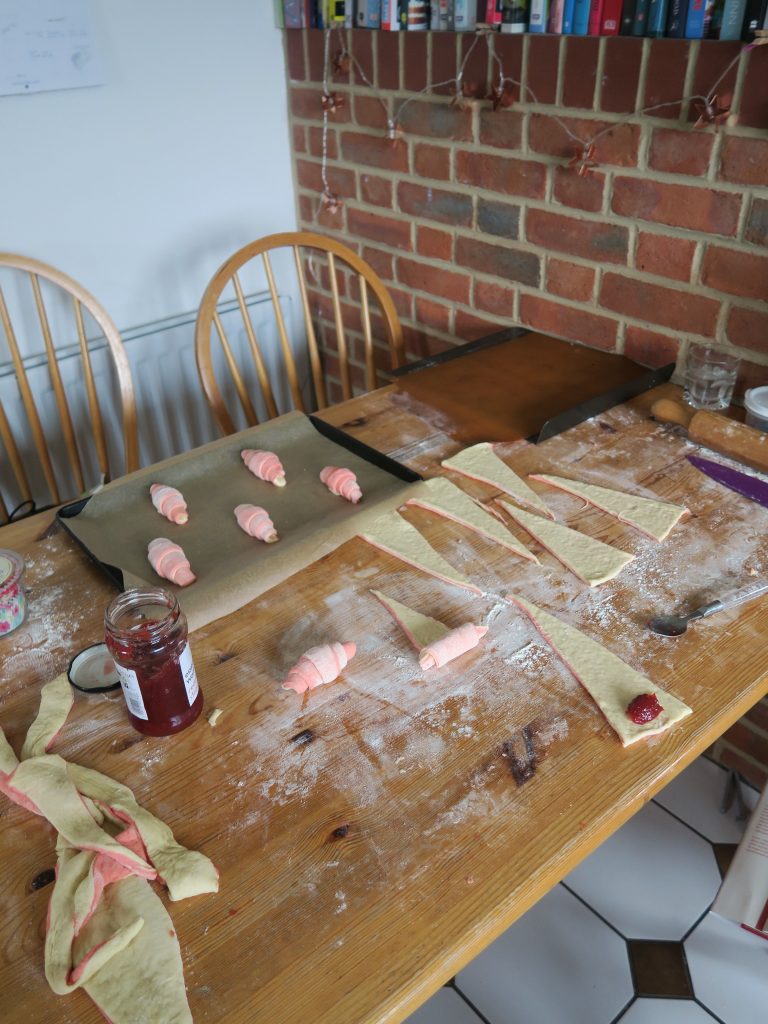
  15. Take one triangle and stretch it a little to make the dough taught. Then put a little blob of jam at the wide base before rolling up the croissant from the wide base to the point. Place the croissant onto a lined baking tray with the join underneath. Repeat until you’ve used all the dough to make some croissants.
  16. Cover loosely in clingfilm and then leave for 2 hours to rise and double in size.
  17. Pre-heat the oven to 180˚C. Take the beaten egg for the decoration and lightly brush it over the pastries. Then bake the croissants in the oven for 15-20 minutes until golden brown and risen. Leave to cool a little before eating!

Thanks for reading!

Emma x
 

Cherry and Marzipan Flower Bread

Cherry and Marzipan Flower Bread

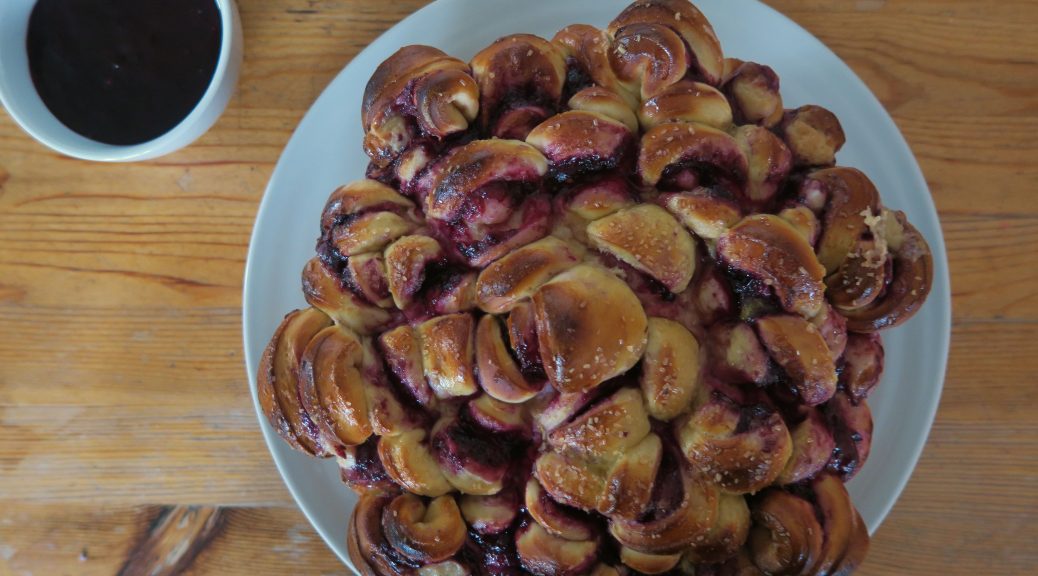
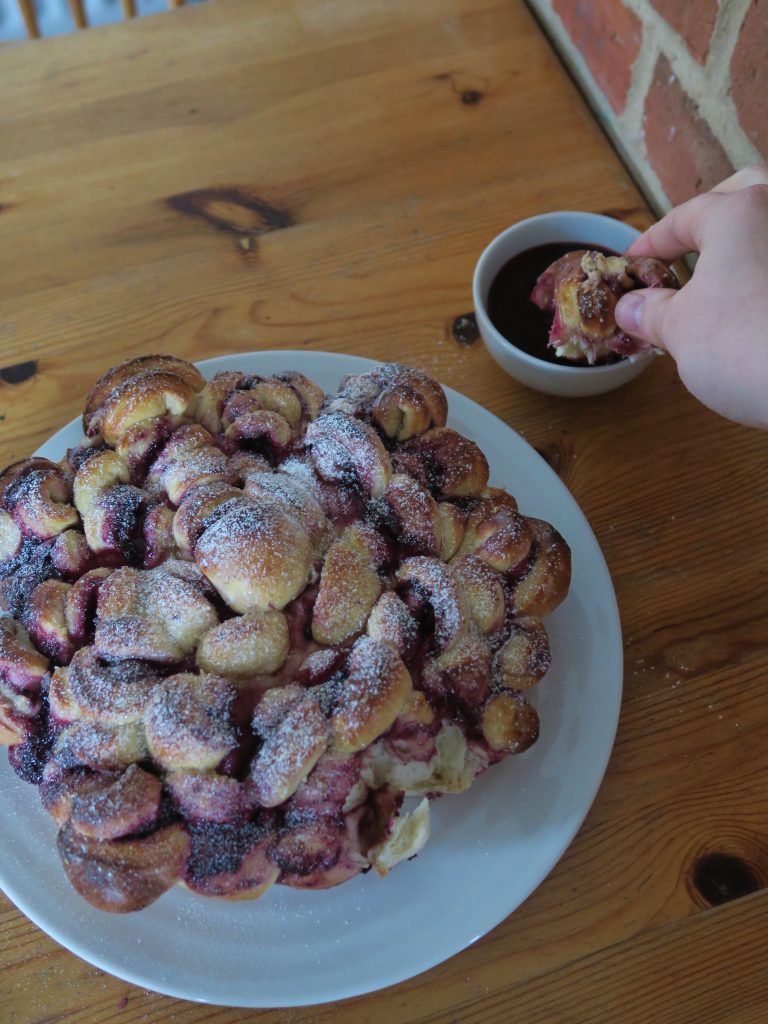
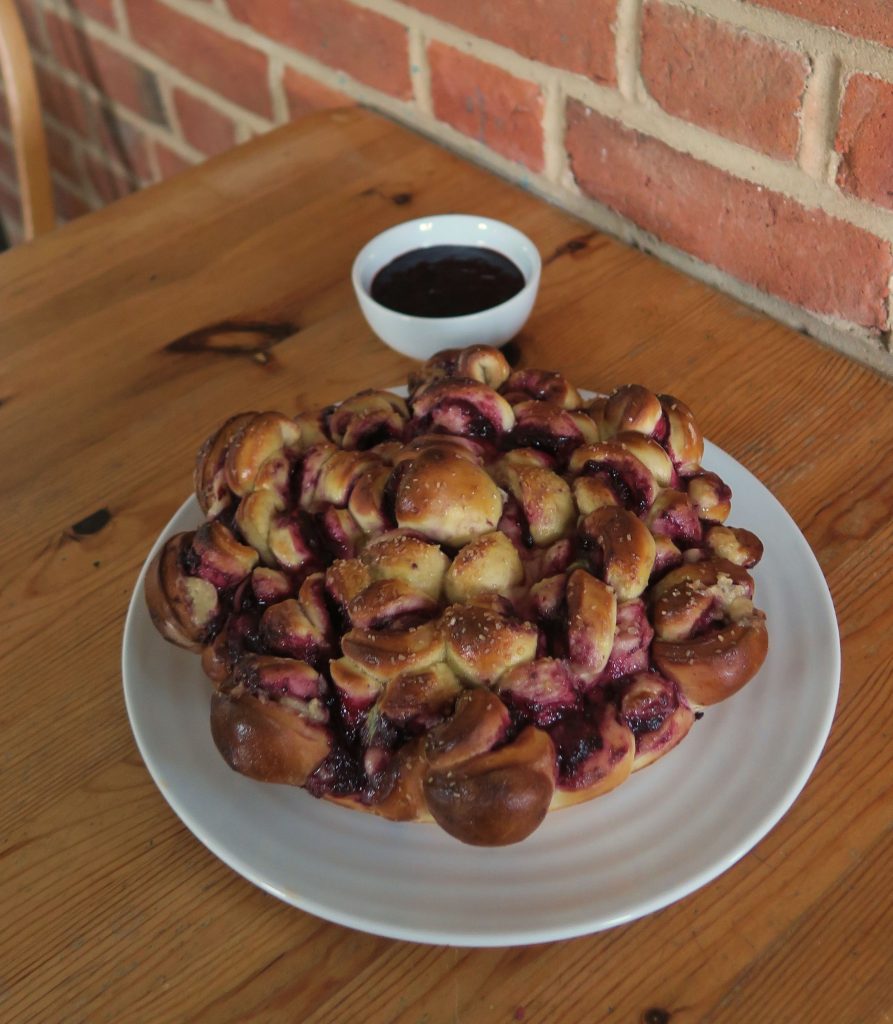
It’s the last post of the year and so I decided to go for this fun-to-make flower bread thing to kick off 2019! Bread’s one of those massively underrated bakes that very few people make themselves, even though its pretty easy and fun to do. By making your own you can also explore breads with really interesting flavours and fillings so you can branch out from the classic plain white loaf and into the colourful world of flavoured bread. Yes it does take some time to make, but it’s more just waiting for it to rise than actually working on it constantly. So if you’re yet to figure out your new years resolutions maybe you could set out to learn how to make bread? I promise you won’t regret it!

Speaking of new years resolutions…

I’ve always been someone who’s loved fresh starts, not necessarily because I screw up so badly I need them all the time, but just because for some reason they make it easier to start something with ommph. For example I can never start a diet mid-week or start going to bed earlier on a random day. So when new year comes around it’s the perfect opportunity for me to look at everything I’m doing wrong in my life and try to sort it out a bit. Of course it never works and I hit December realising how over-optimistic I was last year about what I could achieve, but it never stops me from making them.

Recently I’ve been really getting into Ted talks and on one of them a guy listed some top tips for new years resolutions in order to optimise life enjoyment and productivity. Sounds even more optimistic than the usual gumph we put on our lists but I thought this year I’d try it and see at the end of the year if it did make things more interesting. For example he recommended that we don’t start our new years with ‘I will not do this’ or the aim to do something we’re not actually interested in doing. Yeah running everyday would be great, but if you hate running it’s not the best start to 2019.  Instead we should aim to go places we want to go, learn skills we want to learn, and spend more time with the people we want to spend time with. So if I can pass on any advice for the new year it would be to a) make one of these (it really does taste super good!) and b) start the new year with the aim of doing some fun things that you want to do!

Recipe

Serves 8

Time: 2 hours, plus proving and baking time

Ingredients

  • 150g Frozen cherries (or mixed fruit)
  • 3 tbsp Cherry jam (or mixed fruit)
  • 3 tbsp Chambord (or other fruity liqueur like crème de cassis or kirsch)
  • 200g Marzipan
  • 1 Egg, beaten
  • 2 tbsp Demerara sugar

For the dough

  • 500g Strong white bread flour
  • 10g Salt
  • 30g Caster sugar
  • 14g Fast action dried yeast
  • 40g Butter
  • 2 Large eggs
  • 50ml Milk
  • Olive oil for greasing

Method

  1. Begin by making the dough. Put the flour, salt, sugar and yeast into a bowl and mix everything together. Make sure you don’t put the salt directly on top of the yeast or you could end up deactivating the yeast
  2. Add the butter, eggs, milk and 100ml water to the mixture. Stir until combined, adding a little more water if needed to bring the dough together.
  3. Turn the dough out onto a lightly floured surface and knead until smooth and elastic (about 10 minutes).
  4. Form the dough into a ball and then put it into a large clean bowl, greased slightly with clingfilm. Cover with clingfilm and then set aside to prove for around an hour, until doubled in size.
  5. Now prepare the filling. Put the cherries into a pan with the chambord (or tipple of choice) and the cherry jam and then bring to a gentle simmer. Leave for 5 minutes, then puree with a hand blender and take off the heat. Whilst the puree is cooling cut the marzipan into 36 thin slices.
  6. Butter a 24cm pie dish with slopping sides, or a cake tin if you don’t have one.
  7. Turn the dough out onto a worktop and knead for 10-15 seconds to knock the air out. Then split the dough into 4.
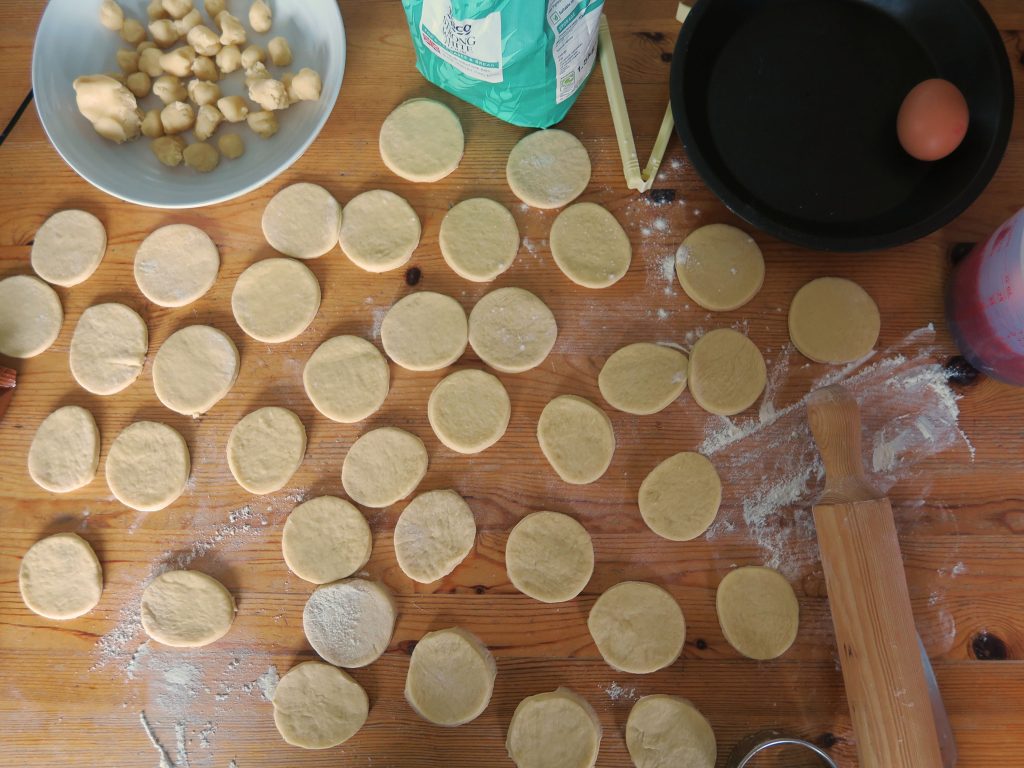
  8. Place one of your dough pieces on a lightly floured surface and then cover the other pieces you’re not using with cling film. Roll the dough out to a disc about 4mm thick. Then cut out 7cm rounds from the dough. Keep the off cuts in case you need to re-roll and then repeat with the other portions of dough. You should have around 30-36 circles.
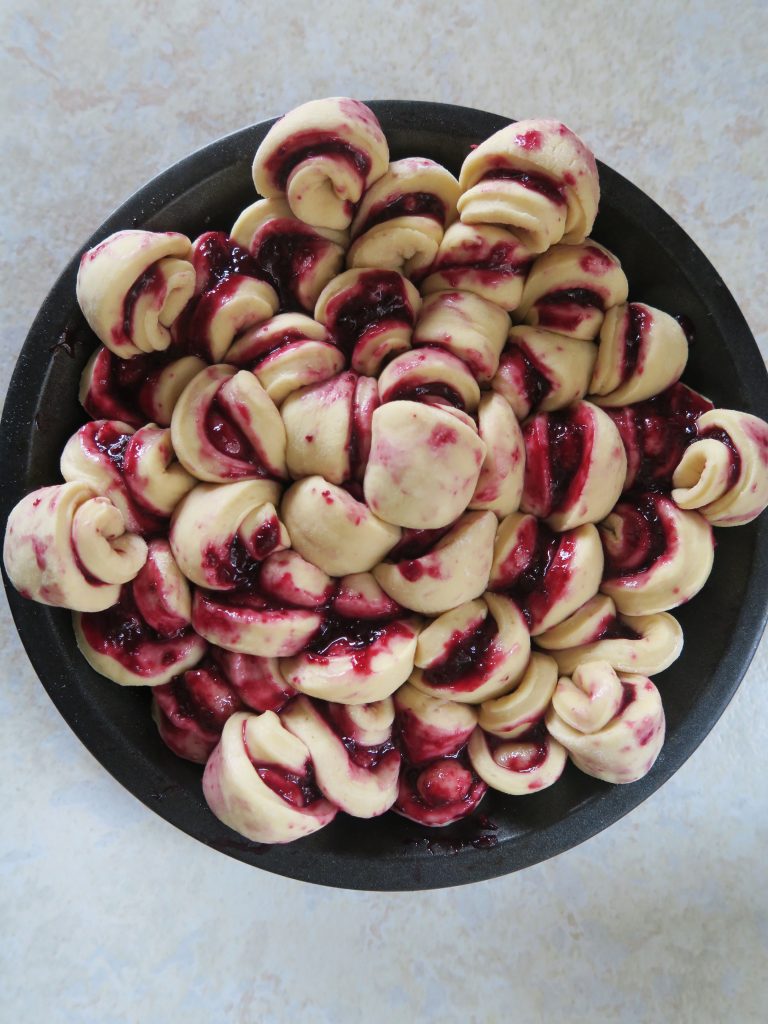
  9. Place one piece of marzipan and a little spoonful of the cherry mixture in the centre of each dough circle.
  10. Fold each circle in half, and then bring the two points of the semi-circle together to make a petal shape.
  11. Arrange the dough pieces around the edge of the tin in a circle, and then make more circles with the dough petals working into the centre. Cover loosely with clingfilm and leave to rise for 1 hour.
  12. Pre-heat the oven to 180˚C. Brush the top of the bread with a little beaten egg and scatter with the demerara sugar. Bake for 35-40 minutes until golden brown and baked all the way through. Serve!

Thanks for reading!

Emma x