How to Make Creme Patisserie (aka custard)
A little while ago I did my first ‘how to’ which I really enjoyed so I thought I’d do another one. In my normal recipes I tend not to put copious amounts of detail in the method as it’s not necessary and it makes it look too long to work through when scanning, so I’m hoping these longer explanations will be helpful for the more technical dishes which might need a bit more explanation.
As with pastry in my first how-to, creme patisserie (aka custard) is something I used to really struggle with. No matter what I did it always seemed to curdle and split and just die on me which was really frustrating. But after lots of research into how to make it and experimenting with combinations of recipes I found this magic formula, and it’s worked for me ever since!
‘Course you can use powdered or even packet/tinned custard, but trust me, making your own is so much better. Not only do you move away from the shockingly yellow florescence of powdered custard but you get much richer flavour, which can be really important for some dishes. For a list of things you can do with creme patisserie scroll to the bottom of this post where there’s a list of alternatives and links to recipes you can use this in. Trust me once you can nail a good creme patisserie you’ll never go back to the packet stuff!
Recipe
Time: 20 minutes
Ingredients
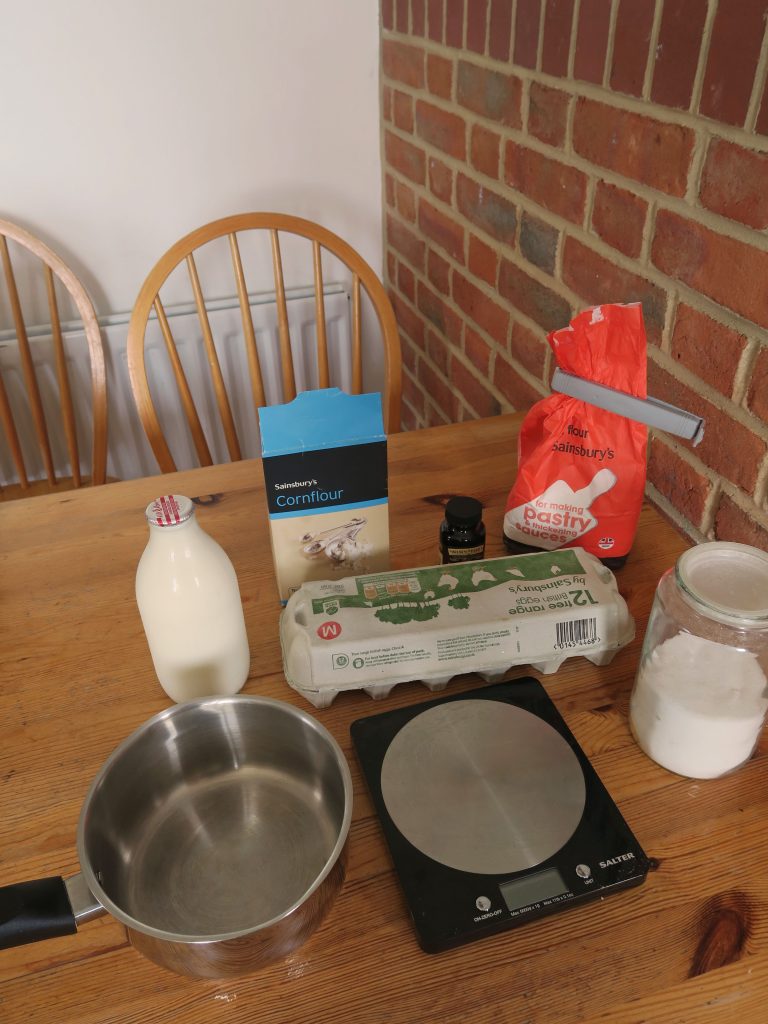
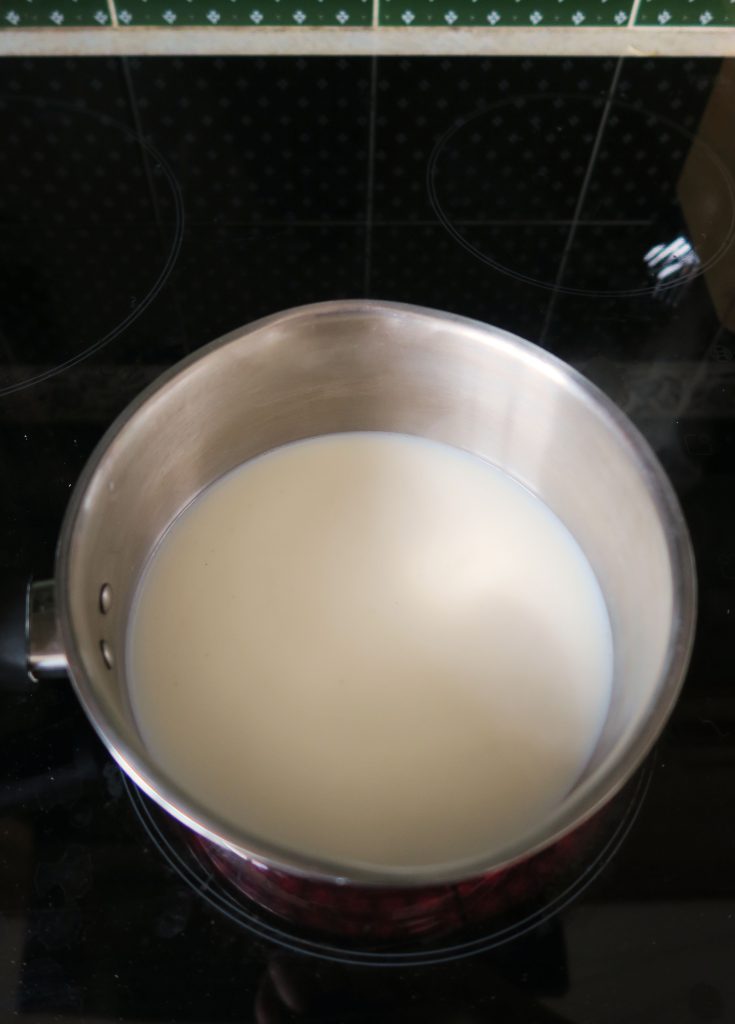
- 250ml Whole milk
- 1 tbsp Vanilla bean paste
- 50g Caster sugar
- 3 Egg yolks
- 10g Plain flour
- 10g Cornflour
Method
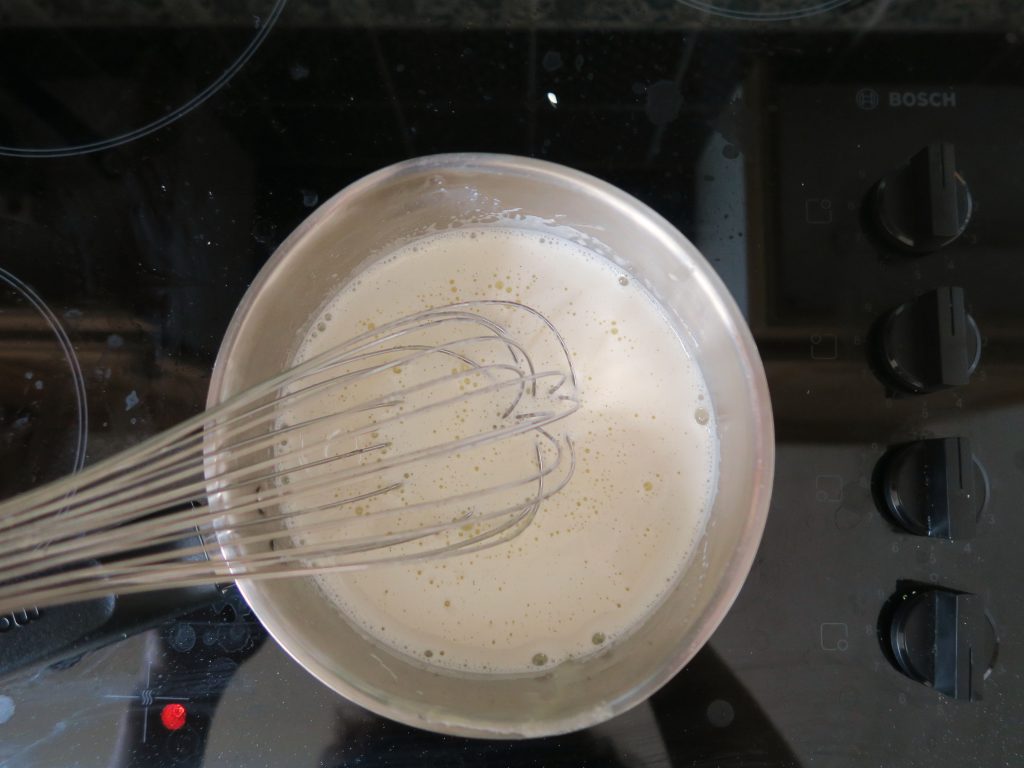
1. Put the milk and vanilla into a saucepan, stir once and bring to the boil.
 2. Separate the eggs by rocking the yolk between the two halves of the shell and letting the egg white drip into a bowl below. Put the egg yolks into a separate bowl.
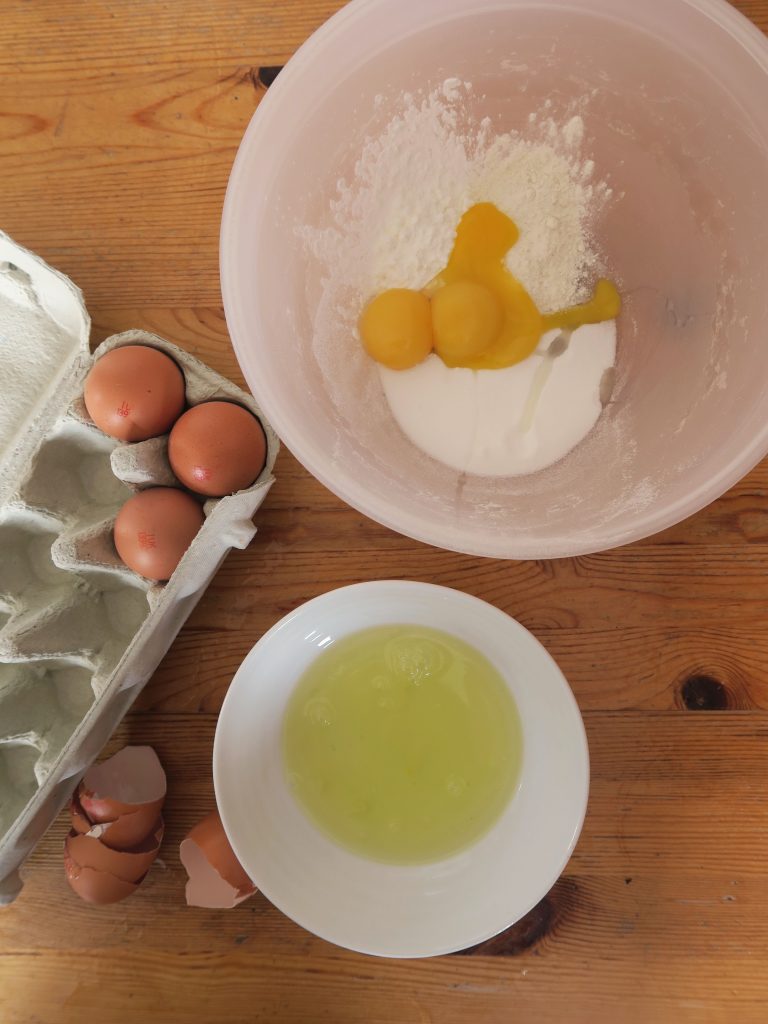 3. Add the sugar and two flours to the egg yolks and whisk together until fully combined.
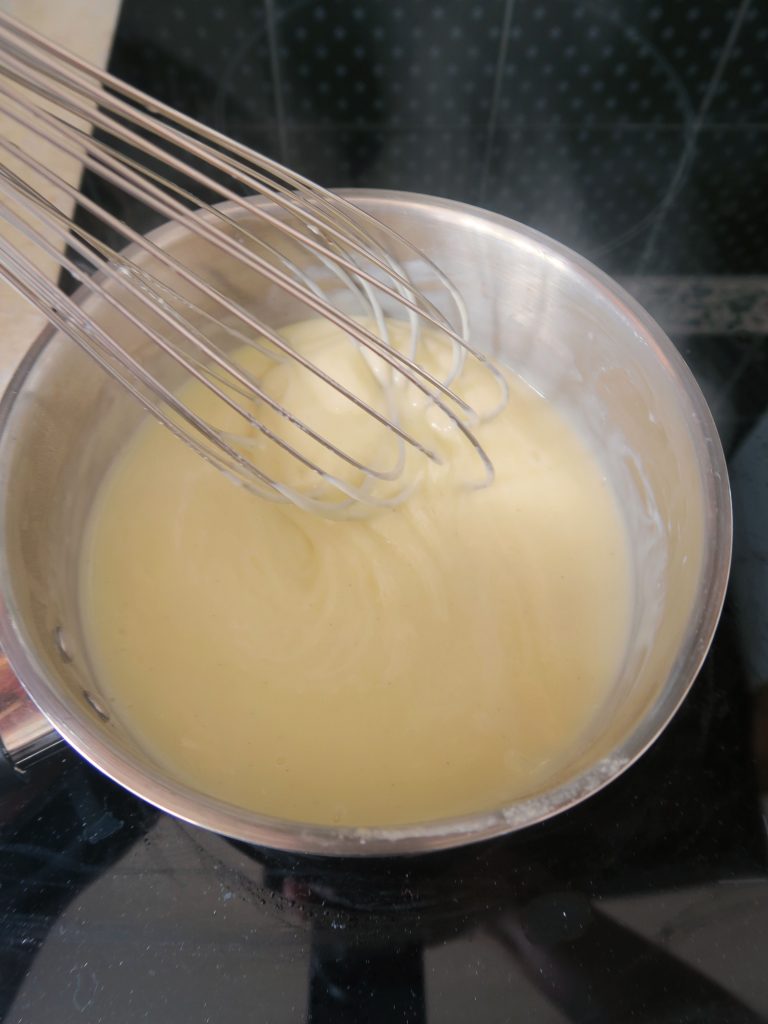
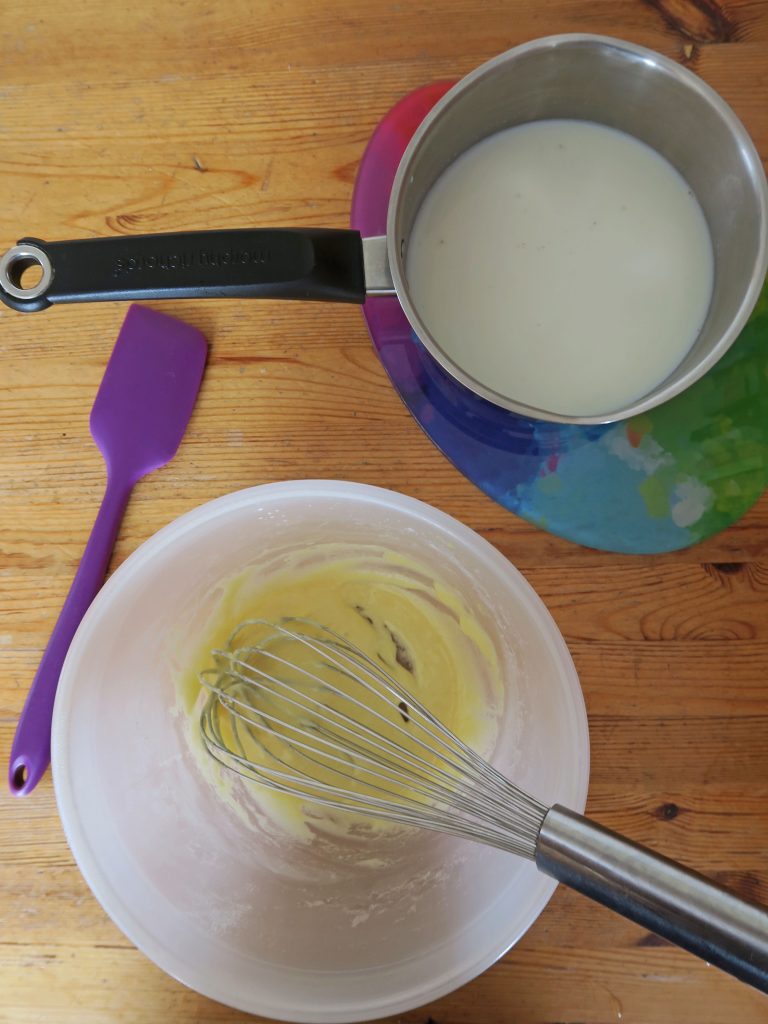 4. Once the milk is heated, remove the pan from the heat and mix around 1/3 of the milk into the egg mixture.
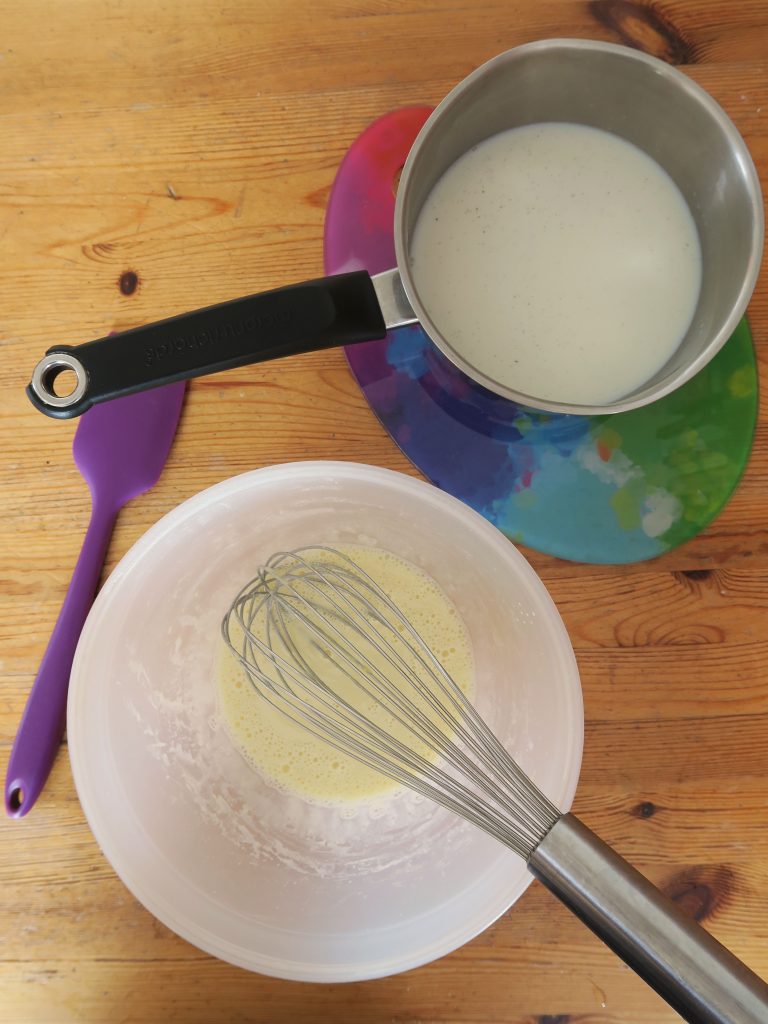 5. Whisk the mixture quickly and then pour the egg mixture back into the pan with the milk.
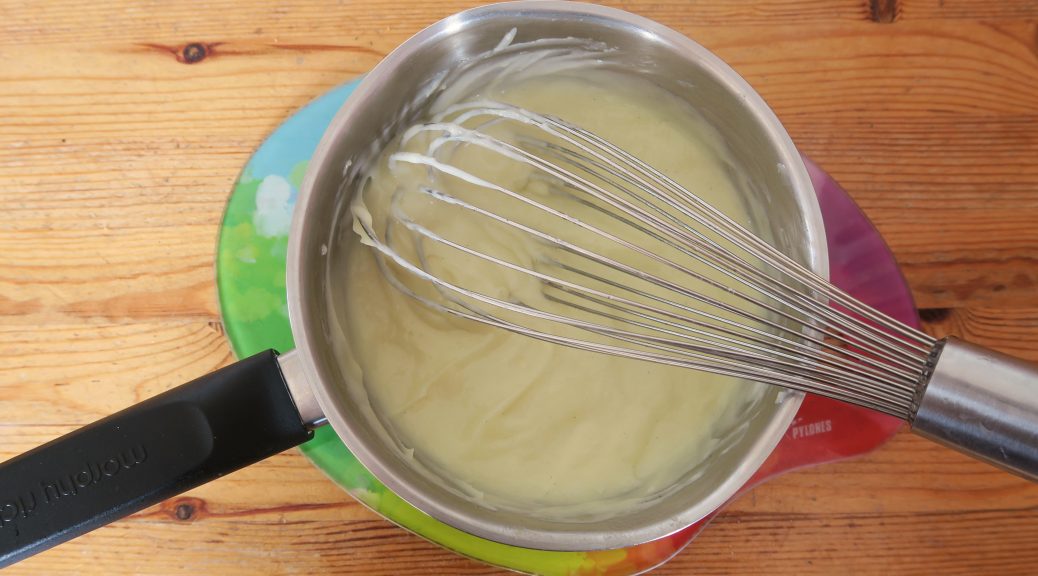
 6. Put the pan back over a medium-low heat and whisk until the mixture thickens.
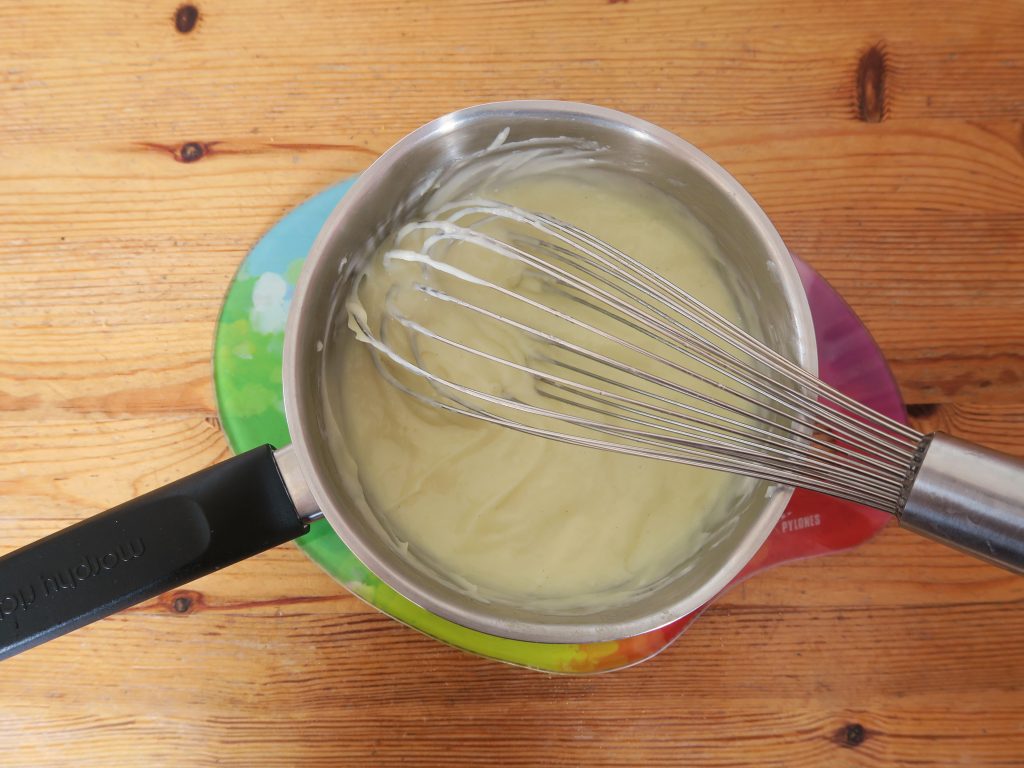
 7. Pour the creme patisserie into a jug and, if not using straight away, cover with cling-film to prevent a skin from forming.
“Oh no it’s…”
Too runny…
- Pour the mixture back into a pan and gently heat up again. Whisk constantly and keep it on the heat until it starts to thicken.
Gone lumpy…
- This is probably because either the flours weren’t whisked into the egg yolks enough in step 3, or because the mixture wasn’t whisked enough when it was being heated through. To solve this you can try giving it a good hard whisk for 1-2 minutes to break up the lumps. If this doesn’t sort out the problem put the creme patisserie through a sieve and you should have a smooth, silky custard!
Split…
- This happens when the mixture gets too hot and boils, and can also happen when you add certain ingredients like lemon juice or alcohol to the mixture. When it’s fully curdled it’s pretty hard to save and you will probably have to start again. Before you do though try pouring it into a bowl or different pan and blitz with a hand blender – you can sometimes save it this way!
Taking ages to thicken…
- Sometimes creme patisserie thickens in a minute, sometimes 20, the trick is to be patient. Even if you have to stand there for 30 minutes whisking on a gentle heat keep going and you will get there. If you’re low on time (or just plain bored) you can try increasing the heat a little, just be careful the mixture doesn’t boil or it can split. In the past I’ve also sifted in a little extra cornflour (around 1/2 tsp) to make the mixture thicken quicker. If you do this, however, keep a really close eye on the mixture as it could go super thick and end up rubbery.
- It’s also worth noting that the creme patisserie will continue to thicken as it cools down. Therefore don’t bring it to the consistency you’d expect your custard to be, instead bring it to the point where it’s thickened but slightly loose. It’ll then thicken to the perfect consistency within a few minutes of being off the heat.
Alternatives
Why not try…
- Adding 1 tbsp cocoa powder to the egg yolks when you add the flour to get chocolate custard
- Adding the zest of 1 lemon or orange to the milk at the start to get a citrus creme patisserie
- Using almond, coconut or soya milk to make this dairy-free and to add some delicious flavour!
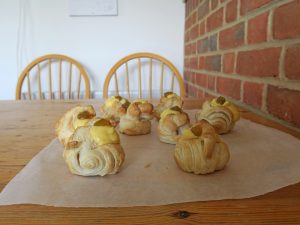
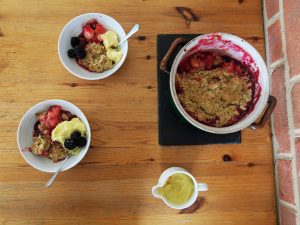
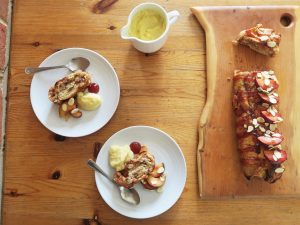
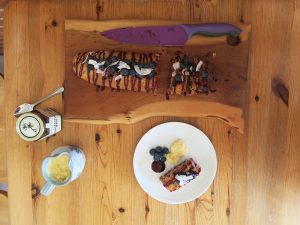
Recipes Using Creme Patisserie
Here’s some of my favourite recipes using creme patisserie, but the uses are definitely not limited to these! Click on the picture to go through to the recipes…


Thanks for reading!
Emma x