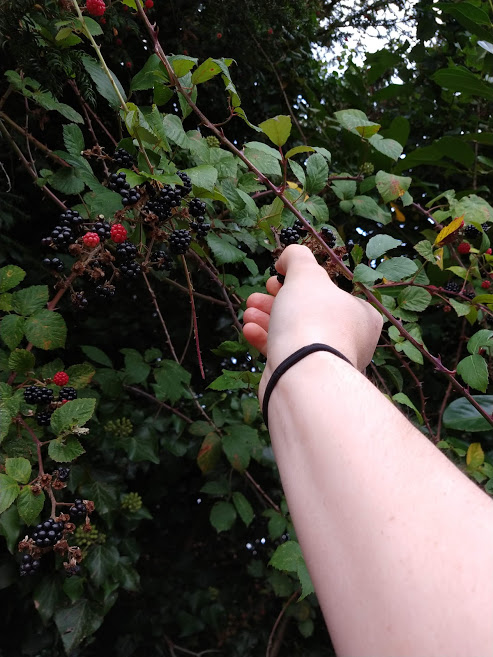
It’s blackberry season again!! This is such a big thing in my house as we live in the countryside, so we watch the blackberries over the season from mid-August to start of October, by which point they’re juicy and sweet and beautiful. We literally can’t leave the house any more without my mum bringing tubs for foraging (one time we even took a fishing net to catch apples in – it was strangely effective!) So now that we have tubs and tubs of blackberries in the fridge it’s time to start getting creative again!
It’s no secret that I’m a complete brownie freak. I like to make them, smell them, eat them, jazz them up, play around with them and generally appreciate their existence. So it’s no surprise that I ended up making some these swanky blackberry brownies. I’ve also added in some booze in here because it works so so well with chocolate! I’m not much of a drinker (relatively speaking) and so I’m only just discovering it’s value in cooking – but boy does it give this a nice lil’ touch! Of course though, if you wanna make these t-total you can leave out the alcohol and soak the blackberries in some spices (a pinch each of ground cinnamon and ginger are good!) and Ribena to give them a touch up.
As term hasn’t started for me yet (I know we start super late!) I’m in the process of bouncing between home and my uni house to make the most of the time I have free to do that. When I went home the other day I came up with these (as you can’t not appreciate having a fully stocked kitchen when you’re in one!) and luckily I managed to have a few left to take back to Oxford with me. One of the things I love most about baking is being able to share what I make with friends, and it’s something I really don’t do enough of any more. But these went down a treat so I can definitely see them becoming a favourite in our house!
Recipe
Makes 12
Time: 1 hour
Ingredients
For the Brownie
- 220g Butter
- 280g Dark chocolate
- 4 Medium eggs
- 280g Caster sugar
- 60g Plain flour
- 150g White chocolate, roughly chopped
For the Icing
- 200g Blackberries
- 10ml Chambord
- 40ml Creme de Cassis
- 175g Icing sugar
To decorate
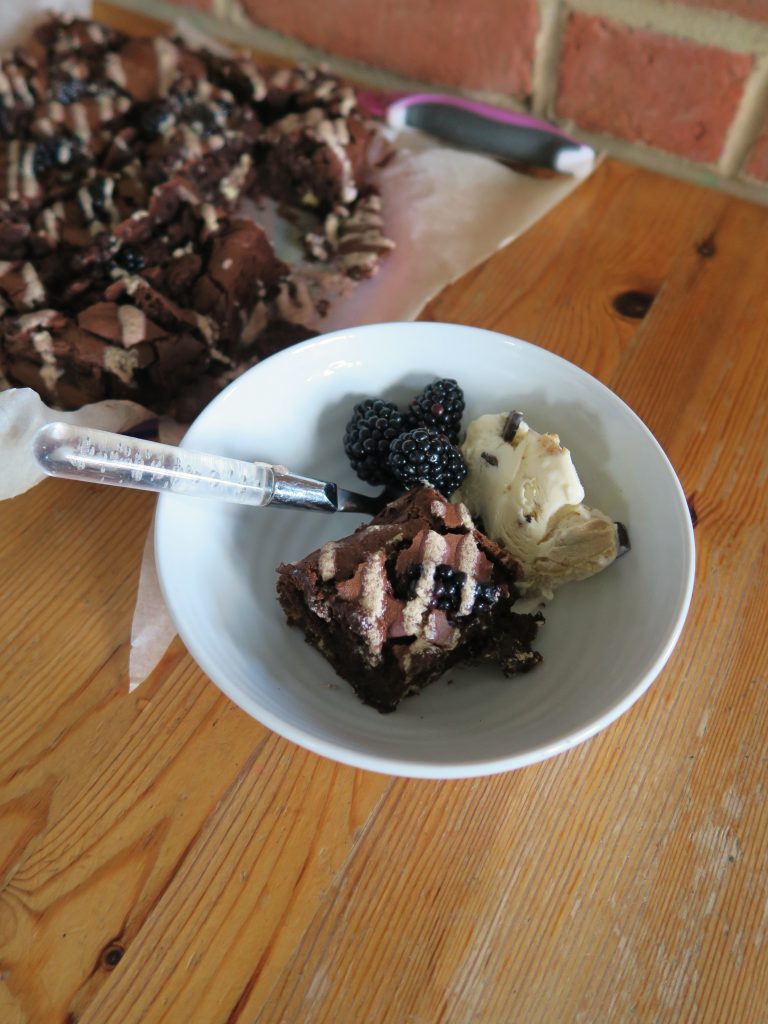
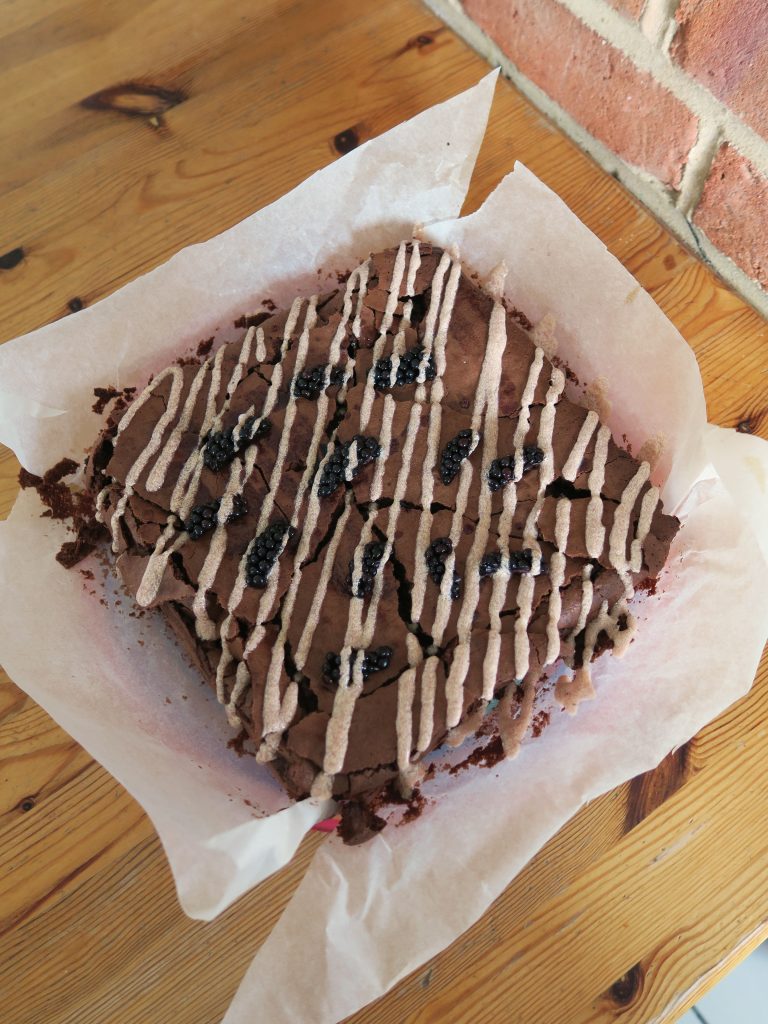
- Fresh blackberries
- 50g Dark chocolate
- Ice cream to serve (optional)
Method
- Begin by prepping the blackberries for the icing. Place the blackberries, chambord, Cassis and 25g of icing sugar in a bowl, mix together and then set aside to macerate for 30 minutes.
- Now move onto the brownies. Pre-heat the oven to 180˚C. Grease and line a 15×15 cm loose tin with butter and baking paper.
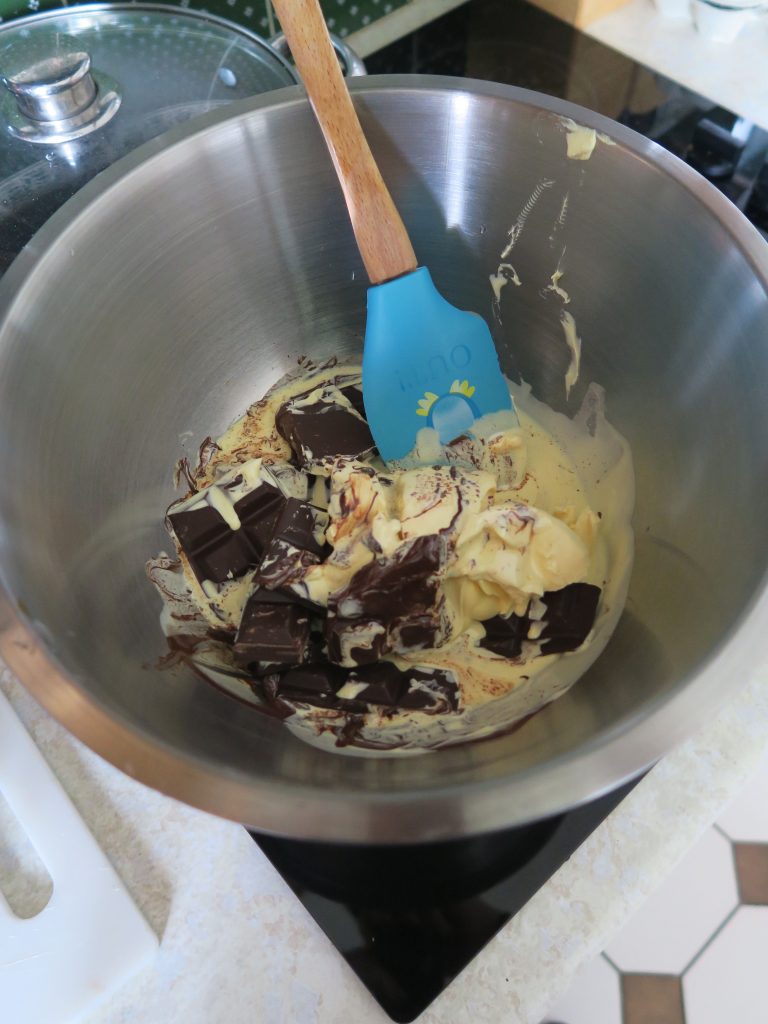
- Put the butter and chocolate into a metal or glass bowl over a pan of simmering water and leave to melt.
- Take another bowl and whisk the eggs until pale and fluffy with an electric whisk. Add the sugar and continue to whisk until it leaves a trail when the whisk is taken out (around 5 minutes should do it).
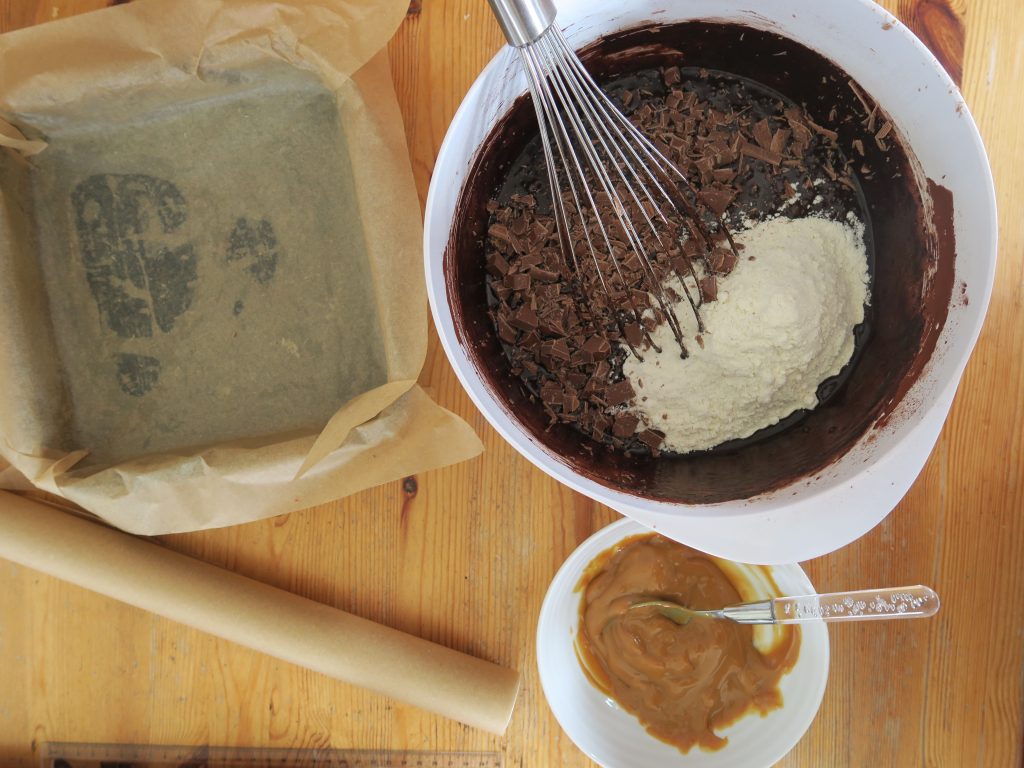
- Fold the chocolate into the eggs, sieve in the flour and add the chopped white chocolate. Mix everything together until just combined.
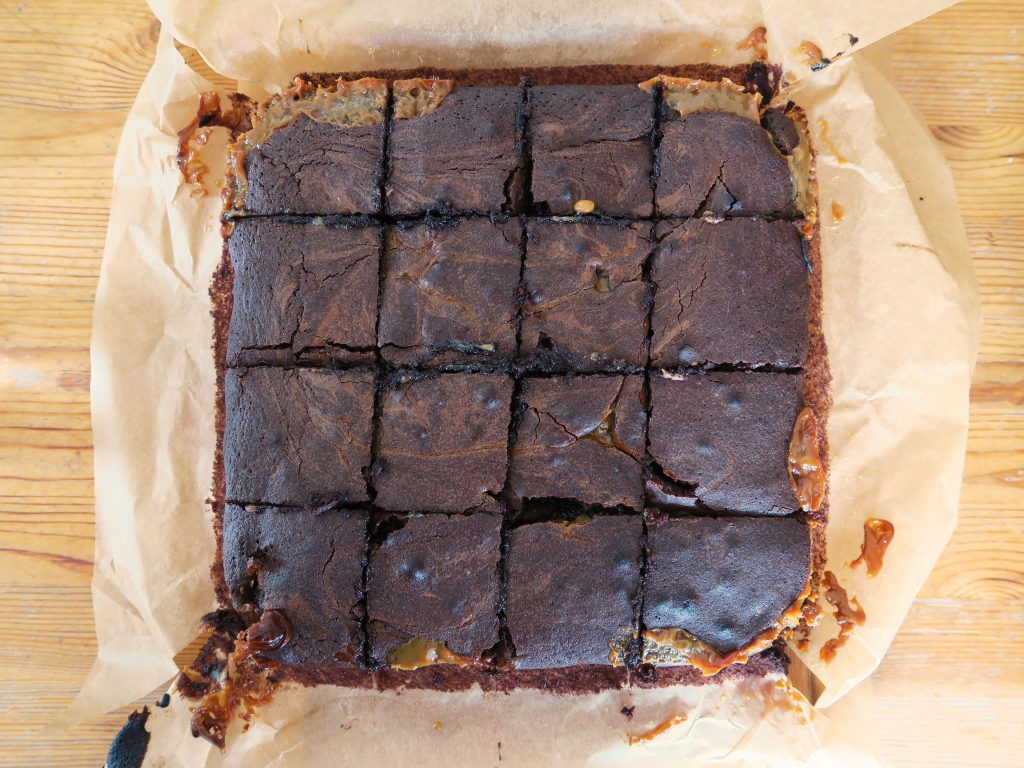
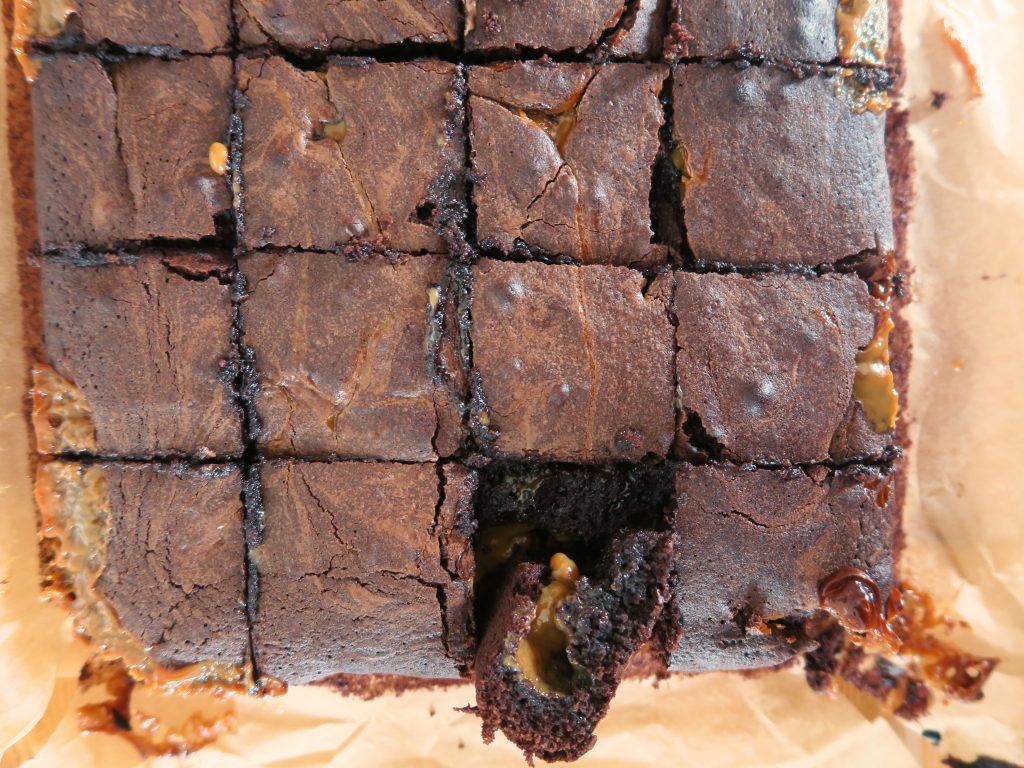
- Pour the mixture into the lined tin and sprinkle over half of the macerated blackberries. Then bake the brownies for around 20 minutes until a crust has formed on top and it feel slightly firm. Set aside to cool.
- Whilst the brownies are cooling, move onto the icing. Sieve the remaining blackberries, pressing the berries into the sieve with the back of a spoon to release the juices. Then mix a little of this juice into the icing sugar, 1 tsp at a time until a smooth, pourable icing is made.
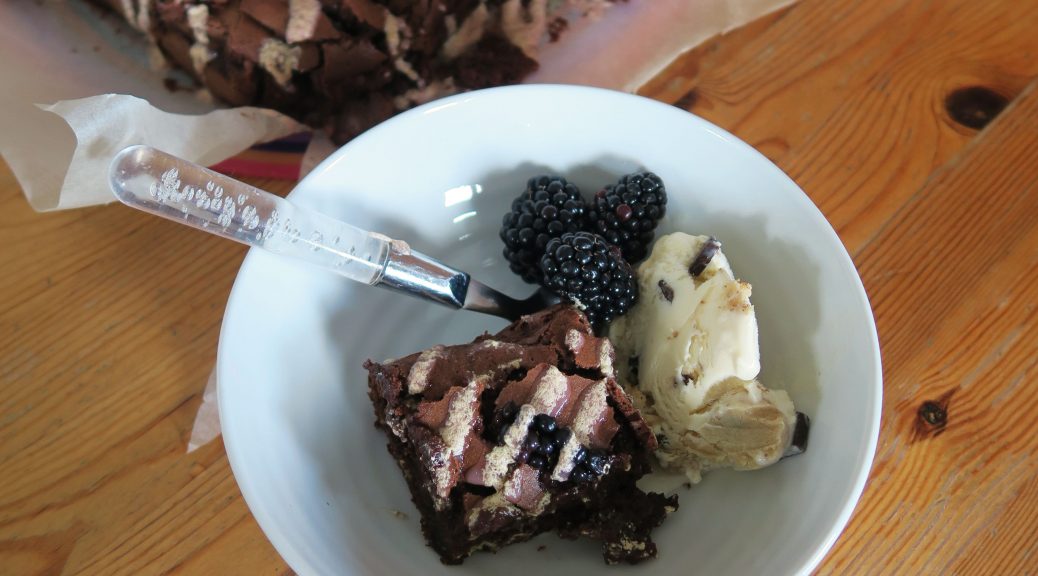
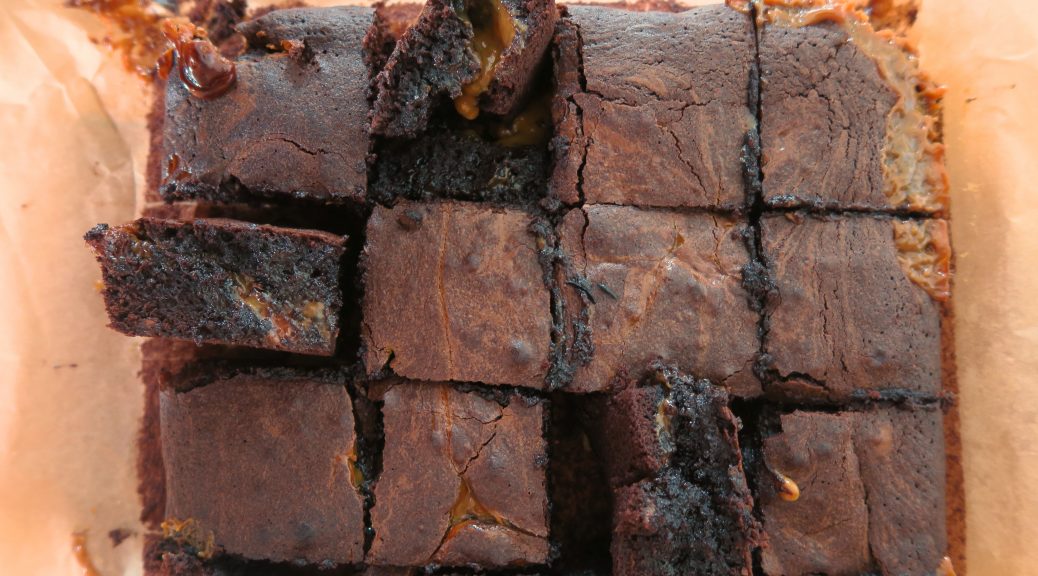
- Turn the brownies out onto a serving board. Once completely cool drizzle the icing over the top. Scatter over some fresh blackberries and finish with some flakes of dark chocolate. These are really good served warm with ice cream!
Thanks for reading!
Emma x