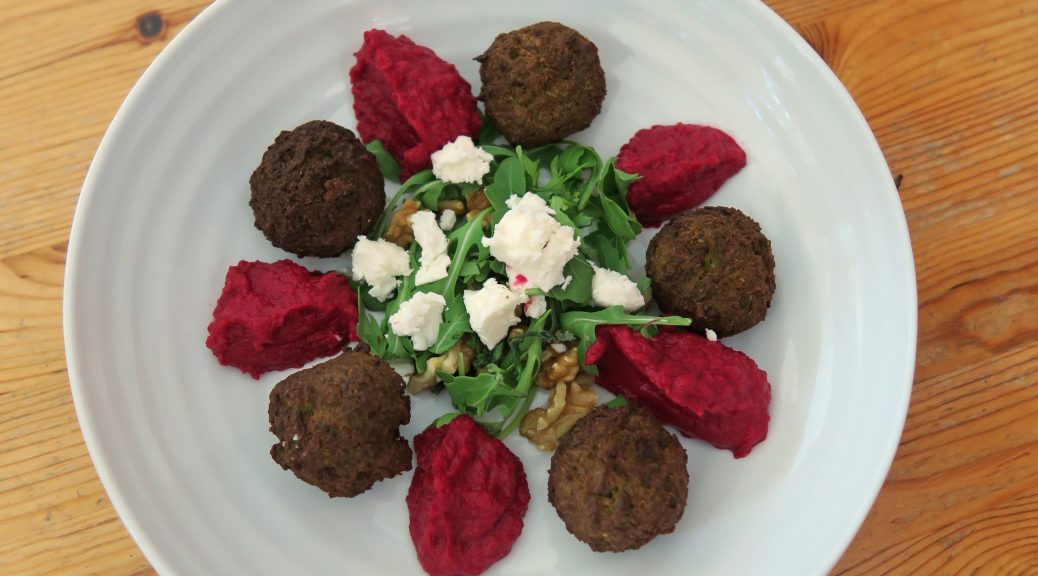
Walnut Falafels with Beetroot Hummus
This summer I’ve been on a healthy food pilgrimage – slowly crawling towards finding enough tasty meals that will benefit my waistline, whilst also keeping my culinary fancies happy. So you could say I was pleased as punch when I first discovered beetroot hummus. I never thought I’d be one for messing around with the wonder that is traditional hummus – why mess with perfection right? But this stuff is really cool. It’s kind of earthy, rich hummus with the most incredible colour. I mean can you be sad when you have something this bright on your plate? The artist in me is very, very happy with this.
There is also this massive trend at the moment for making falafels out of everything left right and centre. Name an ingredient, someone somewhere has probably tried making a falafel out of it. Millennials and vegans eh? Anyway, the other day I had some beetroot hummus on this amazing spicy aubergine dish and they served it all with a walnut sauce – something I’ve never tried before but it was really good! So I thought hey, why not make some walnut falafel to go with my pinker than pink hummus? And boy jove, it works!
Recipe
Serves 2 (with lots of hummus left over!)
Time: 1 hour
Ingredients
For the Falafel
- 1 Small onion or shallot
- 1 Garlic clove
- 2 tbsp Olive oil
- 75g Walnuts
- 150g Chickpeas
- Zest of 1 Lemon
- ½ tsp Paprika
- 1 Small egg (or a 50/50 mixture of water and oil if you want to make these vegan)
- Salt and pepper to season
For the Hummus
- 250g Raw Beetroot (about 2 small beetroot)
- 400g Chickpeas, drained
- Juice of 1 Lemon
- 1/2 tbsp Ground cumin
- A large pinch of Salt
To serve
- A handful of Rocket leaves
- A sprinkling of Feta cheese
Method
- Begin by making the falafel. Pre-heat the oven to 200˚C and line two baking trays with baking paper.
- Chop the ends off the shallot and garlic, peel and then the finely chop them.
- Put half the oil into a small pan and put over a medium heat. Add the chopped onion and fry for 2-3 minutes until starting to caramelise. Then add the garlic and fry for another couple of minutes before taking off the heat.
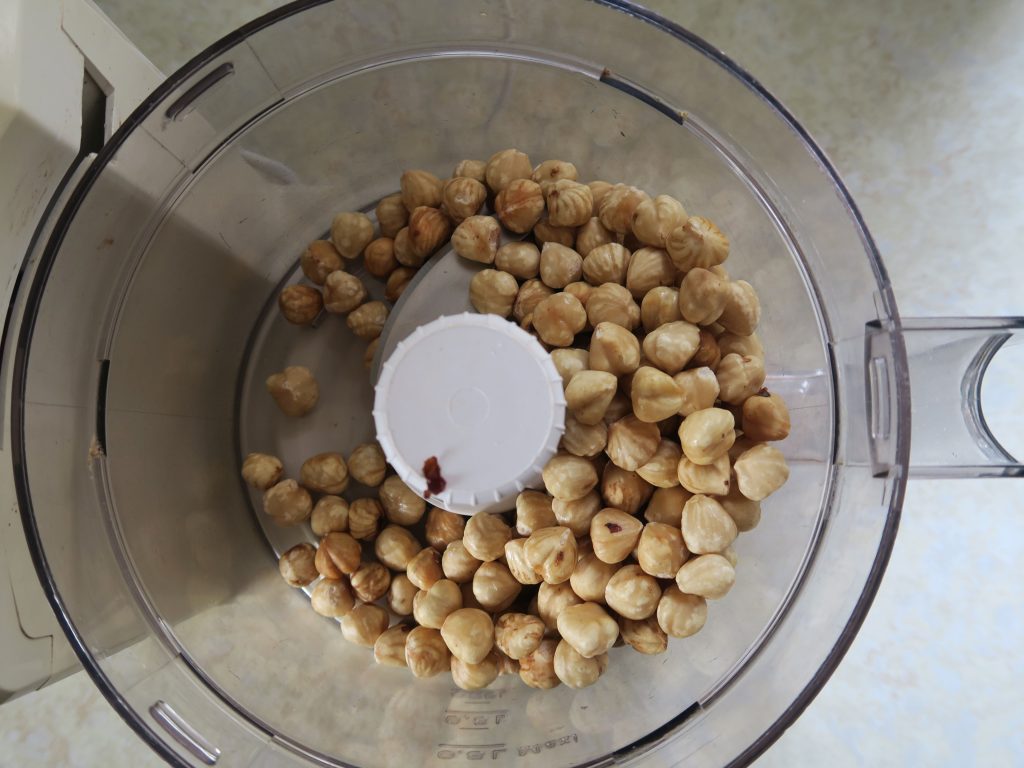
- Tip the onion, garlic and walnuts into a food processor and blitz until coarse. Add the chickpeas, cumin, lemon zest and paprika and blitz again until the chickpeas are just broken down and the mixture is coming together – you want it to be more breadcrumb-like in texture than like a puree.
- Season the mixture with salt and pepper and pulse again to mix. Then add the egg and pulse to bring the mixture together as a dough.
- Divide the mixture into 10 small balls. Place these onto a lined baking tray and then leave in the fridge to chill for at least half an hour.
- When ready to bake take the falafels out of the fridge, drizzle with the rest of the olive oil and then put into the oven to bake for 20 minutes, until golden brown and crisp.
- Meanwhile make the hummus. Bring a large pan of water to the boil. Add the beetroot and then leave to simmer for 30-40 minutes until tender. Drain the water from the beetroot and leave to cool.
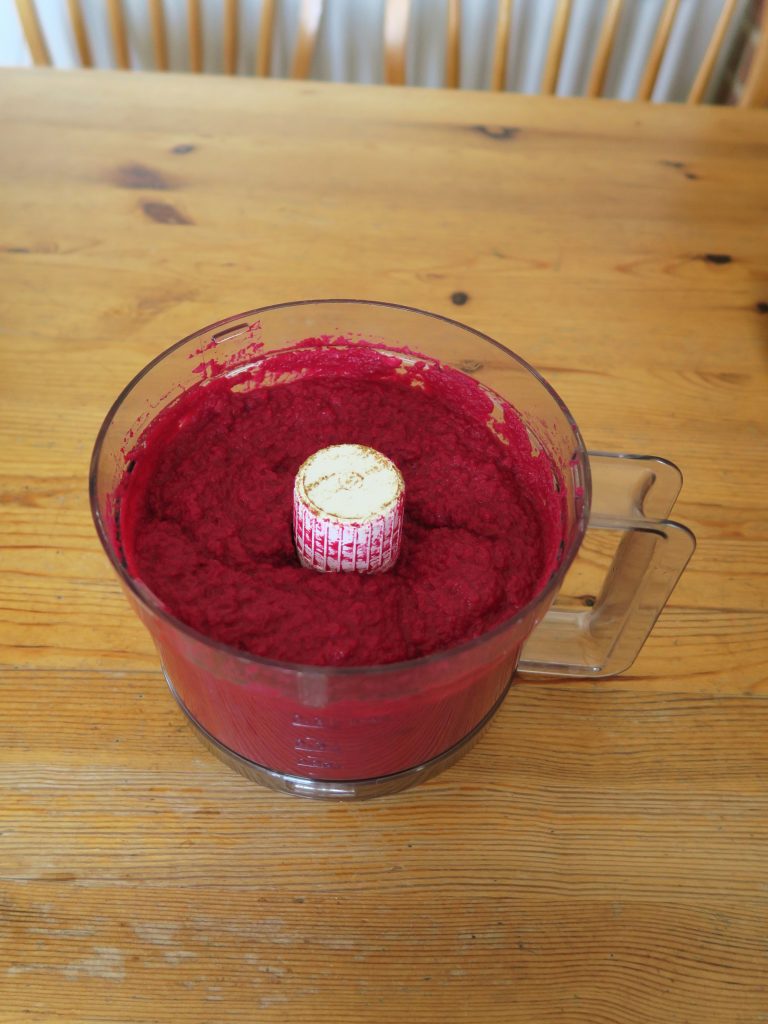
- When cool enough to handle take off the roots, stalks and peel the beetroot. Then roughly chop the flesh and put it into a food processor.
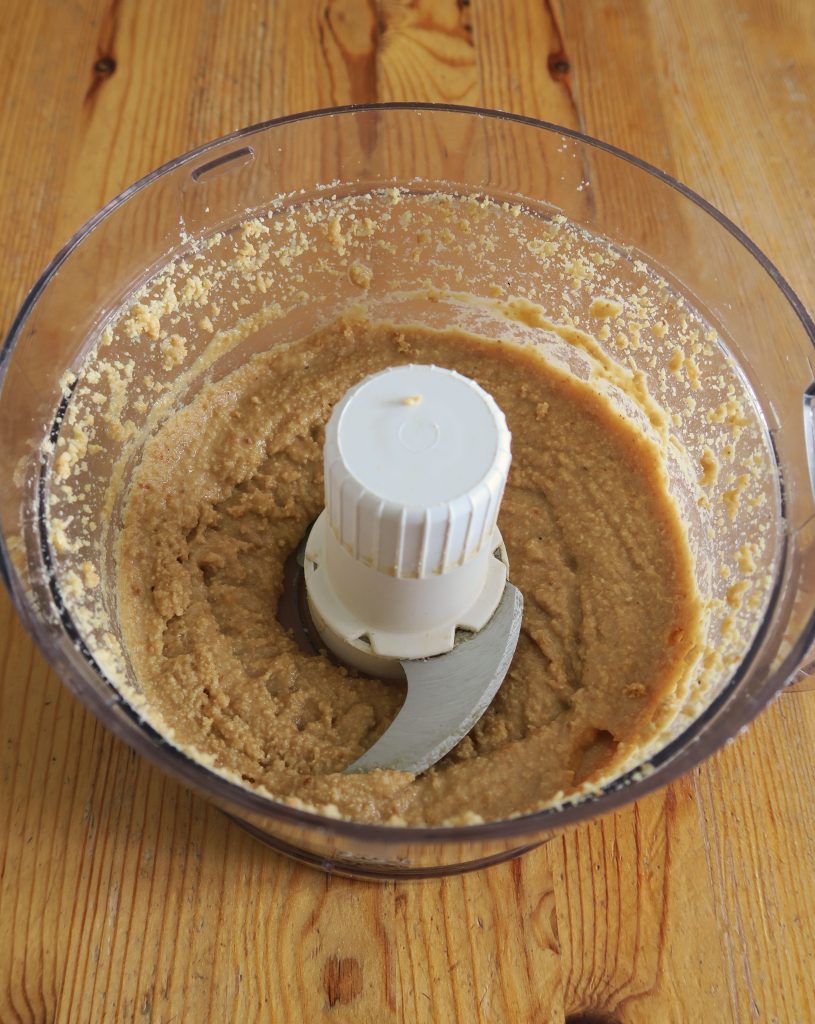
- Add the chickpeas, lemon juice, cumin, salt and pepper into the processor and then blend until smooth and creamy. Taste the mixture and if needed season with some extra salt, pepper, paprika or cumin.
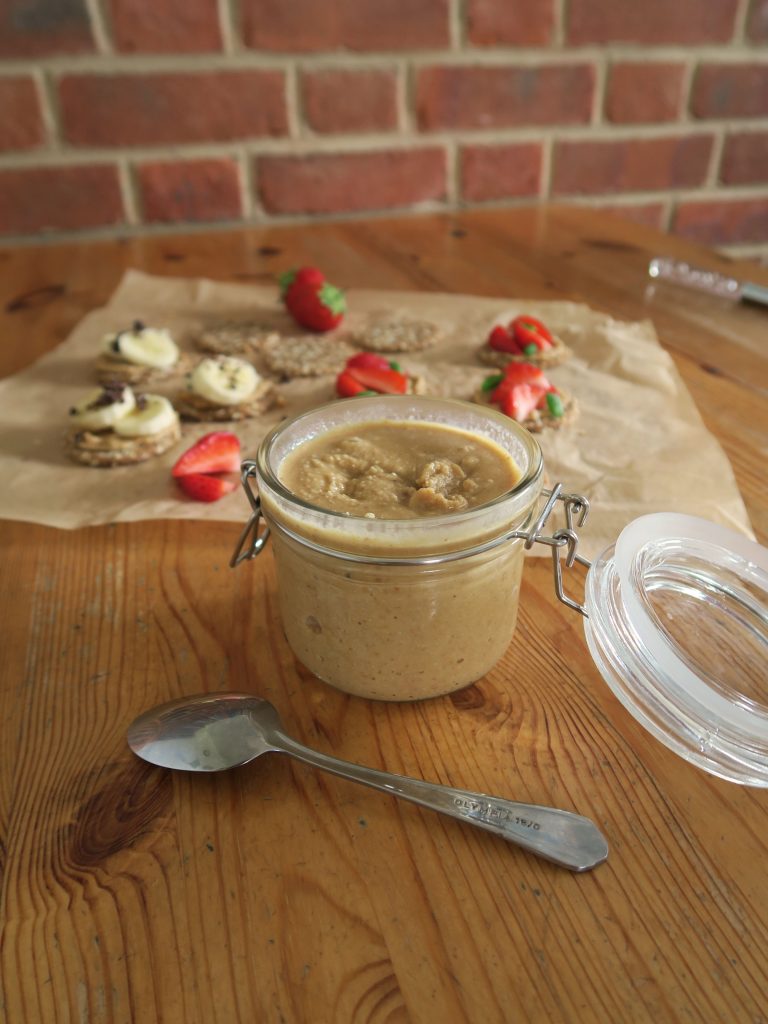
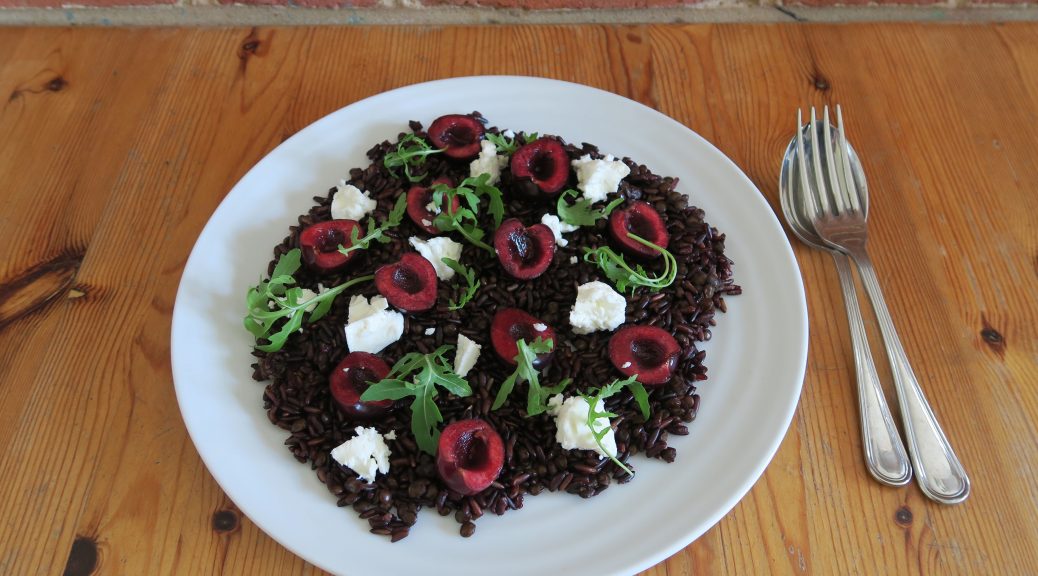
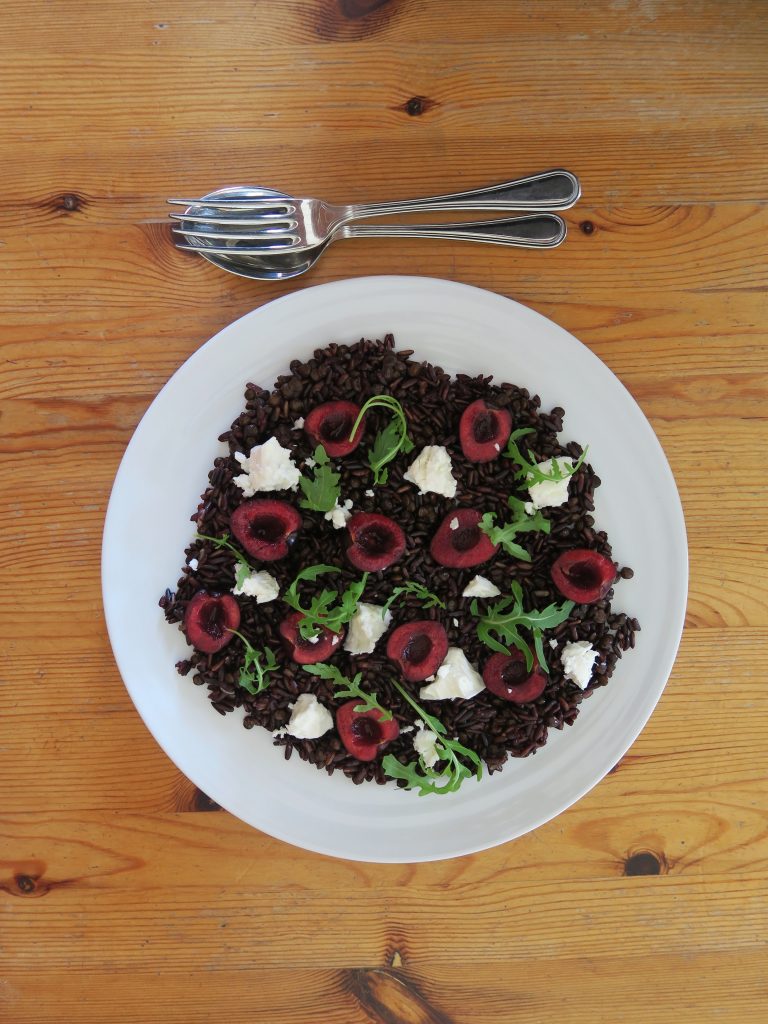
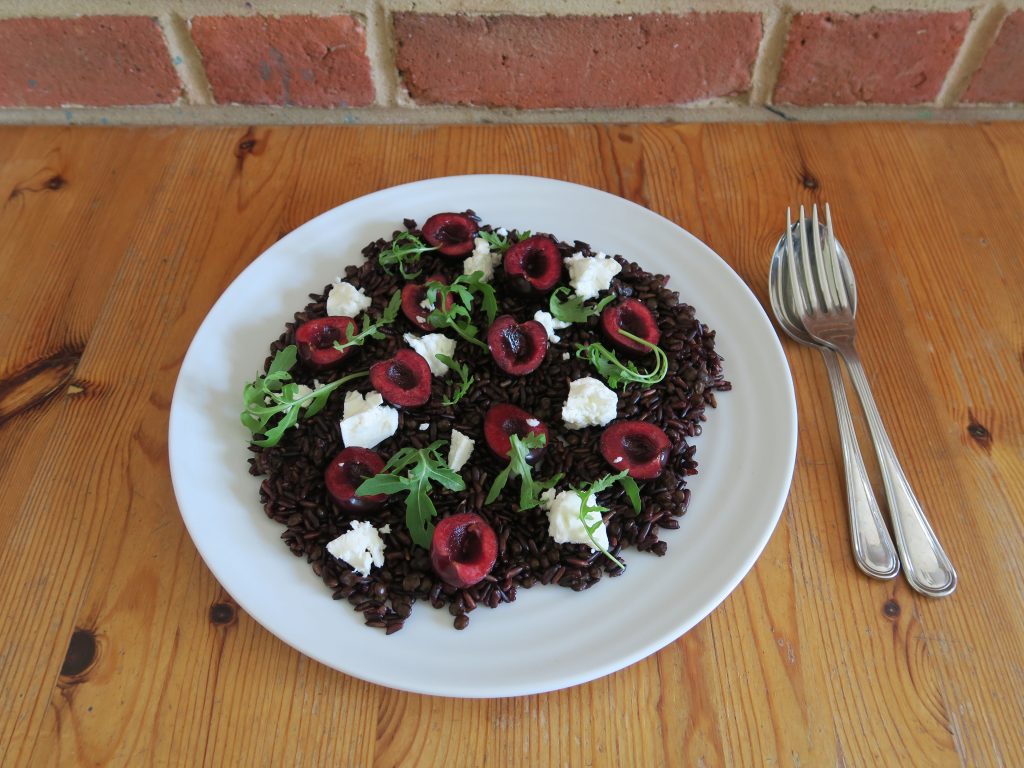
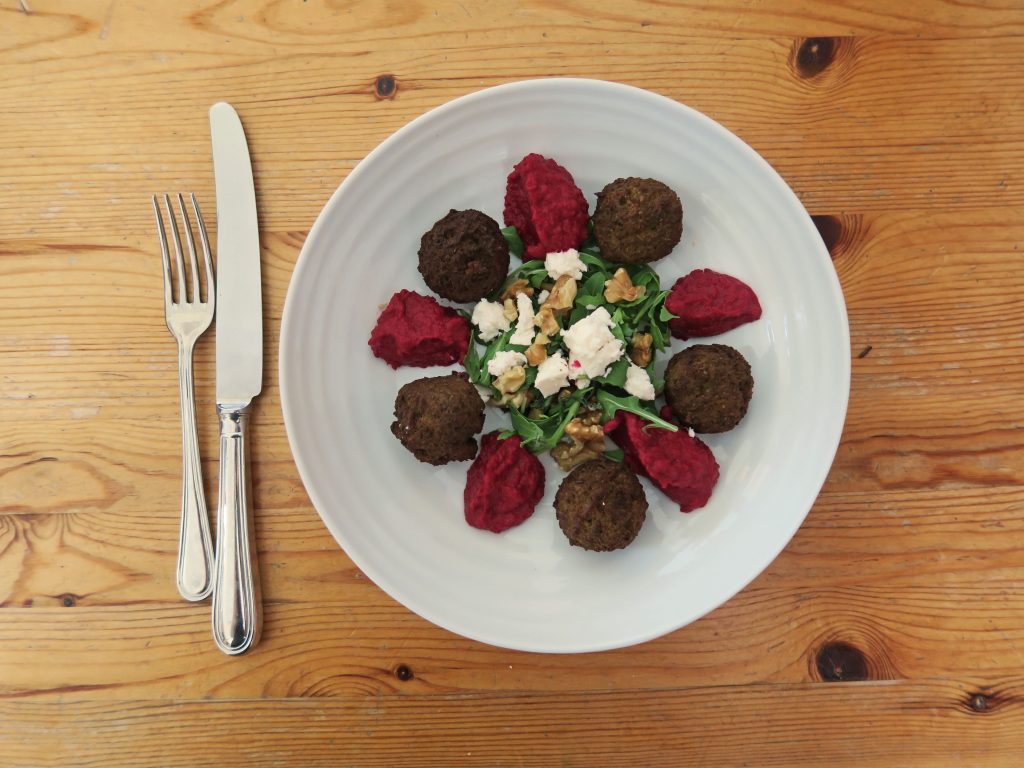
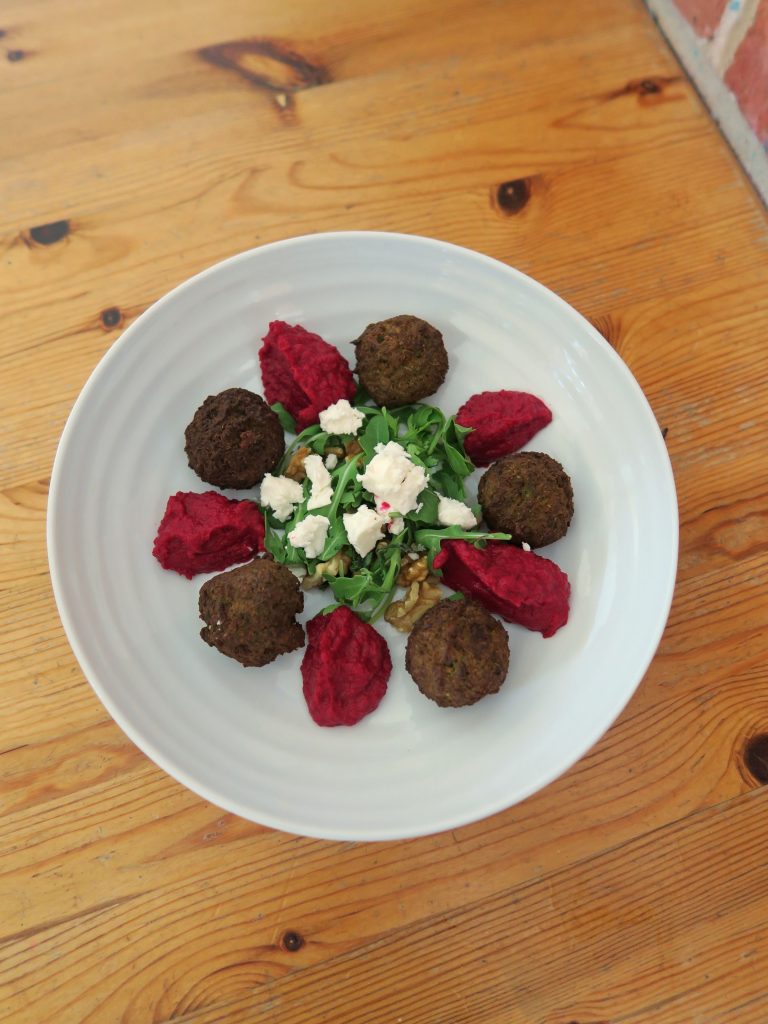
- Serve the warm falafels with a dollop of the hummus, a sprinkling of feta and some fresh rocket!
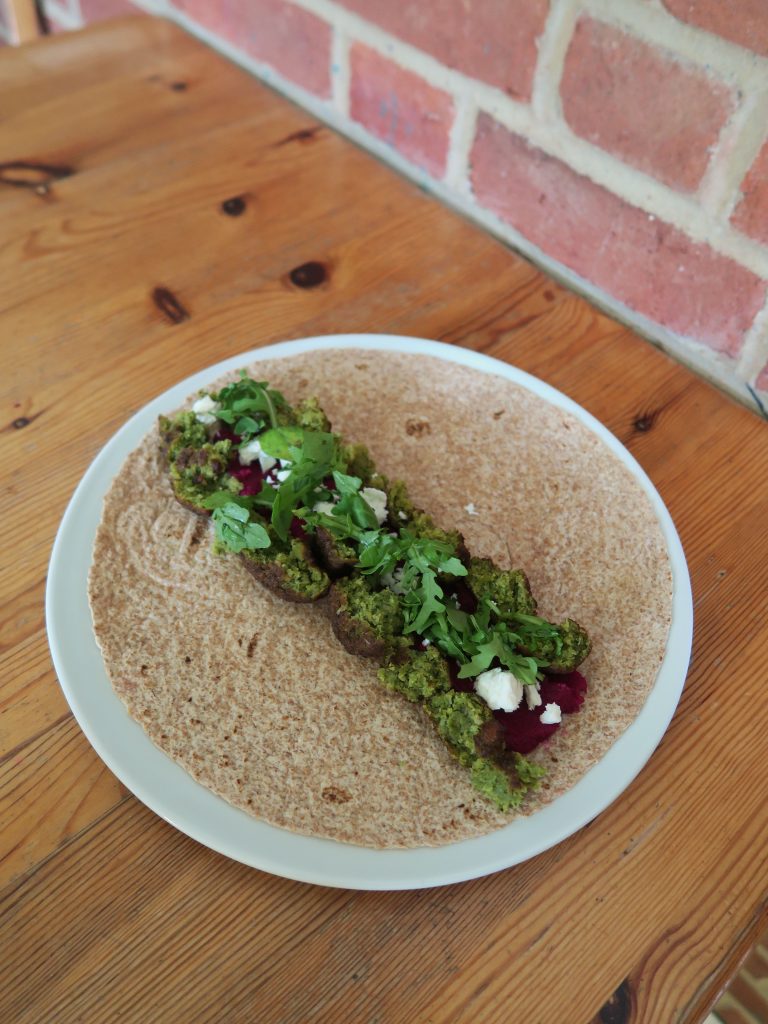
Note: this also works really well as a wrap for eating on the go! Just layer up the hummus, rocket, nuts, feta in a line on a wholemeal wrap. Then crush and sprinkle over pieces of the warm falafel and roll up!
Thanks for reading!
Emma x