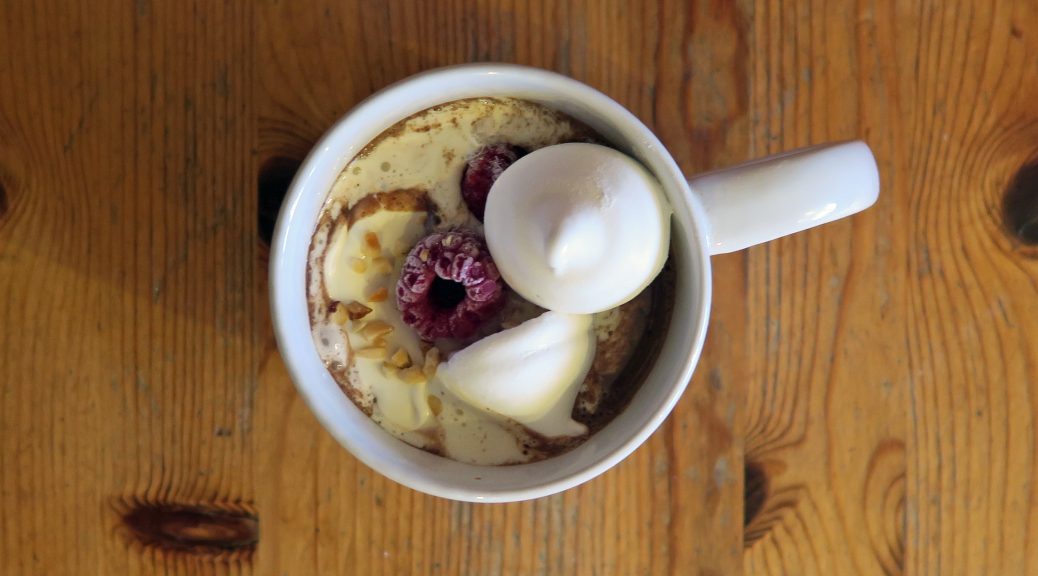
Ultimate Hot Chocolate
Most people who know me know that I’m not a hot drinks person. Offer me a tea or coffee and I’m the one who goes ‘have you got water?’ But I have to admit that a good hot chocolate at the right time is a great thing. This week I’ve been invidulating an art exhibition in an edgy, rustic, barn kind of a place. Whilst it’s great for the art, it’s major downside is that it’s FREEZING. Luckily a flask of this hot chocolate has been there to stop me from turning into an ice cube. When it’s made with milk, cream and chocolate, not just water and powder, it becomes a thick, sweet and nourishing, which is really needed for the current weather!

I love making confectionary and so I’ve included a recipe for marshmallows here. It does take a little time to do, and I’d recommend making them at least 2 hours before you use them, so if that’s too much to ask you can easily use shop-bought ones. I will say though that these little marshmallow blobs are really good in this, and making them is really worth it!

Recipe
Serves 2
Time: 10 minutes for the hot chocolate, 30 minutes plus setting time for the marshmallows
Ingredients
For the marshmallow
- 150g Granulated sugar
- 5g Liquid glucose
- 1 Large egg white
- 3 Gelatine sheets
For the hot chocolate
- 450ml Whole milk
- 50g Dark chocolate
- 70g Milk chocolate
- 80ml Single cream
- 1/4 tsp Cinnamon
- Pinch of salt
- A few chilli flakes (optional)
To decorate
- 100ml Double cream, whisked to soft peaks
- Some chopped hazelnuts and raspberries (optional)
Method
- Begin by making the marshmallow. Put the sugar and 150ml water into a medium sized saucepan. Bring to the boil whilst stirring over a medium heat.
- Once the mixture starts to boil stop stirring and leave it until it reaches 127˚C. Whilst waiting for this to happen leave the gelatine to soak in 50ml water.
- Put the egg whites into a very clean metal or glass bowl and whisk up to firm peaks (a stand alone mixer is really useful for this as in a bit you’re going to have to whisk for a long time in a bit, but if you don’t have one (like me) an electric hand whisk will also work).
- When the sugar reaches the right temperature add the gelatine and the water it’s soaking in and stir to dissolve.
- Continue whisking the eggs and simultaneously pour the syrup into them in a slow stream until it’s all whisked in.
- Continue to whisk for another 15-20 minutes until the mix is thick and holds it’s shape – the mixture should also have mostly cooled to room temperature by then.
- Line a baking tray with clingfilm, and then sift a little cornflour and icing sugar in an even layer over it. Transfer the marshmallow mix into a piping bag with a round nozzle and pipe blobs of marshmallow onto the lined tray. (Alternatively you can line a small tin with clingfilm, icing sugar and cornflour and pour the mixture into it to set). Leave for at least an hour (or better over night) to set completely.
- When your marshmallows are ready it’s time to make the hot chocolate.
- Put the milk and chocolates into a medium sized saucepan and heat whilst whisking until the chocolate is completely melted.
- Then pour in the cream and add the cinnamon, salt and chilli flakes and whisk to combine. Continue to heat until it just reaches the boil and then serve…
- Pour this hot chocolate into a mug and serve with freshly whipped cream, raspberries, hazelnuts and your perfect marshmallow blobs!

Thanks for reading!
Emma x
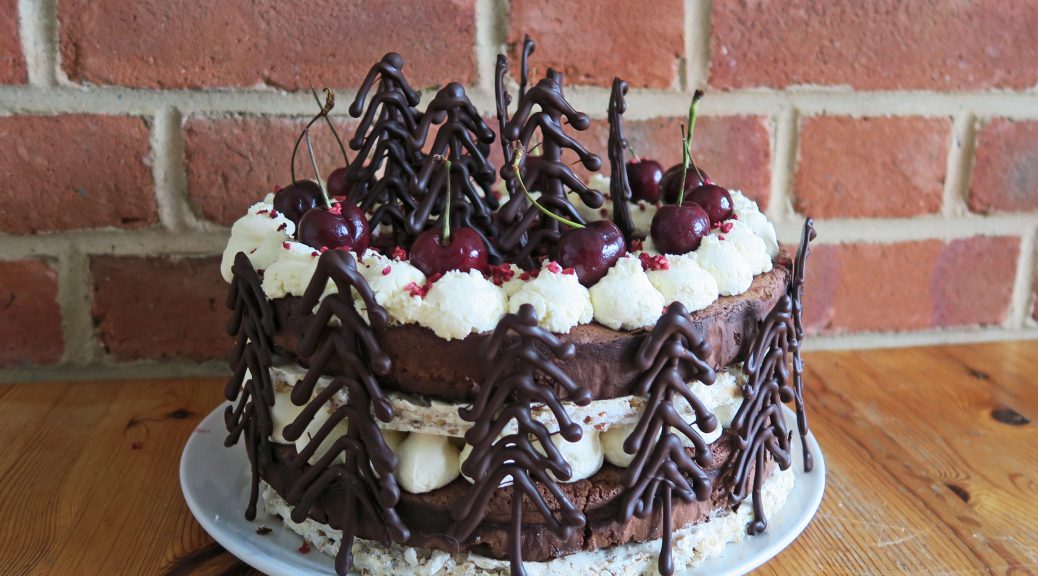

 That said I have adapted this slightly by adding a daquoise, aka a nutty meringue, which adds a bit of texture and brings some sweetness to contrast the rich chocolate cake and creamy filling. Whilst I think this is as good as it gets, if you’re short on time or want to go for a more traditional gateau you could leave out the meringue layers and you’d still end up with something delicious. On the other hand, you could leave out the cake and then you’d end up with a derlish layered, hazelnut and cherry pavalova!