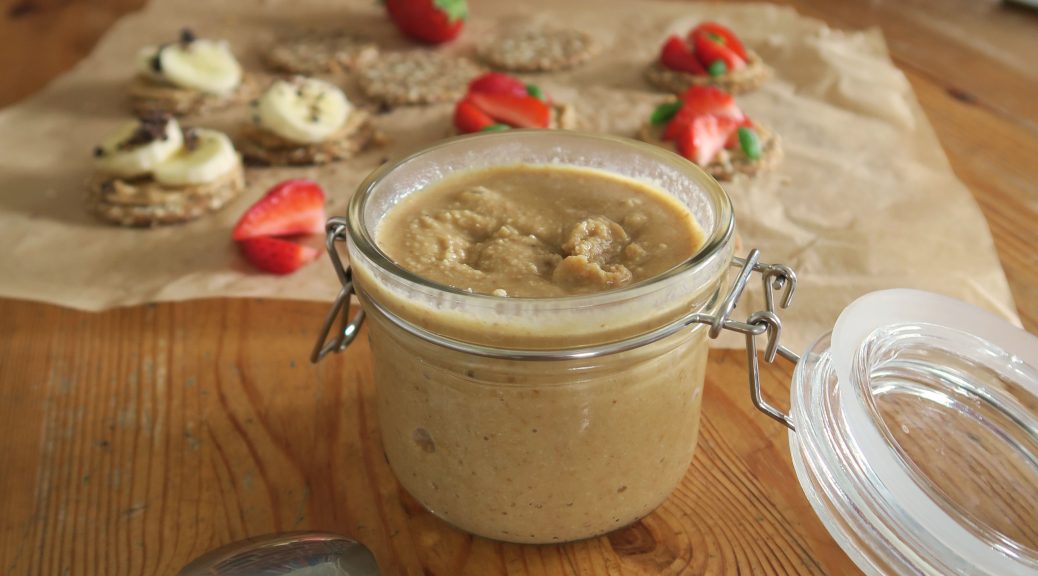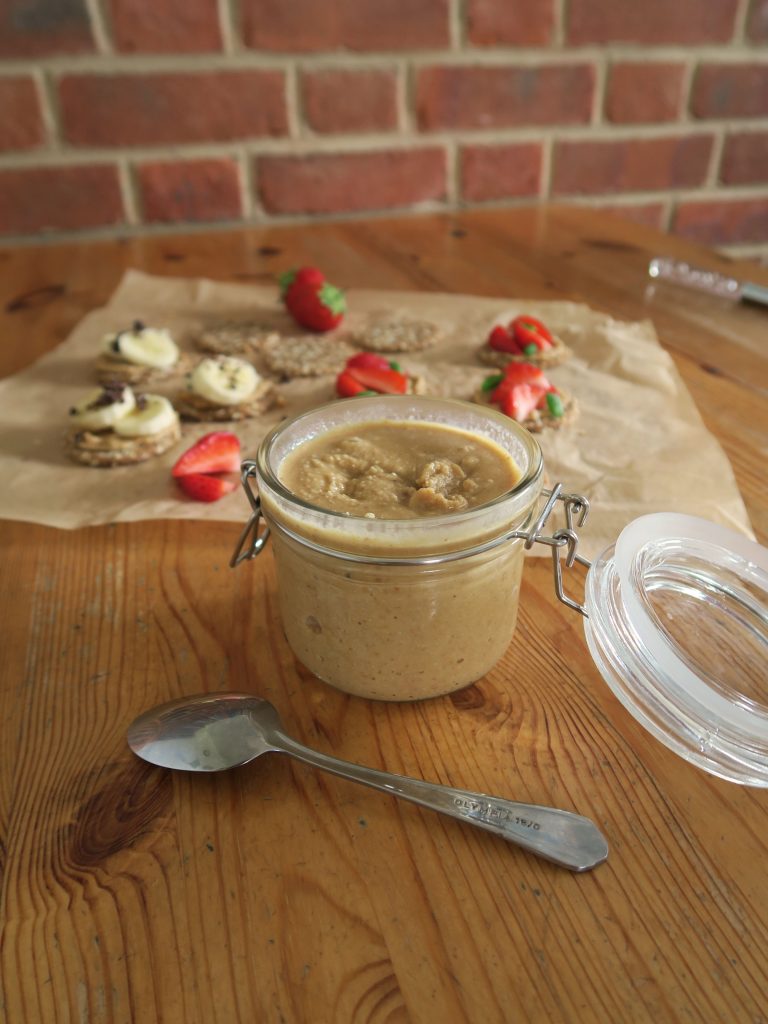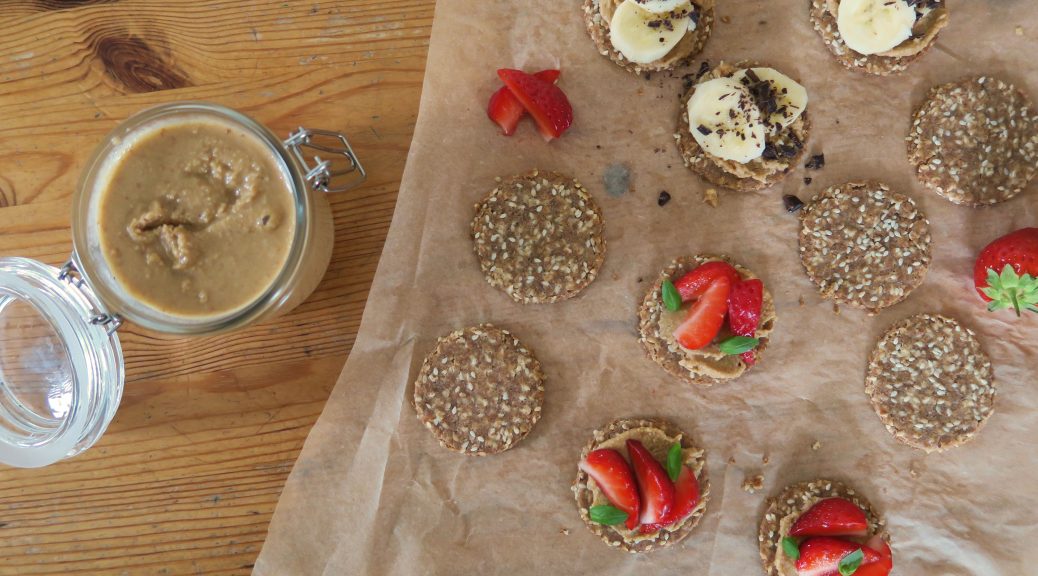
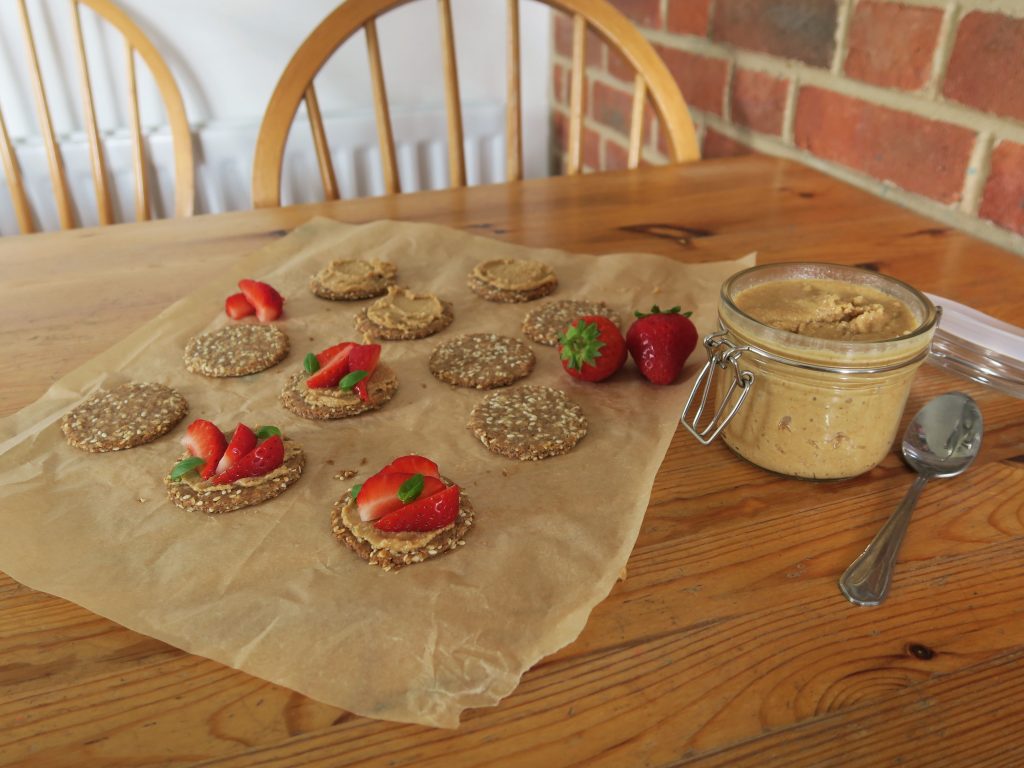
Wholegrain Crackers with Homemade Hazelnut Butter and Strawberries
Last week I made some delicious hazelnut butter, now it’s time for something to it with! I’ve found it really good as a sandwich filler, a porridge topper and a yoghurt pal, however if you want to make something specific to pair with your creation look no further than these delicious wholegrain crackers. These can taste a little bland on their own, but they’re the perfect carrier for all kinds of toppings from caramel, to nutella to this nut butter.

I’ve also found by topping it all with some fresh berries you can end up bringing some sweetness to the package which makes a great little healthy, filling snack!
Recipe
Makes 18 biscuits
Time: 45 minutes
Ingredients
For the crackers
- 160g Whole-wheat flour
- 55g Sesame seeds
- ½ tsp Salt
- 60ml Olive oil
- 4-5 tbsp Water
To top
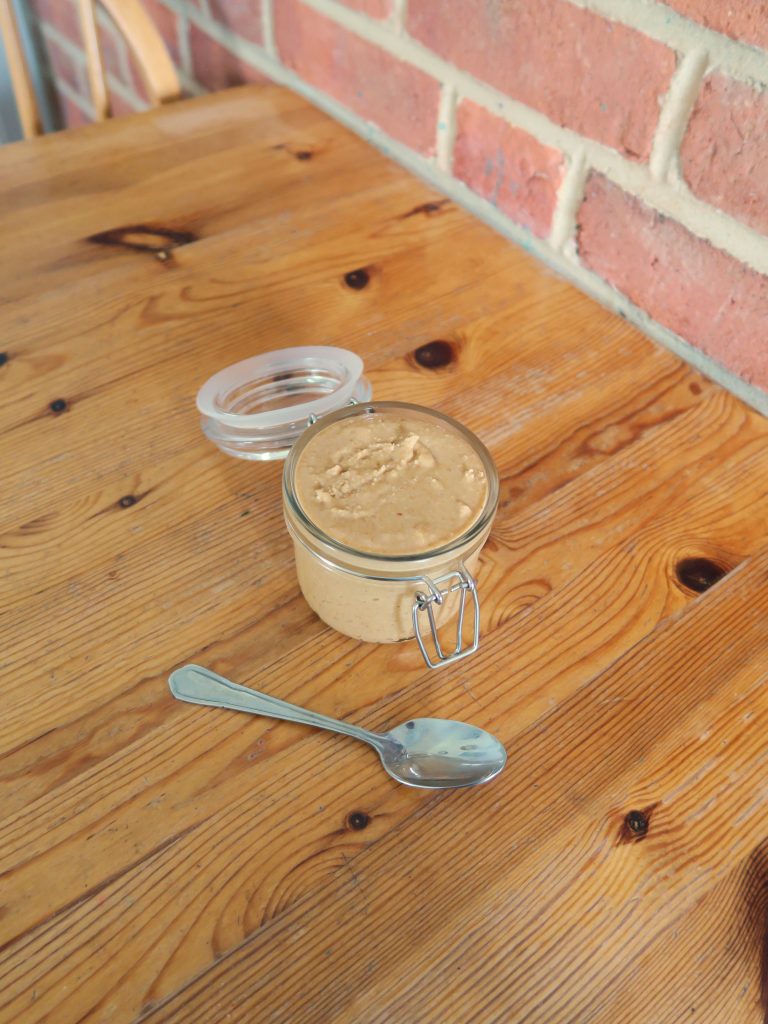
- 3 tbsp Homemade nut butter (see last week’s recipe for how to make your own!)
- 4 Fresh Strawberries
- A few Mint leaves to garnish
Method
- Begin by making the crackers. Pre-heat the oven to 180˚C and line two baking trays with baking paper.
- Mix the flour, sesame seeds and salt in a large bowl. Then add the oil and mix it in with a fork to make a crumbly texture. Add the water and then mix with your hands until a smooth dough comes together.
- Roll the dough out between two sheets of baking paper until the thickness of a 1p coin. Cut rounds out of the dough with a cookie cutter, transferring the crackers to your lined trays as you do. Make sure to space them out enough so they’re not touching.
- Bake the crackers in the oven for 10-15 minutes until golden brown and crisp. Leave to cool completely.
- When cooled spread your nut butter over the crackers. Hull and slice the strawberries and arrange them on top of the crackers. Garnish with a little mint and then serve!
Alternatives:
Why not try topping the crackers and nut butter with…
- Sliced banana and chocolate shavings
- Fig quarters and a drizzle of honey
- Raspberries and white chocolate

Thanks for reading!
Emma x