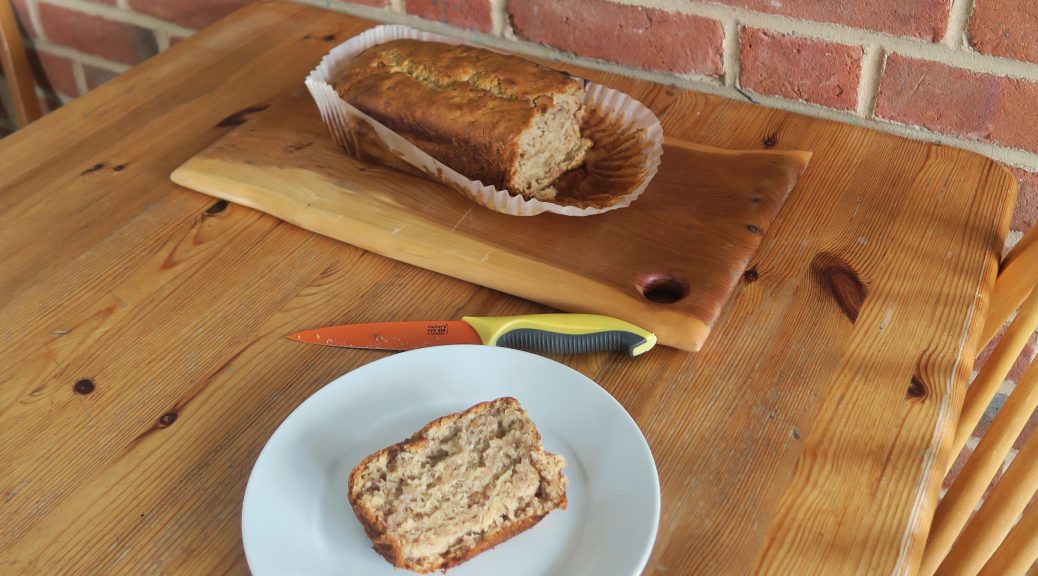
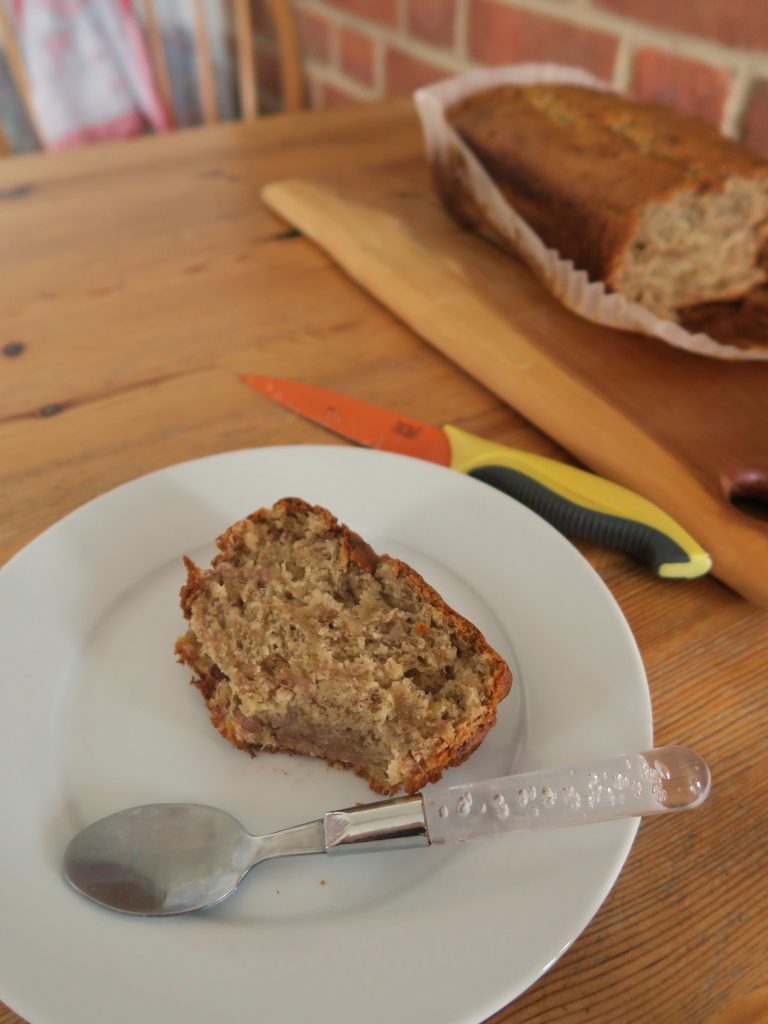
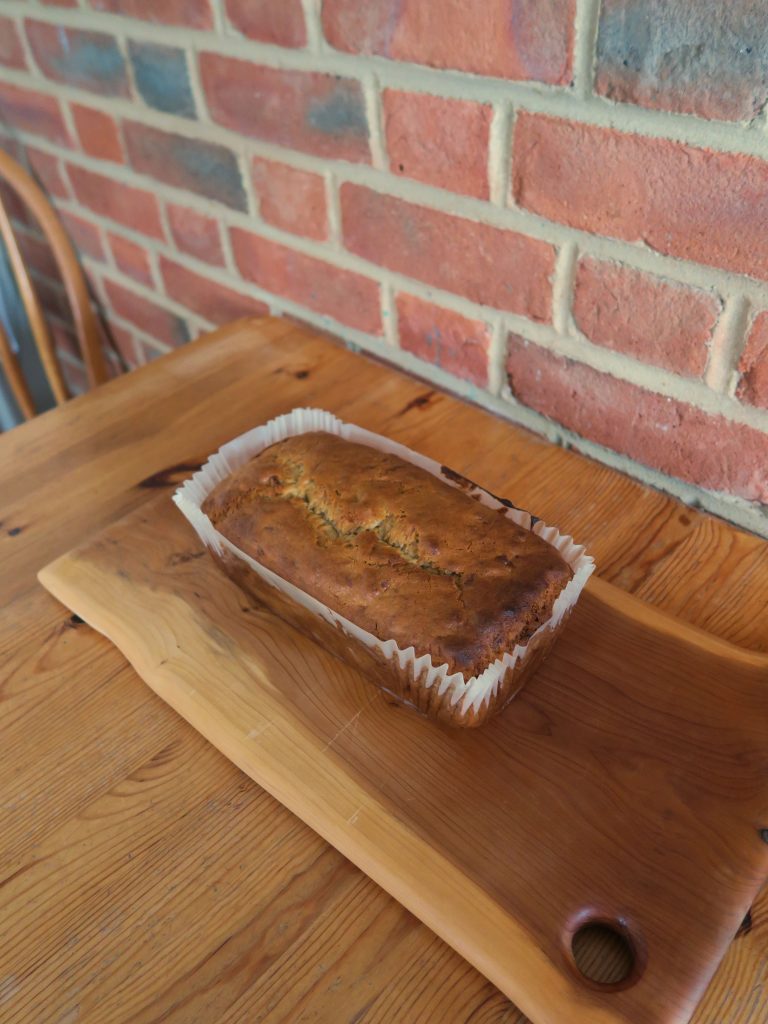
Tag: Vegan

Vegan Banana Bread

Vegan Banana Bread

I have to admit I’m suffering from a big chunk of writers block at the moment. My life consists mainly of working, going to drama rehearsals, eating, sleeping, and then repeating all that, so writing fun and insightful intros to the world of vegan banana bread is not high on my to do list right now. Essentially all I can say is that (like most recipes on here) it tastes insane, is so so easy to make, and has the added bonus of being the perfect way of using up slightly beyond-their-best bananas!

Recipe

Makes 1 loaf

Time: 10 minutes prep, 40 minutes baking

Ingredients

  • 3 Very ripe bananas
  • 75ml Vegetable oil
  • 100g Light brown sugar
  • 225g Plain flour
  • 3 tsp Baking powder
  • ½ tsp Ground cinnamon

Method

  1. Pre-heat the oven to 180˚C. Line a 2lb loaf tin with butter and baking paper, or one of those easy-to-use liners.
  2. Mash the bananas in a bowl with a fork until it’s a puree. Add the oil and sugar and mix in until smooth.
  3. Add the flour, baking powder and cinnamon and mix in again until smooth.
  4. Pour the batter into the cake tin and then bake in the oven for about 40 minutes until golden brown, risen and so that a skewer inserted into the middle comes out clean. (Cover the top with tin foil if it starts to burn before being cooked all the way through!).
  5. Leave to cool a little before serving!

Why not try:

  • Adding a handful of chocolate chips to the batter when you add the flour
  • Substituting in 1 tbsp Peanut butter instead of 1 tbsp of the oil to make a banana peanut banana loaf
  • Adding fruit and nuts (like raisins and brazil nuts) to the batter

Thanks for reading!

Emma x

Roast spiced cauliflower with hummus and crispy kale

Roast spiced cauliflower with hummus and crispy kale

Here comes another bowl of deliciousness that unfortunately doesn’t look as good as it tastes. Why is it so hard to make healthy food look good?! You’re just going to have to trust me on this – it’s a vegan comfort food fiesta in a bowl. I’m seriously thinking that I need to use spices a lot more in my cooking. Up until now I’ve kinda overlooked them thinking that they’re more effort than they’re worth, but when you’re stuck eating vegetables and pulses they’re a sure fire way of bringing some sunshine onto the plate.

Recipe

Serves 2-3

Time: 45 minutes

Ingredients

For the cauliflower

  • 500g Cauliflower (about 1 small one)
  • ½ tsp Dried chilli flakes
  • 1 tbsp Ras el Hanout
  • 2 tbsp Olive oil
  • A large pinch of Salt
  • 5 Cloves of Garlic
  • ½ tbsp (about 15ml) Soy sauce
  • 90g Honey (or agave if you want to make it vegan)

For the hummus

  • 200g Canned chickpeas
  • 2 tbsp Lemon juice
  • 2 Garlic cloves, peeled
  • 1 tbsp Tahini
  • ½ tsp Paprika
  • ½ tsp Ground cumin
  • Salt and pepper to season
  • A few pomegranate seeds

To Serve

  • A couple of handfuls of Curly kale
  • 1 tsp Olive oil
  • 1 tsp Caster sugar
  • A large pinch of Salt
  • A few Pine nuts
  • A few spoonfuls of Pomegranate seeds

Method

  1. Bring a large pan of water to the boil. Cut the cauliflower into florets and add to the water. Boil for a couple of minutes until par-boiled but not completely cooked. Drain and leave to cool.
  2. Pre-heat the oven to 200˚C. Line a baking tray with foil.
  3. Mix together the chilli flakes, ras el hanout and oil and then add a little salt and pepper to season. Crush the garlic and add it to the mixture.
  4. Rub the cauliflower in this mixture and then spread it out on the lined baking tray. Roast for 10 minutes in the oven.
  5. Mix the soy sauce honey until combined and then brush the cauliflower with this mix.
  6. Put the cauliflower back in the oven and bake for a further 10-12 minutes until golden brown and just starting to char.
  7. Now make the hummus. Drain the chickpeas into a sieve and then rinse them under cold water.
  8. Put the chickpeas, lemon juice, garlic, salt, tahini, water, paprika and cumin into a food processor and blend to a smooth paste.
  9. Taste the mixture and then season to taste with extra salt, pepper, lemon juice and cumin. Spoon the mix into a bowl and then garnish with extra olive oil, pomegranate seeds and pine nuts.
  10. Now make the crispy kale. Put the kale onto a baking tray or roasting tin, taking out any large chunks of stalk as you do. Drizzle the kale with the oil, sugar and a pinch of salt and mix together. Then put in the oven for 3-5 minutes until crispy but not burnt.
  11. Serve the roasted cauliflower with the crispy kale and the hummus on the side!

Thanks for reading!

Emma x

Vegan Chocolate Mousse

Vegan Chocolate Mousse

Is there anything you can’t do with chickpeas? I mean honestly. They make hummus, they’re perfect in currys, and it just so turns out that the juice they come in is also a godsend for vegan baking. Aquafaba, the cloudy water you find in a can of chickpeas, somehow has the ability to be whipped up into a meringue-like substance and therefore can be used to make meringues, macaroons and gorgeous mousses like this.

In complete honesty this doesn’t taste exactly like a normal chocolate mousse. Generally the texture of a normal chocolate mousse is thick and creamy, almost heavy, where as this is as light as a cloud and has the slight watery texture that I guess a cloud would also have. That said, they taste super rich and indulgent, and considering they are made from chickpea water they have an incredible soft, airiness to them! If you haven’t discovered aquafaba for yourself yet then next time you open up a can of chickpeas I beg you to save the water and not pour it down the sink – instead use it to make some of these!

Recipe

Serves 4

Time: 30 minutes

Ingredients

  • 140g Dark chocolate
  • 2 tbsp Soya milk
  • 240ml Aquafaba (from a 400g can of chickpeas)
  • 1 tsp Lemon juice
  • 20g Caster sugar
  • Berries to garnish

Method

  1. Put the chocolate and milk into a bowl over a pan of gently simmering water. Mix and then leave to cool a little.
  2. Open your 400g can of chickpeas and drain the liquid into a super clean large bowl.
  3. Add the lemon juice to the aquafaba and whisk until stiff peaks form. It can’t be overwhipped so persevere and whisk until the mixture doesn’t slide around the bowl at all.
  4. Slowly add the sugar and whisk in until incorporated.
  5. Check the chocolate has cooled down a little and then fold it into the aquafaba.
  6. Divide the mousse between 4 glasses and then put in the fridge to chill for about 3 hours. Enjoy!

Thanks for reading!

Emma x

Vegan Peanut Butter Blondies

Vegan Peanut Butter Blondies

In the last 3 days I’ve moved back to college, have had 36 hours of drama rehearsals and now I have a tonne of coursework to do before term starts, so this is gonna be a fairly short post. Essentially, I made some of these last April and then I found myself craving another batch. However, unable to use eggs and milk at the moment I had to make a vegan version of my fave PB blondies instead. Dare I say it, I actually prefer these to the originals because they’re so much easier to make and they taste so damn good!

Recipe

Makes 16 squares

Time: 15 minutes, plus baking

Ingredients

  • 150g Light brown sugar
  • 200g Peanut butter
  • 45ml Sunflower oil (or other oil like vegetable or coconut)
  • 130g Plain flour
  • ½ tsp Baking powder
  • 100ml Soy milk
  • 100g Vegan white chocolate chips

Method

  1. Pre-heat the oven to 180˚C. Then grease and line a 25x25cm cake tin with a little oil and baking paper.
  2. Put the sugar, peanut butter and oil into a large bowl and beat together with a wooden spoon until smooth.
  3. Add the flour, baking powder, milk and chocolate chips to the batter and mix again to make a smooth batter (it may be fairly thick).
  4. Pour the mixture into the tin and smooth out to make an even layer.
  5. Bake in the oven for 15-20 minutes until golden brown and baked all the way through. Leave to cool a little before serving!

Thanks for reading!

Emma x

Vegan Pizza

Vegan Pizza

One of the things I’m really missing as a vegan is cheese. I’ve never been much of a cheese person but oh man do I miss a good tangy bit of cheddar or a squeaky slab of halloumi. I know it’s been less than a week but it honestly feels like a year since I started! And pizza, oh pizza, I would kill for a good margherita right now. That said, I have found a way to make a delish pizza that works well without cheese (yes it is possible!) and it’s also super quick so what’s not to like?

Traditionally if I were to make a pizza I’d make the base as well as I love making bread, but when you’re at uni and are over-committing yourself as usual who has time for that? So bring in the ready-made pizza bases. These have honestly saved my life so much! Simply pop on some tomato sauce, whop on your toppings and hey presto – one delish pizza! However, there is still the problem about the cheese. Now I know you can by vegan cheese, but let’s be honest, it doesn’t make up for a good cheddar does it? So what I’ve found is that a good dollop of hummus to dip the pizza in does the same kinda thing! Think of it kinda like the garlic dipping sauces you get from Dominoes, but adding a salty, tangy flavour to the whole shebang. It’s so so good you have to try it!

Recipe

Makes 1 pizza

Time: 15-20 minutes

Ingredients

  • 1/4 Aubergine
  • 1/4 Courgette
  • 1 Pizza base (most are vegan but just make sure when you buy it)
  • 3 tbsp Passata (I went for a garlic and herb one)
  • 1/4 Red pepper
  • A few Chestnut mushrooms
  • 1/2 tsp Za’tar (optional)
  • A few tbsp of Hummus to serve

Method

  1. Pre-heat the oven to 180˚C.
  2. Take the aubergine and courgette and use a vegetable peeler (or a knife) to make super thin strips. Lay the strips on a baking tray lined with baking paper and put in the oven to soften for about 5 minutes.
  3. Meanwhile, chop the mushrooms into ¼s and finely slice the red pepper into strips.
  4. Spread the passata over the pizza base in an even layer. Then arrange the vegetables over the top. Sprinkle with a little salt and pepper and some za’atar if you’re using it.
  5. Bake the pizza in the oven for 5-10 minutes, until the vegetables are cooked through and the base is starting to colour. Serve with lots of hummus!

Thanks for reading!

Emma x