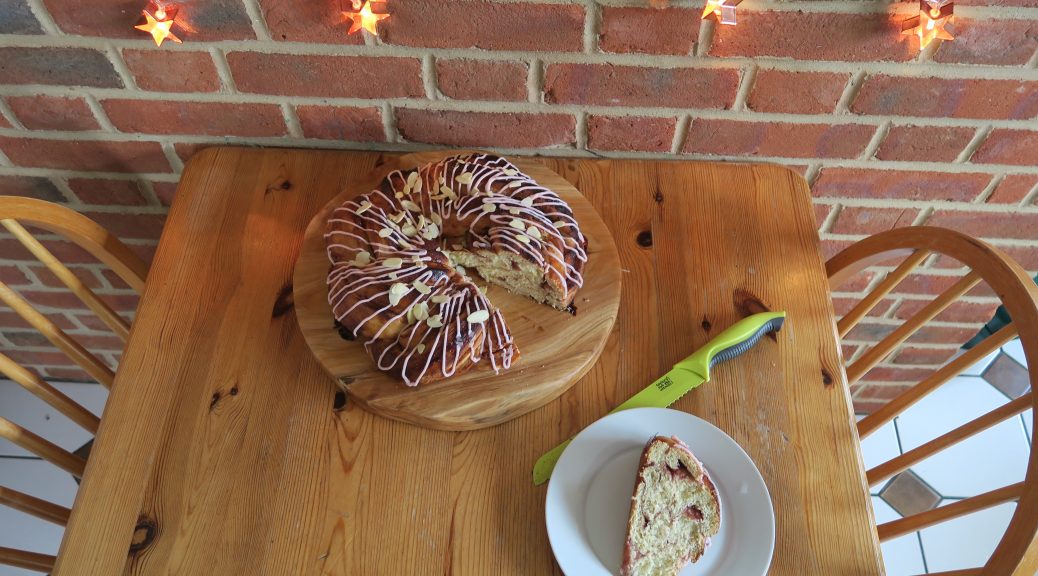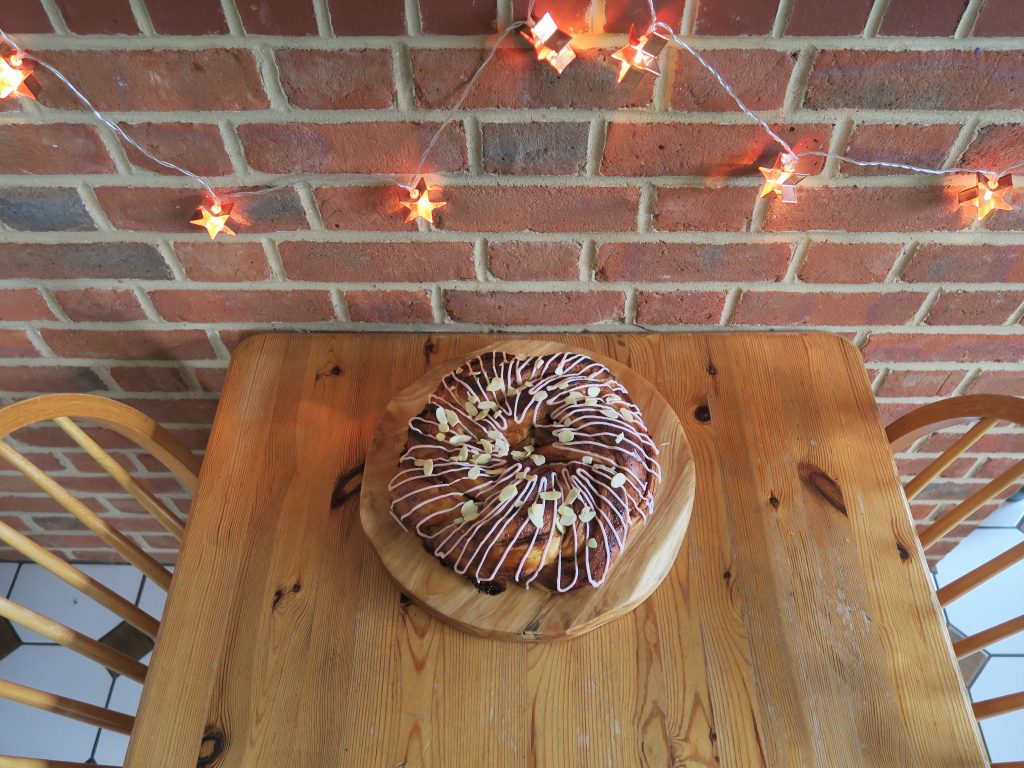
Kanelbullar (Swedish Cinnamon Buns)
Hello! I hope you’re all ok and coping with the isolation. The next few months are gonna be full of people finding out how to spend the time in a way that suites them. I’ve found that for me baking has been a really good way of practising some mindfulness, being in the present moment and lifting the spirits. 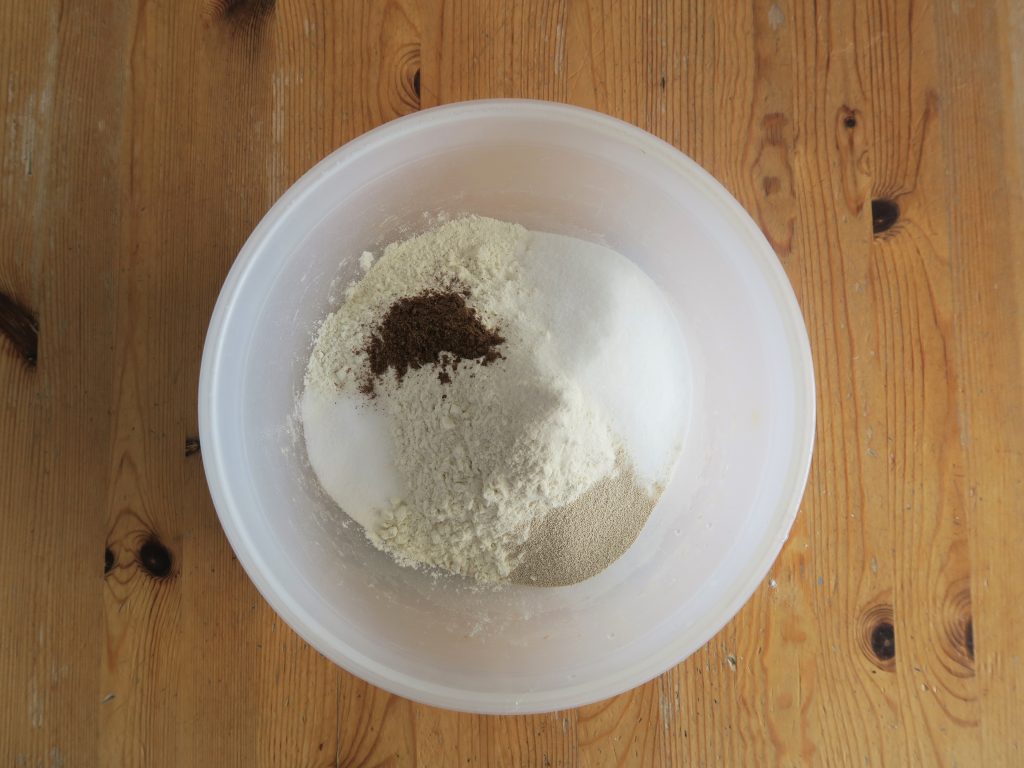
In Scandinavia they have something called Fika, which means coffee/cake break and is something that takes place once or twice every day, giving everyone a chance to have a break and a chat over some treats. They also have something called Hygge which essentially means home comforts. This way of life aims to embrace the wholesomeness and comfort of family and home and to focus on the little sweet things in life. In the current day I think Fika and Hygge are really positive things to be thinking about and aiming for.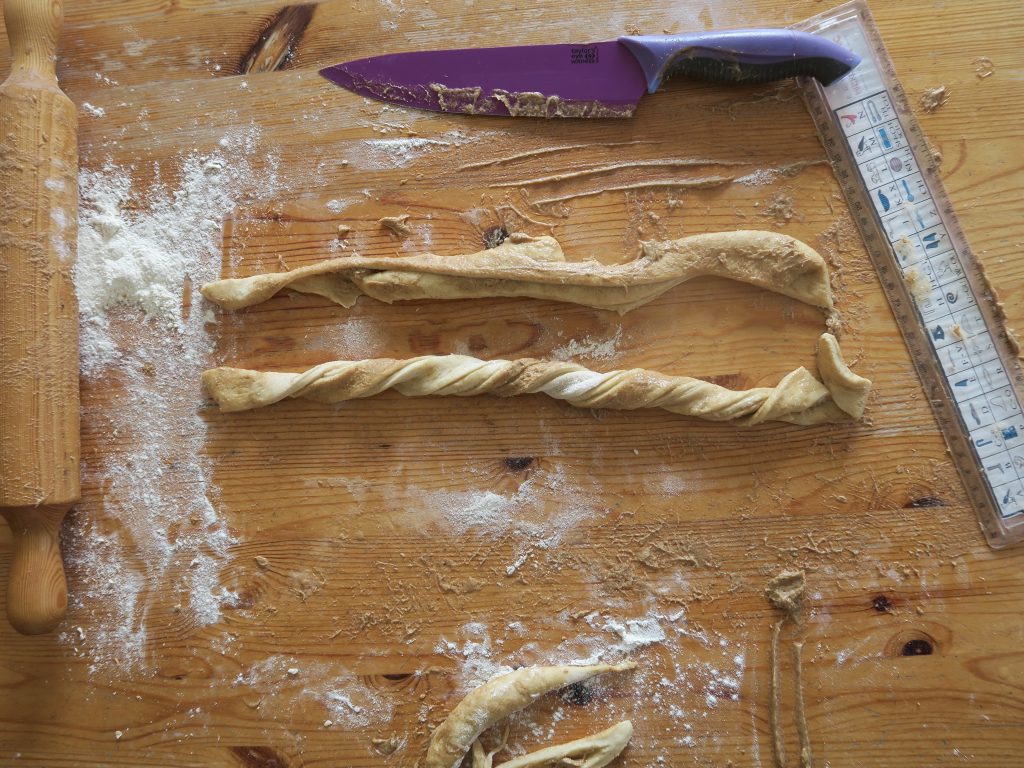
These Kanelbullar, for me, are a perfect start to this. With all this extra time I think bread is a really good way to break up a day as you can come back to it every few hours to do the next step. These cinnamon buns are super fun to make, easy to share and are a little bundle of comforting goodness. I could also see them being a really fun thing to make with kids (especially when it comes to the shaping) so if you have any children who are getting a bit fidgety being stuck in doors all day, these might be the ticket!
Traditonally, kanelbullar are cardamom buns and are therefore flavoured (in the dough) with ground cardamom. However, because I don’t really like cardamom and therefore I don’t have it at home I’ve decided to use mixed spice instead. (Apologies to any Scandinavians out there whose traidtional bake I’ve just changed!) So if you’re looking to make the classic kanelbullar swap the mixed spice for some ground cardamom!
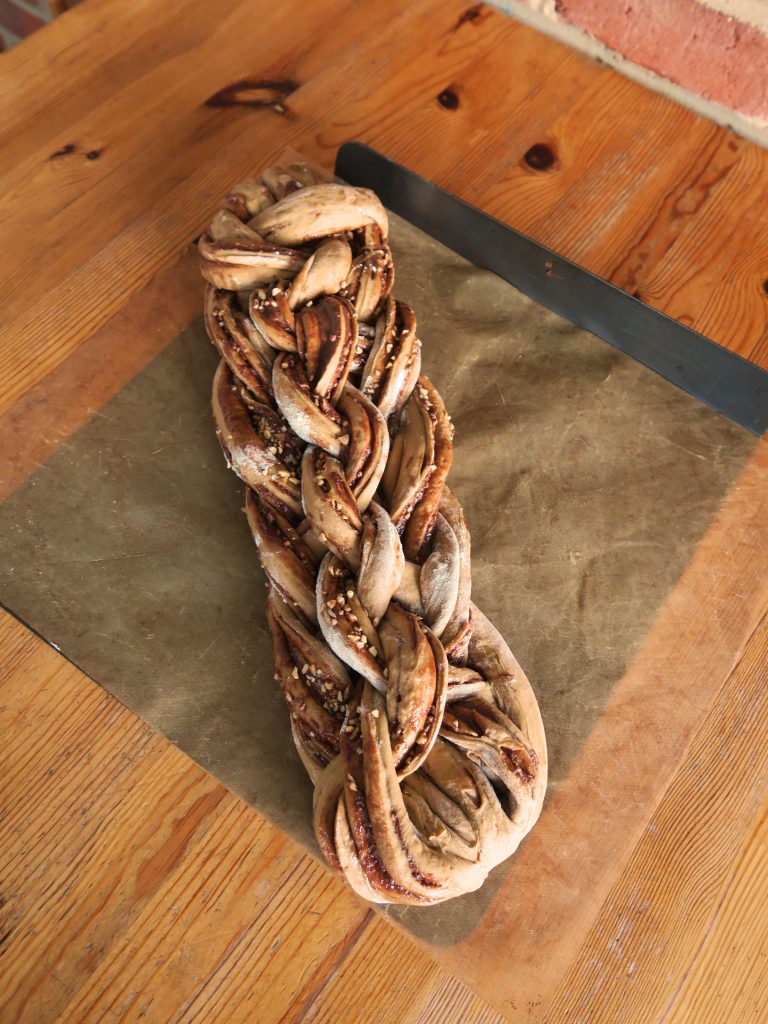
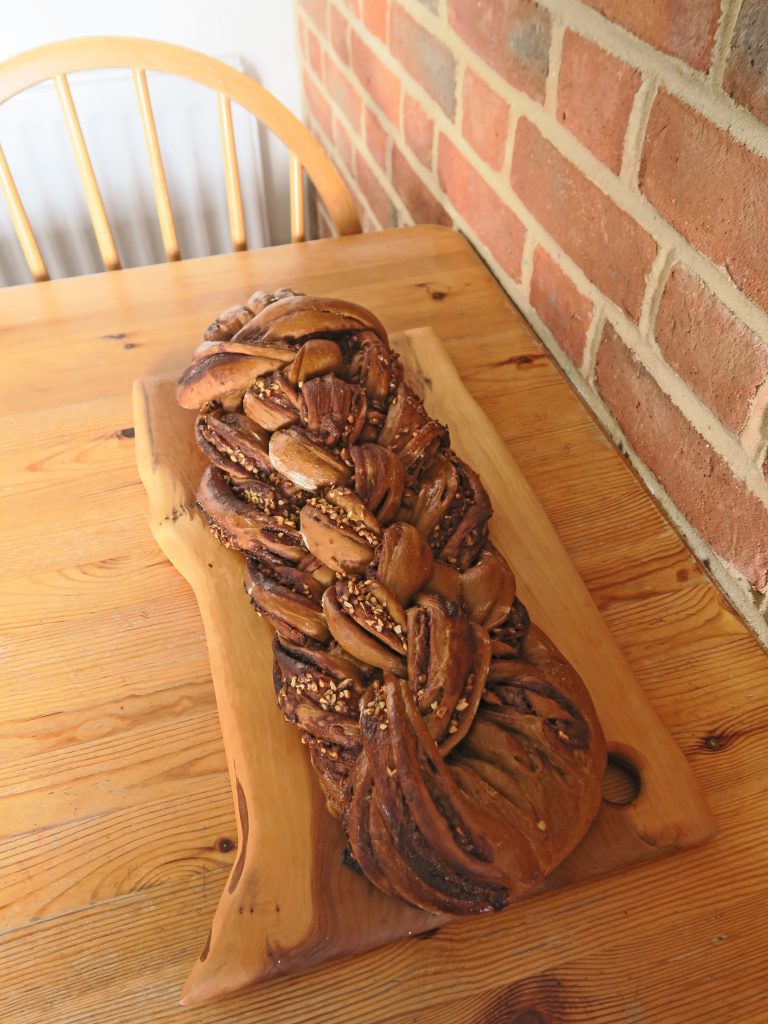
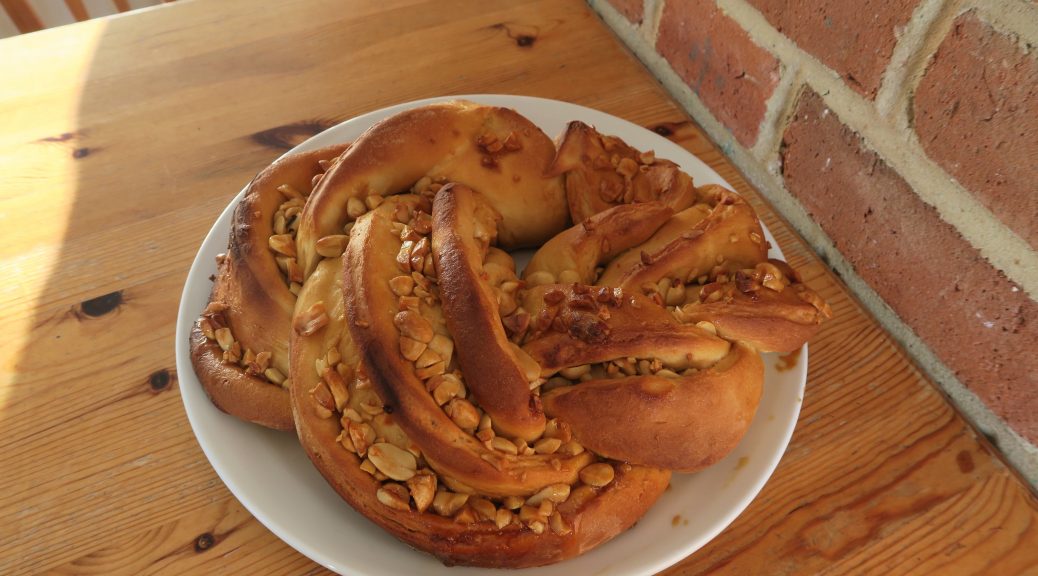
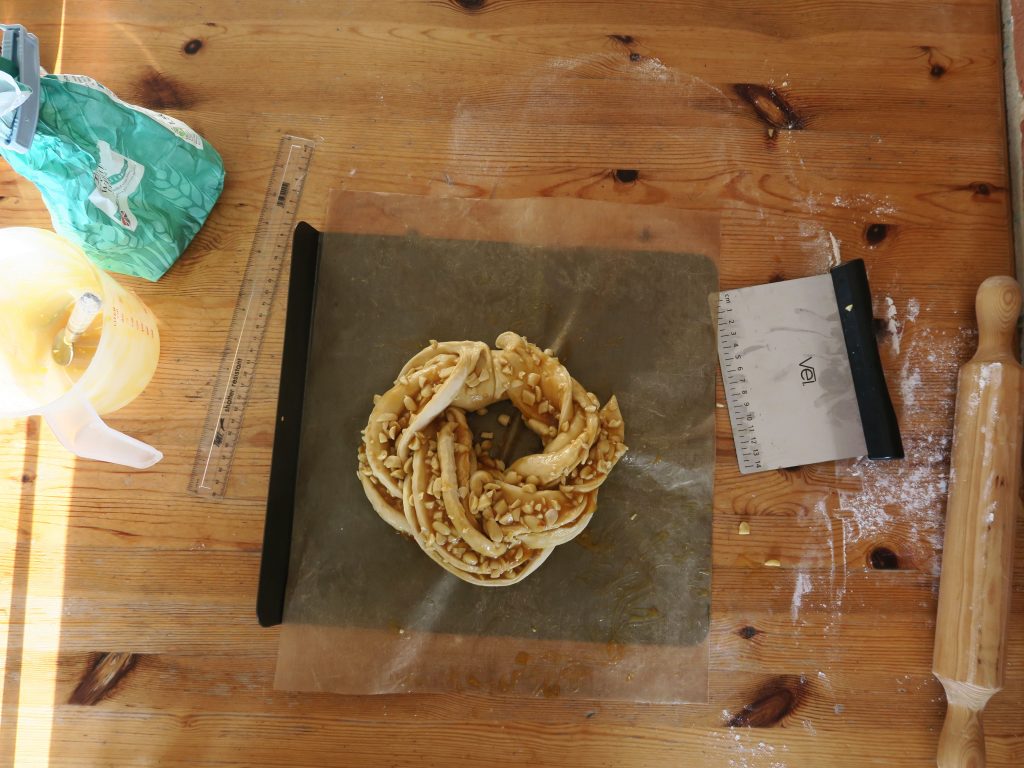
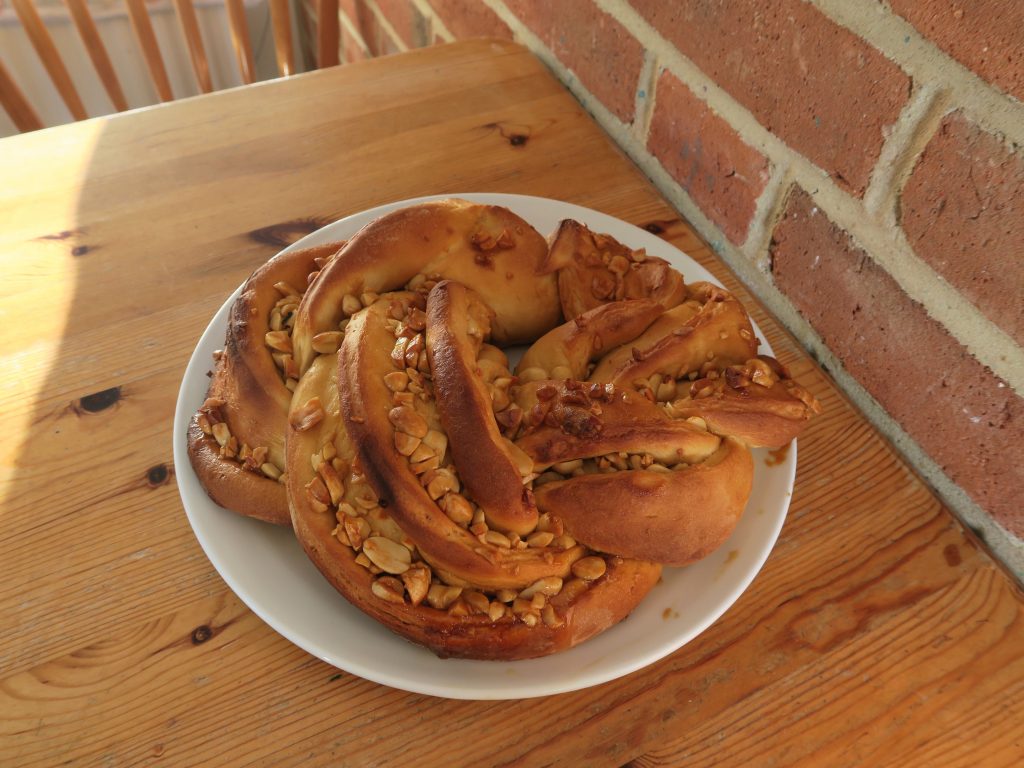
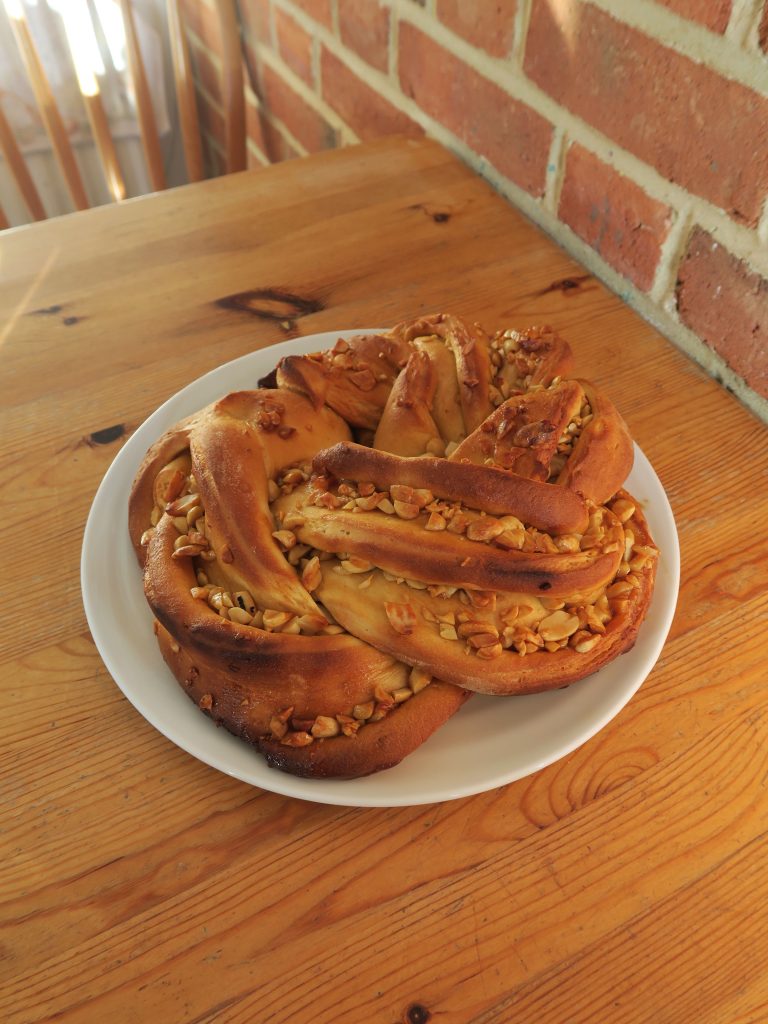
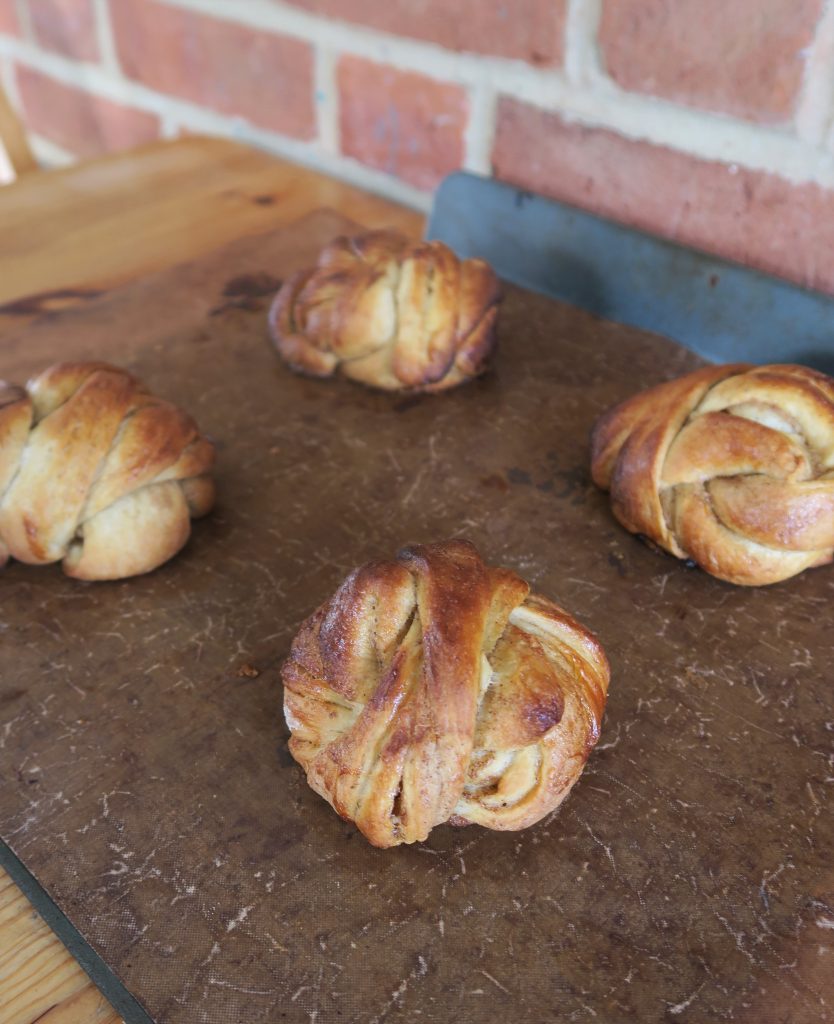
I also found that when shaping these the cinnamon sugar/butter mix that you spread over the dough kinda went everywhere and made them super slippery and fiddly to work with. If that happens don’t worry, keep going. The main thing with the shaping is to get a twisted, coiled knot with one strand pulled tightly over the top, so as long as you have that you’ve done it right. That said, if the filling does splurge out a bit I’d really recommend baking the buns with a layer of tin foil loosely over the top (not too tight or it’ll stick to the top of the buns). With the exposed sugar on the outside of the kanelbullar they might end up burning before the buns can fully cook, so covering them with foil will given allow them to reach a soft texture with a nice golden colour.
Recipe
Makes 8 buns
Time: 2 hours, plus proving and baking time
Ingredients
- 400g strong white bread flour
- 50g caster sugar
- 7g salt
- 1 tsp mixed spice (or ground cardamom)
- 7g instant yeast
- 240ml milk
- 50g unsalted butter
For the filling
- 80g unsalted butter
- 70g light brown sugar
- 1 tbsp ground cinnamon
- 1 egg, to glaze (or a little melted butter if you’re struggling to find eggs right now!)
Method
- Put the flour, sugar, salt, mixed spice and yeast into a bowl and stir to combine.
- Put the butter and milk into a pan and heat through gently until the butter is melted (but not boiling).
- Pour the warm milk mixture over the flour and stir the dough with a round bladed knife to bring the mixture together into a ball.
- Turn the dough out onto a lightly floured worktop and knead for 5-10 minutes until smooth and stretchy.
- Place the dough into a lightly oiled bowl, cover with cling film and leave to rise until doubled in size (1-2 hours should do it, depending on the temperature of the room).
- Whilst waiting for the dough to rise make the filling. Put the butter, sugar and cinnamon into a small bowl and beat with a wooden spoon until smooth.
- Turn the risen bread dough onto a lightly floured surface and knead it for 5-10 seconds to knock the excess air out.
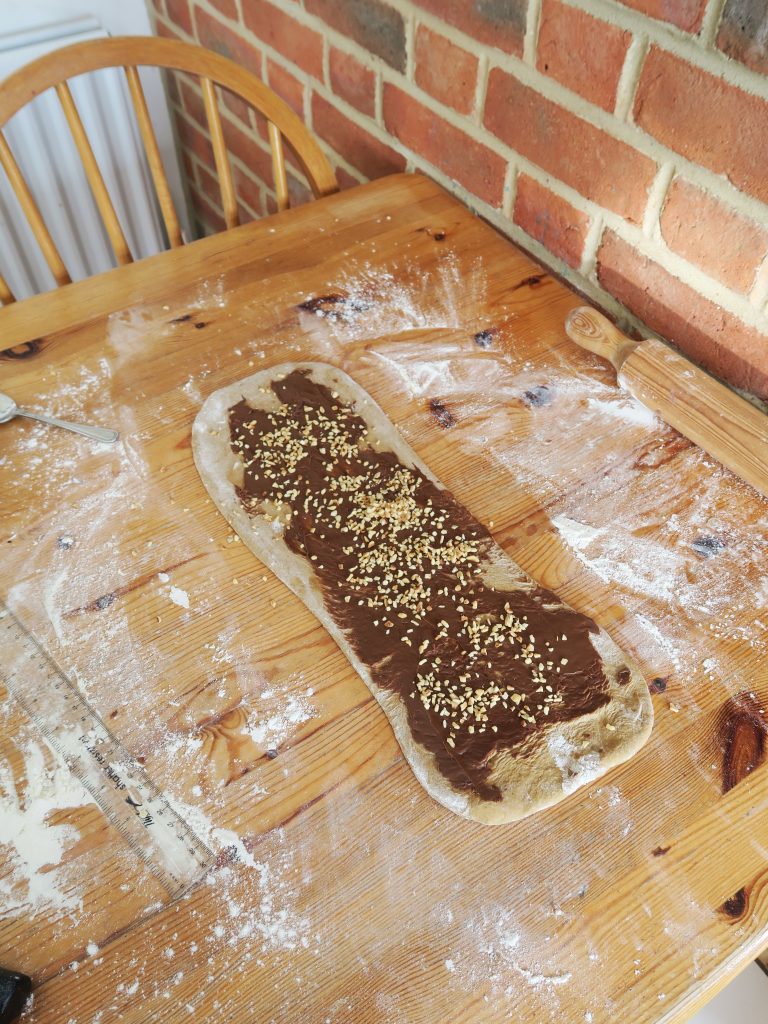
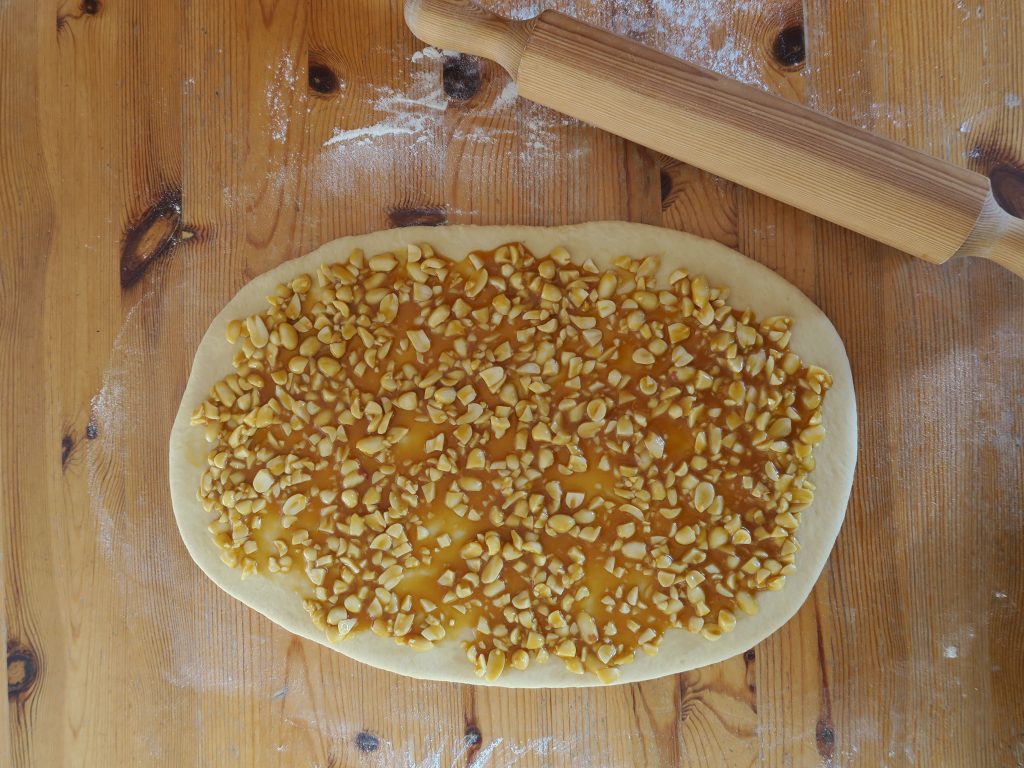
- Roll the dough out into a 35x35cm square (it’s really important this is as square-shaped as you can make it!). Spread the filling over the entire surface to make a thin layer, leaving a small border around the edge.
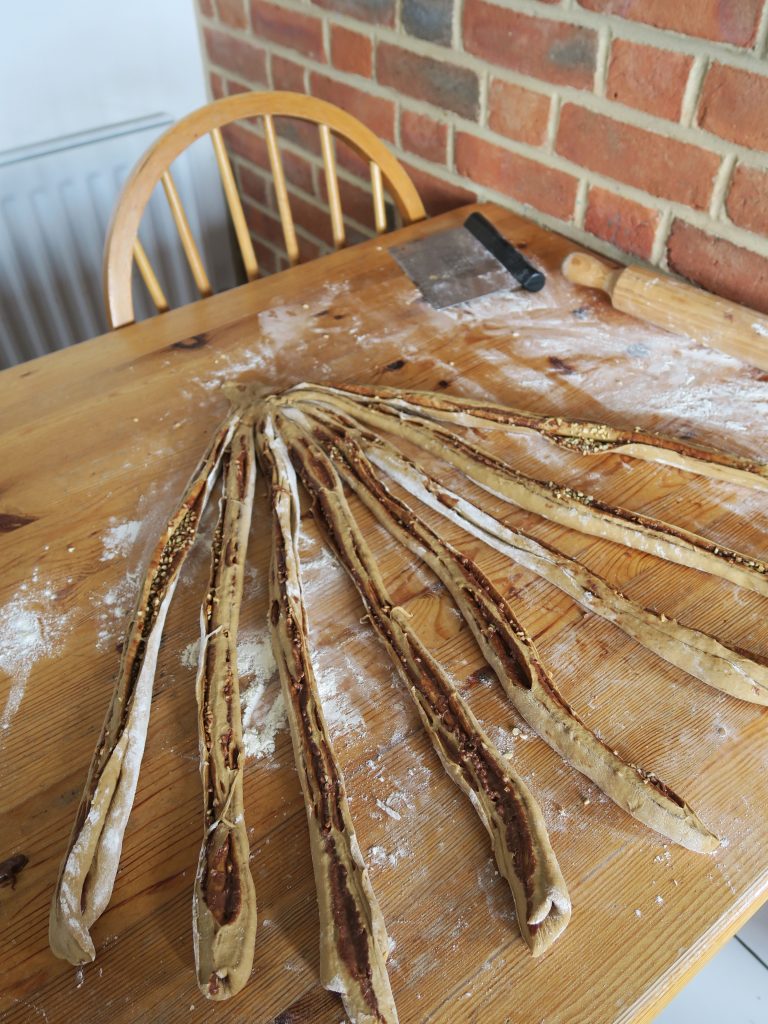
- Fold the bottom third of the dough up onto the middle third, and then fold the top third down over the other two thirds (as though you were folding a letter). Then roll this rectangle out to roughly 35x20cm.
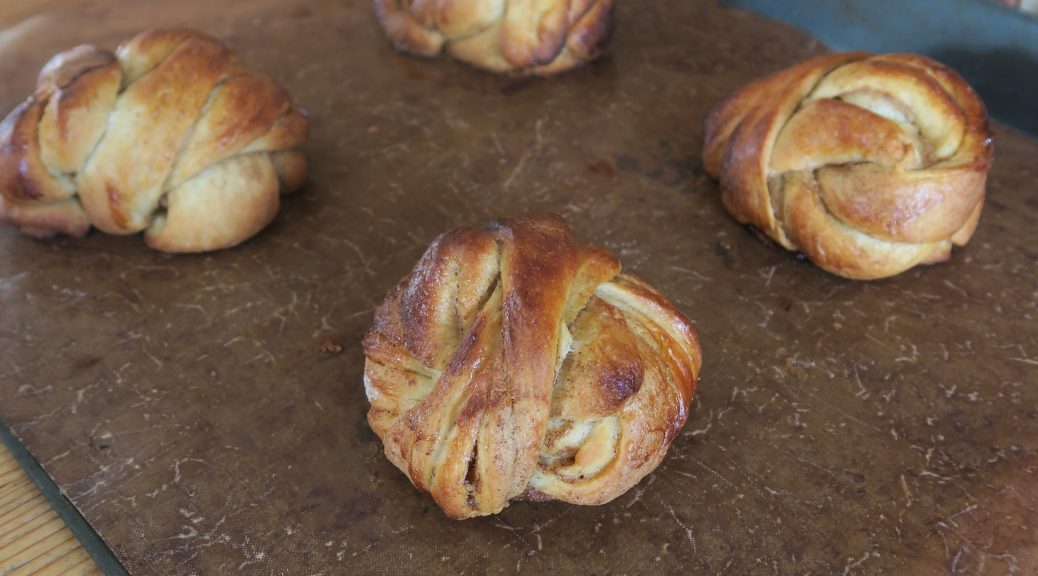
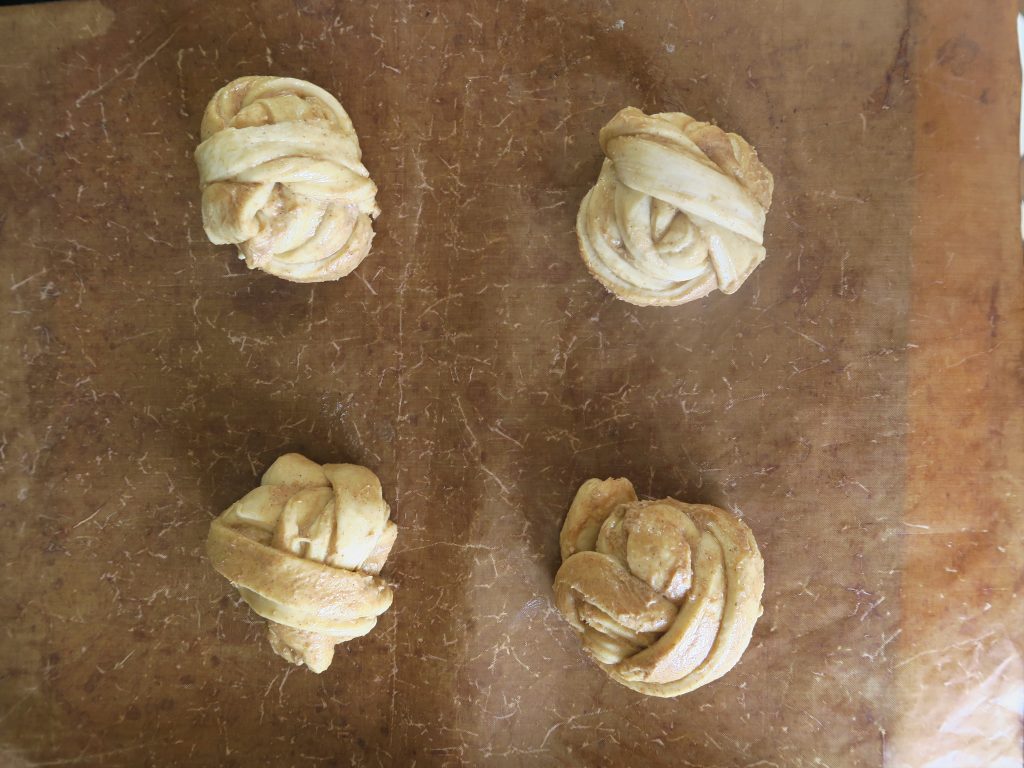
- Have the long edge facing towards you and cut 2cm wide, 20cm long strips from the dough. Twist each strip several times, stretching it a little as you do. Then grab the end of the twisted strip, coil it round your first and second finger a few times, then loop the strand over the top and tuck it in tight underneath.
- Place each bun on a lined baking sheet with a good amount of space between them. Cover them loosely in cling film again and leave to rise for 40-60 minutes until doubled in size
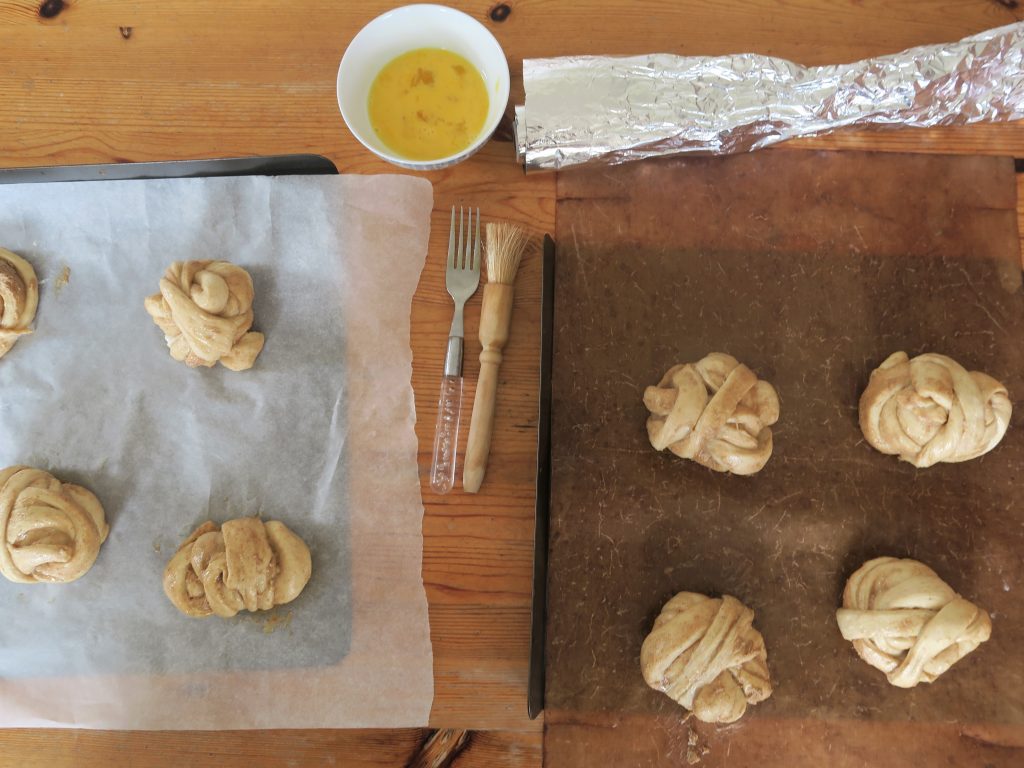
- Pre-heat the oven to 180C. Crack the egg into a bowl and beat with a fork until the yolk and white are mixed.
- Brush the risen buns with the egg glaze and then bake in the oven for 20-25 minutes until golden brown. (If the filling splurged out when rolling and is now covering the outside of the buns you might want to cover the buns in a layer of tin foil when baking as this will prevent the tops from burning before the middle gets a chance to bake).
- Leave the buns to cool to room temperature and then enjoy!
Thanks for reading!
Emma x