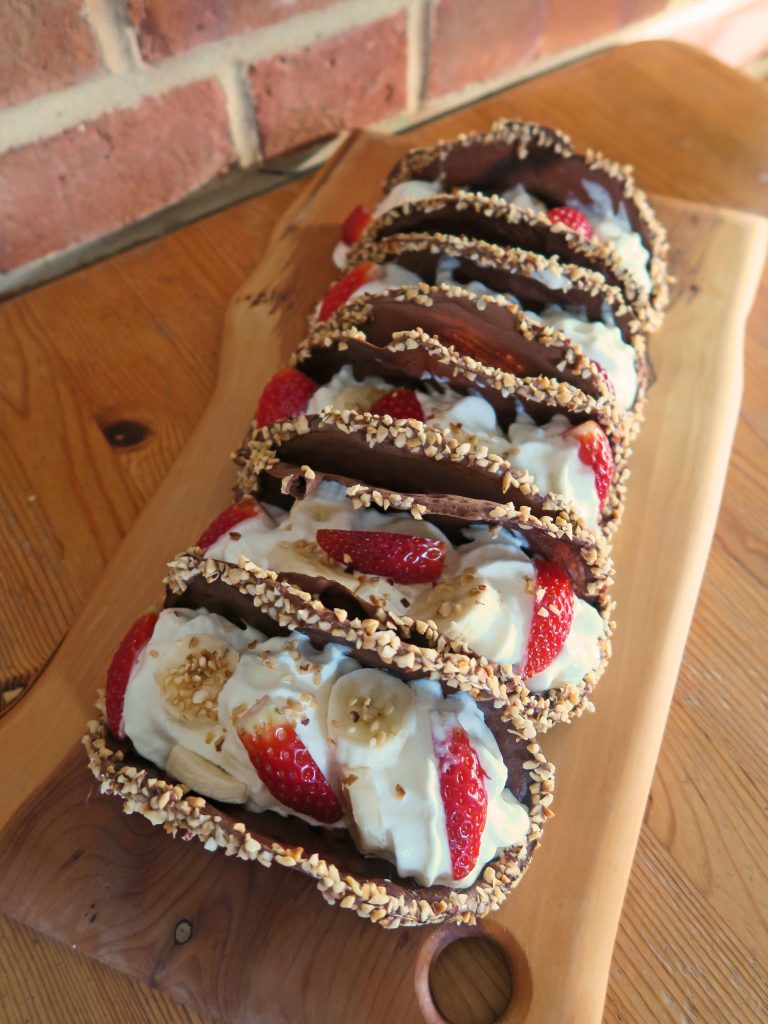
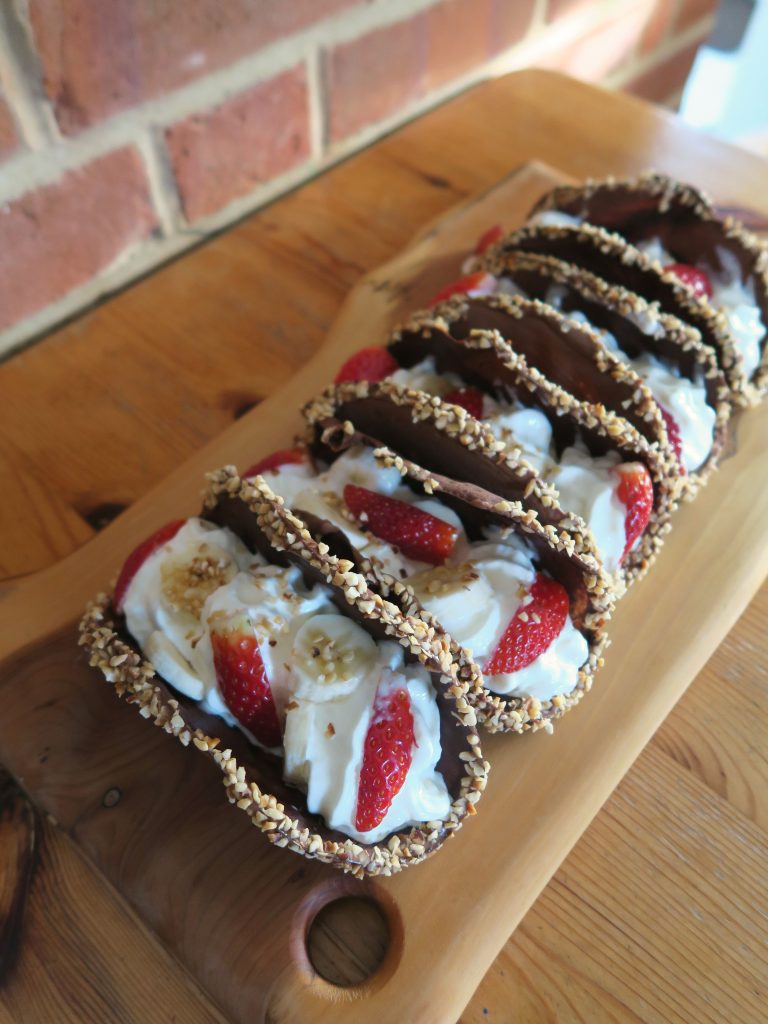
Strawberries and Cream Jammy Dodgers
So it’s been a while since my last post as I’ve been taking a rest from everything. I’m one of those people who will try and do everything and then a little bit more on top, which is great fun until you realise you’ve burnt yourself out. But now I’m feeling refreshed and ready to start going crazy in the kitchen again, fully in the knowledge that I will inevitably crash in the short term future – but hey, you’ve got to make the most of your productive times as and when they hit you right?!
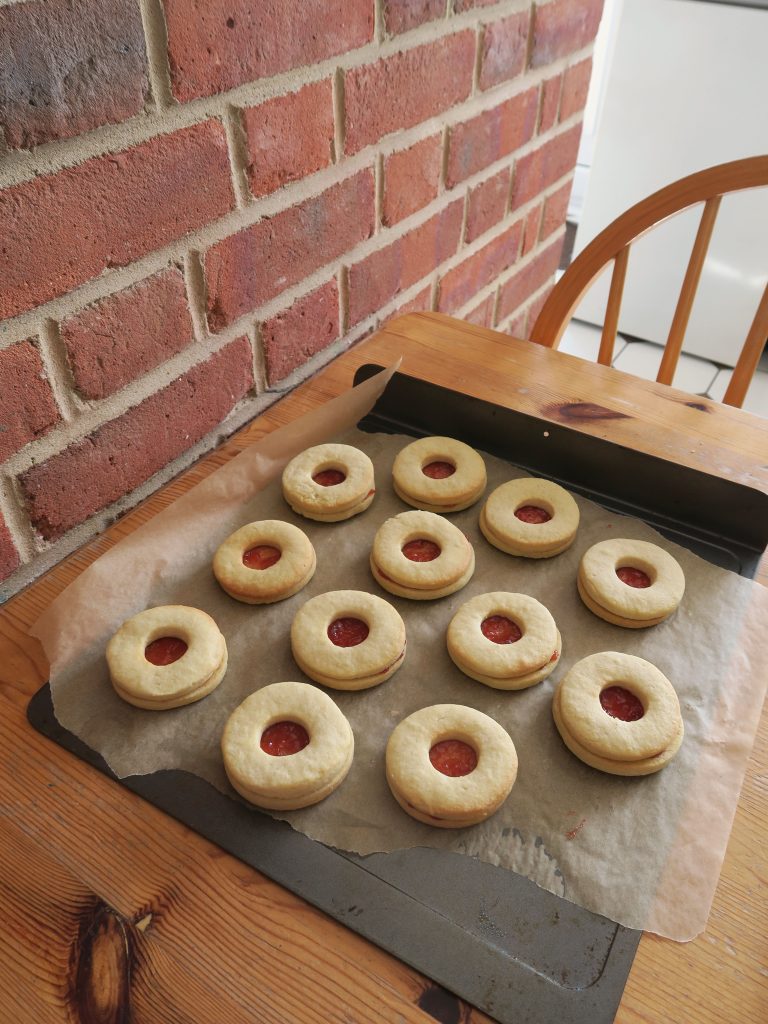
These beauties are in homage to my all time favourite British biscuit – the Jammy Dodger! Generally I’m not a biscuit person, but give me one of these and I’m instantly taken back to happy childhood memories of packed lunches and picnics in my back garden. I’ve fancied these up a little by using a rich clotted cream shortbread as the biscuit component. Essentially by using clotted cream as well as butter you end up with an even richer, melt-in-the-mouth biscuit than your regular shortbread (it’s pretty good if I say so myself!).
Recipe
Makes 12
Time: 90 minutes
Ingredients
For the biscuit
- 100g Cold butter
- 100g Clotted cream
- 100g Caster sugar
- 300g Plain flour
- 1 Egg yolk
For the filling
- 4-5tbsp Strawberry jam
Method
- Put the butter, clotted cream and sugar into a bowl and beat together until smooth. Then add the flour and rub the sugar/butter mixture into the flour until it resembles fine breadcrumbs.
- Mix the egg yolk with 2 tsp water and then add this to the main bowl. Mix together again until a smooth ball of dough forms. Split the dough into 2 equal balls and then cover each one in cling film and chill in the fridge for 30 minutes – 1 hour.
- Pre-heat the oven to 180˚C and line two baking trays with baking paper.
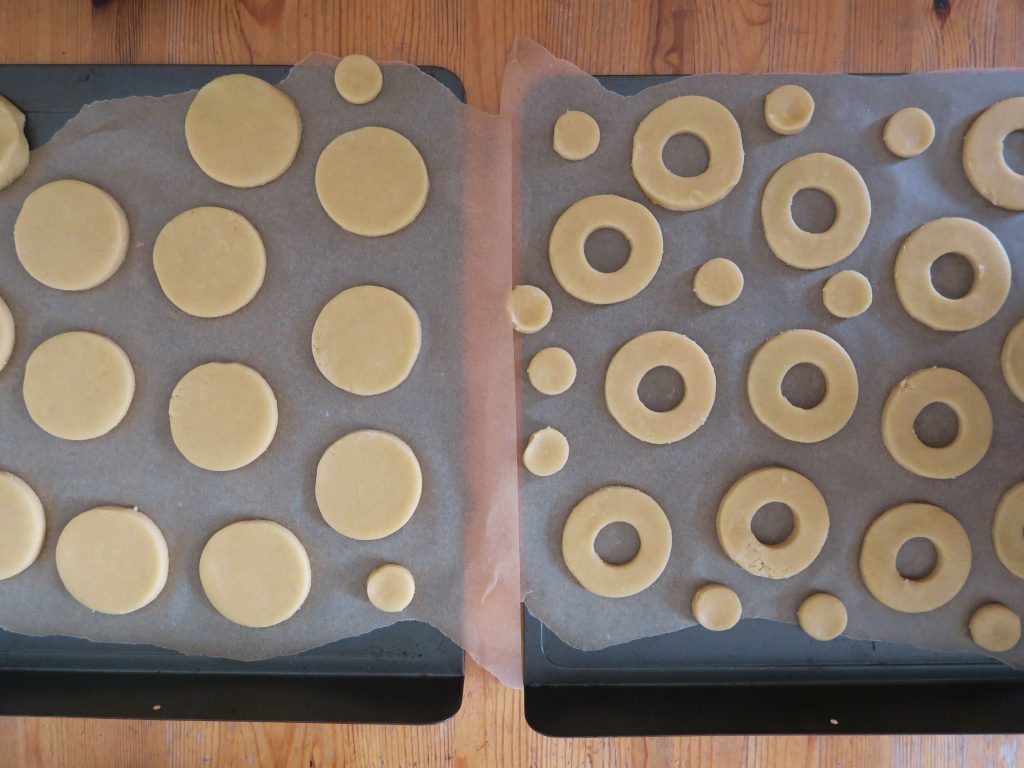
- Take one of the balls of dough out of the fridge and put it onto a lightly floured surface. Roll it out to about 5mm thick and then cut out 12, 6cm circles using a round cookie cutter. Place these discs on a baking tray and then gather up and re-roll the dough until it’s all used up.
- Roll out the other block of dough to the same thickness and repeat the cutting out of circles. Then take a smaller cookie cutter (diameter about 1cm) and stamp out the middles of the second batch of biscuits to create doughnut-like rings.
- Bake the biscuits in the oven for around 15 minutes until golden brown and just starting to crisp. Then leave to cool completely on wire racks.
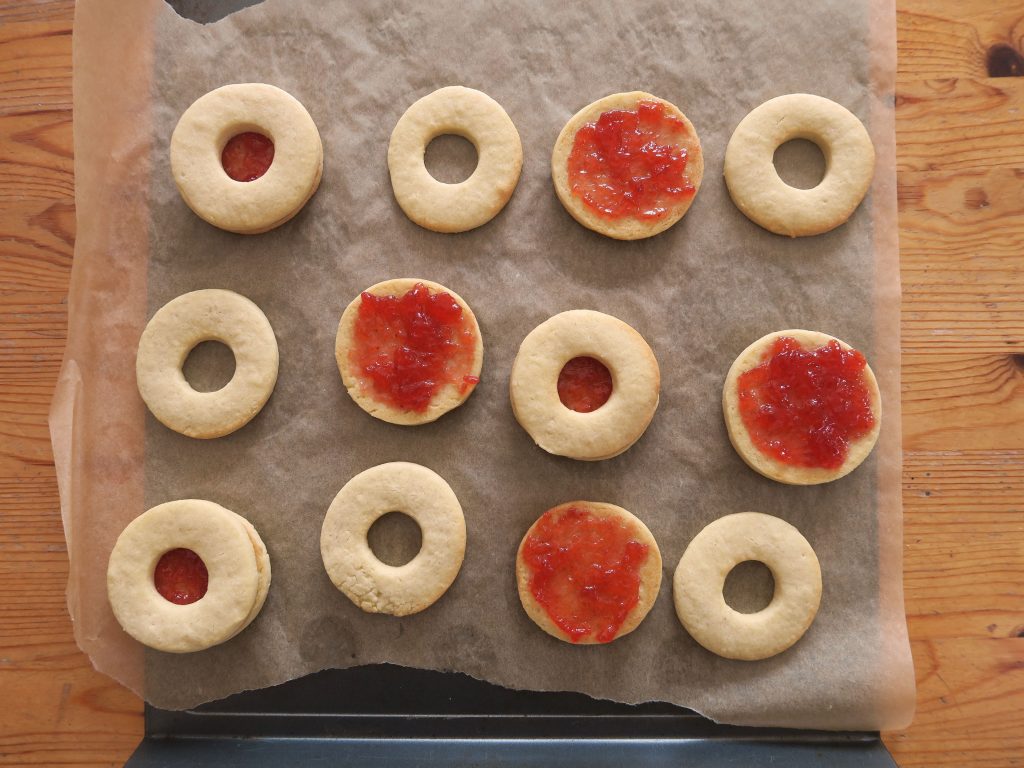
- To prepare the filling put the jam into a bowl and mix a little with a small spoon to loosen it up. Turn over the cooled base biscuits (the full circles) and spread a little of the jam over the base of each one. Top with the biscuits with the holes in the top and then enjoy!
Thanks for reading!
Emma x