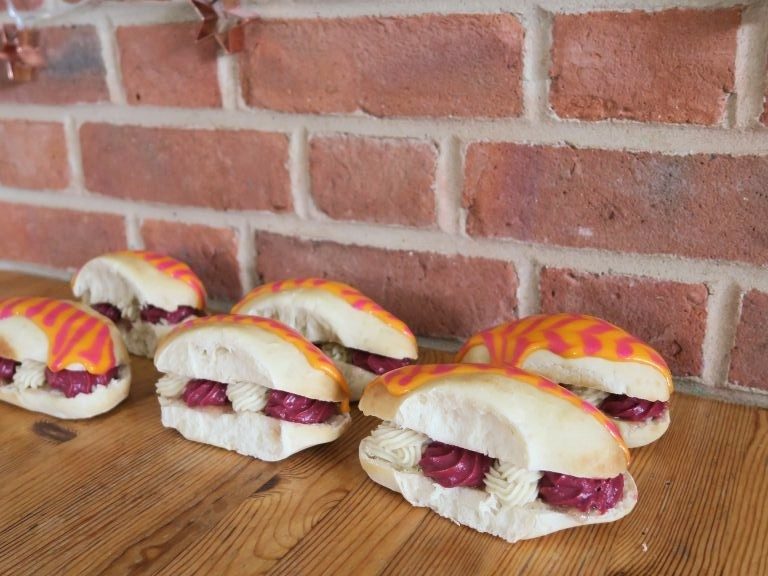
Peach Melba Iced Fingers
Peaches are in their prime right now so it’s the perfect time to be using them in your baking! I love playing off classic flavour combinations, so peach melba (peach, raspberry and vanilla) was my instant go-to when thinking of making something seasonal. These use a homemade peach jam so you could (if making this outside of peach season) use a shop-bought jam if needed! Likewise if you’re short on time you could whip up 300ml of double cream with 1tsp of vanilla extract, then fold through a handful of fresh raspberries to replace the creme patisseries!
Recipe
Makes 12
Time: 3 hours
Ingredients
For the dough
- 500g strong white flour
- 50g caster sugar
- 40g unsalted butter
- 2 eggs
- 14g fast action dried yeast
- 2 tsp salt
- 150ml warm milk
- 140ml water
For the crème patisserie
- 250ml whole milk
- 1 tbsp vanilla bean paste
- 50g caster sugar
- 3 egg yolks
- 10g plain flour
- 10g cornflour
For the raspberry crème patisserie
- 250ml raspberry puree
- 50g caster sugar
- 3 egg yolks
- 10g plain flour
- 10g cornflour
For the peach jam
- 4 medium sized peaches (about 300g, peeled and de-stoned)
- 220g caster sugar
- 2 tbsp lemon juice
For the icing
- 200g icing sugar
- 4 tsp cold water
- 2 drops orange food colouring
- 2 drops pink food colouring
Method
- Pre-heat the oven to 220C.
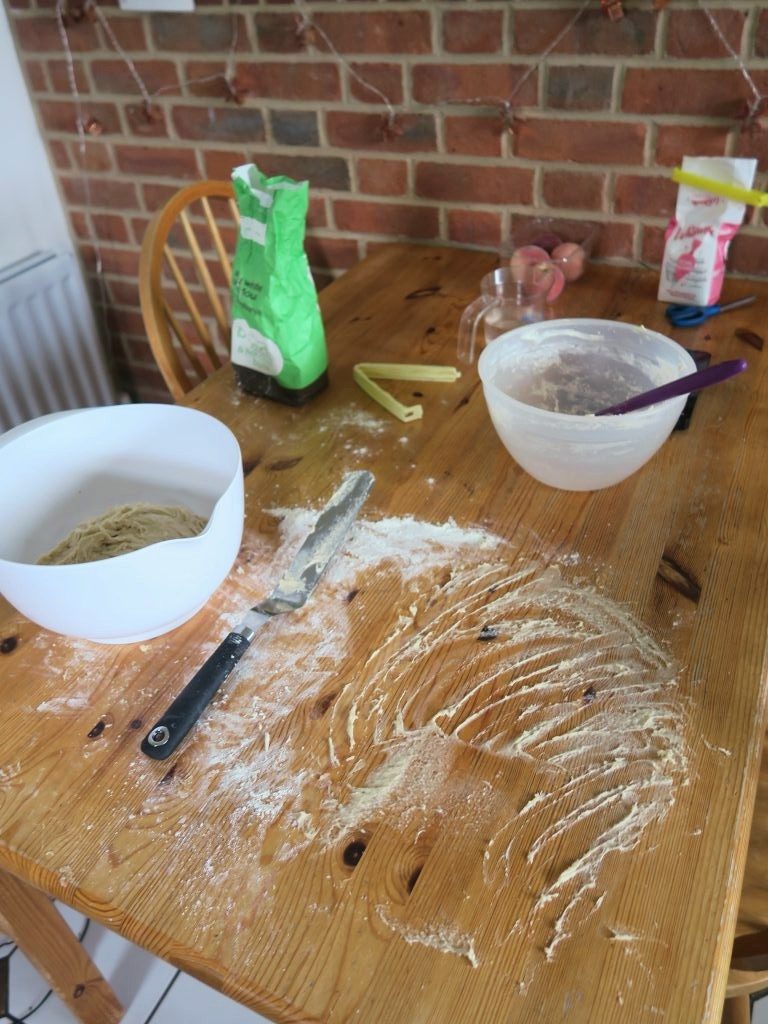
- Place all the ingredients for the dough into a bowl and mix until it comes together to make a soft dough. (If it’s looking a little dry add a little more water, up to 40ml).
- Turn the dough out onto a worktop and knead until smooth and stretchy (about 10 minutes).
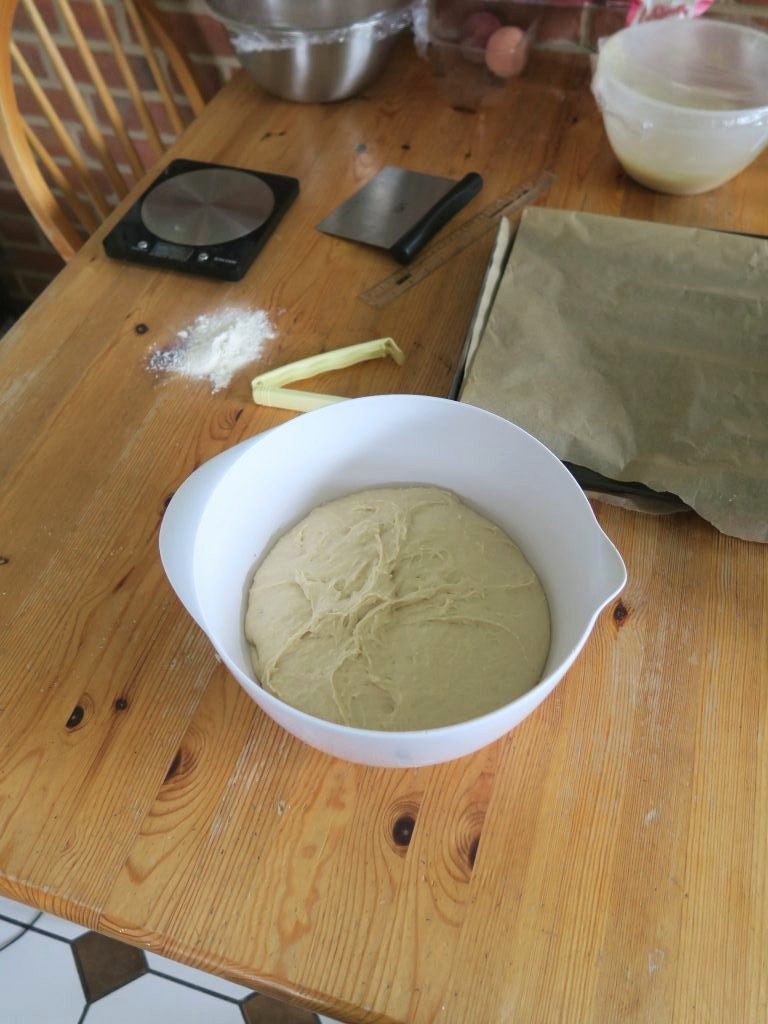
- Tip the dough into a lightly oiled bowl, cover with cling film and leave to rise for about 1 hour, until doubled in size.
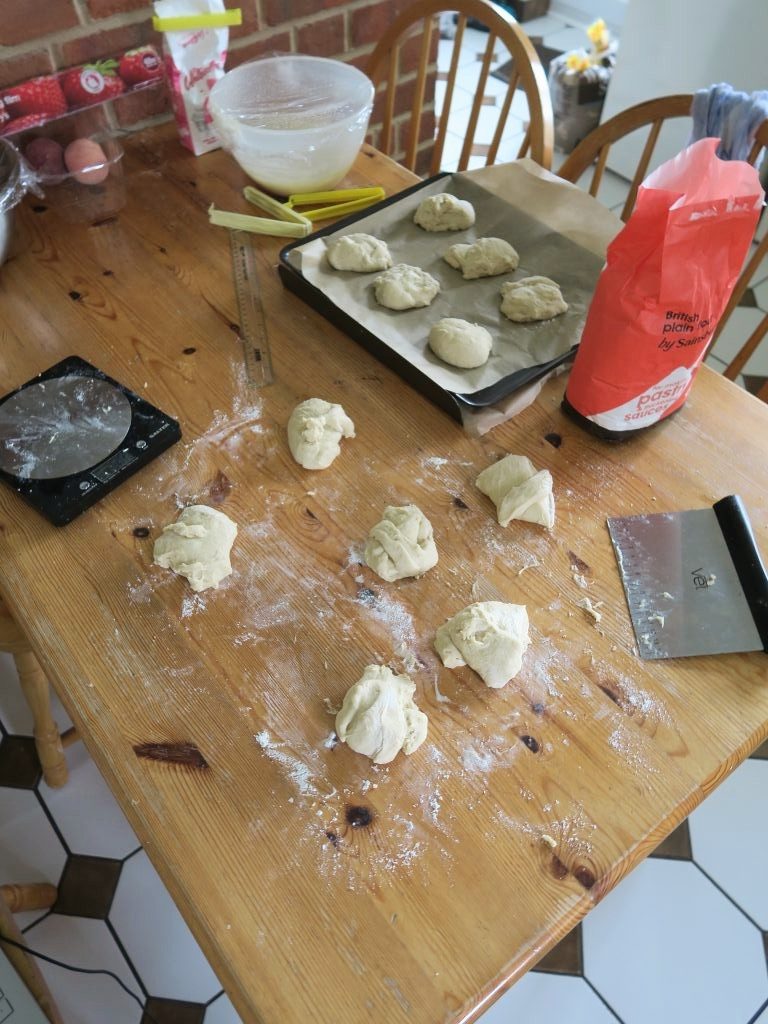
- Take the dough out of the bowl and knead for 5 seconds to knock the excess air out.
- Divide the dough into 12 equally-sized pieces. Roll each piece into a ball and then shape them into fingers about 13cm long.
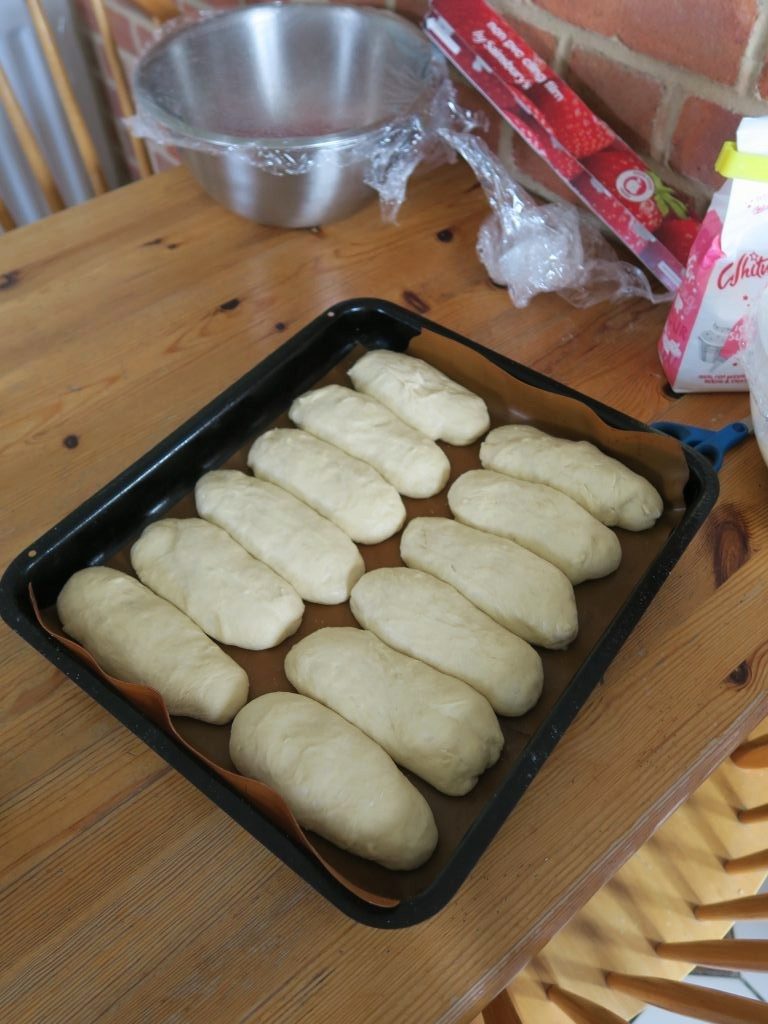
- Place the fingers on baking tray lined with baking paper, (making them spaced out enough to rise, but close enough that they’ll join together when risen – about 2cm between each should do). Cover loosely with clingfilm and leave to rise for another 40 minutes.
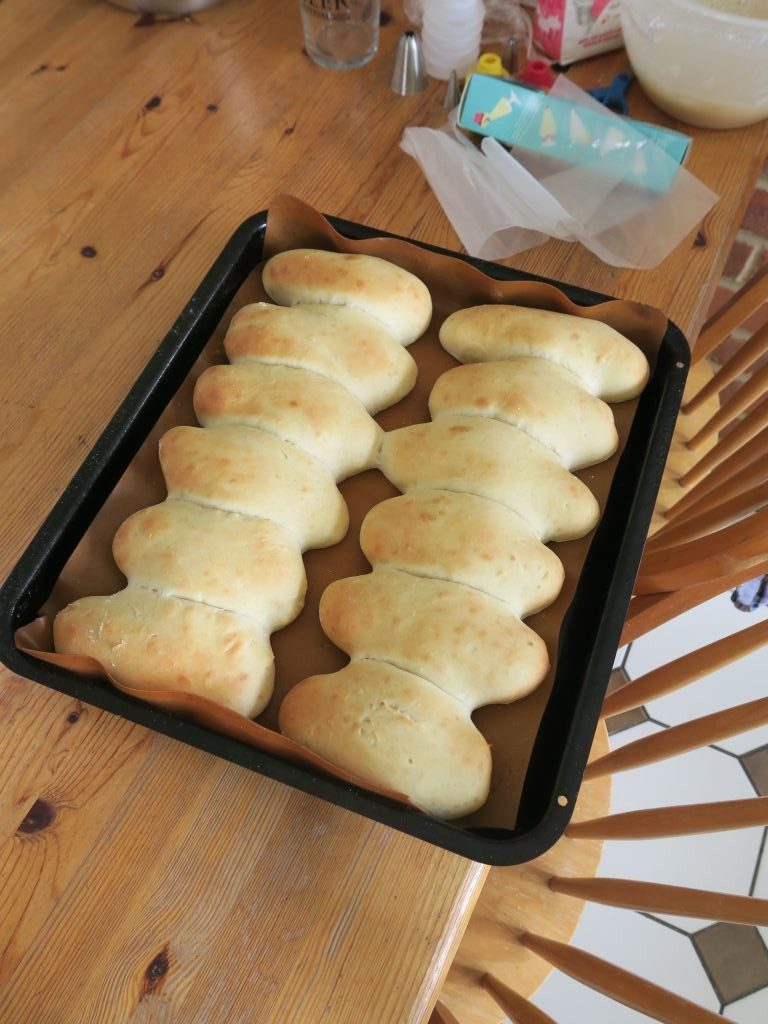
- Bake the buns in the oven for about 10 minutes until risen and just starting to turn golden brown. Set aside to cool.
- Now make the fillings. To make the crème patisserie begin by putting the milk and vanilla into a small saucepan and bring to just below the boil.
- Whilst waiting for the milk to warm up, put the sugar, egg yolks, flour and cornflour into a bowl and whisk to make a smooth paste.
- Pour the warm milk over the egg mixture in a steady stream, whisking constantly, until combined.
- Pour the mixture back into the pan and heat whilst whisking over a medium heat until the mixture thickens. Pour the crème patisserie into a bowl, cover with clingfilm and leave in the fridge to cool.
- Now make the raspberry crème patisserie. Put the raspberry puree into a pan and bring to just below the boil.
- Like with the traditional crème patisserie, put the sugar, egg yolks and flours into a bowl and whisk until they make a smooth paste.
- Pour the warm raspberry puree over the egg mixture, whisking constantly until combined. Place the mixture back over a medium heat and whisk until the mixture thickens.
- Pour the raspberry crème patisserie into a bowl, cover with clingfilm and leave in the fridge to cool.
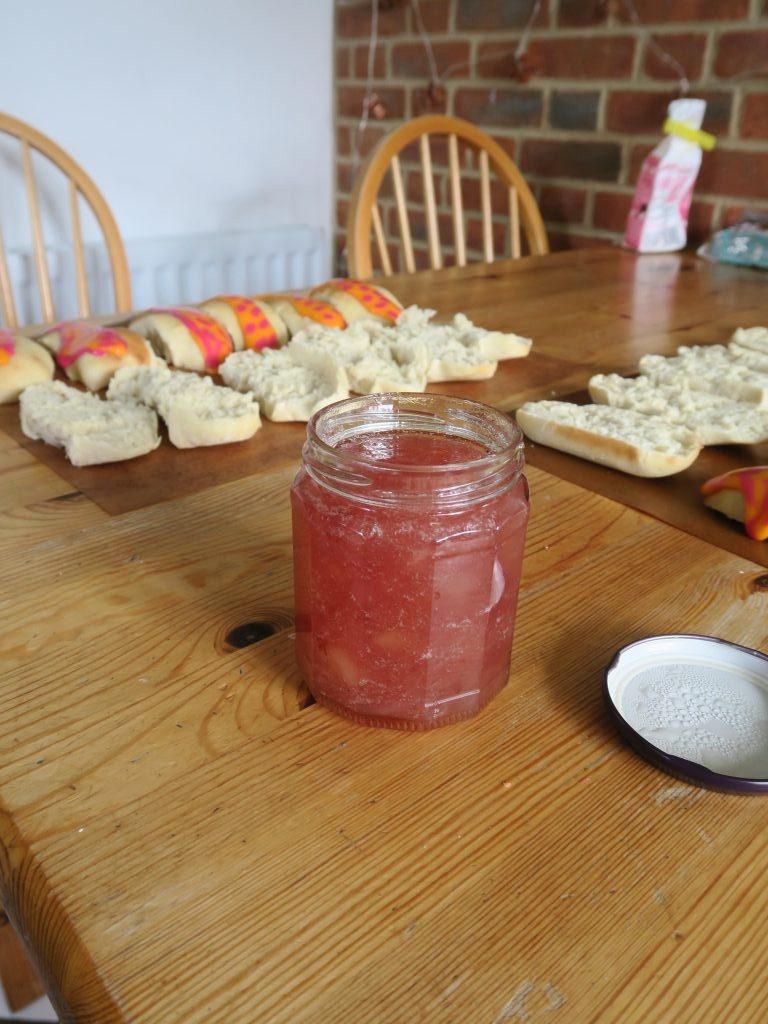
- To make the jam take the peach flesh and chop it into small chunks.
- Put the peach, sugar and lemon juice into a pan and bring to the boil. Leave to boil for about 20 minutes until the mixture coats the back of a spoon. (You can also check the consistency by putting a plate in the freezer. When you think the jam is ready take the cooled plate, put ½ tsp of the jam onto the plate and put it in the fridge. It should set/wrinkle when prodded. If it doesn’t it needs a bit longer).
- Pour the jam into a sterilised jam jar and leave to cool until needed.
- Now make the icing. Put 150g of the icing sugar into one bowl with 3tsp of the water, and the other 50g icing sugar and 1tsp into another bowl. Mix each set of icing individually. Then add a few drops of orange food colouring to the large batch and a few drops of pink food colouring to the small batch. Mix until the colours are even through the icing.
- Pour the orange icing into a pipping bag with a 1cm round nozzle, and pour the pink icing into a pippin bag with a 1mm round nozzle.
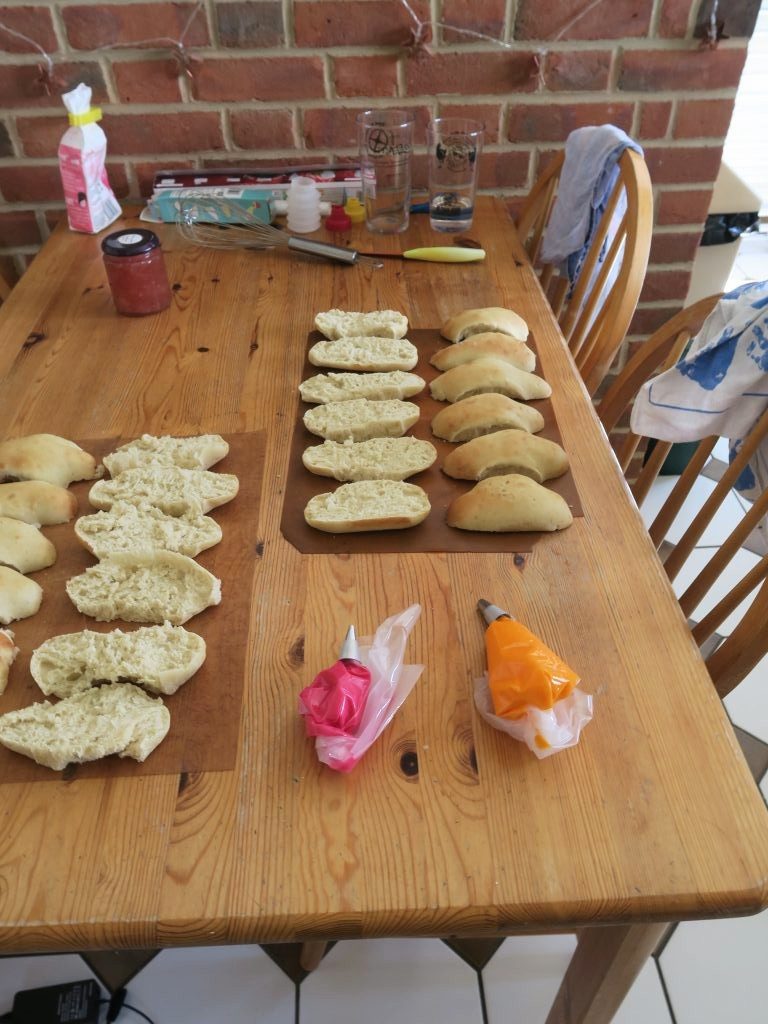
- When the buns are cooled cut them in half, placing the tops next to the bases.
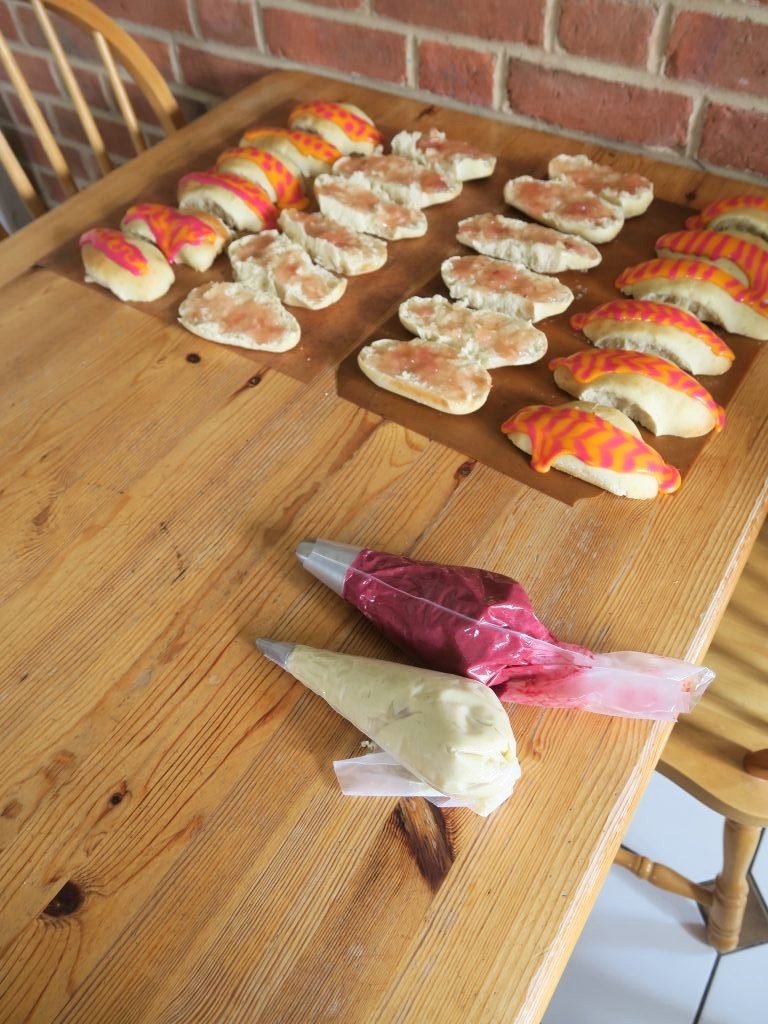
- Pipe a line of orange icing across the tops of the buns. (If needed you can take a palette knife, heat it by running it under some warm water for a few seconds, then run it along the icing to smooth it out). Then take the pink icing and pipe spots or lines across the top of the orange icing. (If you want you can then take a tooth pick and run it up and down the icing to feather it, but it’s up to you!). Leave for about an hour to set.
- Take the peach jam and spread about 1tsp over the base of each bun.
- Take the crème patisseries and put them into separate pipping bags with 1cm stared nozzles (or use disposable pipping bags and cut your own nozzles).
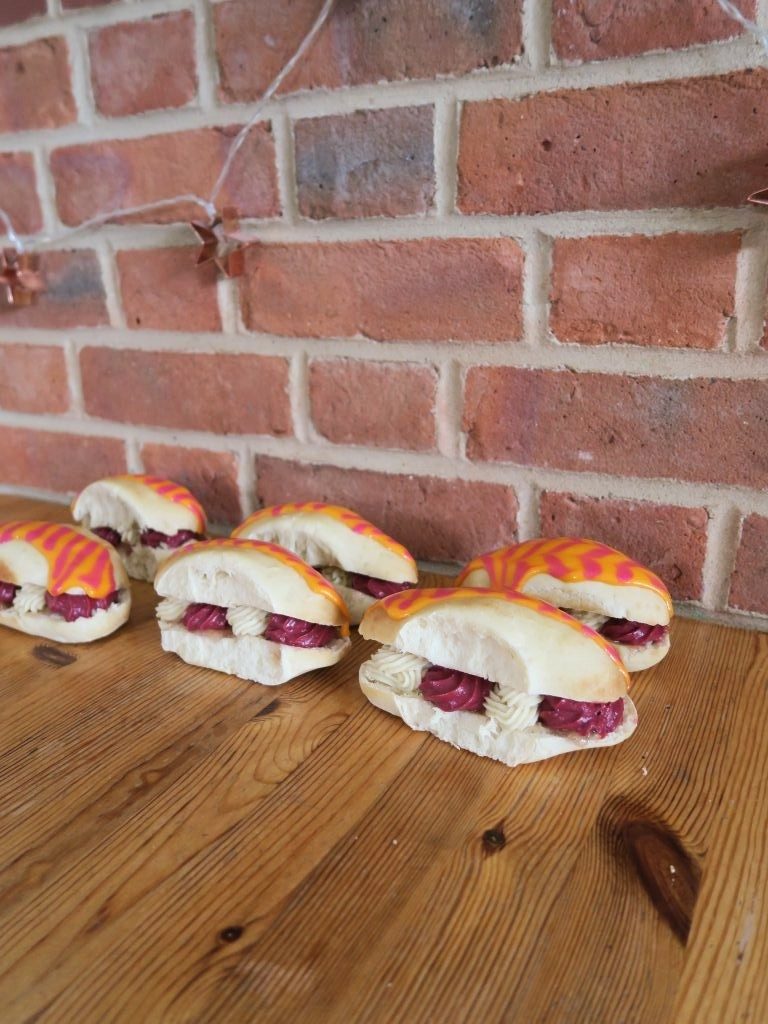
- Pipe alternating blobs of vanilla and raspberry crème patisserie over the peach jam (I get about 2 of each on each bun).
- Place one of the iced tops on top of the bun and enjoy!
Thanks for reading!
Emma x