The Ultimate Nacho Pyramid
This summer I spent some time in Canada and I found that alongside snow, bears and lakes, Canada should also be famous for its incredible nachos. Tortilla chips piled high with mountains of cheese, peppers, jalapenos, and beef, served with tubs of guacamole and sour cream creates a pyramid of pure comfort. Whatever the weather, they can’t fail to put a smile on your face.
The following recipe is my ultimate nacho pyramid. I’ve added some personal touches to suit my taste preferences, however the great thing about nachos is that you can pretty much put anything with them and they’re still amazing. So if there’s any ingredient you love or hate you can easily swap it in or out to create your own perfect combination.

Recipe
Serves 6
Time: 1 hour
Ingredients
- 4 tbsp Sunflower or vegetable oil
- 8 small tortillas (no more than 14cm in diameter)
- 2 rashers of smoked bacon
- 1 Small red onion, finely chopped
- ½ a small red, green and orange pepper, diced
- 100g Mozerella, torn into pieces
- 100g Cheddar cheese, grated
- 1 jalapeno, chopped into discs
- 1 beef tomato, diced
- 80g Sweetcorn
- 80g kidney beans, drained and rinsed
- Sour cream and guacamole to serve
Method
- Preheat the oven to 180˚C. Put 2 tbsp of the oil into a small bowl.
- Place one tortilla onto a chopping board and brush lightly with oil, ensuring it’s covered all over. Place another tortilla on top of the oiled one and brush it with oil. Continue with the others until you have a stack of oiled tortillas.
- Take a large knife and cut the pile in half. Then cut each half in half again, and repeat twice more so you have 8 tortilla stacks.

- Line 3 trays with baking paper and brush each with oil. Separate the tortilla stacks so that each chip is a single layer. Place the chips on the oiled tray so that their non-oiled surface is in contact with the oiled tray. It’s best if the chips don’t overlap, but if they do just move them around on the tray half way through cooking so that they crisp up all over.
- Sprinkle the chips with a generous pinch of sea salt so that all the chips are seasoned. Then put the trays in the oven for 8-12 minutes.
- To check if the chips are done test the edges to see if they are crisp and dry. The middle may be slightly softer, but they’ll crisp up as they cool down. If the middles don’t crisp up once cool, place them back into the oven for 2-3 minutes. Leave the chips to cool.
- Meanwhile pre-heat the grill to a high heat. Place the bacon rashers on a grill pan and heat under the grill. Grill for around 5 minutes and then turn the rashers over and grill for a further 5 minutes on the other side so that they become crisp all over.
- Take the bacon off the grill pan and cut into strips with scissors. Place the strips to one side.
- Now prepare the veg. Put the remaining 2tbsp of oil into a pan and put on a medium-high heat. Put the chopped onion in the pan and stir to coat in the oil. Stirring occasionally, fry the onions until they start to caramelise (go brown and sticky).
- Then add the chopped up peppers and stir to mix and coat them in the oil. Place to one side.
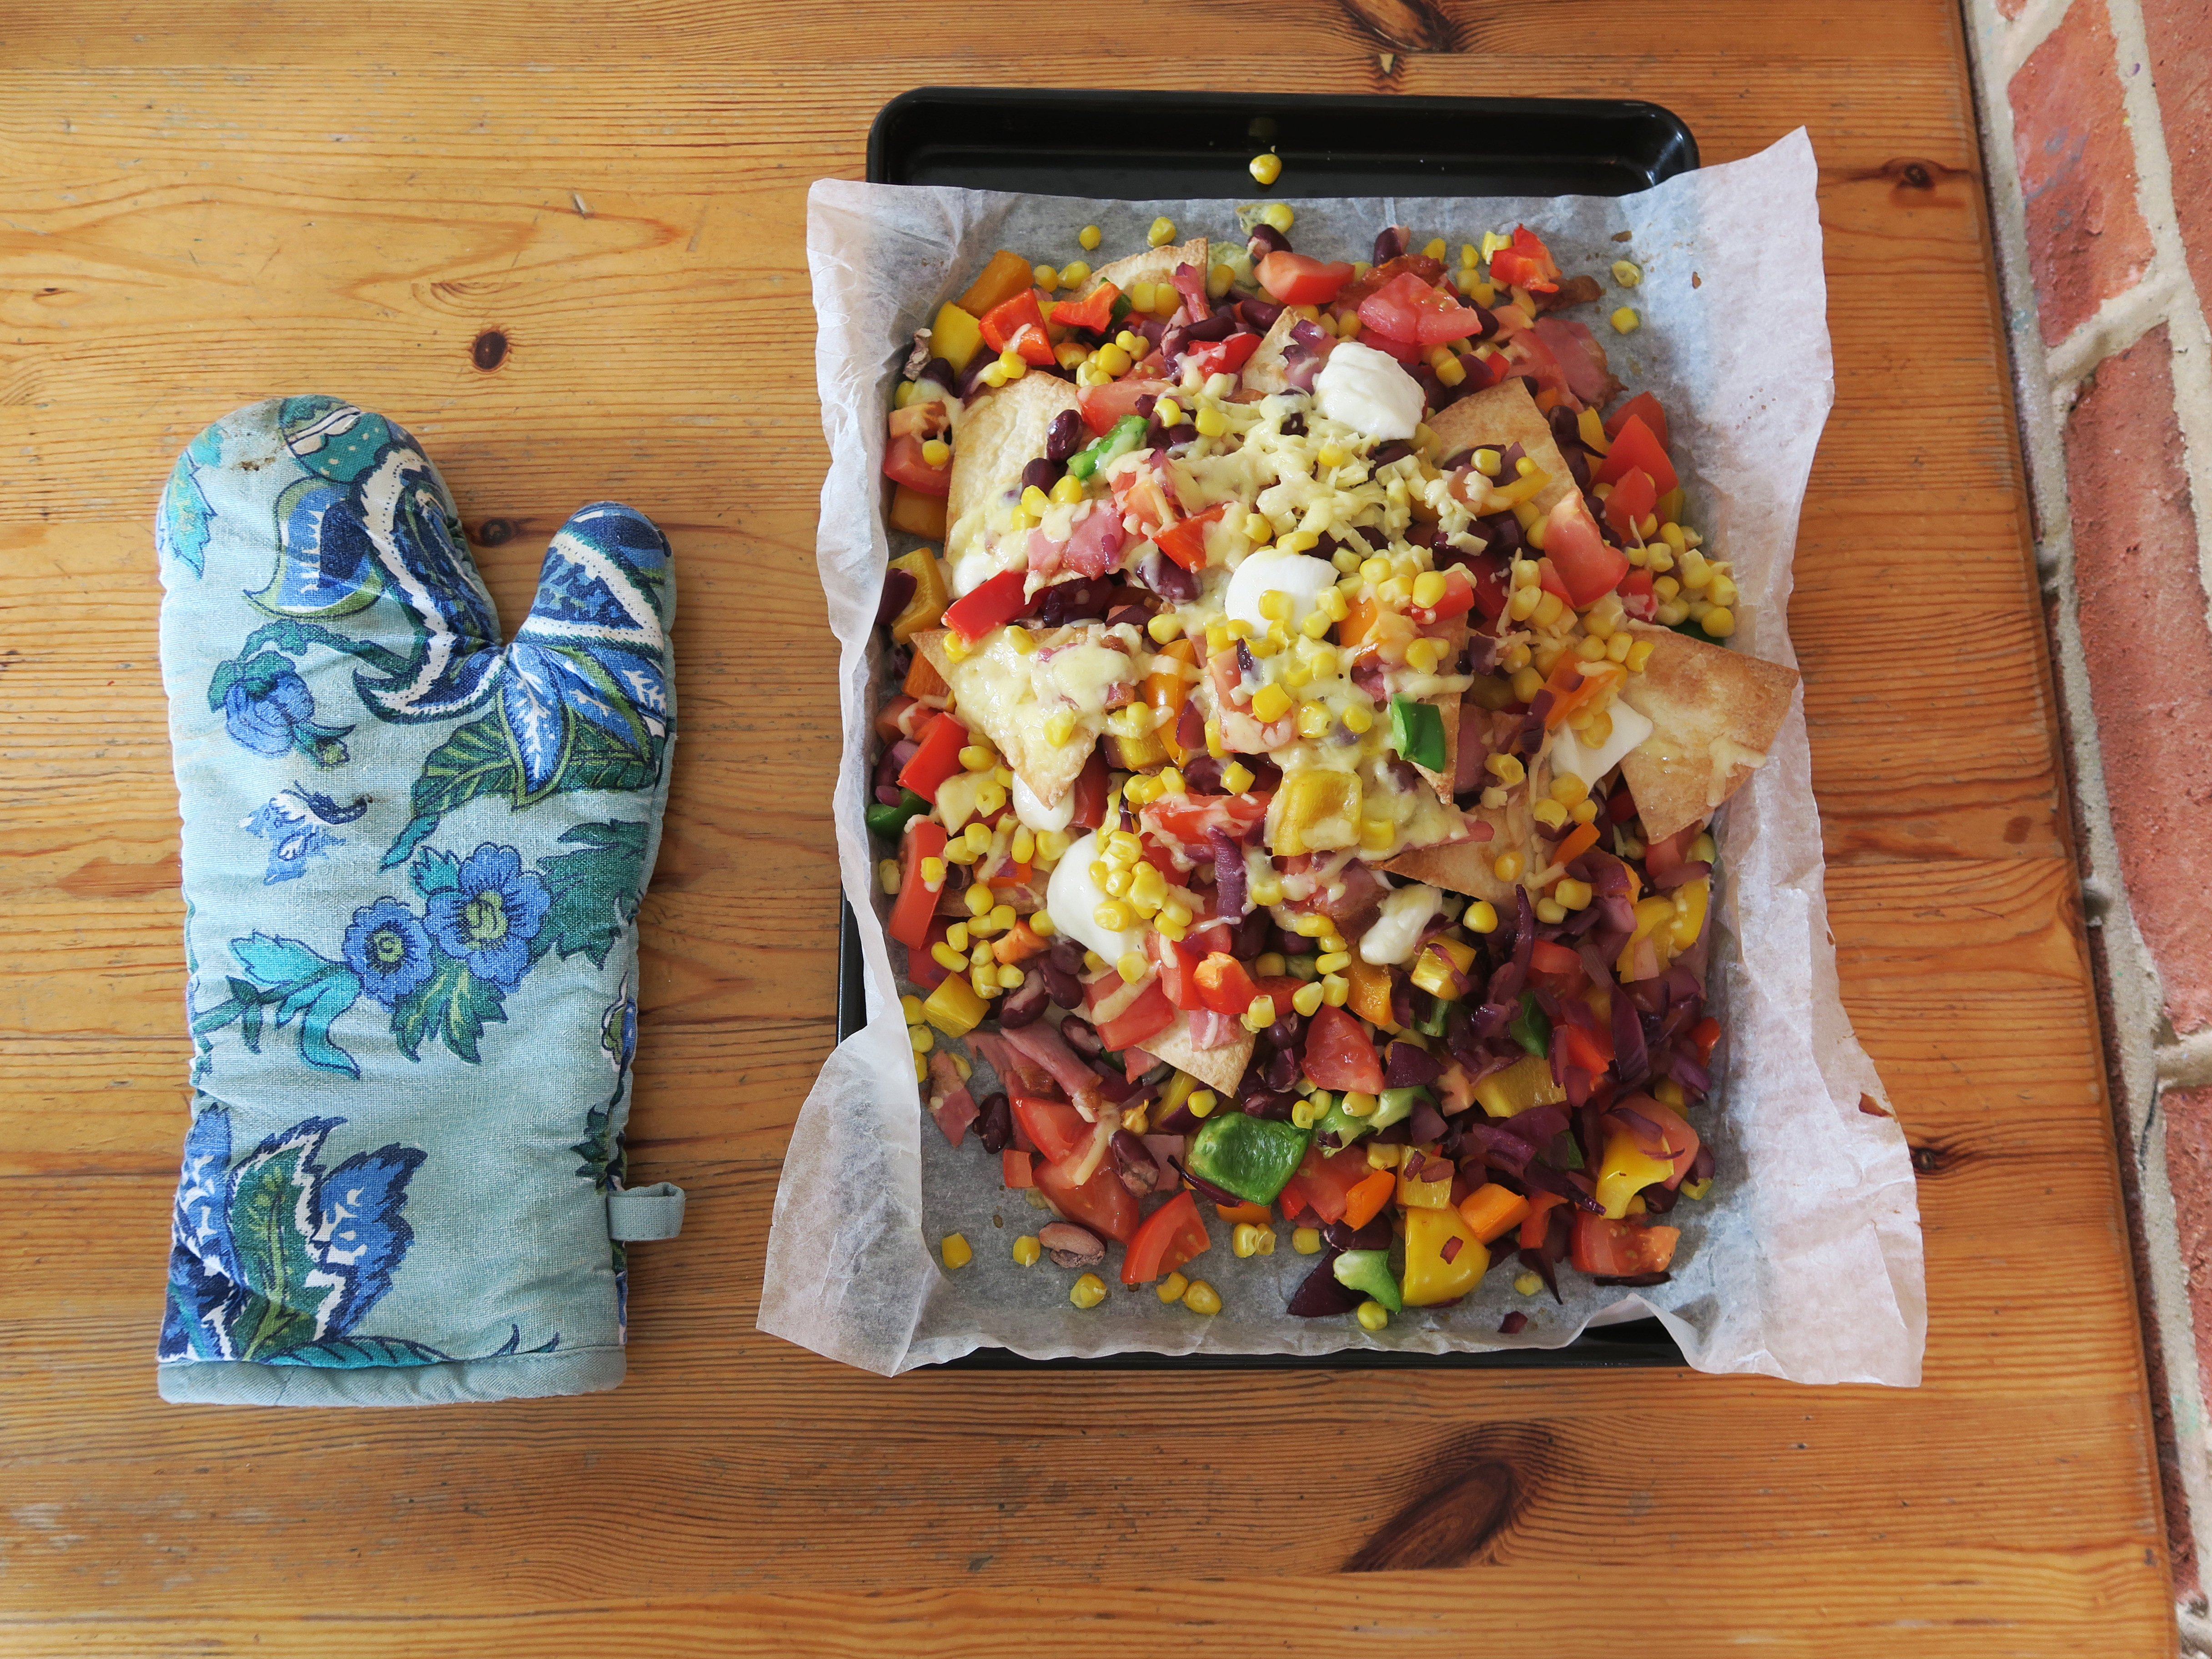
- Line a baking tray with baking paper. To assemble the nachos, begin by loosely scattering a few of the tortilla chips on the lined tray. Top with some of the peppers, onions, bacon strips, mozzarella and cheddar. Layer up with more tortilla chips to make a pyramid shape. Top with the rest of the bacon, peppers and onions, as well as the jalapenos, tomatoes, sweetcorn, and kidney beans. Top with the rest of the mozzarella and cheddar and then place in the oven.
- Bake the nachos until the cheese is just melted, it should take around 10 minutes, but it may take longer for the mozzarella to melt. If the chips start to colour too much, loosely cover the pile in tin foil.
- Take the nachos out of the oven and leave to cool for a few minutes before eating. Serve with sour cream and guacamole. Enjoy!
Top tip – Lining the trays with baking paper can be hard as the paper inevitably roles back on itself. To prevent this just scrunch up the paper, as though you’re about to throw it away, and then unfold it. It’ll make it easier to work with.
Thanks for reading, more coming soon…
Emma x