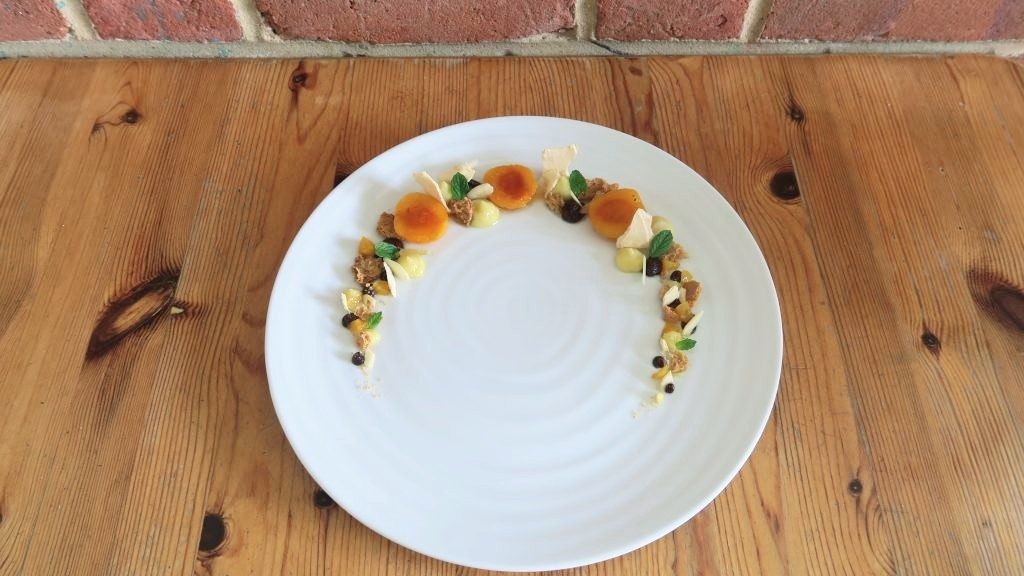
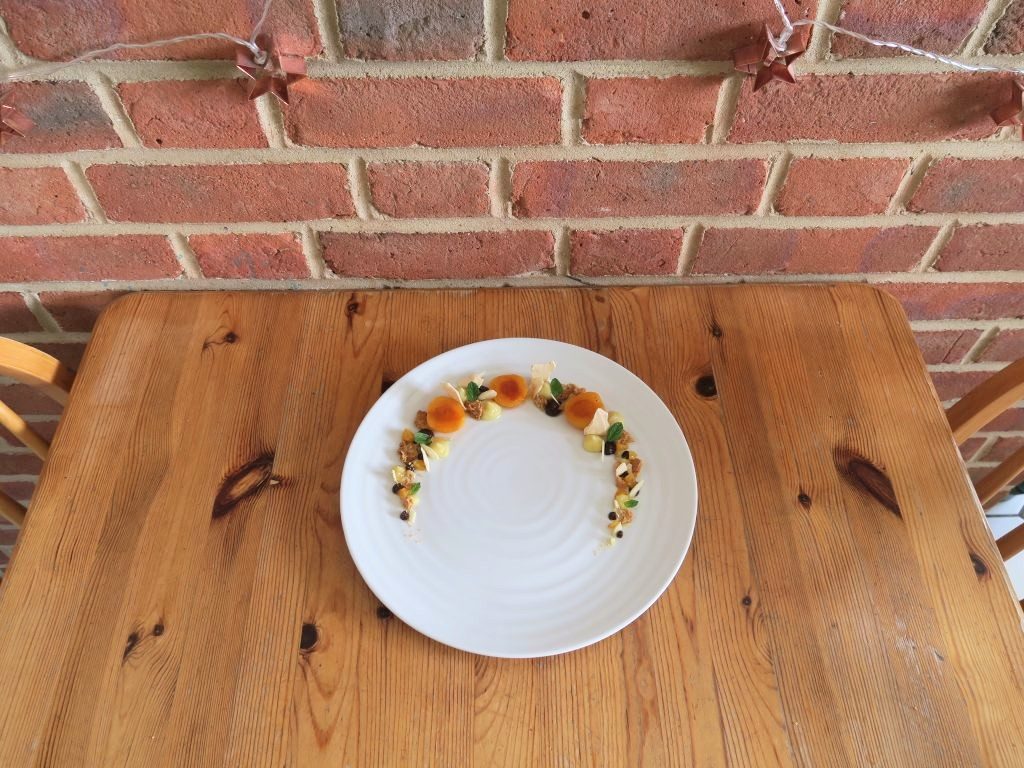
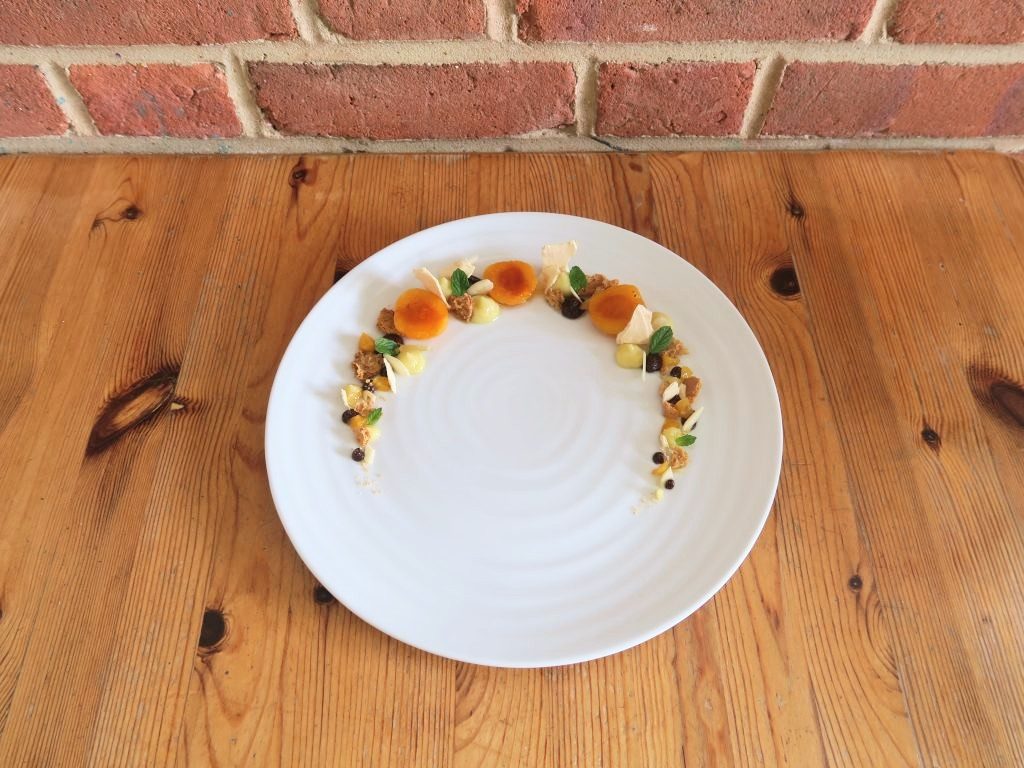
Bruleed Apricots with Ginger and Almonds
It’s been a while since I made a pretty dessert and making this one reminded me just how much I love doing them! This one was inspired by apricots and custard so it’s made up of bruleed (caramelised) amaretto soaked apricots, crème patisserie (aka custard), and chocolate ganache and then decorated with stem ginger, almonds, amaretti biscuits and mint! Because the three main elements (the apricots, custard and ganache) are relatively easy to make this dessert is surprisingly easy and quick to throw together (unlike some of my other pretty dessert plates!). You can also display it however you like – I enjoy getting out the blowtorch and tweezers to make a little crescent shape but it works just as well all thrown into a bowl for pudding!
(Note: I’ve made meringues for this to use up the egg white leftover from making the custard, but it’s a completely optional element to the dessert!)

Recipe
Serves about 4
Time: 20 minutes
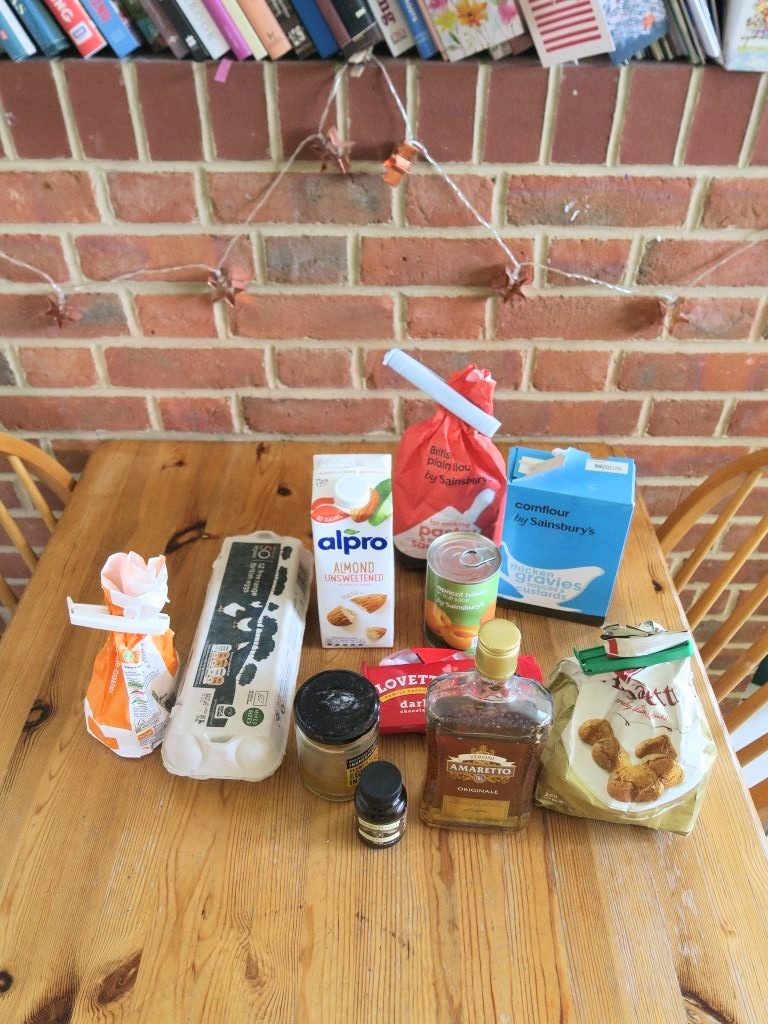
Ingredients
For the apricots
- 1 tin of apricot halves in fruit juice
- 2 tbsp amaretto liqueur
- 2 tbsp stem ginger syrup
For the crème patisserie
- 80ml whole milk
- 1/2 tbsp vanilla bean paste
- 20g caster sugar, plus 2-3 tsp for the brulee
- 1 egg yolk
- 5g plain flour
- 5g cornflour
For the meringue (optional)
- 1 egg white
- 40g caster sugar (ideally the same weight as the egg white, you might need to use less or more sugar accordingly)
To decorate
- 100g dark chocolate
- 100ml double cream
- 4 tbsp flaked almonds
- A few pieces of stem ginger
- 2-3 amaretti biscuits, crushed
- A few sprigs of fresh mint
Method
- Put the apricots and their juice into a bowl. Add the amaretto and stem ginger syrup and leave to soak for at least 1 hour (you could do this the night before if you want!).
- Meanwhile make the crème patisserie. Put the milk and vanilla into a saucepan, stir once and bring to the boil.
- Separate the egg by rocking the yolk between the two halves of the shell and letting the egg white drip into a bowl below. Put the egg yolk into a separate bowl.
- Add the sugar and two flours to the egg yolk and whisk together until fully combined.
- Once the milk is heated, remove the pan from the heat and mix around 1/3 of the milk into the egg mixture.
- Whisk the mixture quickly and then pour the egg mixture back into the pan with the milk.
- Put the pan back over a medium-low heat and whisk until the mixture thickens.
- Pour the mixture into a pipping bag and leave in the fridge for at least 30 minutes, until cool.
- Meanwhile prepare the decorations. If you’re making the meringue put the egg white into a spotlessly clean bowl and whisk with an electric which until soft peaks form.
- Add the caster sugar to the egg whites, 1tbsp at a time, whilst whisking until all the sugar is added. Keep whisking until the mixture hits firm peaks.
- Tip the meringue out onto a baking tray lined with baking paper. Smooth out with a palette knife until it’s an even sheet about the thickness of a 1p coin.
- Pre-heat the oven to 120C and bake the meringue in the oven until crisp (about 20 minutes). Turn the oven off and leave to cool completely in the oven (this will prevent them from cracking).
- Now make the ganache. Roughly chop the chocolate for the decoration and put it into a glass or metal bowl.
- Put the cream into a small pan and bring up to just below the boil. Then pour it on the chocolate and stir until smooth.
- Pour the ganache into a pipping bag and leave in the fridge for about 20 minutes, until just set enough to pipe and hold it’s shape. (If the ganache becomes too set you can warm it up in the microwave with 10 second bursts).
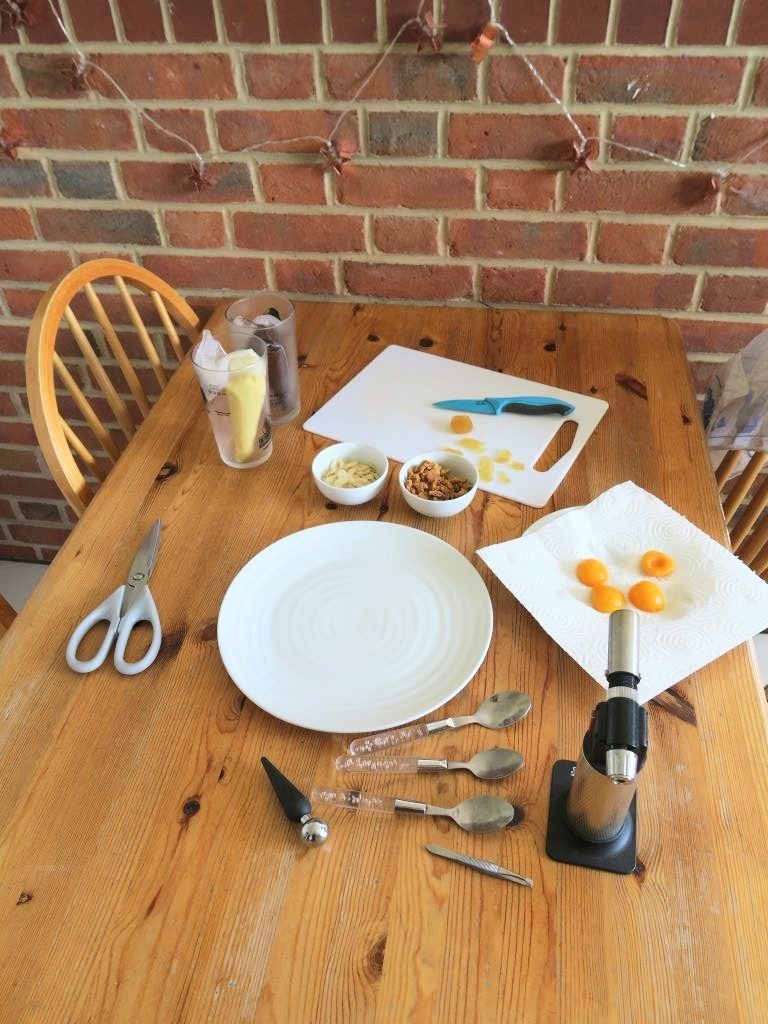
- When all the components are ready start plating up. Take the apricots out of the soaking liquid and place on a plate lined with kitchen paper to soak up the excess juices.
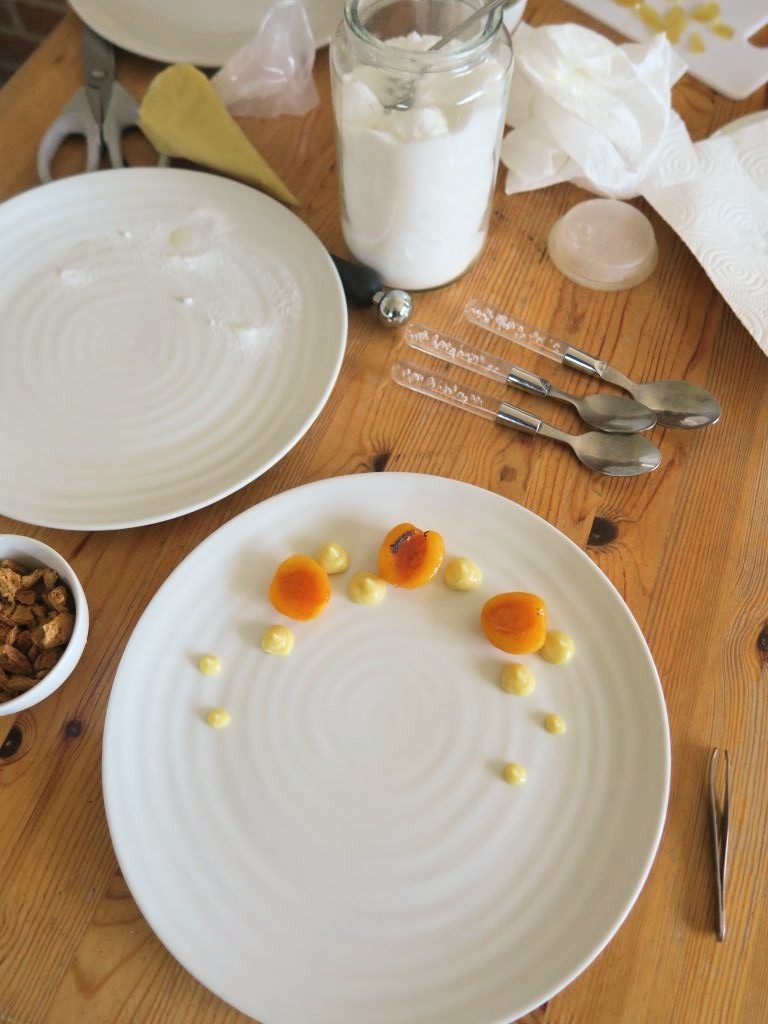
- Take 3 of the apricots and place them on a plate so that the hole where the stone was is facing up. Sprinkle a little caster sugar into this hole and then use a blowtorch to caramelise it (you could use a grill if you don’t have a blow torch).
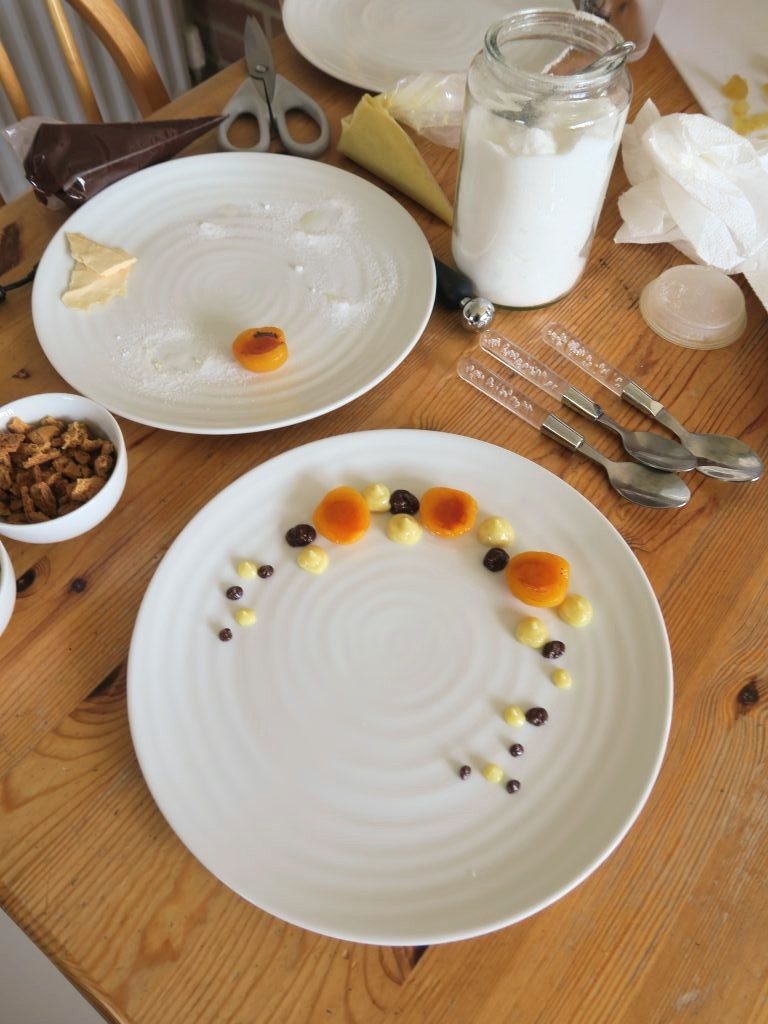
- Pipe 3-4 blobs on the crème patisserie onto a plate, making the blobs smaller further away from the apricots to start building up the crescent shape. Then take the ganache and then pipe small blobs in the gaps. Break the meringue into shards and prop them up around the plate by leaning them into the ganache and crème patisserie.
- Finish the plate with some flaked almonds, crushed amaretti biscuits, slices of stem ginger and some fresh mint. Enjoy!
Thanks for reading!
Emma x