Category: Baking

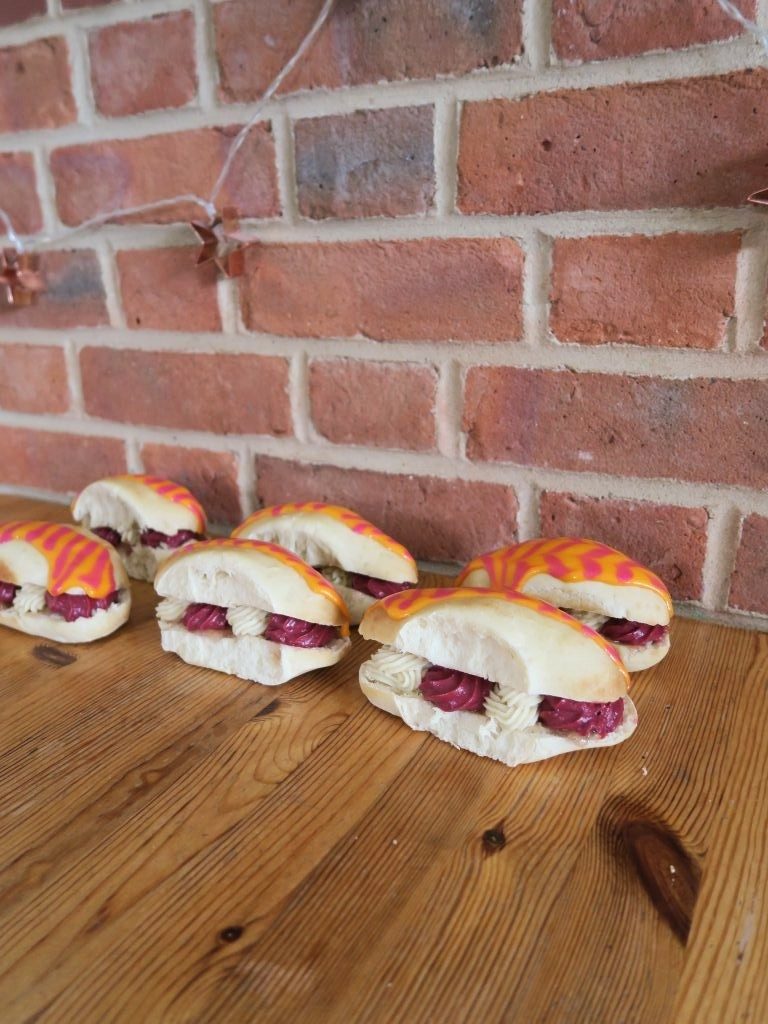
Peach Melba Iced Fingers

Peach Melba Iced Fingers

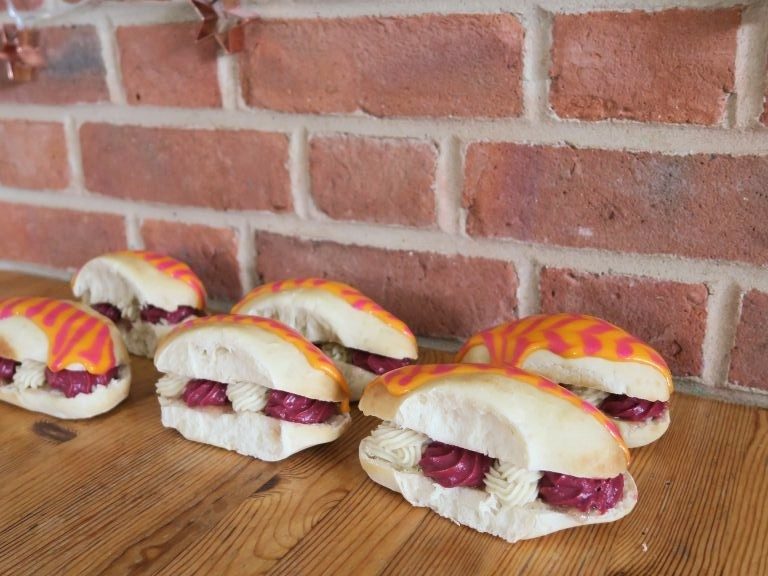
Peaches are in their prime right now so it’s the perfect time to be using them in your baking! I love playing off classic flavour combinations, so peach melba (peach, raspberry and vanilla) was my instant go-to when thinking of making something seasonal. These use a homemade peach jam so you could (if making this outside of peach season) use a shop-bought jam if needed! Likewise if you’re short on time you could whip up 300ml of double cream with 1tsp of vanilla extract, then fold through a handful of fresh raspberries to replace the creme patisseries!
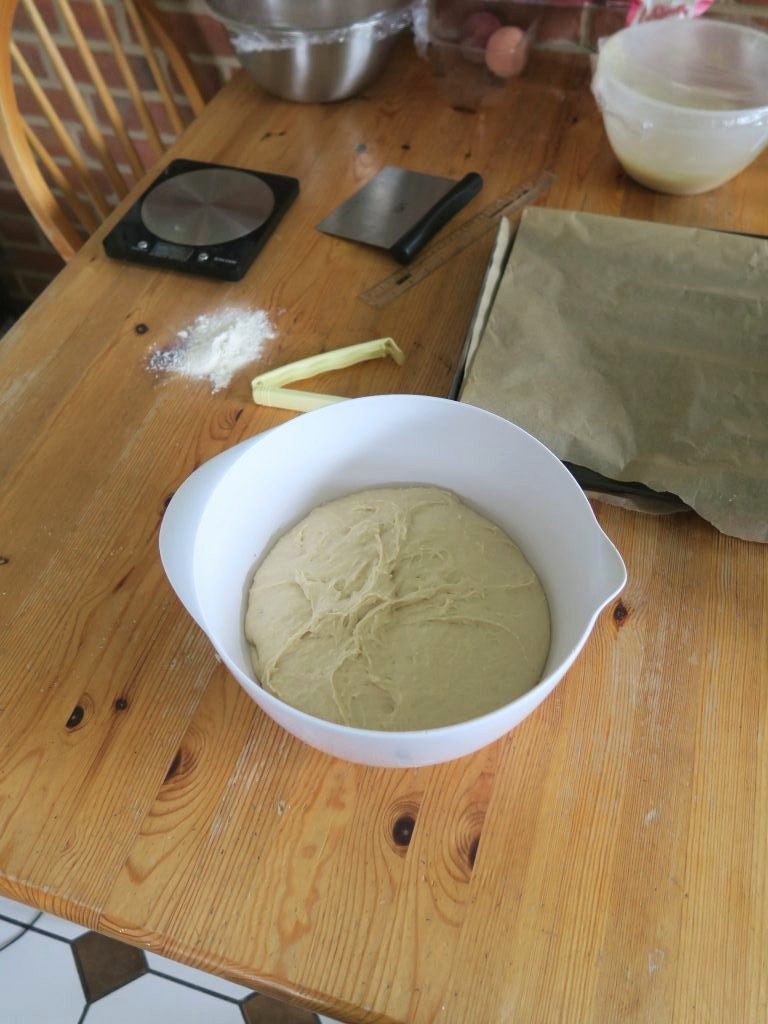
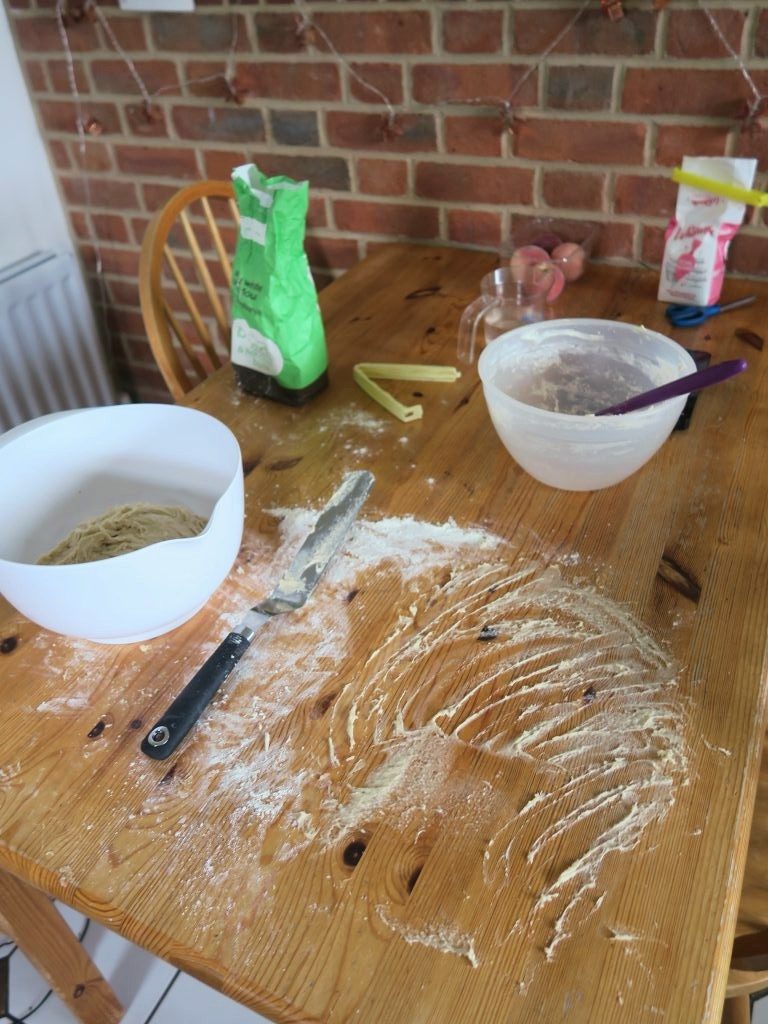
Recipe

Makes 12

Time: 3 hours

Ingredients

For the dough

  • 500g strong white flour
  • 50g caster sugar
  • 40g unsalted butter
  • 2 eggs
  • 14g fast action dried yeast
  • 2 tsp salt
  • 150ml warm milk
  • 140ml water

For the crème patisserie

  • 250ml whole milk
  • 1 tbsp vanilla bean paste
  • 50g caster sugar
  • 3 egg yolks
  • 10g plain flour
  • 10g cornflour

For the raspberry crème patisserie

  • 250ml raspberry puree
  • 50g caster sugar
  • 3 egg yolks
  • 10g plain flour
  • 10g cornflour

For the peach jam

  • 4 medium sized peaches (about 300g, peeled and de-stoned)
  • 220g caster sugar
  • 2 tbsp lemon juice

For the icing

  • 200g icing sugar
  • 4 tsp cold water
  • 2 drops orange food colouring
  • 2 drops pink food colouring

Method

  1. Pre-heat the oven to 220C.
  2. Place all the ingredients for the dough into a bowl and mix until it comes together to make a soft dough. (If it’s looking a little dry add a little more water, up to 40ml).
  3. Turn the dough out onto a worktop and knead until smooth and stretchy (about 10 minutes).
  4. Tip the dough into a lightly oiled bowl, cover with cling film and leave to rise for about 1 hour, until doubled in size.
  5. Take the dough out of the bowl and knead for 5 seconds to knock the excess air out.
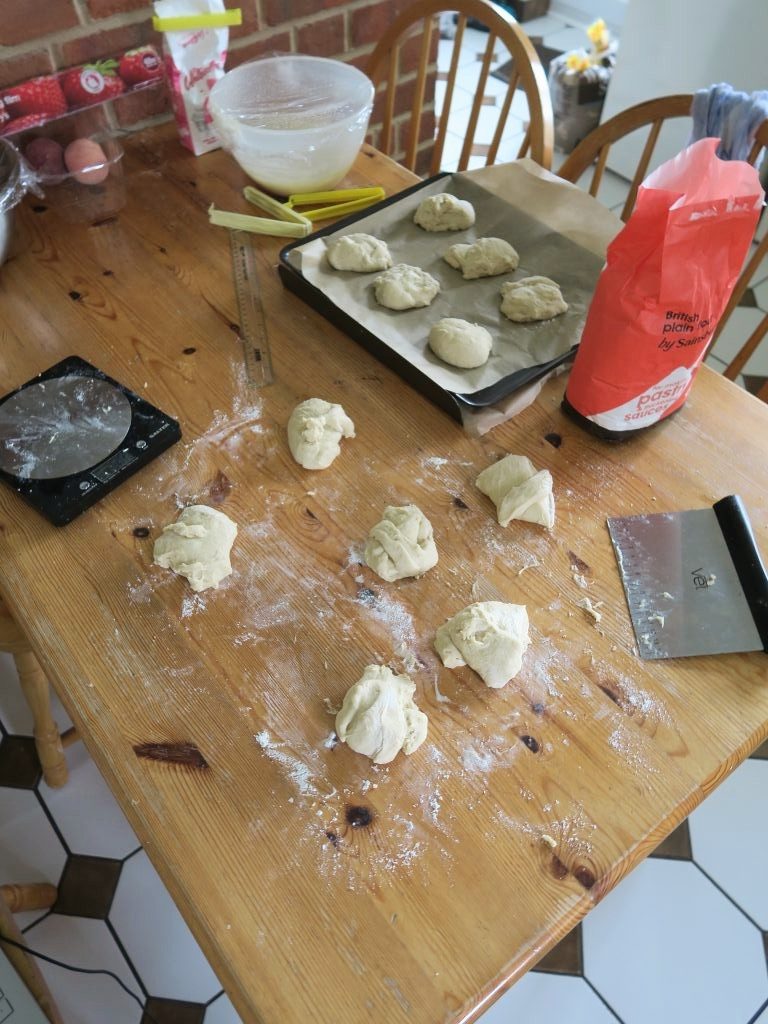
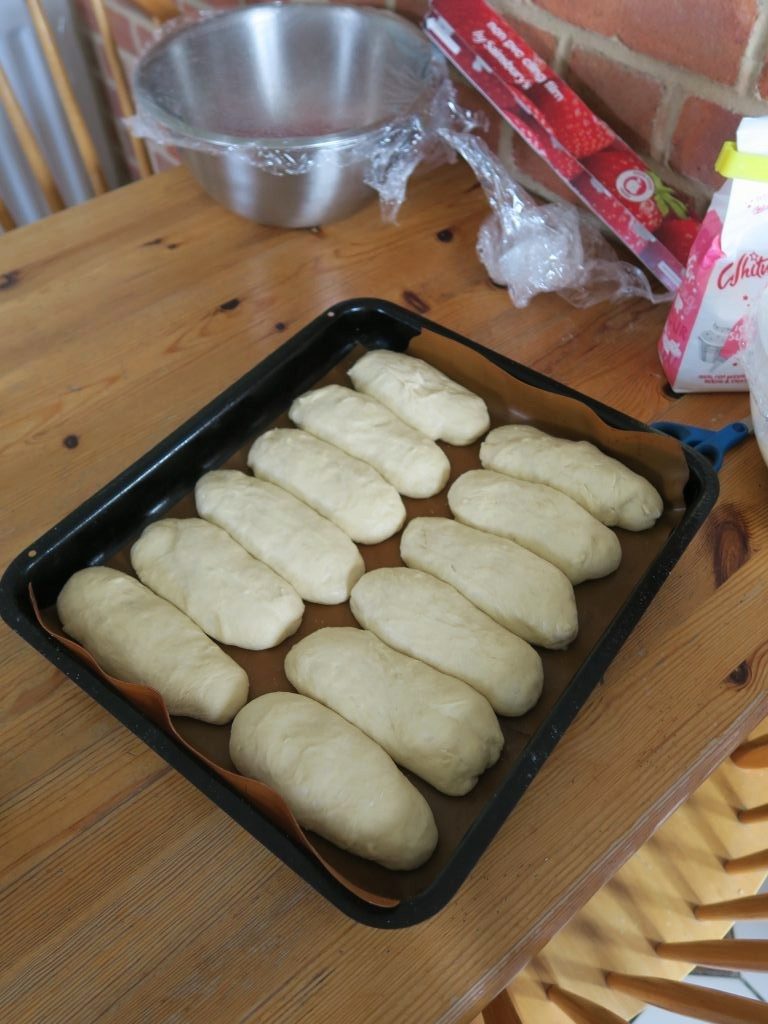
  6. Divide the dough into 12 equally-sized pieces. Roll each piece into a ball and then shape them into fingers about 13cm long.
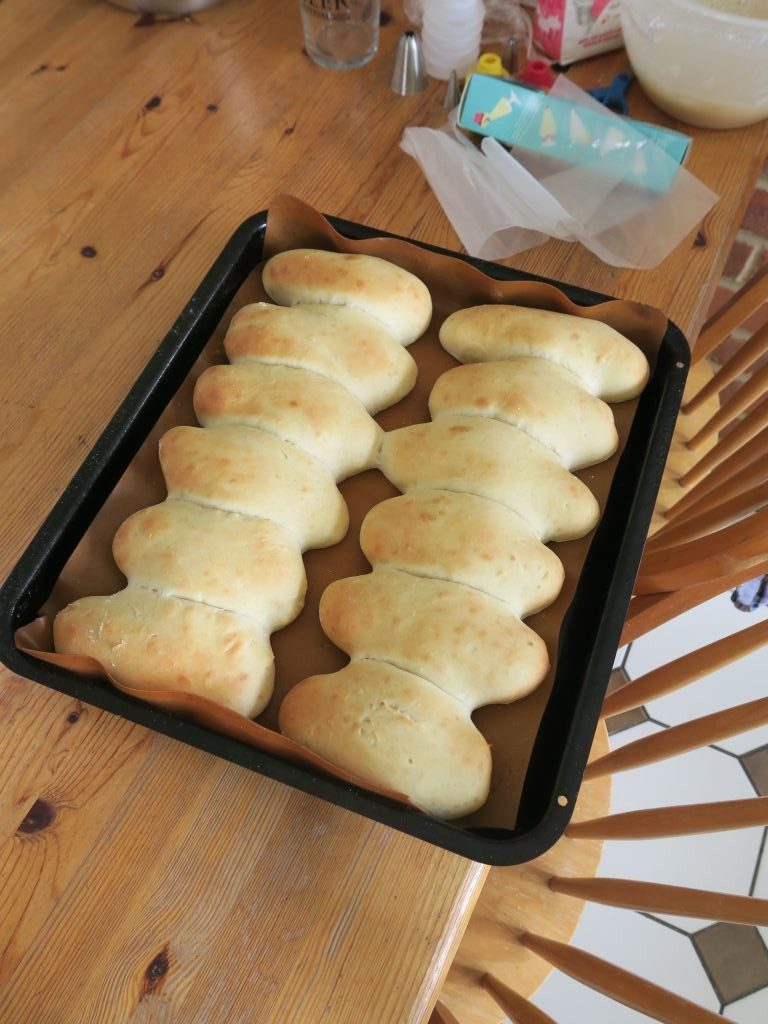
  7. Place the fingers on baking tray lined with baking paper, (making them spaced out enough to rise, but close enough that they’ll join together when risen – about 2cm between each should do). Cover loosely with clingfilm and leave to rise for another 40 minutes.
  8. Bake the buns in the oven for about 10 minutes until risen and just starting to turn golden brown. Set aside to cool.
  9. Now make the fillings. To make the crème patisserie begin by putting the milk and vanilla into a small saucepan and bring to just below the boil.
  10. Whilst waiting for the milk to warm up, put the sugar, egg yolks, flour and cornflour into a bowl and whisk to make a smooth paste.
  11. Pour the warm milk over the egg mixture in a steady stream, whisking constantly, until combined.
  12. Pour the mixture back into the pan and heat whilst whisking over a medium heat until the mixture thickens. Pour the crème patisserie into a bowl, cover with clingfilm and leave in the fridge to cool.
  13. Now make the raspberry crème patisserie. Put the raspberry puree into a pan and bring to just below the boil.
  14. Like with the traditional crème patisserie, put the sugar, egg yolks and flours into a bowl and whisk until they make a smooth paste.
  15. Pour the warm raspberry puree over the egg mixture, whisking constantly until combined. Place the mixture back over a medium heat and whisk until the mixture thickens.
  16. Pour the raspberry crème patisserie into a bowl, cover with clingfilm and leave in the fridge to cool.
  17. To make the jam take the peach flesh and chop it into small chunks.
  18. Put the peach, sugar and lemon juice into a pan and bring to the boil. Leave to boil for about 20 minutes until the mixture coats the back of a spoon. (You can also check the consistency by putting a plate in the freezer. When you think the jam is ready take the cooled plate, put ½ tsp of the jam onto the plate and put it in the fridge. It should set/wrinkle when prodded. If it doesn’t it needs a bit longer).
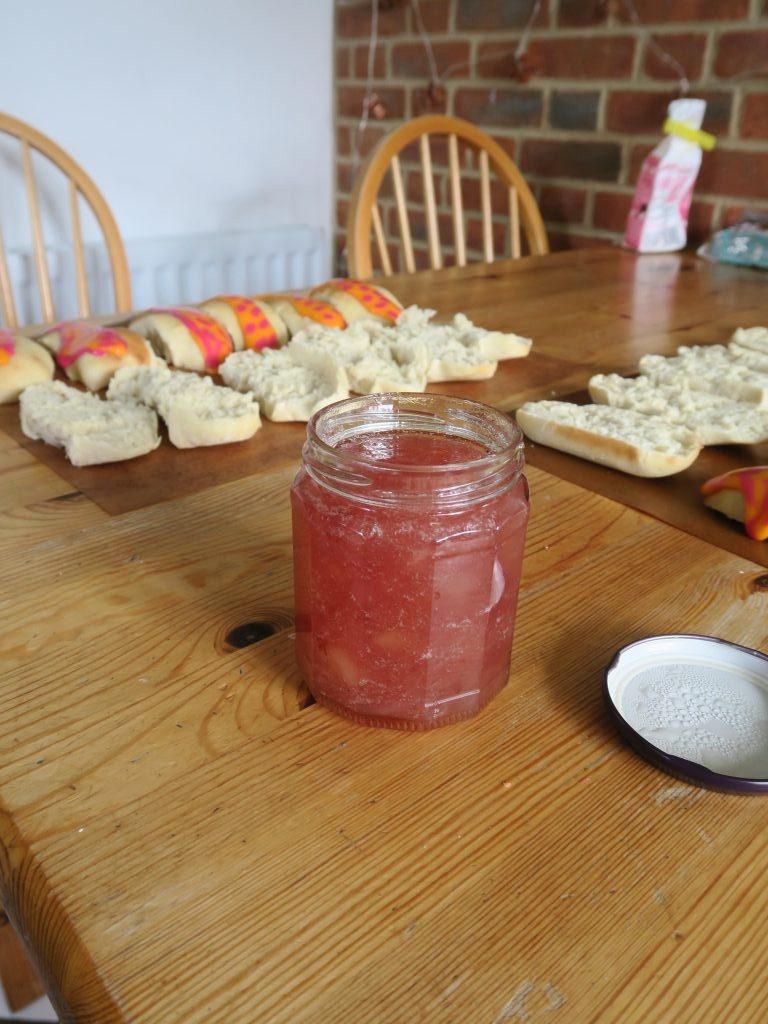
  19. Pour the jam into a sterilised jam jar and leave to cool until needed.
  20. Now make the icing. Put 150g of the icing sugar into one bowl with 3tsp of the water, and the other 50g icing sugar and 1tsp into another bowl. Mix each set of icing individually. Then add a few drops of orange food colouring to the large batch and a few drops of pink food colouring to the small batch. Mix until the colours are even through the icing.
  21. Pour the orange icing into a pipping bag with a 1cm round nozzle, and pour the pink icing into a pippin bag with a 1mm round nozzle.
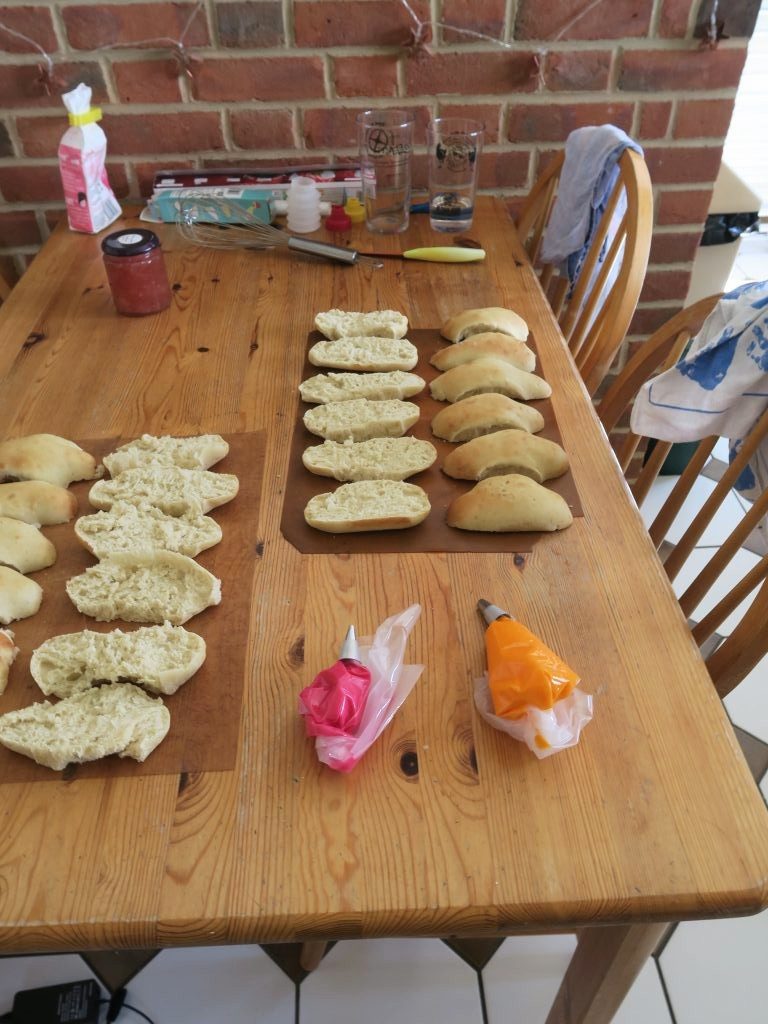
  22. When the buns are cooled cut them in half, placing the tops next to the bases.
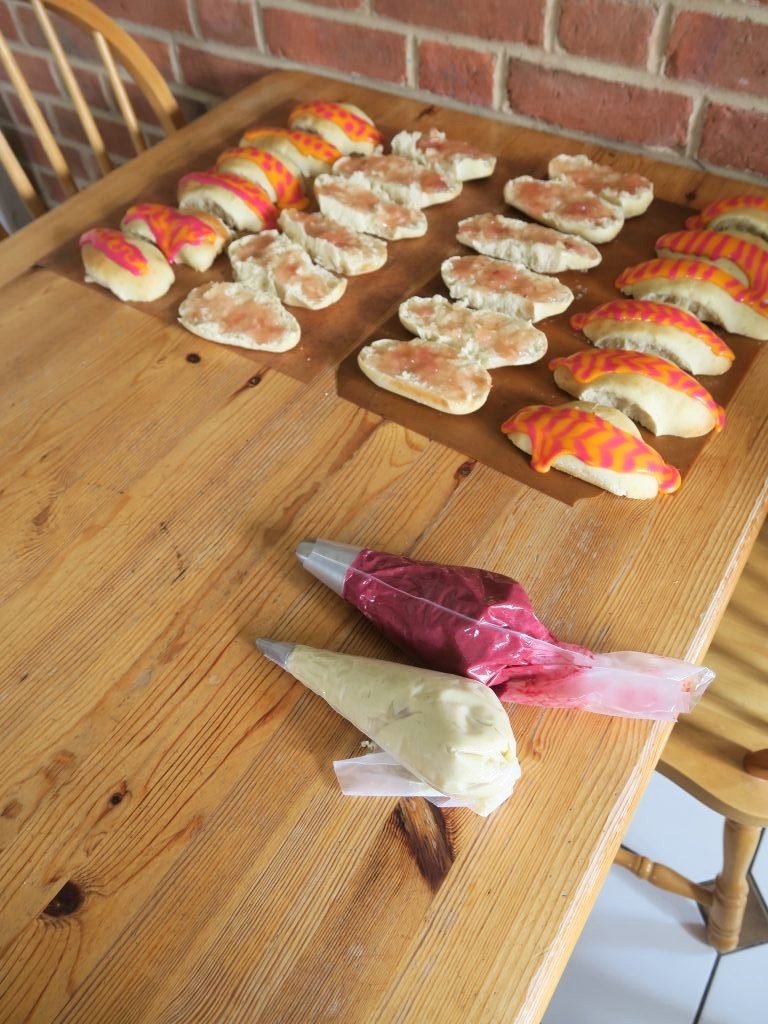
  23. Pipe a line of orange icing across the tops of the buns. (If needed you can take a palette knife, heat it by running it under some warm water for a few seconds, then run it along the icing to smooth it out). Then take the pink icing and pipe spots or lines across the top of the orange icing. (If you want you can then take a tooth pick and run it up and down the icing to feather it, but it’s up to you!). Leave for about an hour to set.
  24. Take the peach jam and spread about 1tsp over the base of each bun.
  25. Take the crème patisseries and put them into separate pipping bags with 1cm stared nozzles (or use disposable pipping bags and cut your own nozzles).
  26. Pipe alternating blobs of vanilla and raspberry crème patisserie over the peach jam (I get about 2 of each on each bun).
  27. Place one of the iced tops on top of the bun and enjoy!
Thanks for reading!

Emma x
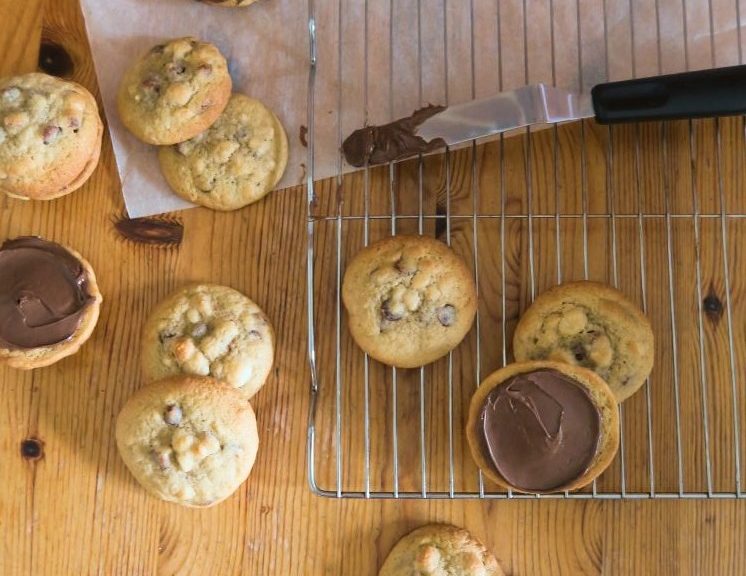
 

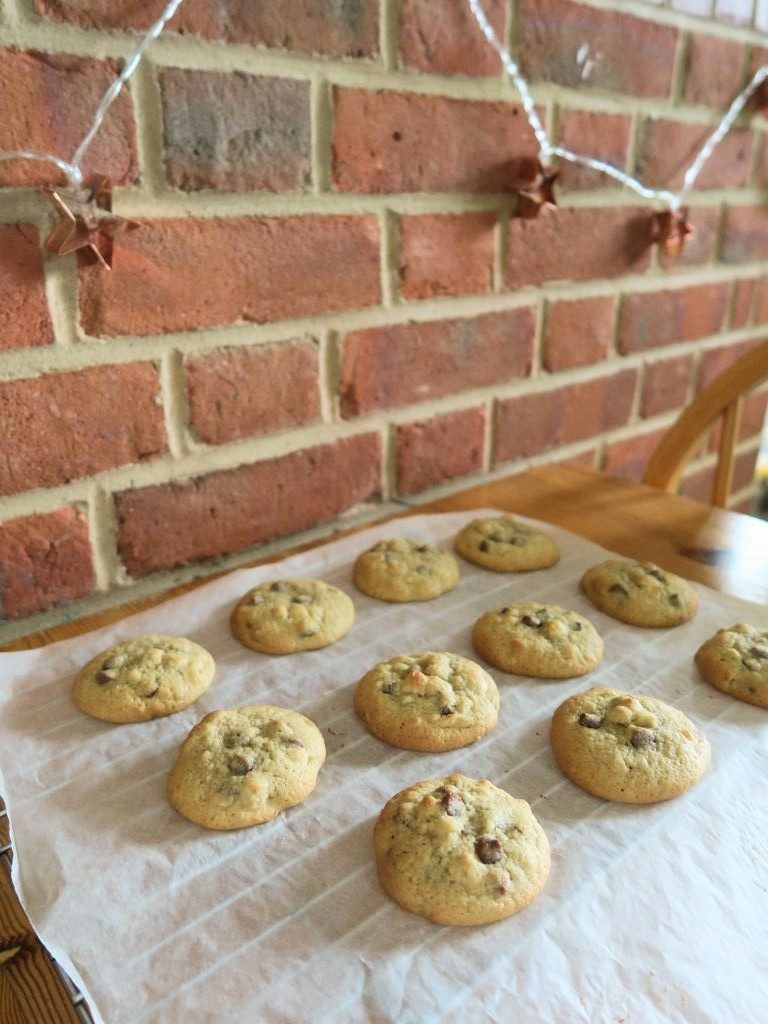
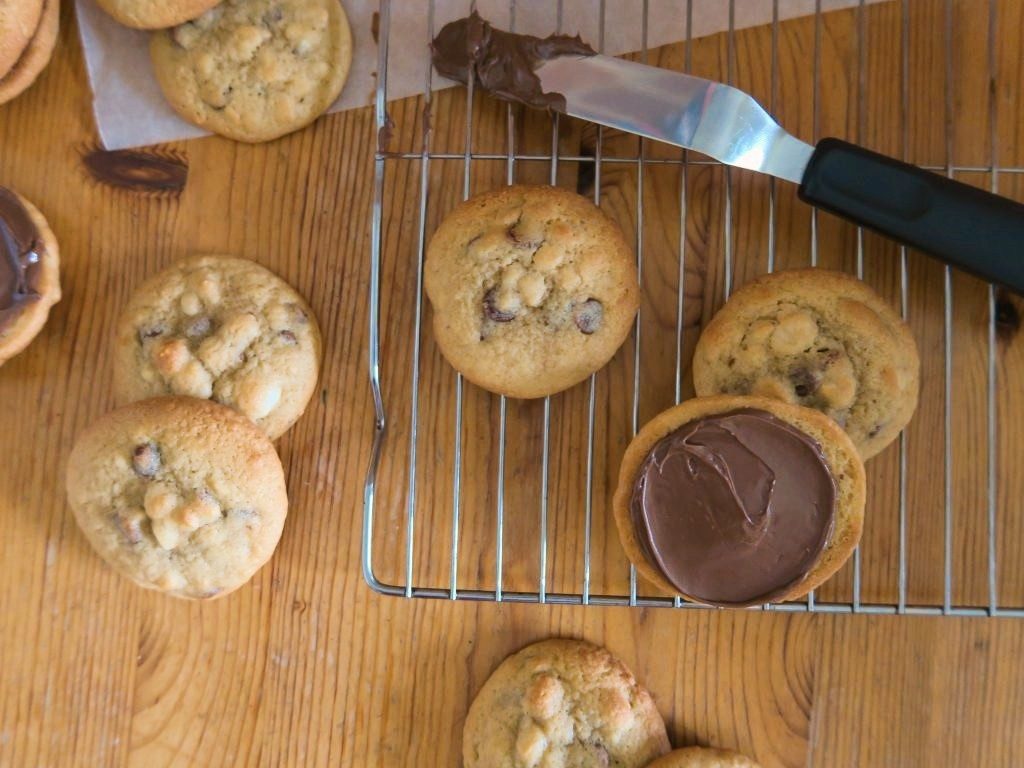
Chocolate Hazelnut Cookies

Chocolate Hazelnut Cookies

Recipe

Makes 24

Time: 1 hour

Ingredients

  • 120g unsalted butter
  • 100g light brown sugar
  • 75g caster sugar
  • ½ tsp fine sea salt
  • 1 medium egg
  • 1 tsp vanilla extract
  • 200g plain flour
  • ¼ tsp bicarbonate of soda
  • 100g milk chocolate chips
  • 70g chopped hazelnuts
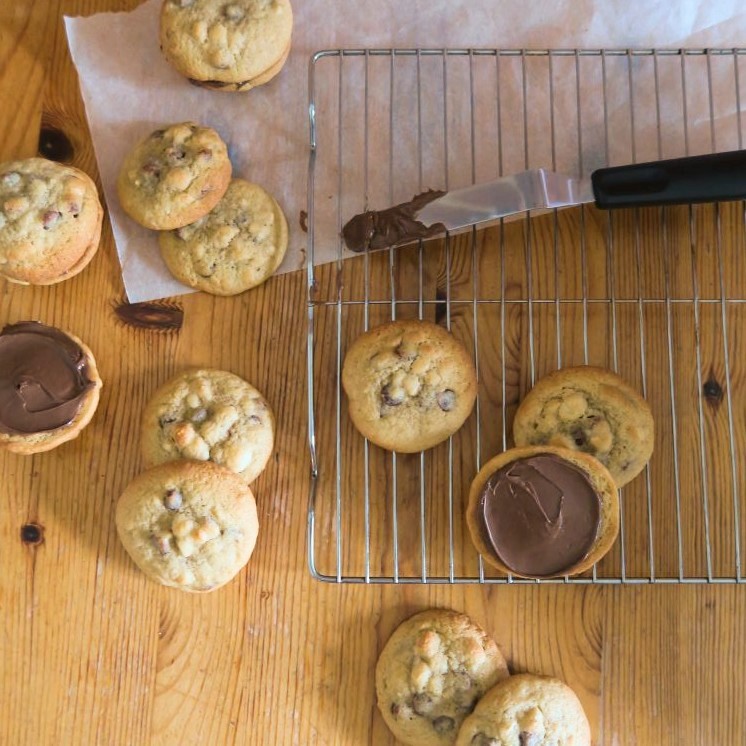
  • 120g Nutella (or other chocolate hazelnut spread)

Method

  1. Line two baking trays with baking paper. Pre-heat the oven to 180C.
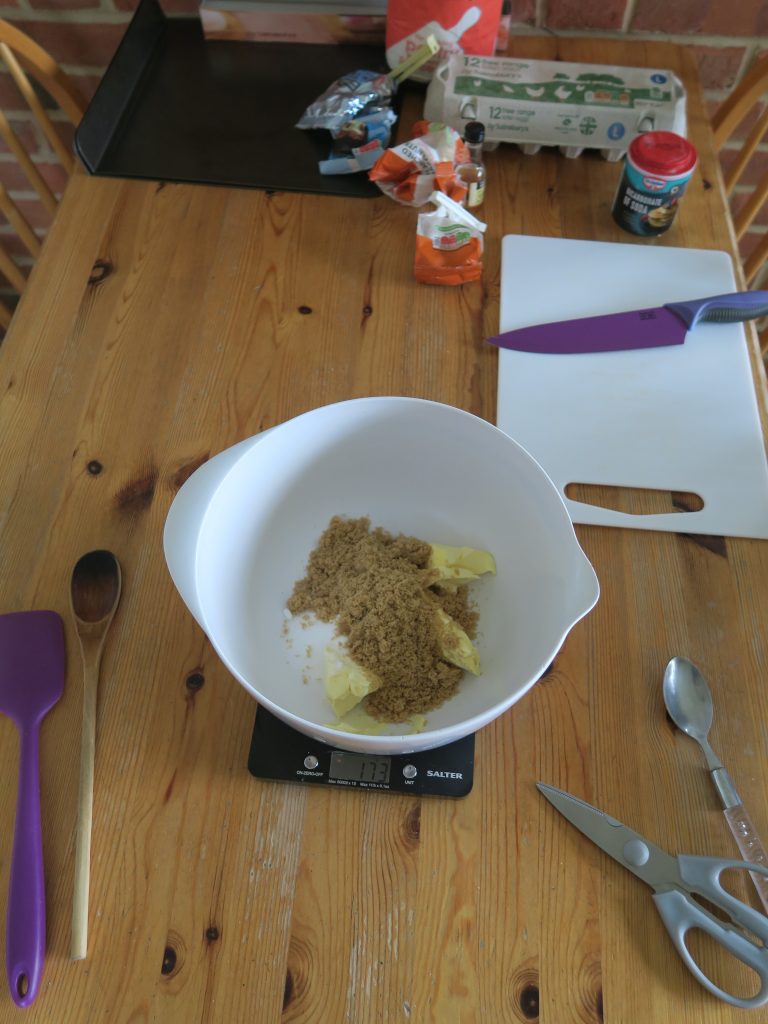
  2. Put the butter and sugars into a bowl and beat with a wooden spoon until smooth and creamy.
  3. Add the salt, egg and vanilla and beat again until smooth.
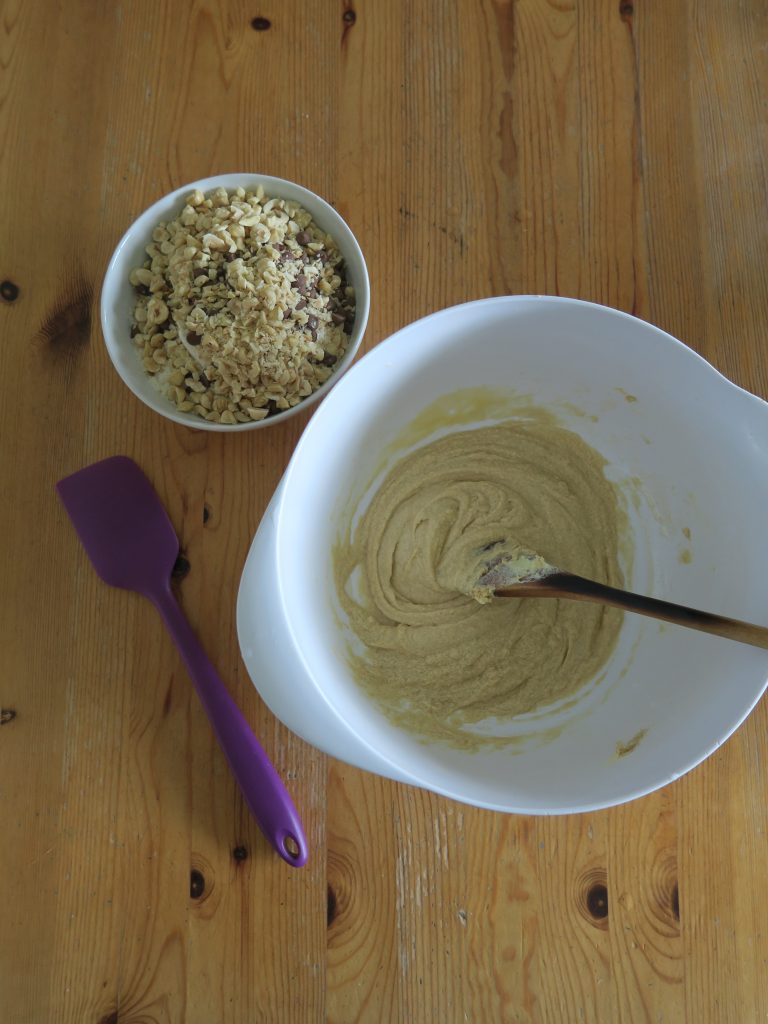
  4. Add the flour, baking powder, chocolate chips, and chopped hazelnuts and mix again to make a smooth dough. (If the dough is looking soft you can place the dough in the fridge for 1 hour to firm up before the next step).
  5. Divide the mixture into 24 equal pieces (mine were about 30g each) and roll each bit into a ball. Place them on the lined baking trays, spaced apart enough so they have room to spread.
  6. Bake for 7-10 minutes until just starting to go golden brown. Allow to cool and then enjoy!

Thanks for reading!

Emma x

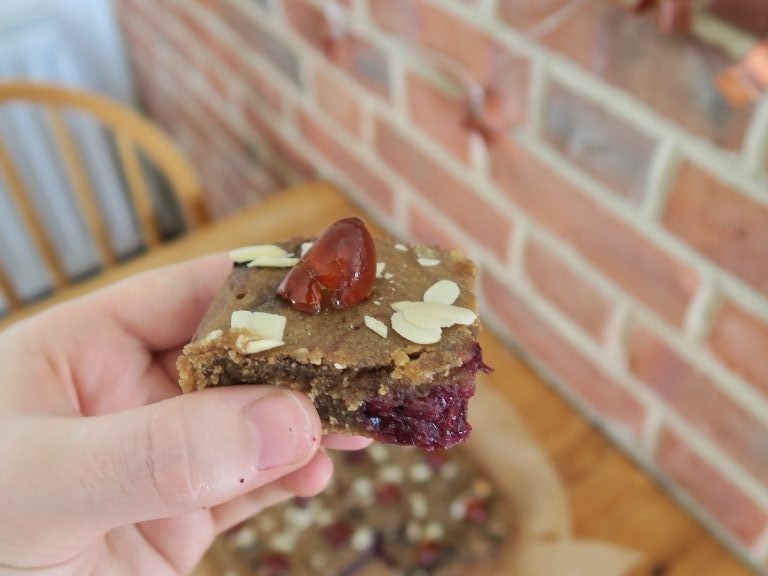
Bakewell Blondies

Bakewell Blondies

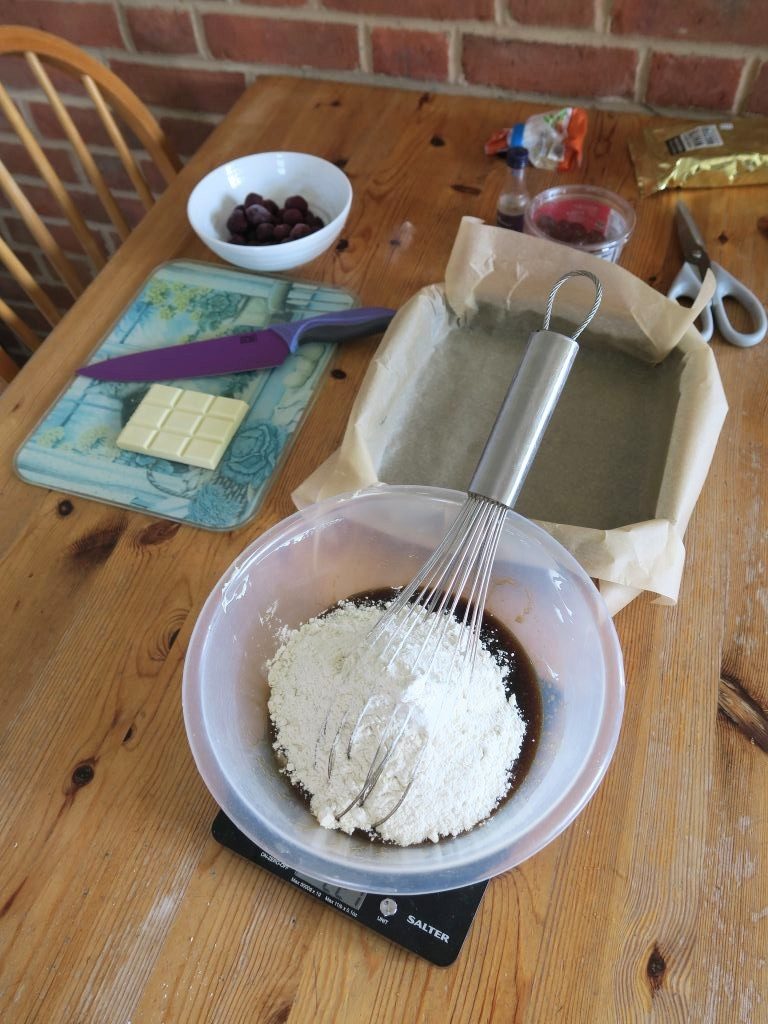
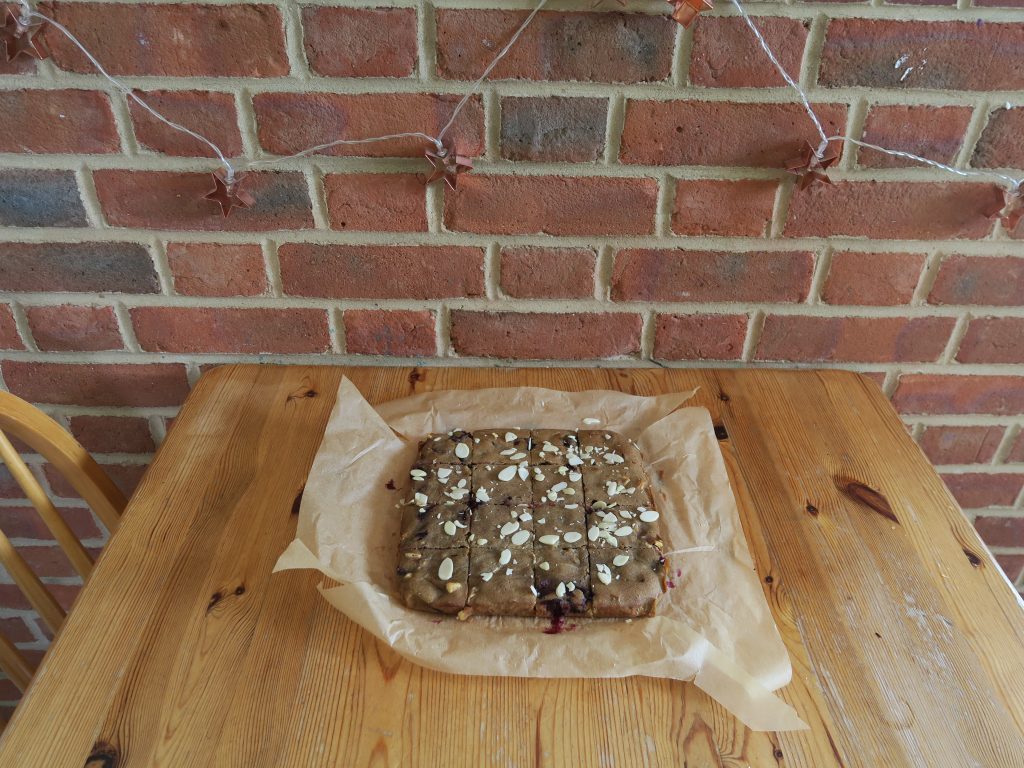
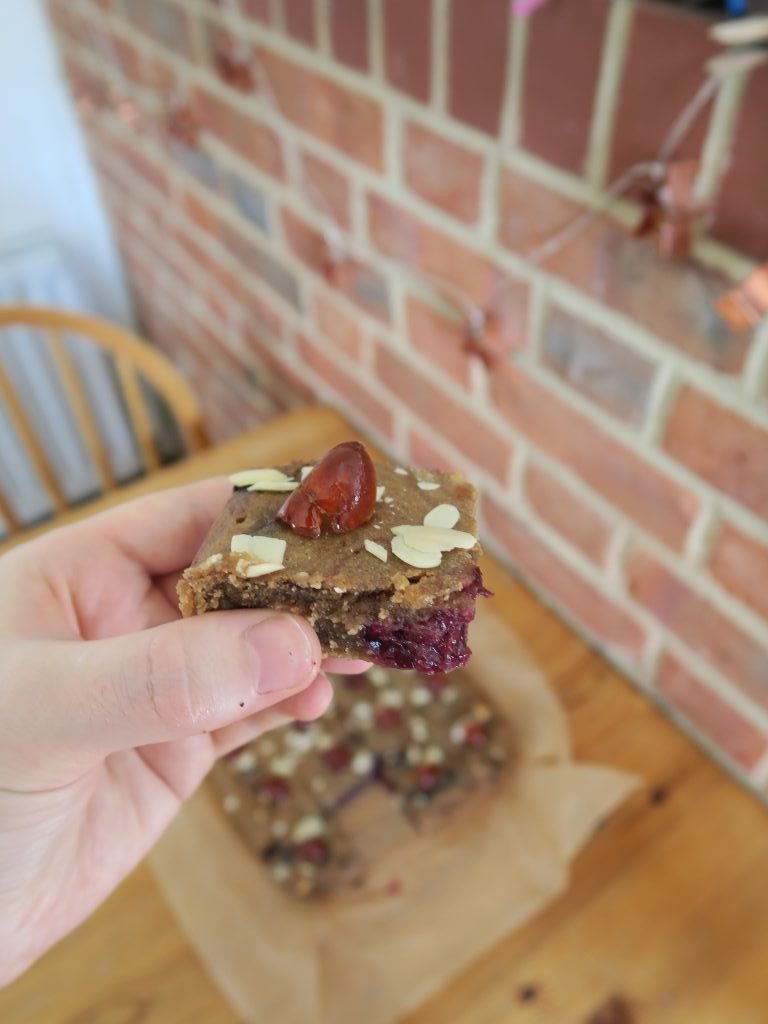
Bakewell (almond + cherry) is one of my favourite flavour combos to work into new bakes, especially as you can get so many different types of almonds and cherries! In these I use almond extract, ground almonds and blobs of marzipan, paired with frozen cherries in the mixture and glace cherries on top! All incased in a fudgy blondie cake, studded with chunks of white chocolate!

Recipe

Makes 12 blondies

Time: 1 hour

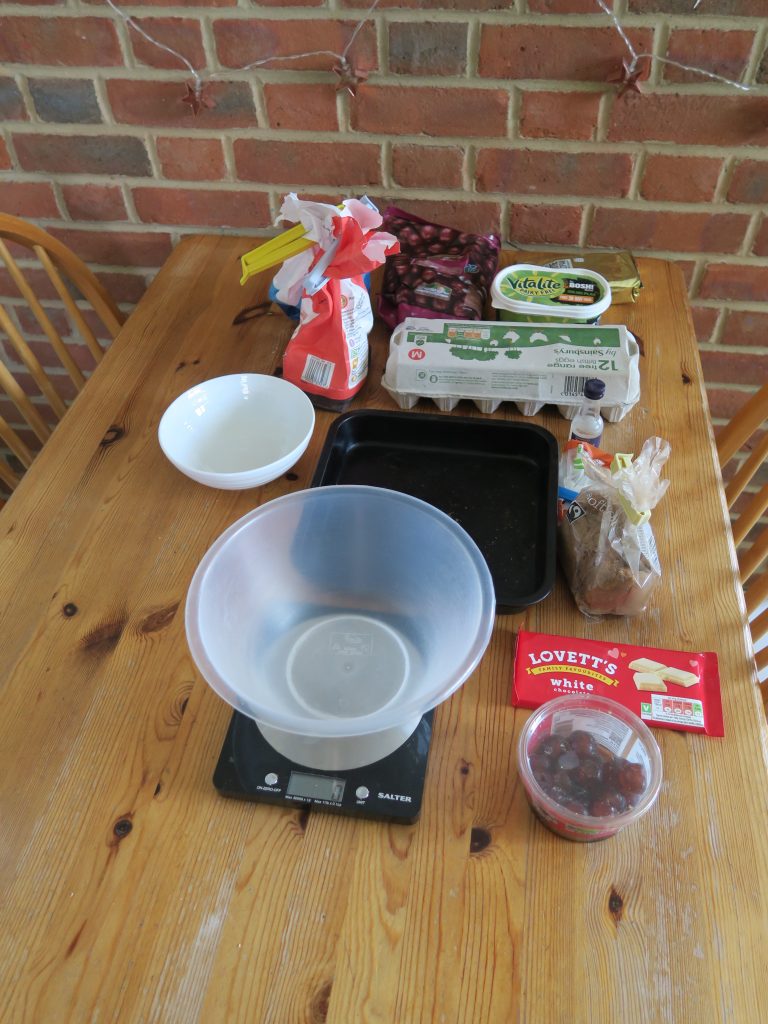
Ingredients

  • 170g butter
  • 220g light brown sugar
  • 1 tsp vanilla bean paste (or extract)
  • 1 large egg
  • 210g plain flour
  • 75g white chocolate
  • 75g marzipan, torn into small chunks
  • A few drops of almond essence
  • 50g cherries (I use frozen as it’s cheaper but you can use fresh if you prefer)

To decorate

  • 50g cherries
  • 200g icing sugar

Method

  1. Pre-heat the oven to 180C. Grease and line a 9” square tin with butter and baking paper.
  2. Melt the butter in a large bowl by putting it in the microwave for 20 second bursts. Add the sugar and vanilla and whisk until combined.
  3. Add the egg and whisk again to combine. Then add the flour and whisk again to make a smooth batter.
  4. Take the white chocolate and chop it into rough chunks. Then add this chopped chocolate to the blondie mixture. Add the marzipan bits, almond essence and cherries and mix it all together.
  5. Pour the batter into the lined tin. Bake the blondies for 25-30 minutes, until golden brown and still a little fudgy in the middle. Leave to cool and then cut into 12 slices and enjoy!

Thanks for reading!

Emma x
Bruleed Apricots with Ginger and Almonds

Bruleed Apricots with Ginger and Almonds

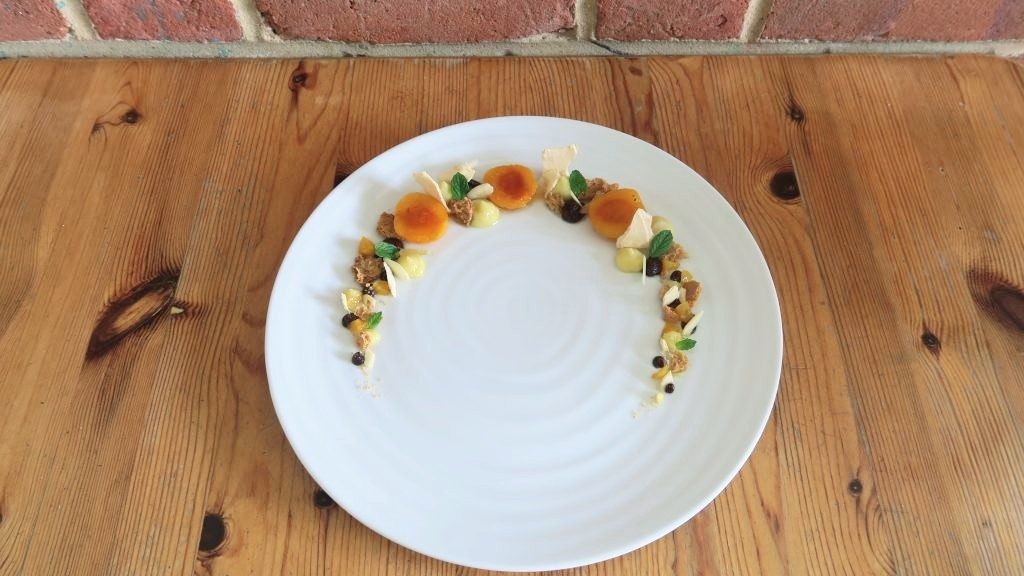
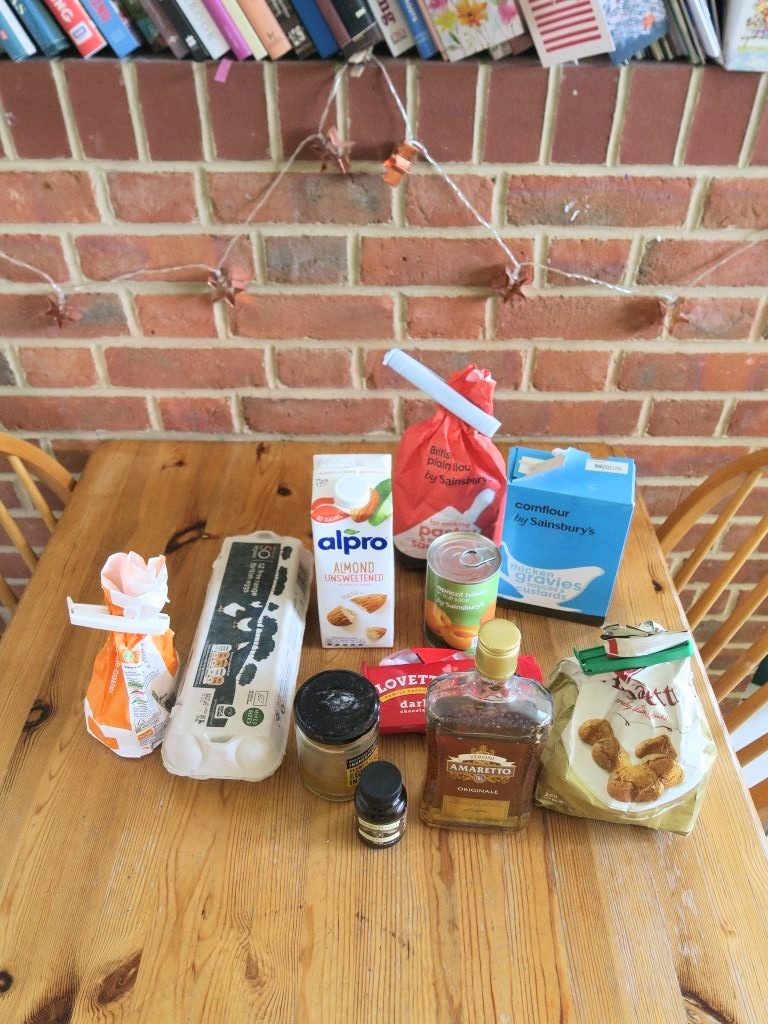
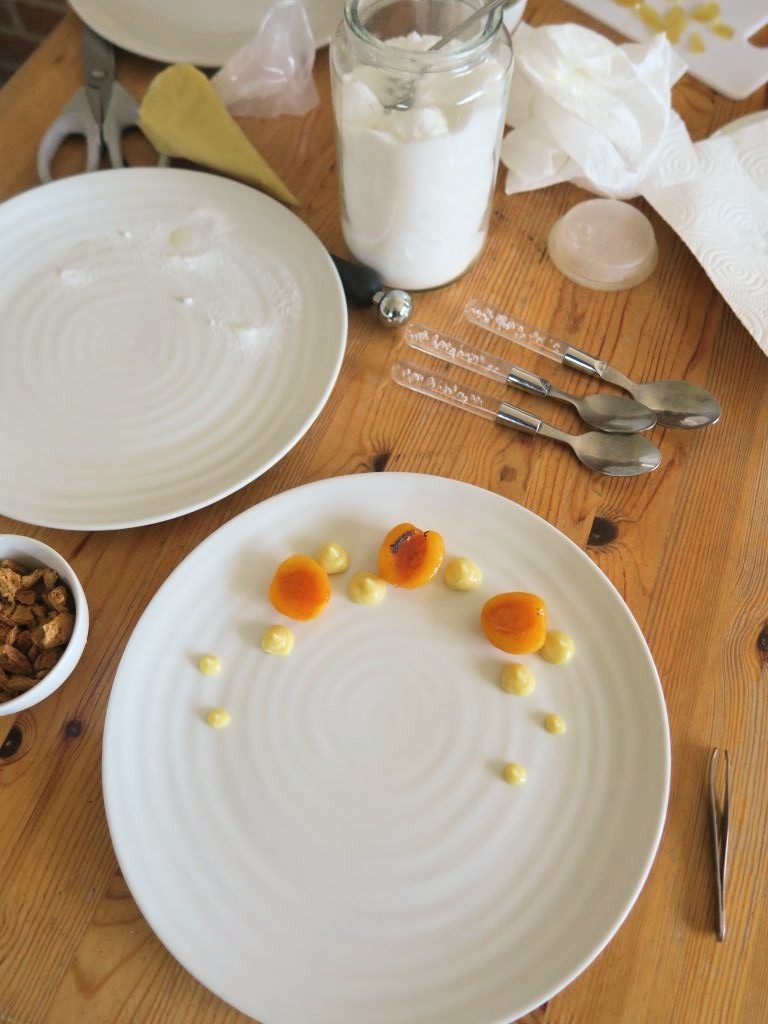
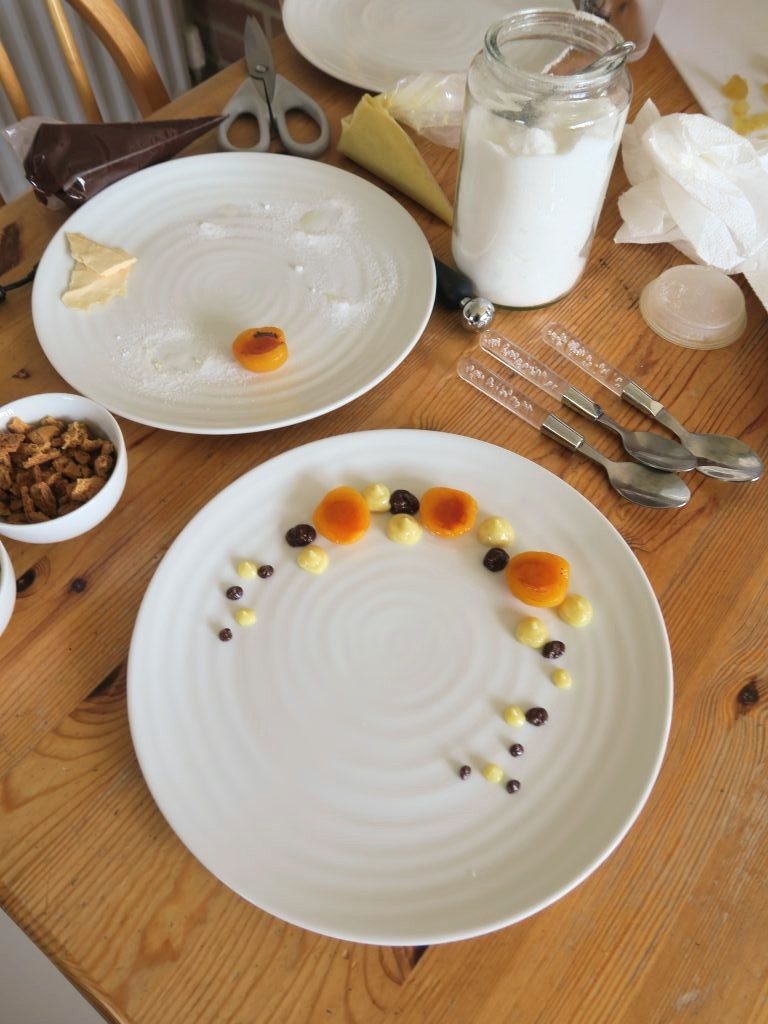
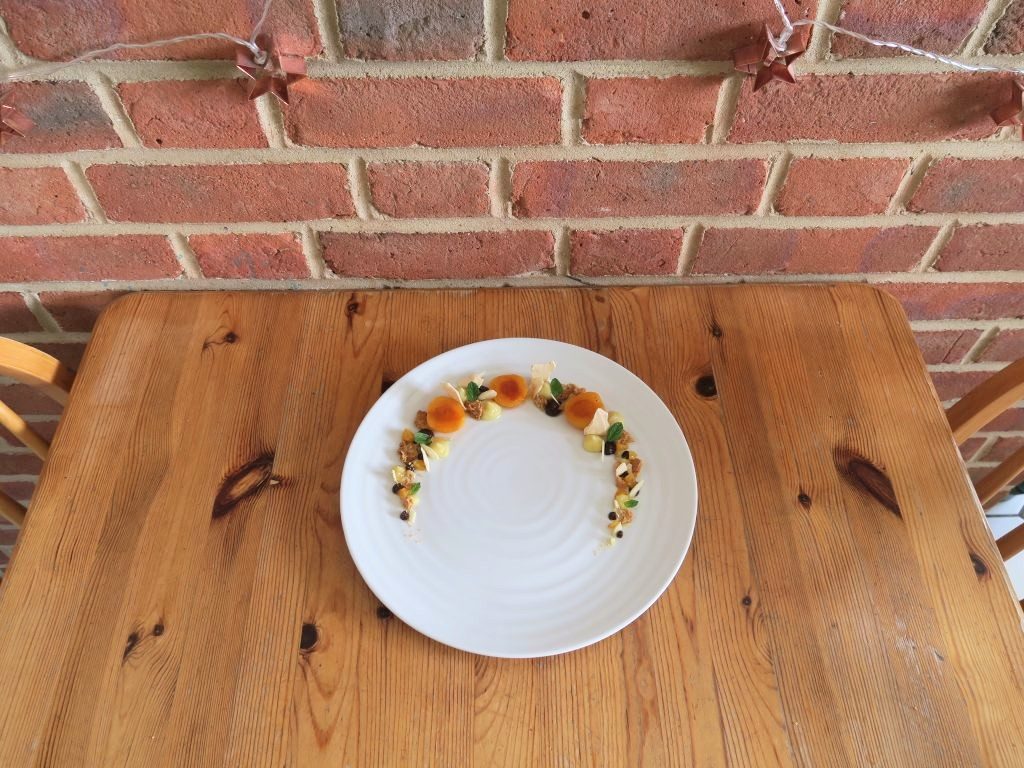
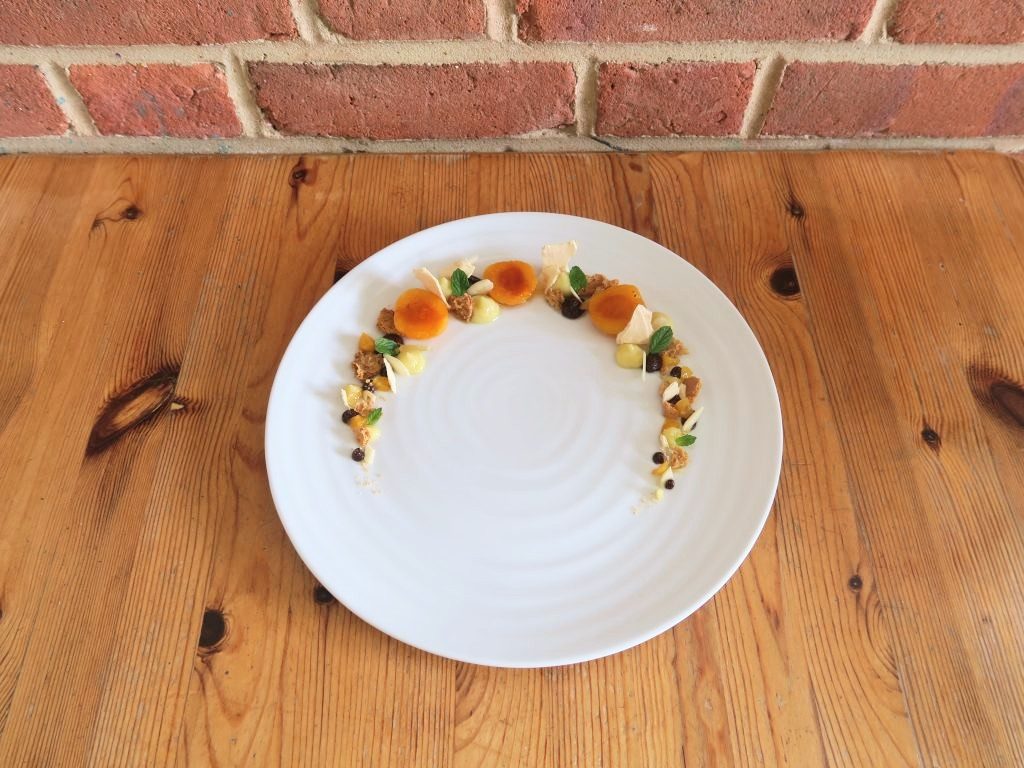
It’s been a while since I made a pretty dessert and making this one reminded me just how much I love doing them! This one was inspired by apricots and custard so it’s made up of bruleed (caramelised) amaretto soaked apricots, crème patisserie (aka custard), and chocolate ganache and then decorated with stem ginger, almonds, amaretti biscuits and mint! Because the three main elements (the apricots, custard and ganache) are relatively easy to make this dessert is surprisingly easy and quick to throw together (unlike some of my other pretty dessert plates!). You can also display it however you like – I enjoy getting out the blowtorch and tweezers to make a little crescent shape but it works just as well all thrown into a bowl for pudding!

(Note: I’ve made meringues for this to use up the egg white leftover from making the custard, but it’s a completely optional element to the dessert!)

Recipe

Serves about 4

Time: 20 minutes

Ingredients

For the apricots

  • 1 tin of apricot halves in fruit juice
  • 2 tbsp amaretto liqueur
  • 2 tbsp stem ginger syrup

For the crème patisserie

  • 80ml whole milk
  • 1/2 tbsp vanilla bean paste
  • 20g caster sugar, plus 2-3 tsp for the brulee
  • 1 egg yolk
  • 5g plain flour
  • 5g cornflour

For the meringue (optional)

  • 1 egg white
  • 40g caster sugar (ideally the same weight as the egg white, you might need to use less or more sugar accordingly)

To decorate

  • 100g dark chocolate
  • 100ml double cream
  • 4 tbsp flaked almonds
  • A few pieces of stem ginger
  • 2-3 amaretti biscuits, crushed
  • A few sprigs of fresh mint

Method

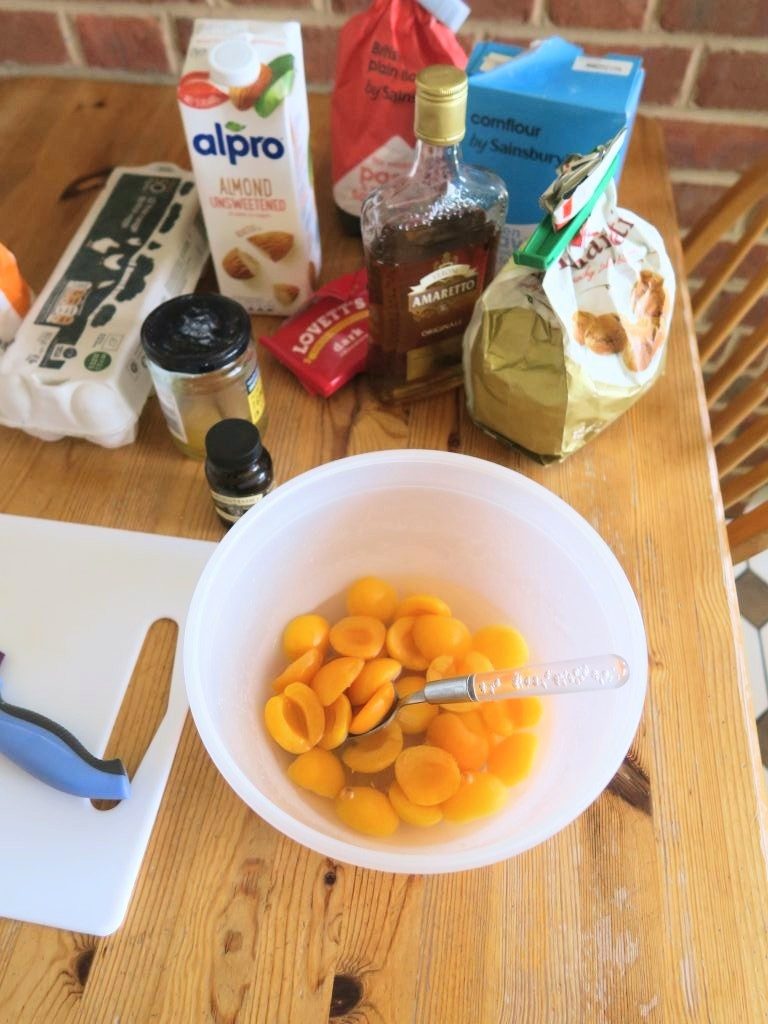
  1. Put the apricots and their juice into a bowl. Add the amaretto and stem ginger syrup and leave to soak for at least 1 hour (you could do this the night before if you want!).
  2. Meanwhile make the crème patisserie. Put the milk and vanilla into a saucepan, stir once and bring to the boil.
  3. Separate the egg by rocking the yolk between the two halves of the shell and letting the egg white drip into a bowl below. Put the egg yolk into a separate bowl.
  4. Add the sugar and two flours to the egg yolk and whisk together until fully combined.
  5. Once the milk is heated, remove the pan from the heat and mix around 1/3 of the milk into the egg mixture.
  6. Whisk the mixture quickly and then pour the egg mixture back into the pan with the milk.
  7. Put the pan back over a medium-low heat and whisk until the mixture thickens.
  8. Pour the mixture into a pipping bag and leave in the fridge for at least 30 minutes, until cool.
  9. Meanwhile prepare the decorations. If you’re making the meringue put the egg white into a spotlessly clean bowl and whisk with an electric which until soft peaks form.
  10. Add the caster sugar to the egg whites, 1tbsp at a time, whilst whisking until all the sugar is added. Keep whisking until the mixture hits firm peaks.
  11. Tip the meringue out onto a baking tray lined with baking paper. Smooth out with a palette knife until it’s an even sheet about the thickness of a 1p coin.
  12. Pre-heat the oven to 120C and bake the meringue in the oven until crisp (about 20 minutes). Turn the oven off and leave to cool completely in the oven (this will prevent them from cracking).
  13. Now make the ganache. Roughly chop the chocolate for the decoration and put it into a glass or metal bowl.
  14. Put the cream into a small pan and bring up to just below the boil. Then pour it on the chocolate and stir until smooth.
  15. Pour the ganache into a pipping bag and leave in the fridge for about 20 minutes, until just set enough to pipe and hold it’s shape. (If the ganache becomes too set you can warm it up in the microwave with 10 second bursts).
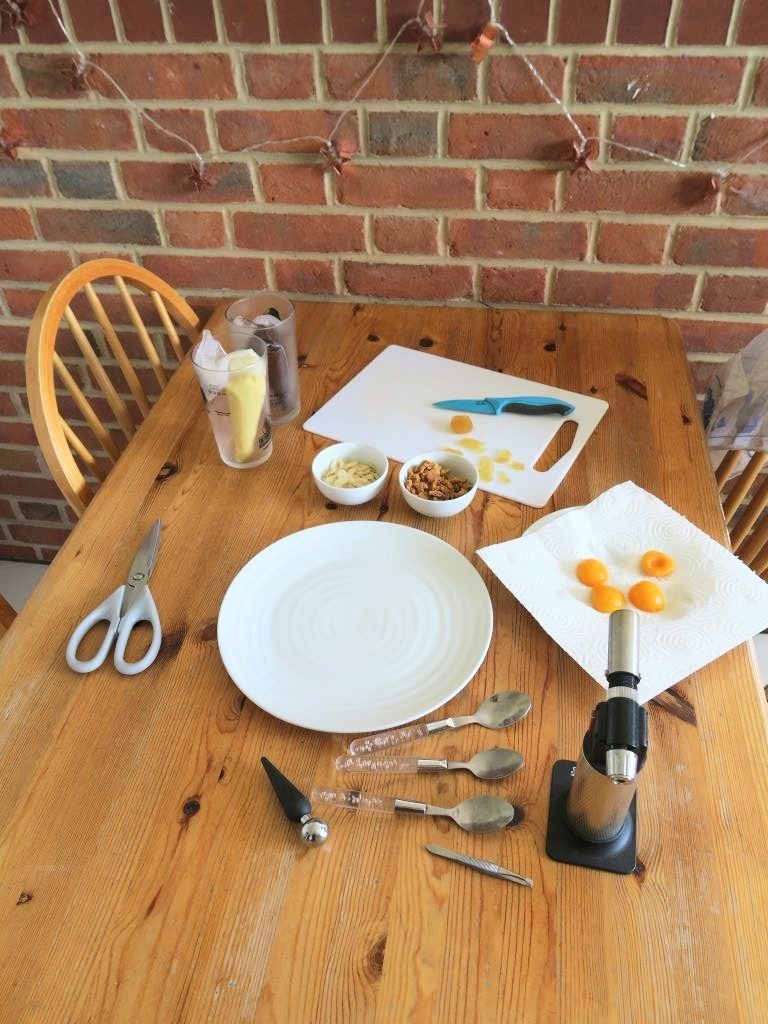
  16. When all the components are ready start plating up. Take the apricots out of the soaking liquid and place on a plate lined with kitchen paper to soak up the excess juices.
  17. Take 3 of the apricots and place them on a plate so that the hole where the stone was is facing up. Sprinkle a little caster sugar into this hole and then use a blowtorch to caramelise it (you could use a grill if you don’t have a blow torch).
  18. Pipe 3-4 blobs on the crème patisserie onto a plate, making the blobs smaller further away from the apricots to start building up the crescent shape. Then take the ganache and then pipe small blobs in the gaps. Break the meringue into shards and prop them up around the plate by leaning them into the ganache and crème patisserie.
  19. Finish the plate with some flaked almonds, crushed amaretti biscuits, slices of stem ginger and some fresh mint. Enjoy!

Thanks for reading!

Emma x
Pride Cupcakes

Pride Cupcakes

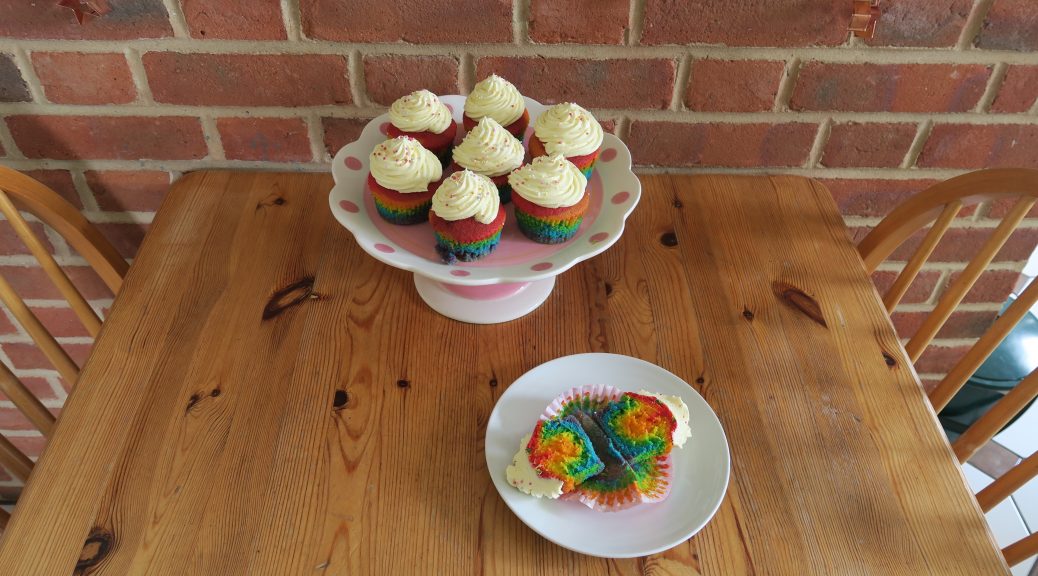
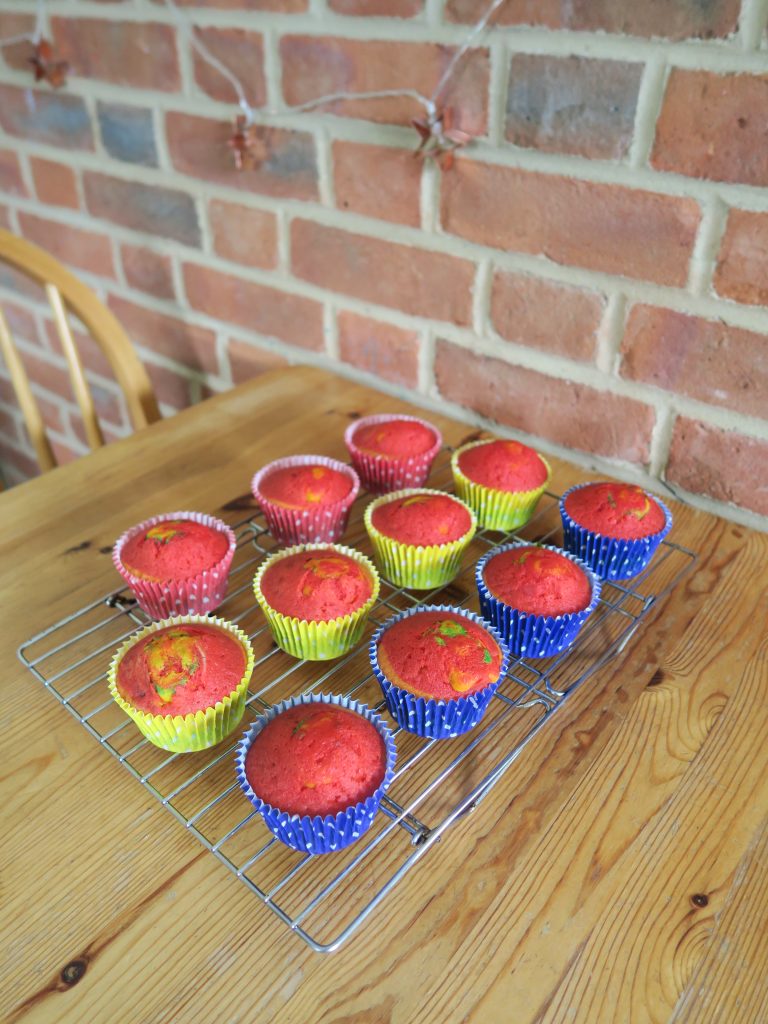
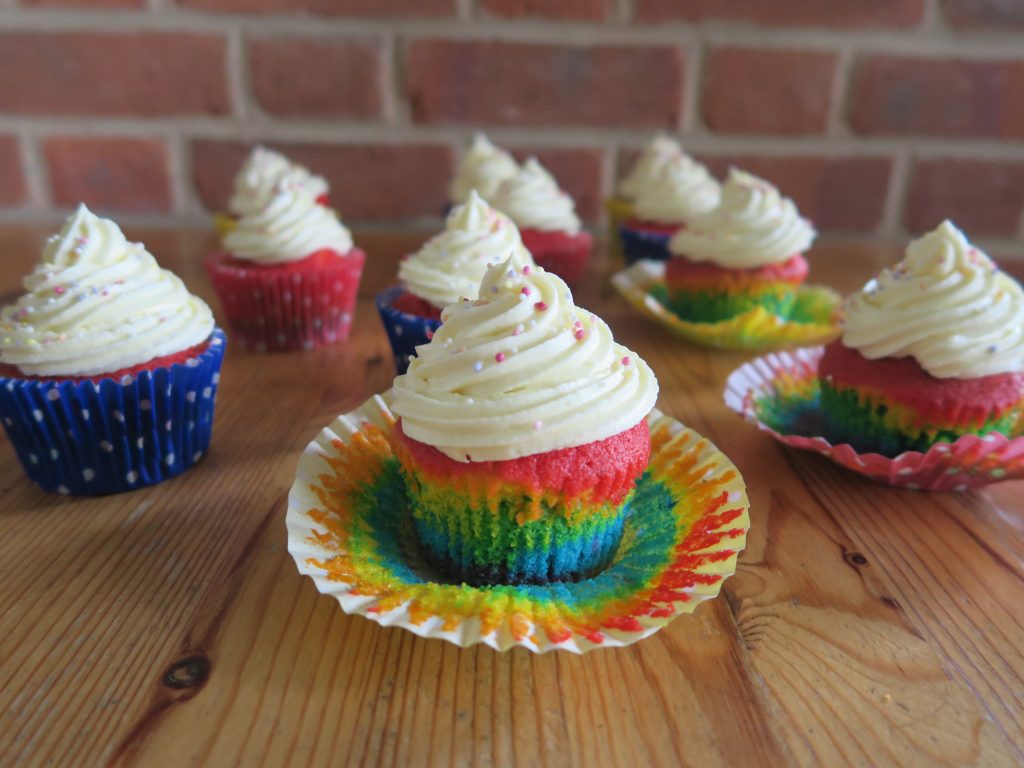
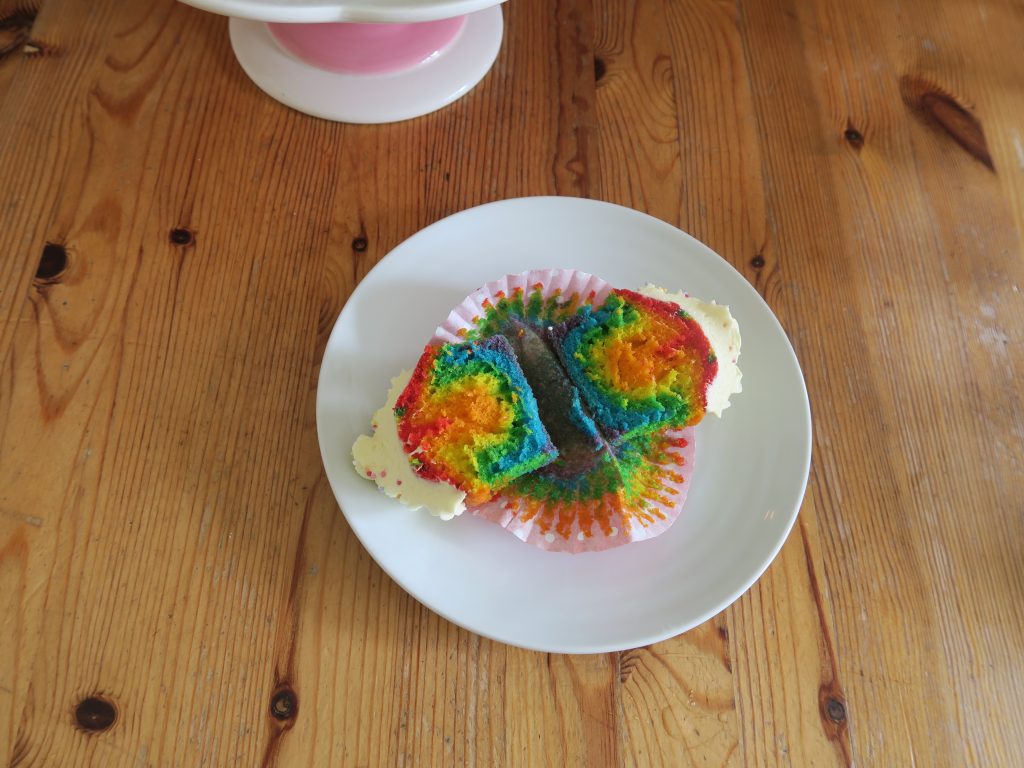
These are coming a little after Pride but better late than never! (I made these back in June but I’m a bit behind on writing up the recipes which is why I’m only posting them now!). I don’t identify as LGBTQ+ myself, but I think it’s so important to show support whoever you are, whenever you can – especially at the moment with everything going on! These are a little time-consuming because you have to layer up the colours, but apart from that they’re super easy to make so I’d 100% recommend giving them a go!

It’s amazing how you can get cake looking so bright and colourful but still tasting delicious! I think the gel food colourings really help with this as they help you get super bright colours with only a drop or two. I used to use the bottle food colouring you get from supermarkets and you can end up having to use a whole bottle to get the right colour – which then kicks the balance of ingredients out of whack. I got this pack of 24 food colourings from Wilton for about £24 – which sounds like a lot for food colouring, but it’ll save you a good £3-4 on bottle food colouring every time you want to make something with colour in them and they will last for years! (You also get so many different colours so you can get super creative with your meringues, icings, macaroons, cakes etc!)

Recipe

Makes 12

Time: 2 hours

Ingredients

  • 100g caster sugar
  • 113g butter
  • 2 eggs
  • 50ml milk
  • 50g natural yoghurt
  • 1 tsp vanilla bean paste (or extract)
  • 65g plain flour
  • 135g self raising flour
  • 1 ½ tsp baking powder
  • ¼ tsp salt
  • Red, orange, yellow, green, blue and purple food colouring
  • A few tsp of rainbow sprinkles or 100s and 1000s

For the butter cream

  • 120g butter
  • 200g icing sugar
  • 1tbsp milk
  • ½ tsp vanilla bean paste (or extract)

Method

  1. Pre-heat the oven to 180C and put 12 cupcake cases into a 12 hole cupcake tin.
  2. Take a large bowl and make a note of it’s weight when empty.
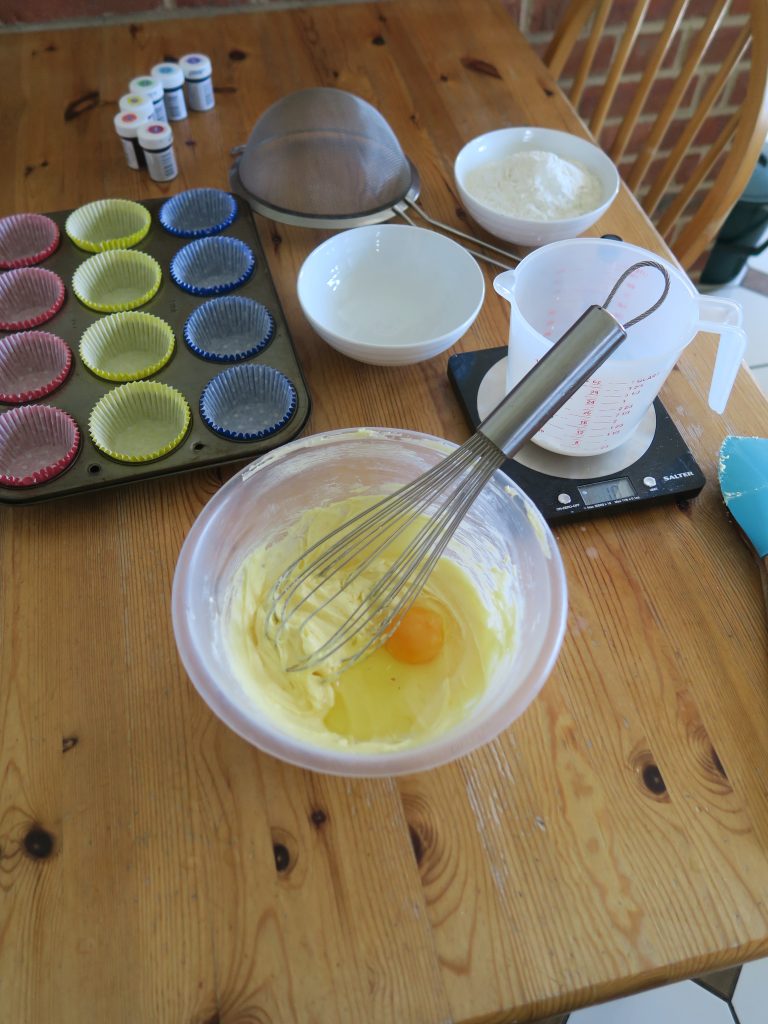
  3. Put the butter and sugar into the bowl and beat together with a wooden spoon until pale and creamy.
  4. Add the eggs, milk, yoghurt and vanilla and whisk until combined.
  5. Add the flour, baking powder, and salt and whisk again to make smooth.
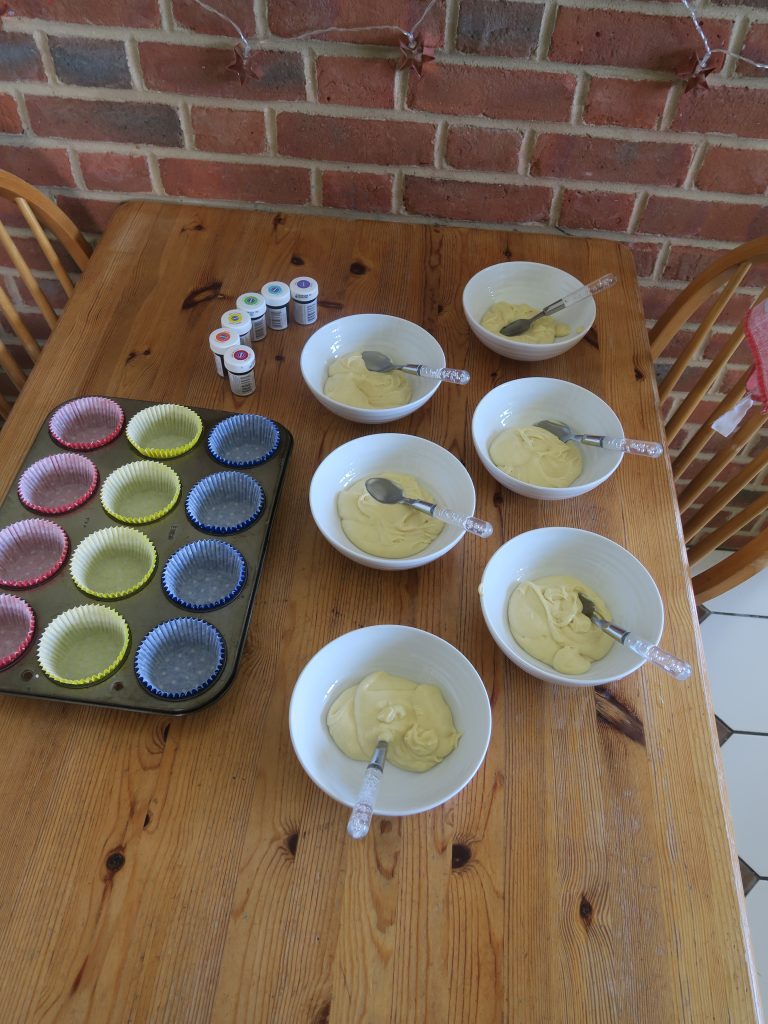
  6. Weigh the bowl with the mixture in (making sure no spoons or utensils are also being weighed!). Take the weight of the bowl away (that you noted down earlier) from the weight of the bowl + mixture so you know how much your total mixture weighs. Divide this by 7 and then put this amount of mixture into 7 bowls (so that you’ve equally divided your cake mix into 7).
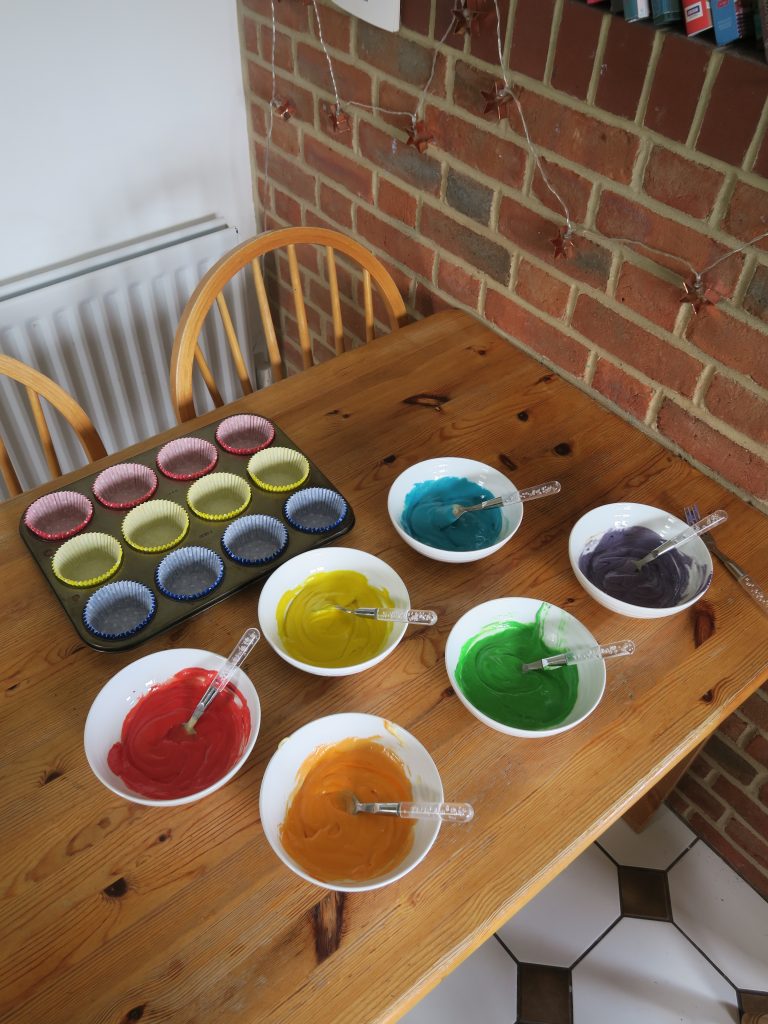
  7. Colour each bowl of cake mix differently so you have one each of red, orange, yellow, green, blue and purple.
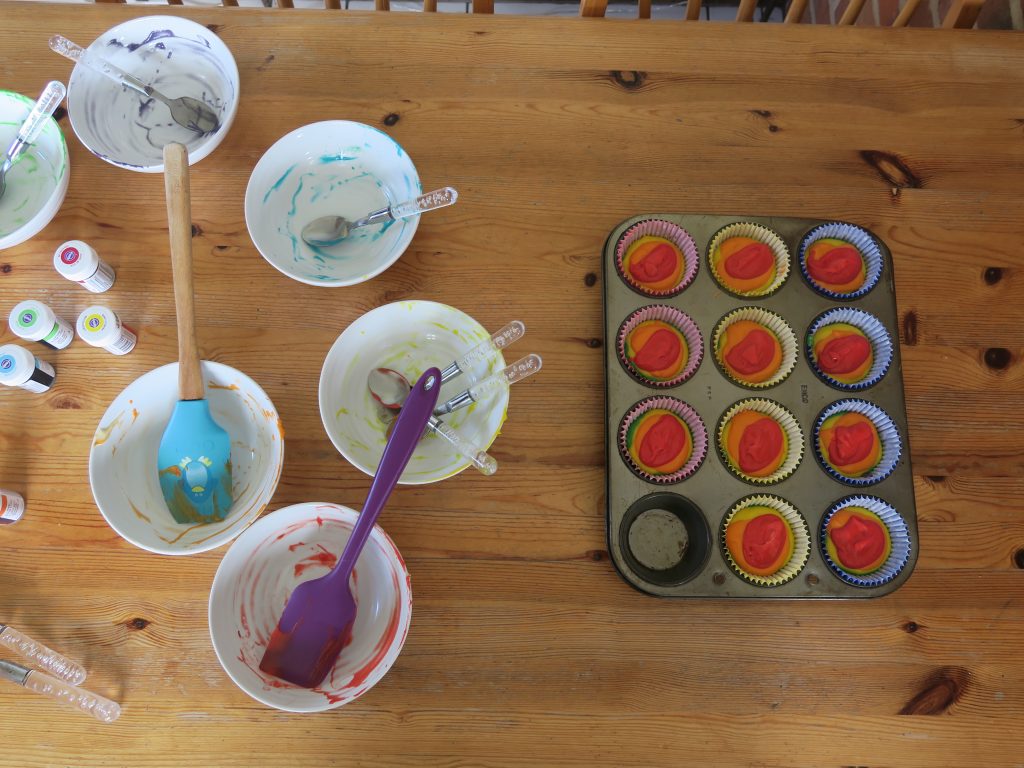
  8. Carefully spoon a layer of purple cake mix into the bottom of each cupcake case (about 1tsp should do it, but go until all the mixture is used up!). Then repeat with the other colours in the order of a rainbow, finishing with the red.
  9. Bake the cupcakes for 15-20 minutes until golden brown and risen. (You can double check by inserting a skewer into the middle and seeing if it comes out clean).
  10. Take the cupcakes out of the tin and leave to cool on a wire rack.
  11. Meanwhile make the buttercream. Put the butter and icing sugar into a bowl and beat until smooth. Add the milk and vanilla and beat again until combined.
  12. Fit a pipping bag with a star shaped nozzle and spoon the icing into the pipping bag. Pipe swirls of the icing on the cooled cupcakes (the cupcakes need to be completely cool before you do this or the icing will slide off!).
  13. Finish with a few rainbow sprinkles and enjoy!

Thanks for reading!

Emma x