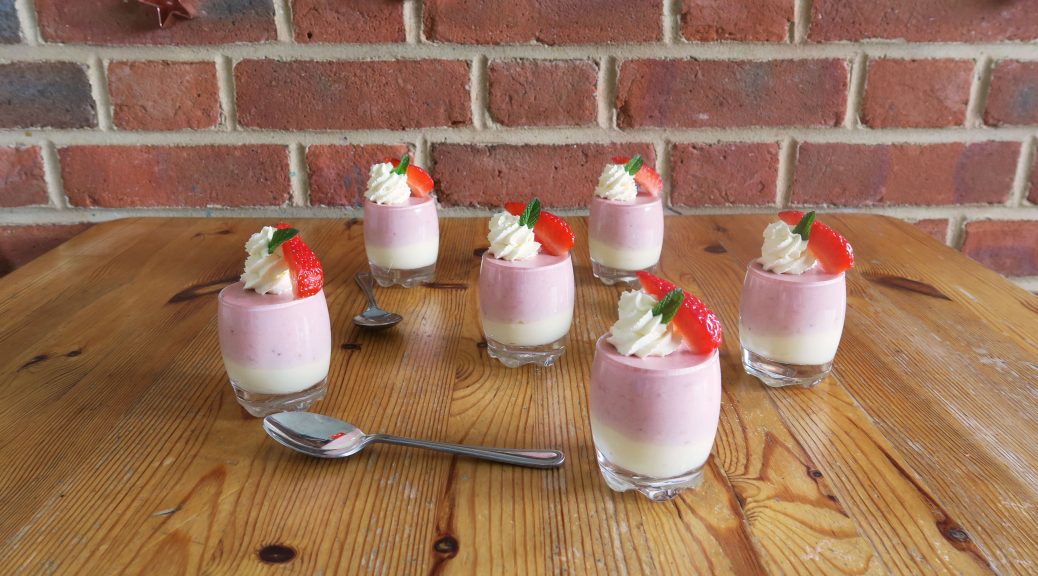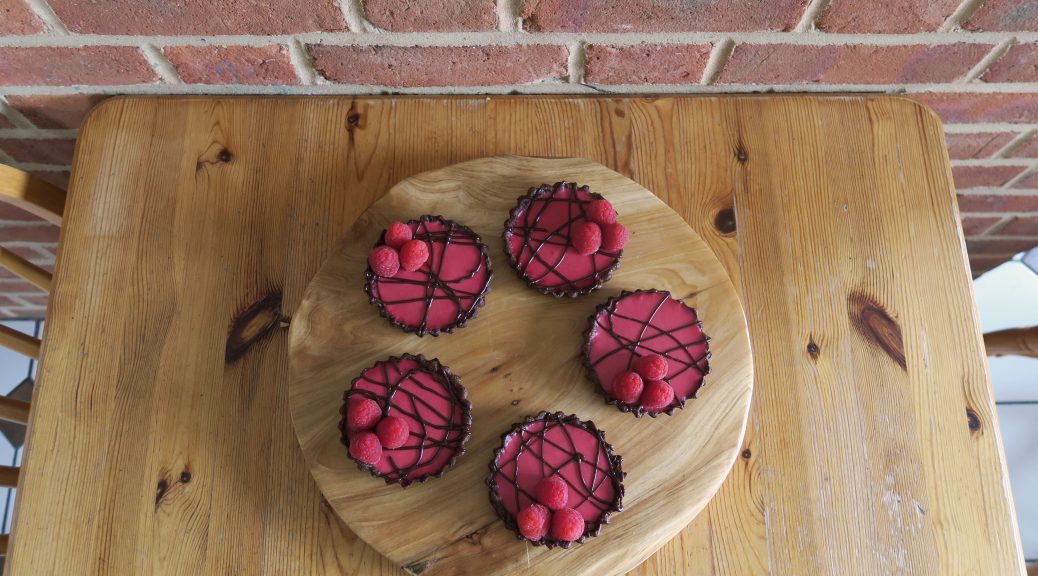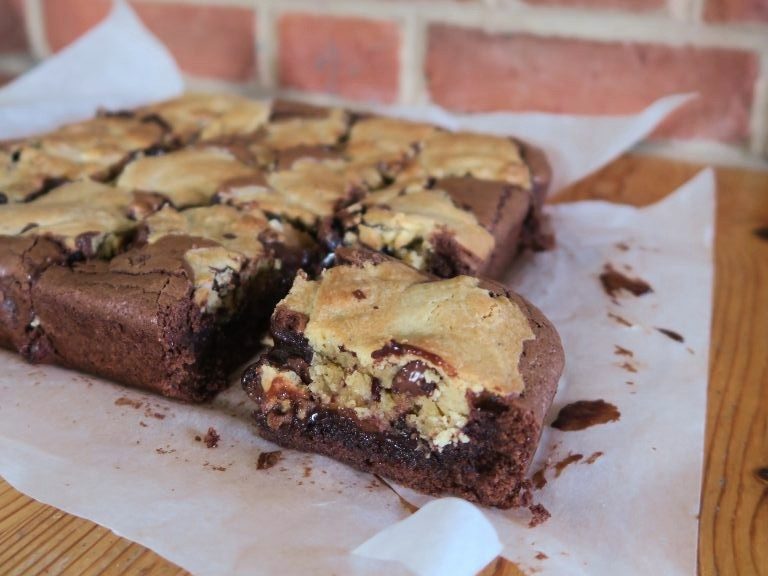
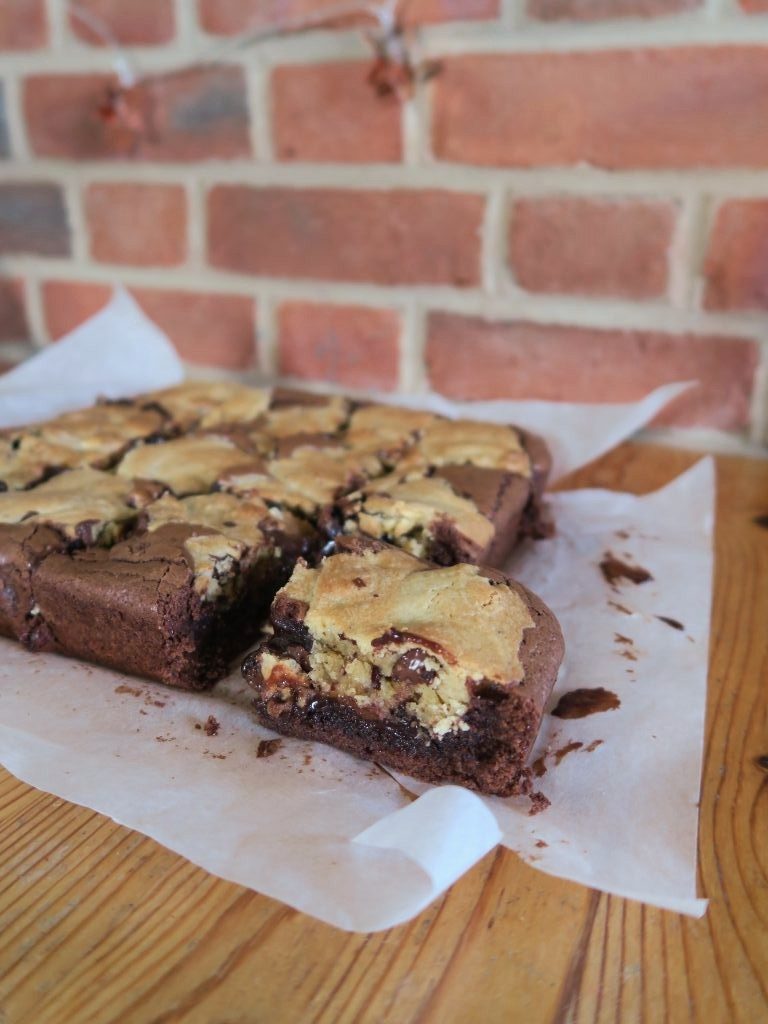
Brookies
Recipe
Makes 12
Time: 1 hour
Ingredients
For the brownie layer
- 120g dark chocolate
- 170g butter
- 300g caster sugar
- 3 eggs
- A large pinch of salt
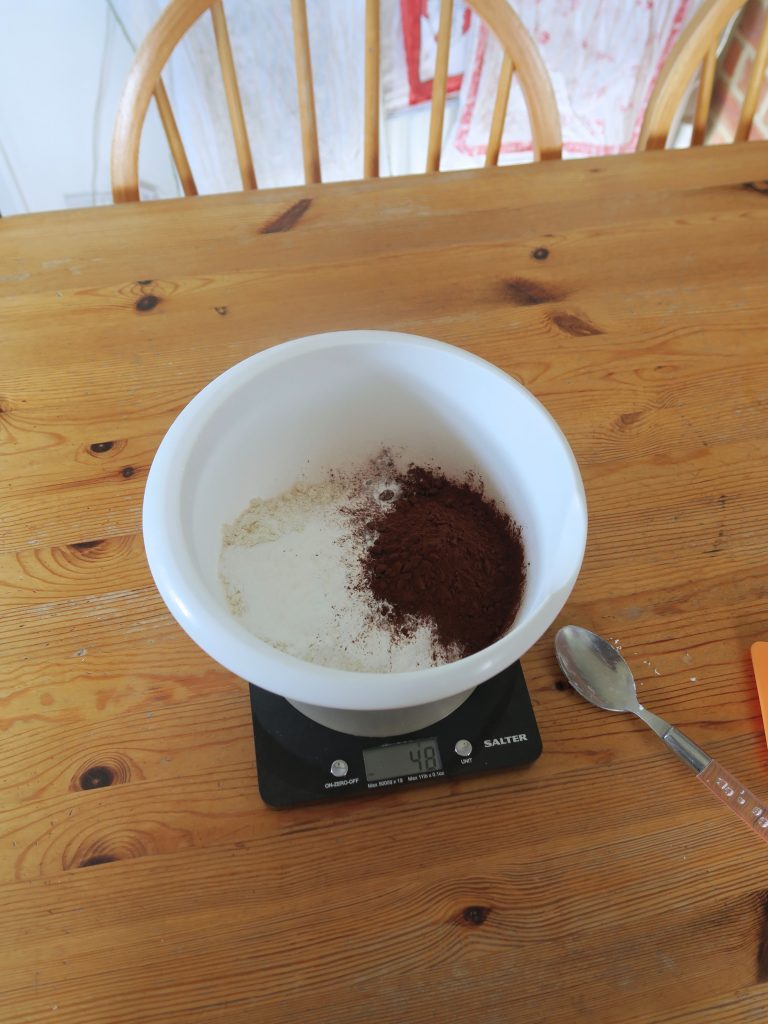
- 2 tbsp cocoa powder
- 135g plain flour
For the cookie layer
- 113g butter
- 70g caster sugar
- 70g light brown sugar
- 1 egg
- 1 tsp vanilla bean paste (or extract)
- A large pinch of salt
- 200g plain flour
- ½ tsp bicarbonate of soda
- 50g white chocolate, roughly chopped
- 50g dark chocolate, roughly chopped
Method
- Pre-heat the oven to 180C. Grease and line a 9” square tin with butter and baking paper.
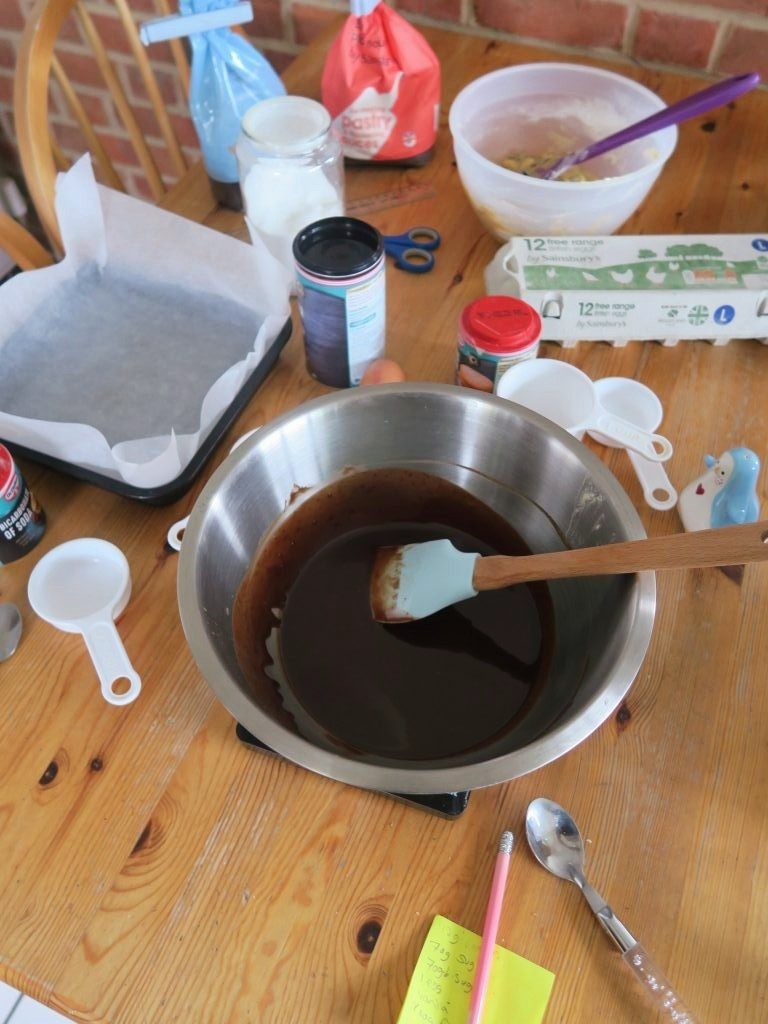
- Begin by making the brownie layer. Put the chocolate and butter into a glass or metal bowl and place over a pan of gently simmering water.
- Once melted take the bowl off the heat and stir to combine the melted butter and chocolate. Add the caster sugar and eggs and whisk to combine.
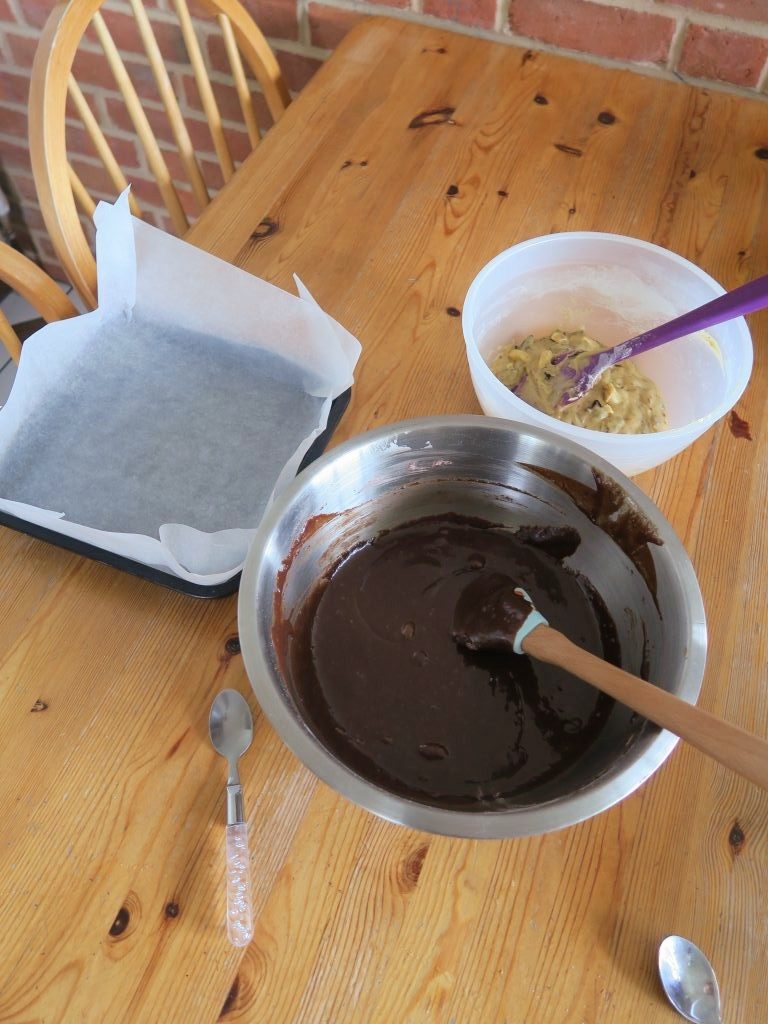
- Add the salt, cocoa and flour to the mixture and whisk again until smooth. Pour the mixture into the lined tin, making sure it’s in an even layer, and set to one side while you make the cookie layer.
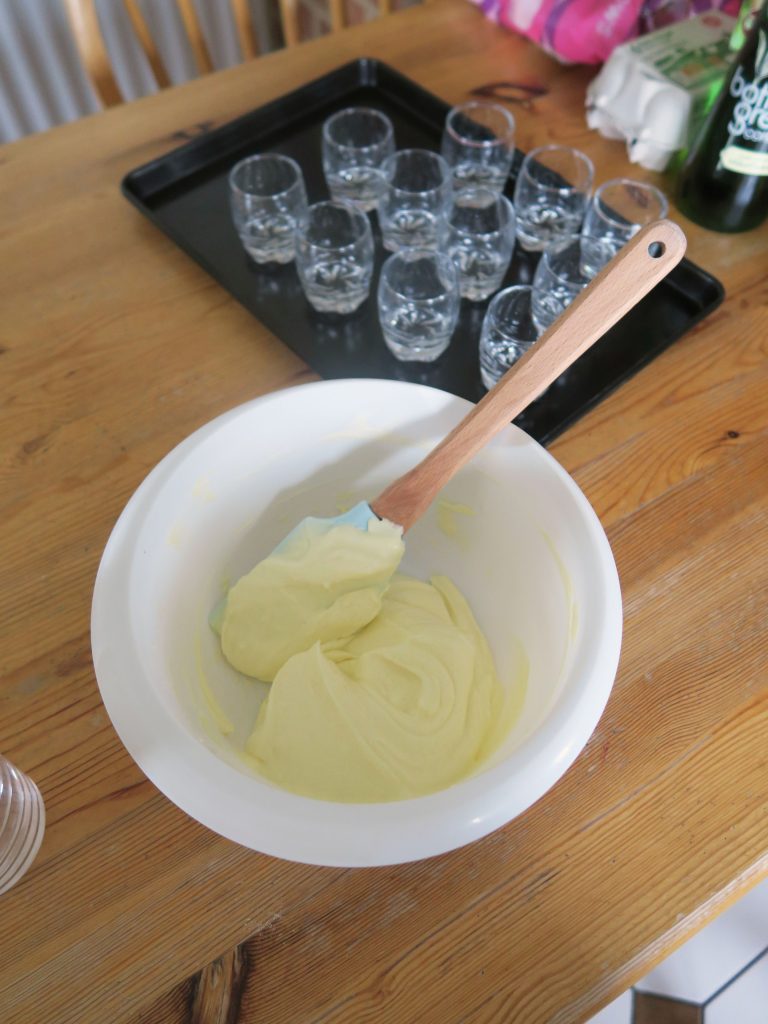
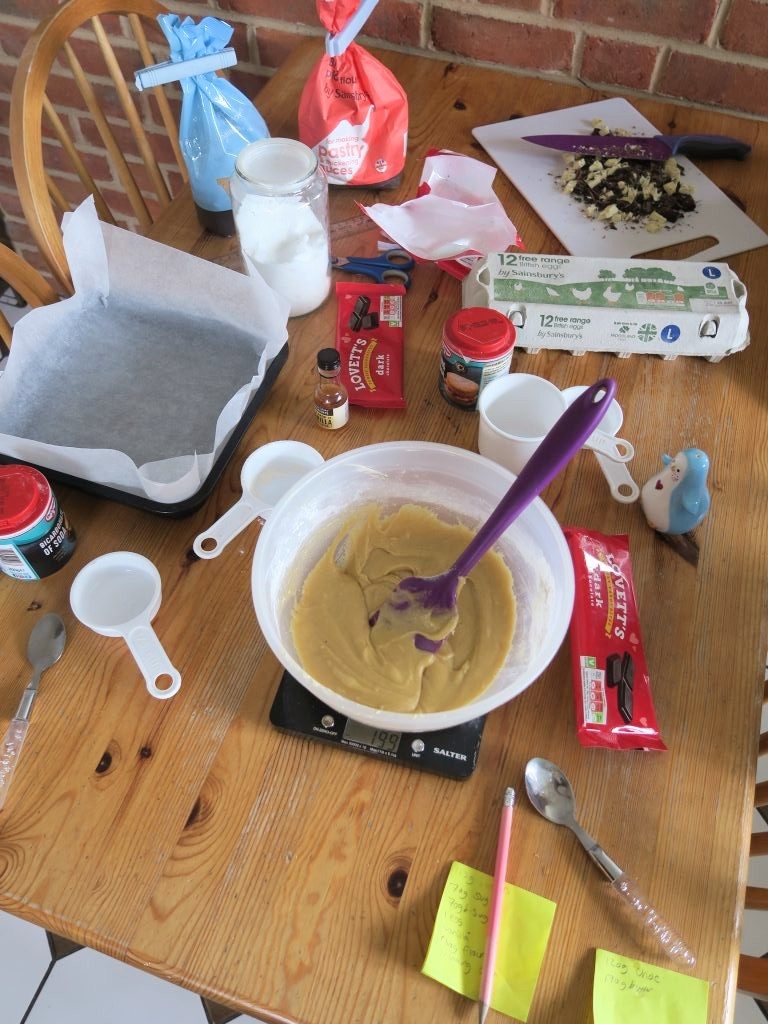
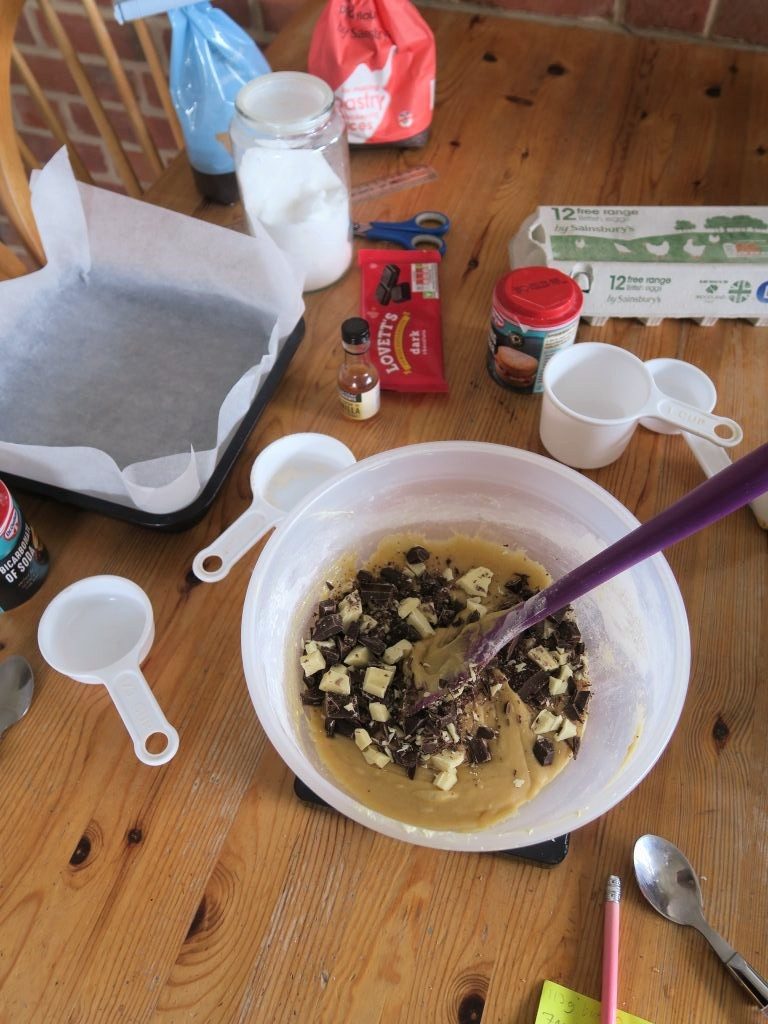
- Put the butter into a plastic bowl and microwave in 20 bursts until melted. Add the sugars, egg, vanilla and salt and whisk together until smooth.
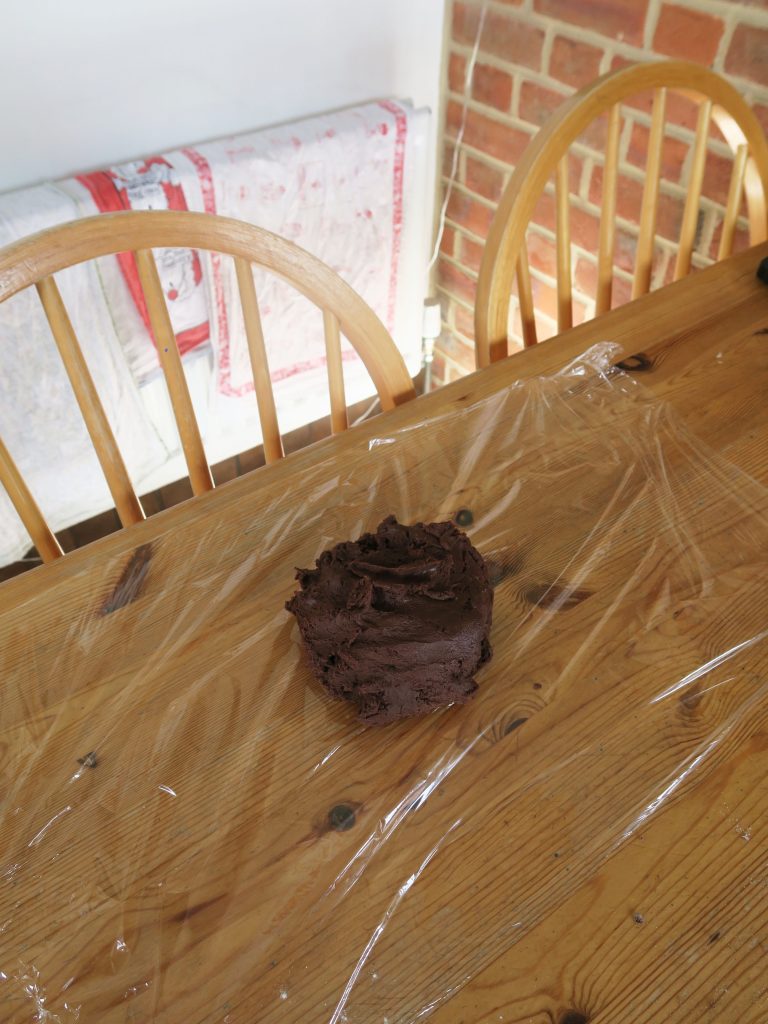
- Add the flour and bicarb to the mixture and stir again to make a soft dough. Then add the roughly chopped chocolates and stir until they’re evenly mixed through the dough.
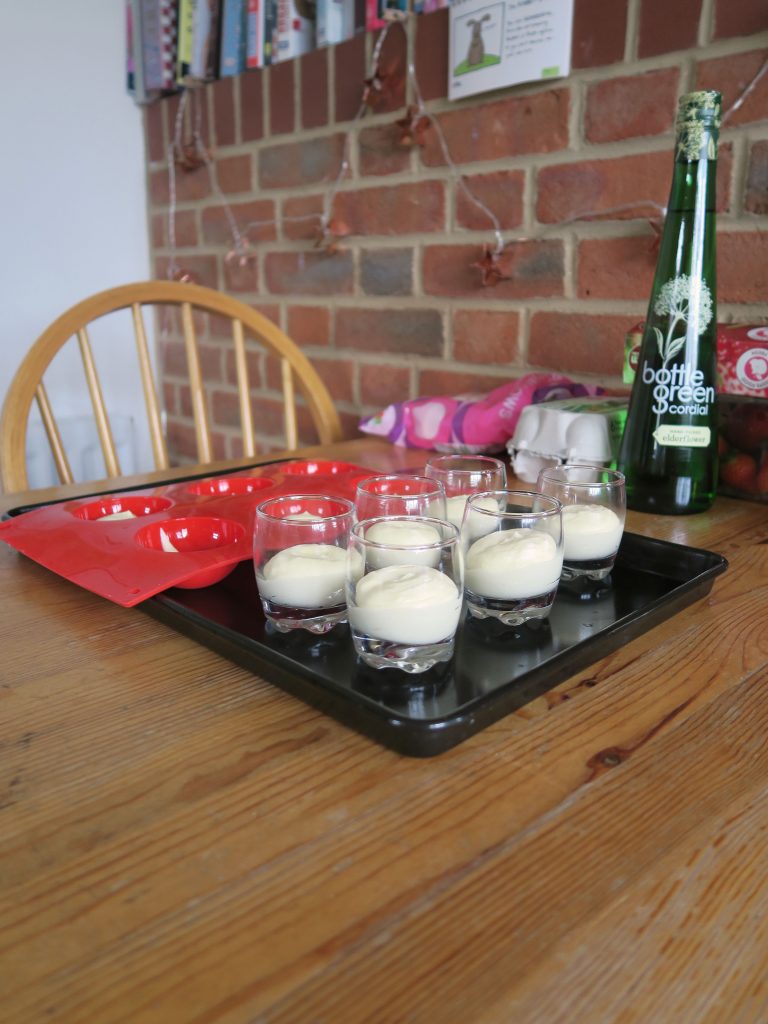
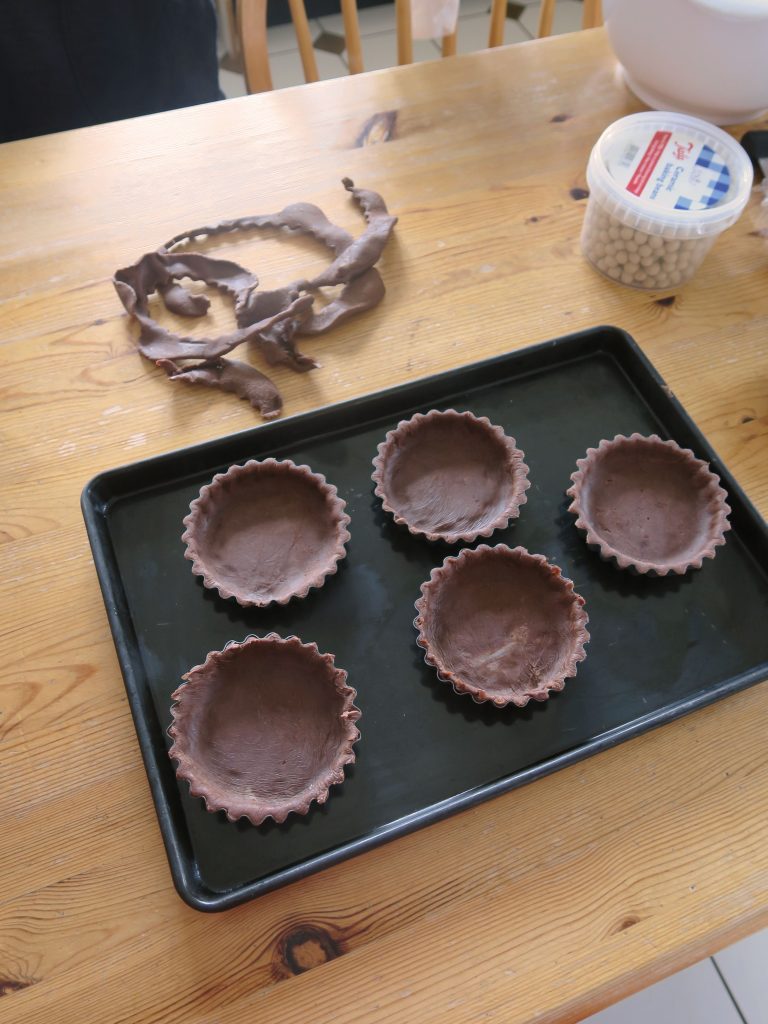
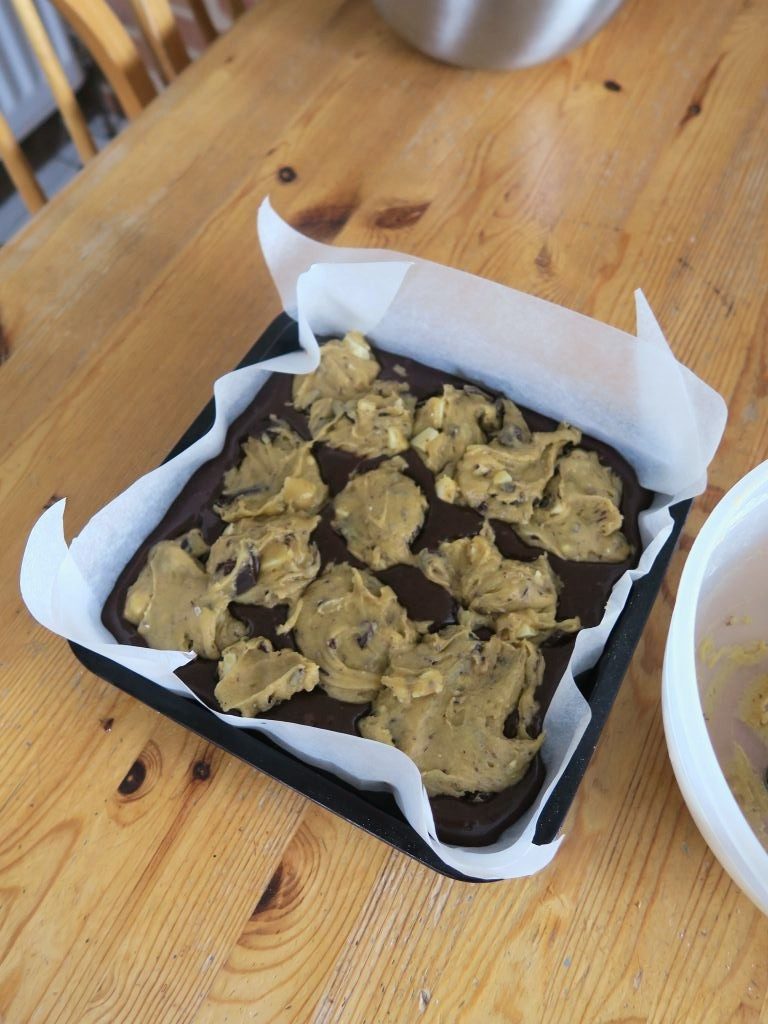
- Take spoonfuls of the cookie dough and dot it over the brownie mixture (it’ll be tricky to get a full even coating as the cookie is firmer than the brownie mix, so just do the best you can at putting enough cookie dough to cover the majority of the brownie mixture).
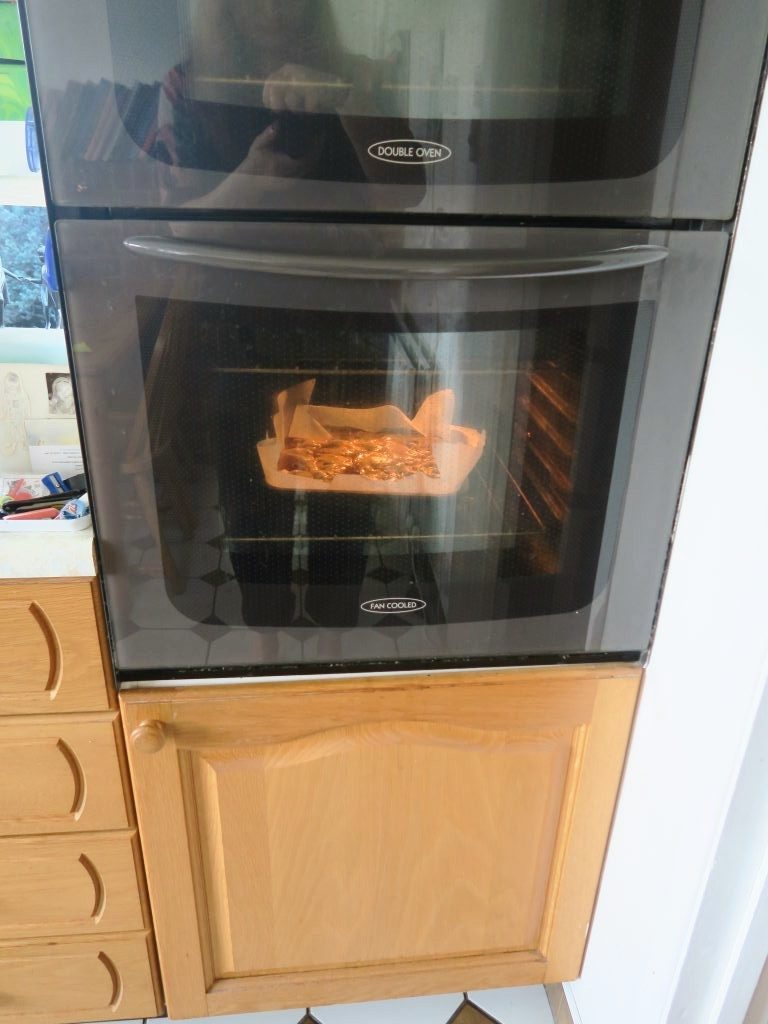
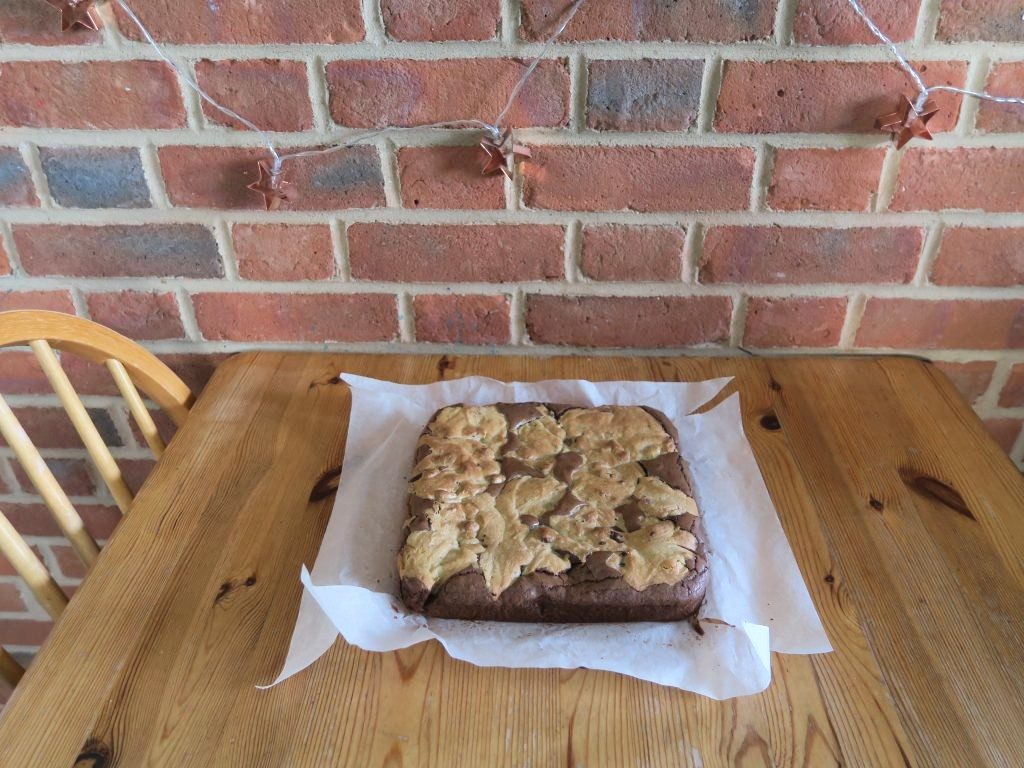
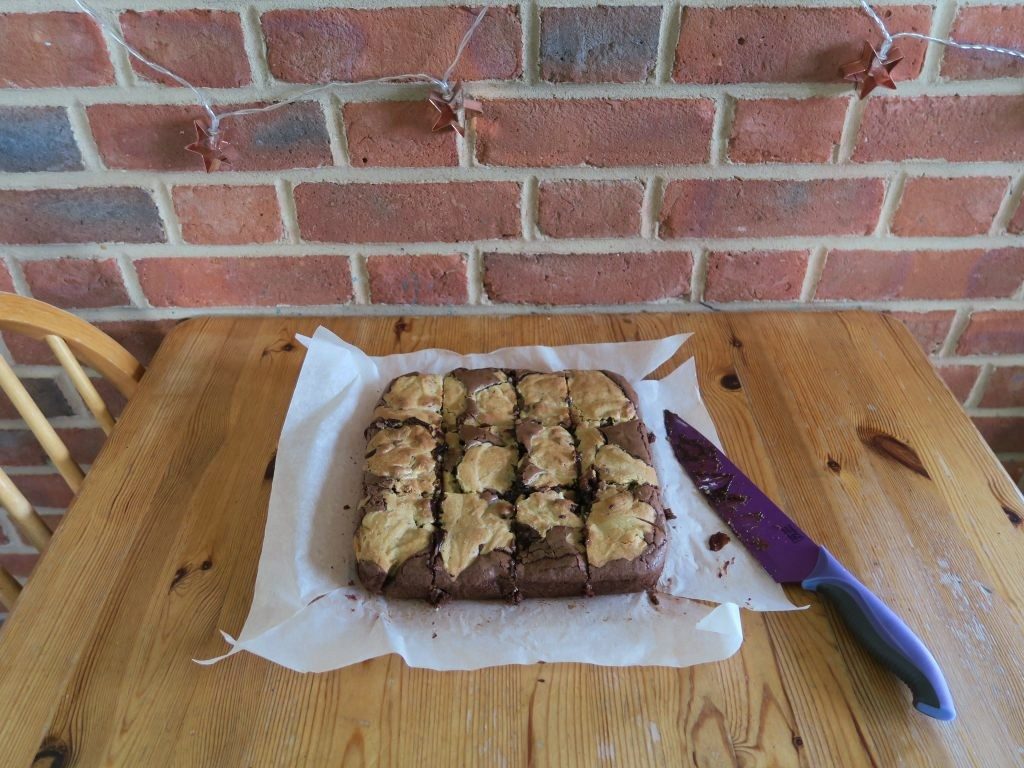
- Bake the brookies in the oven for about 25-30 minutes until the cookie mixture has spread and is golden brown. Leave to cool, cut into 12 slices and enjoy!
Thanks for reading!
Emma x